Those of you who follow me on Twitter will have seen the progress of this project turning a Model Kit into custom “asteroids” for X-Wing Miniatures.
There;’s a “How I did it” at the end of this article, but first…
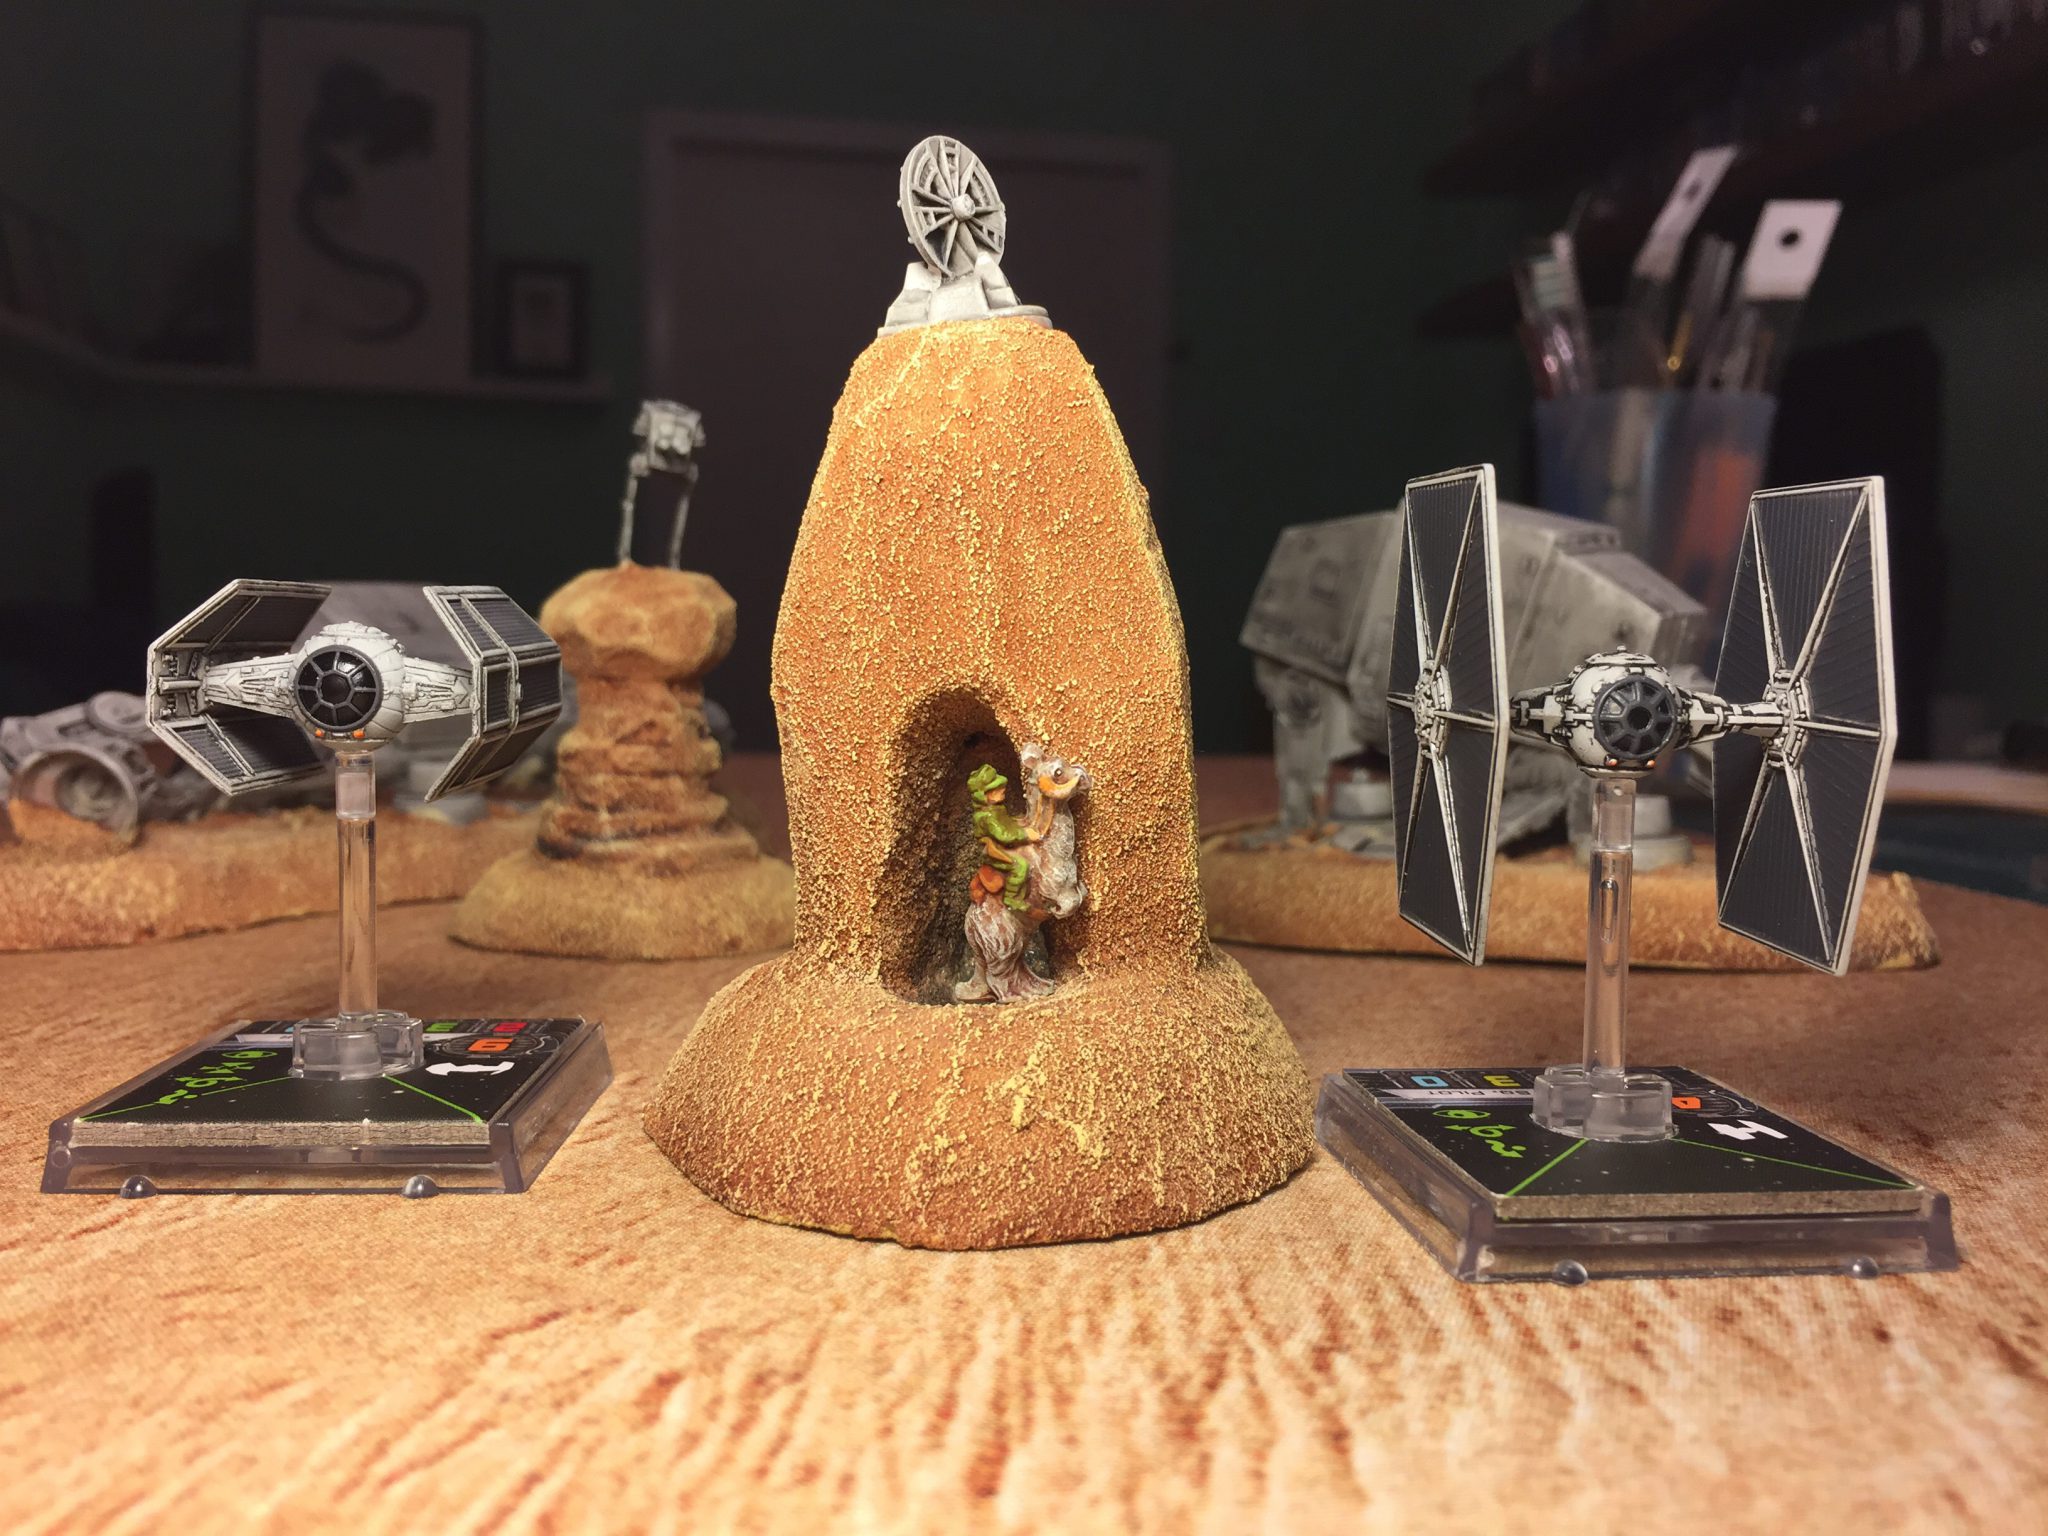
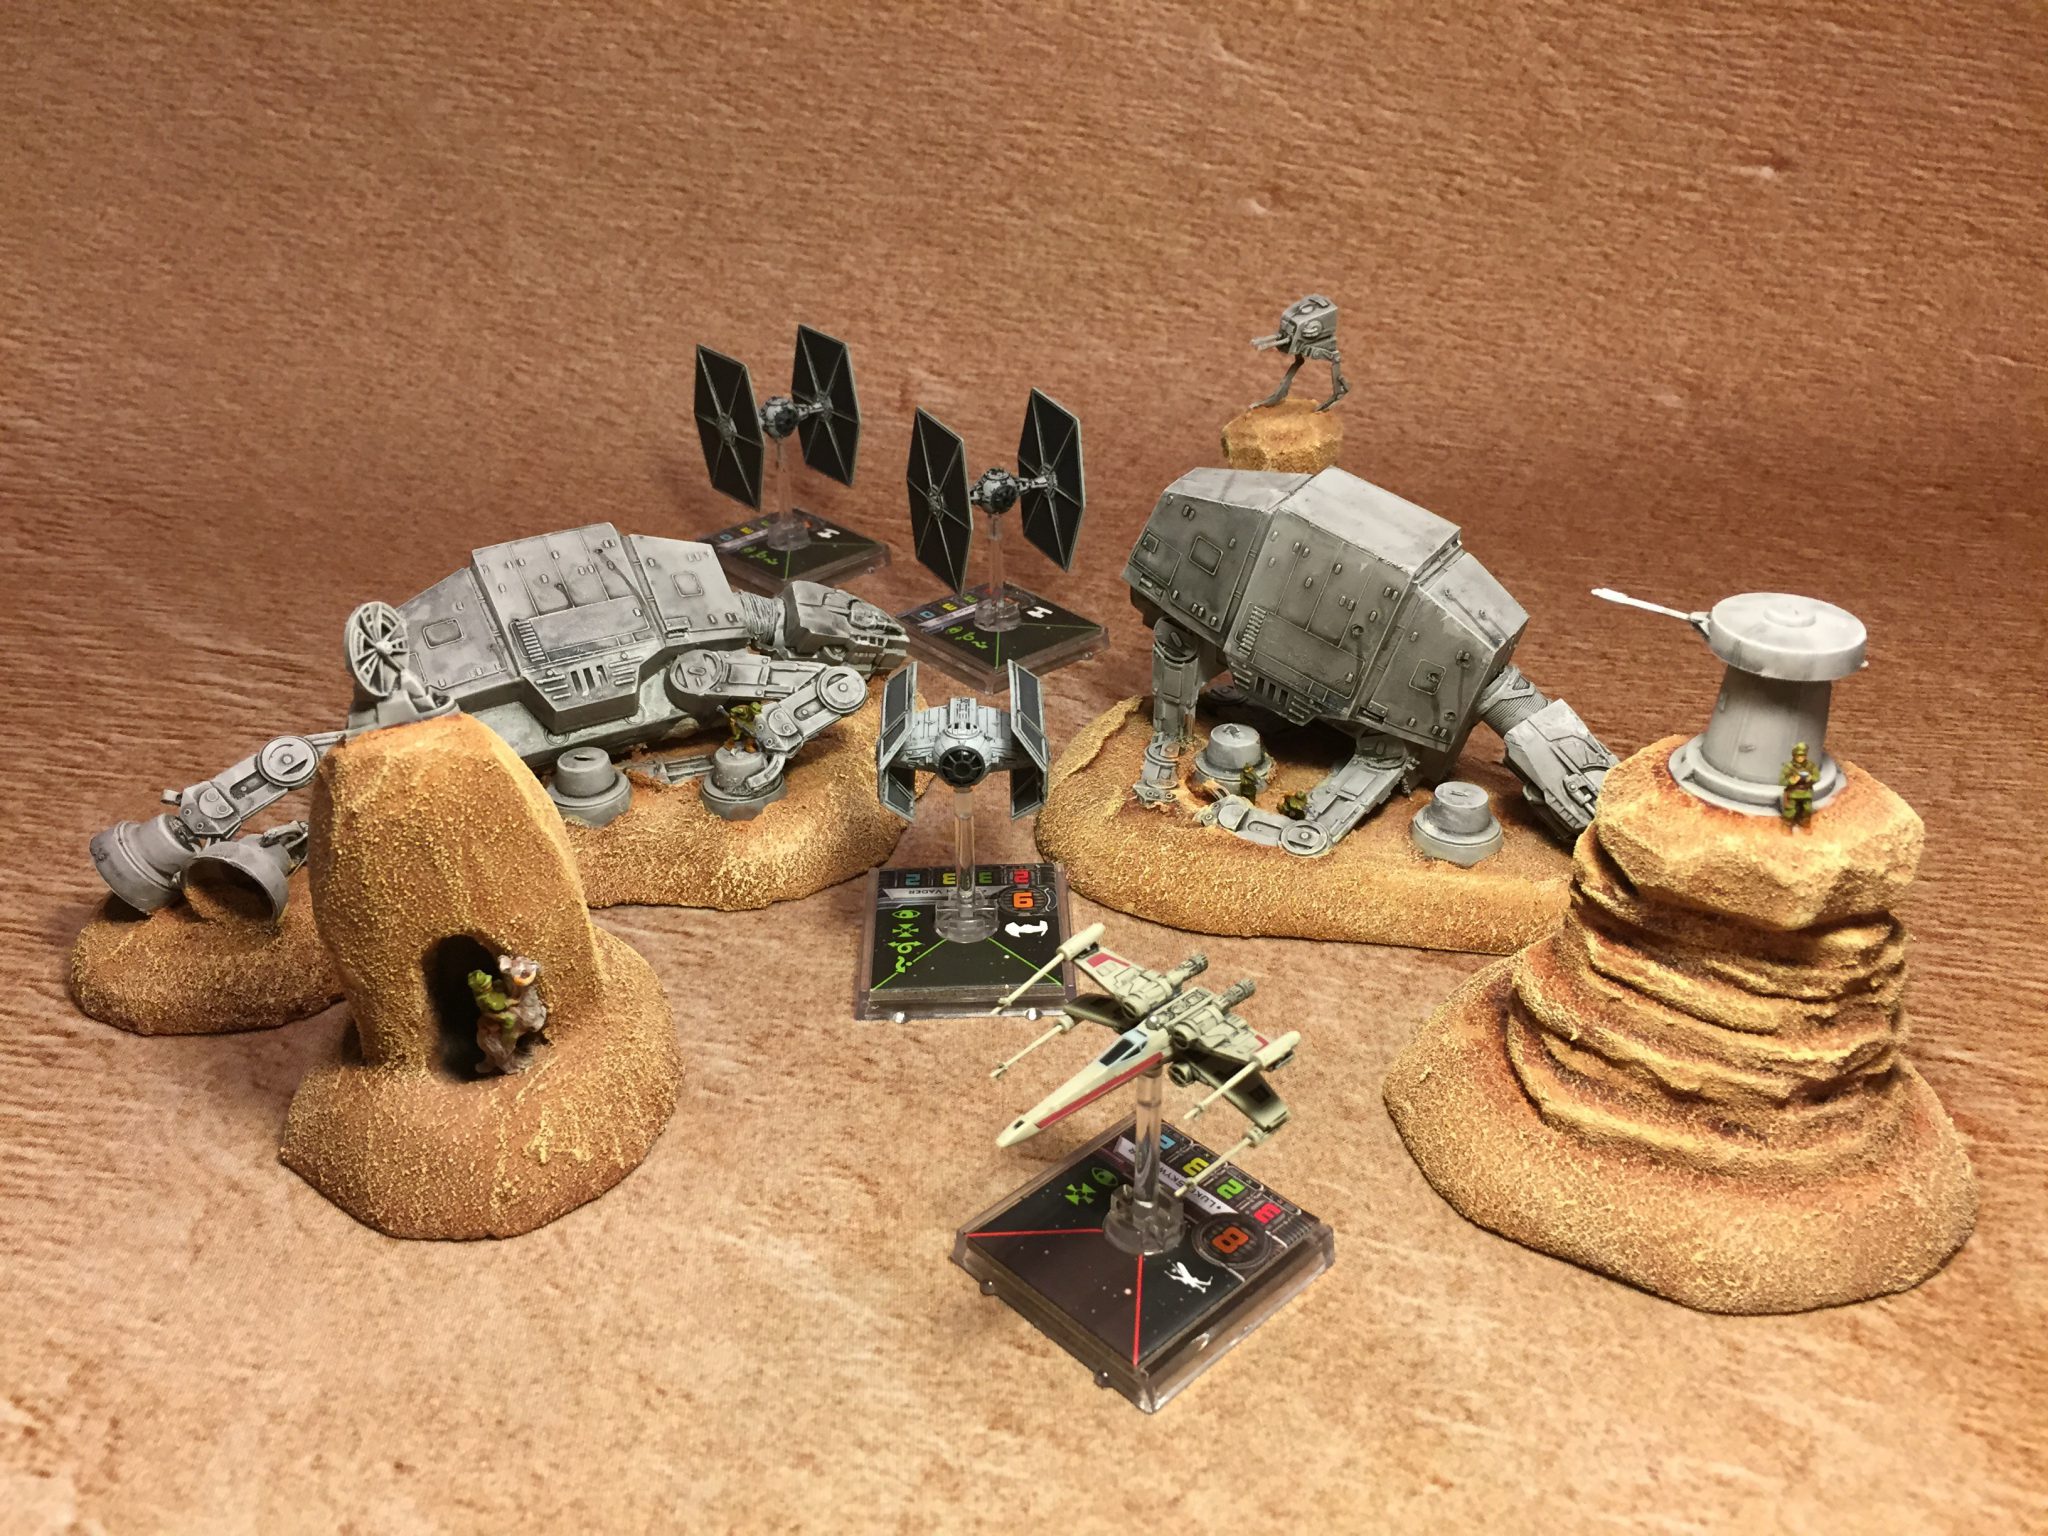
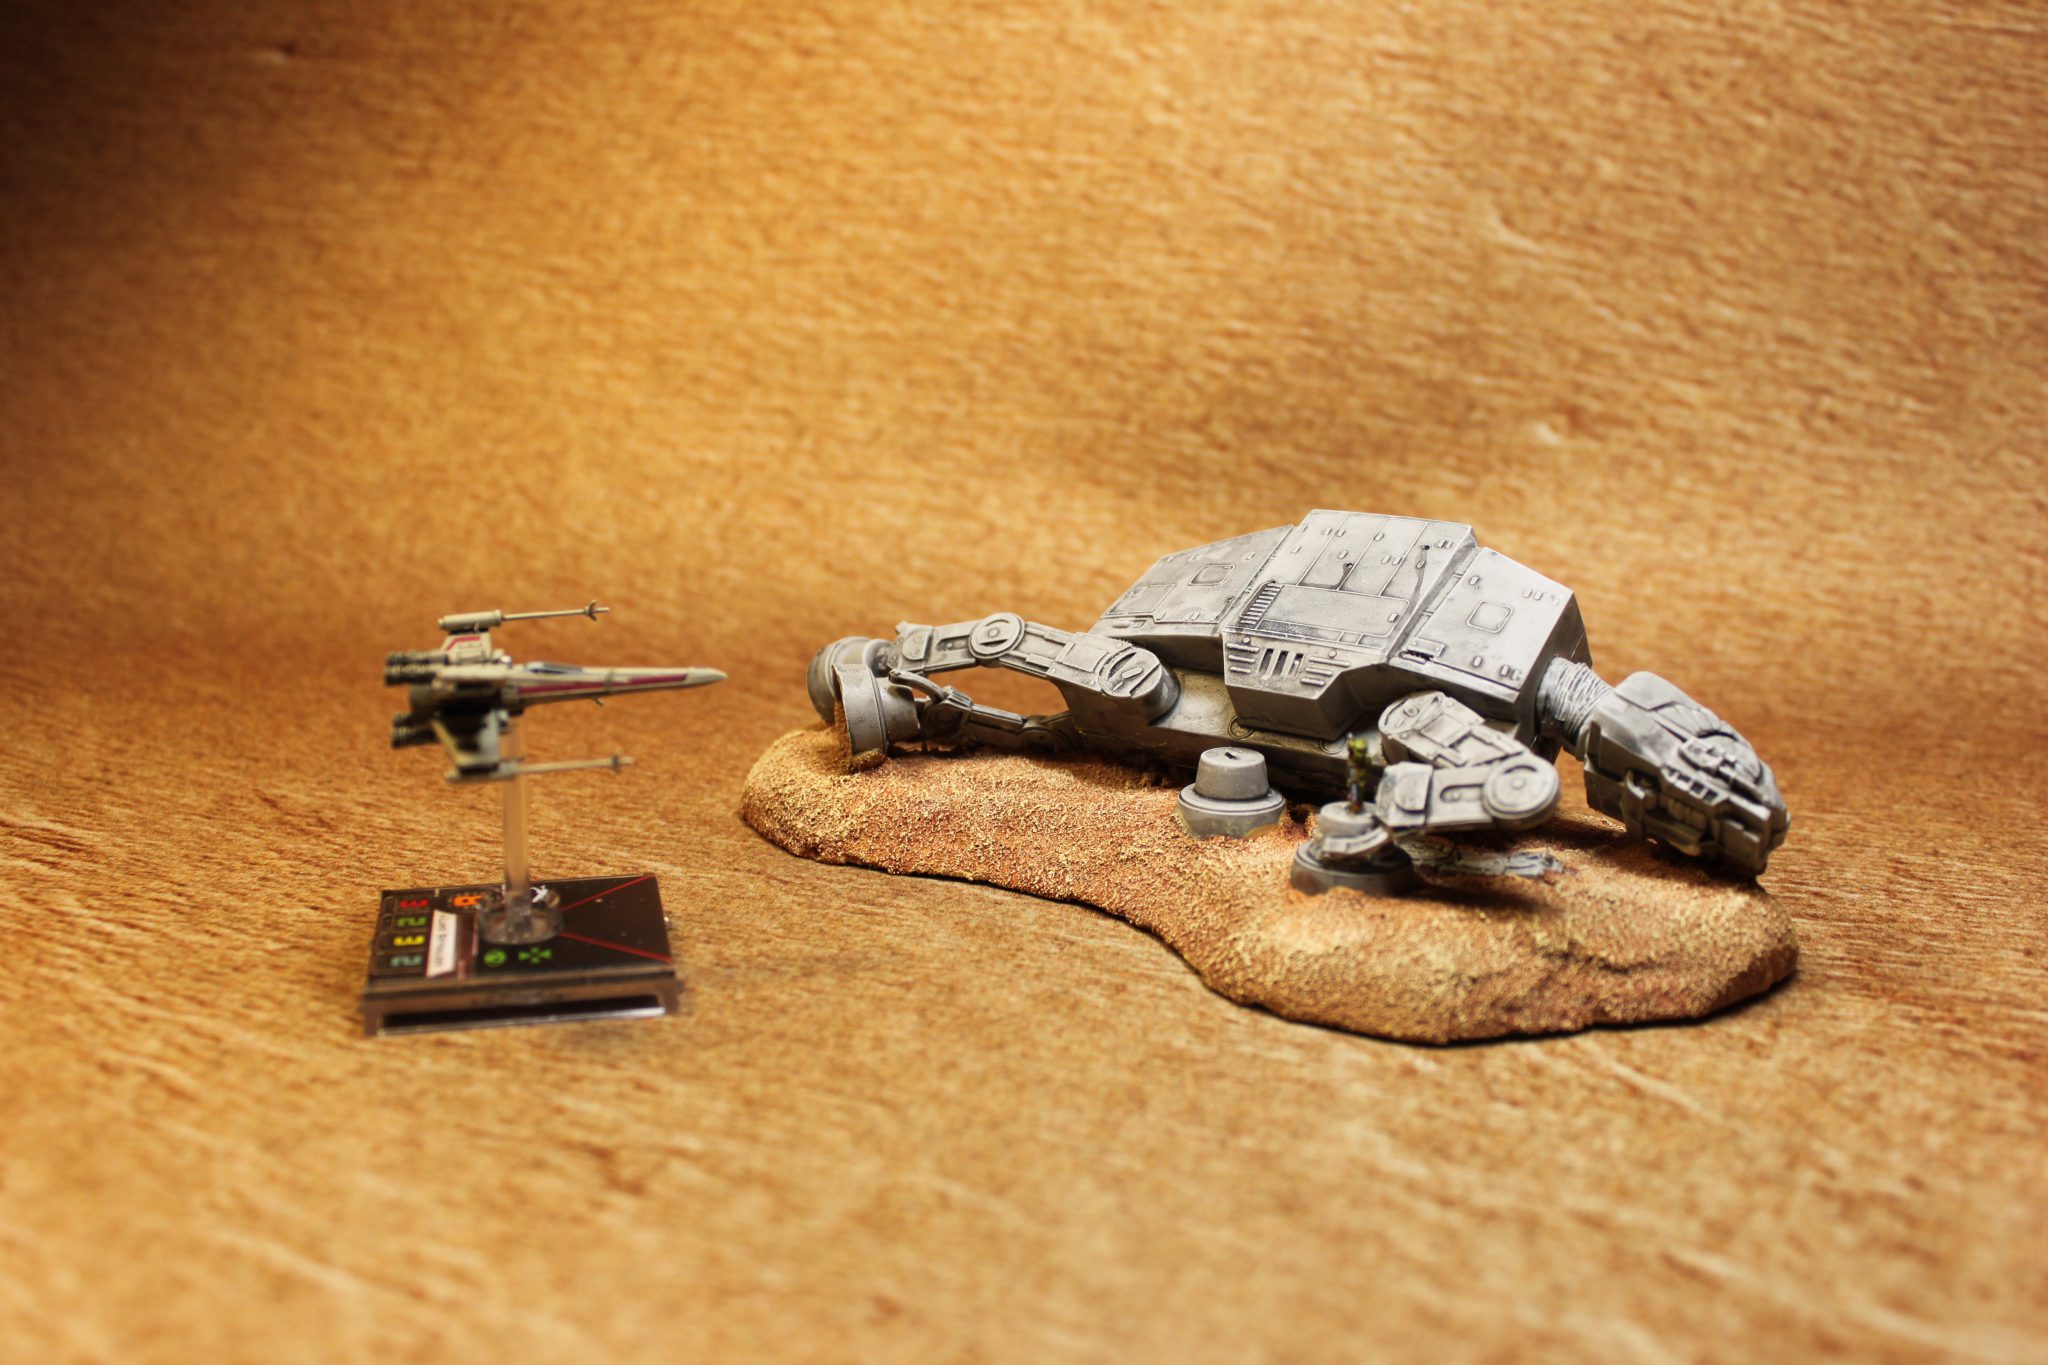
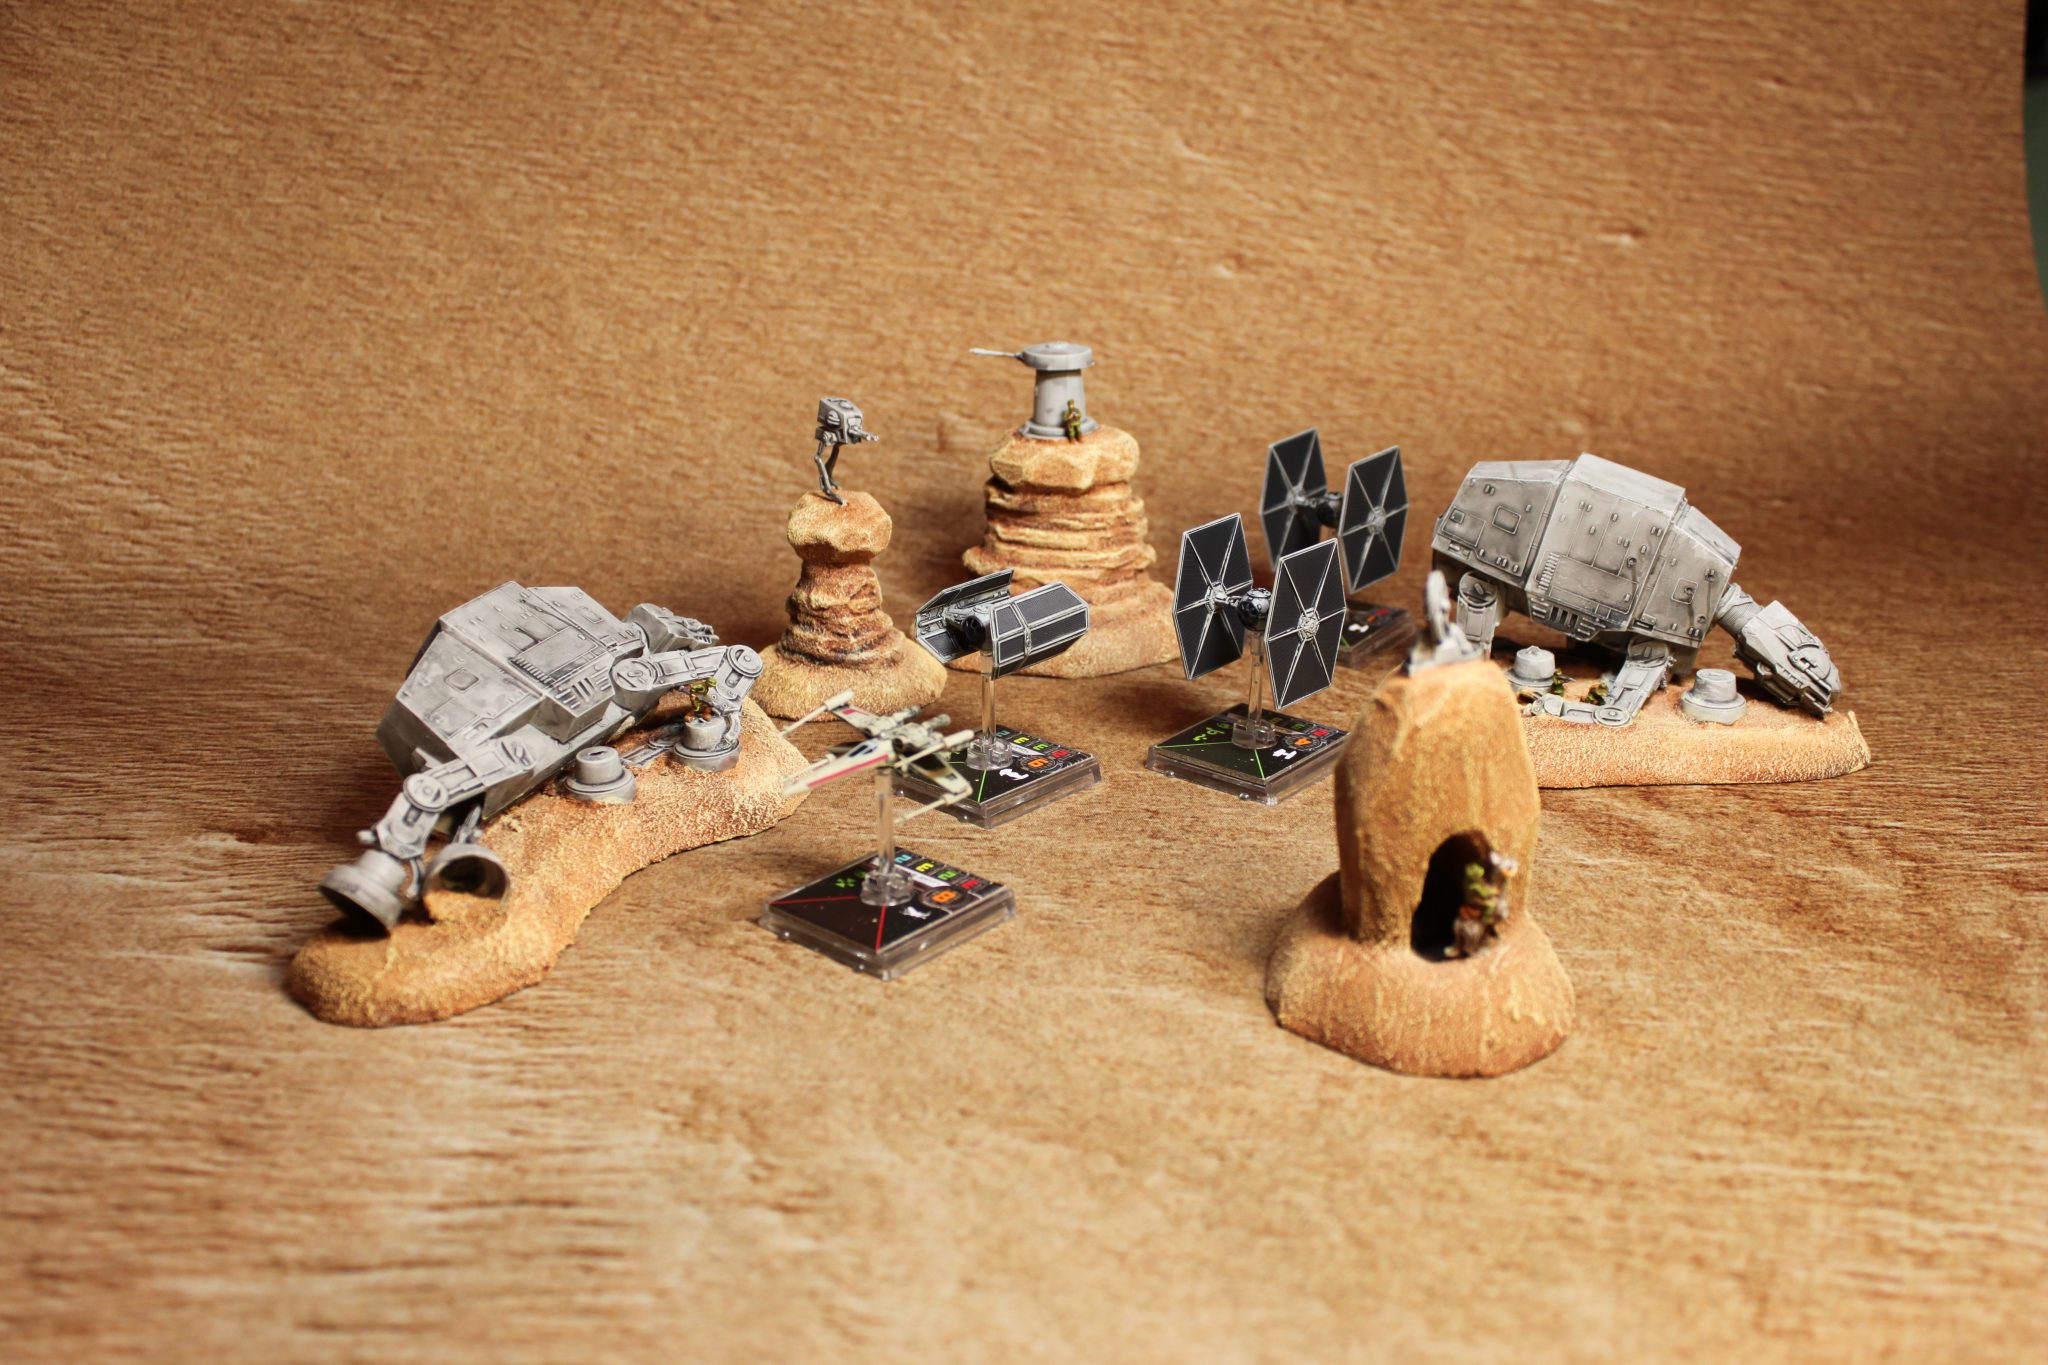
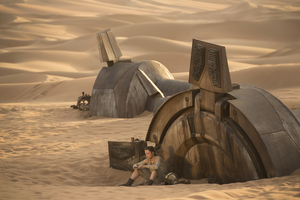
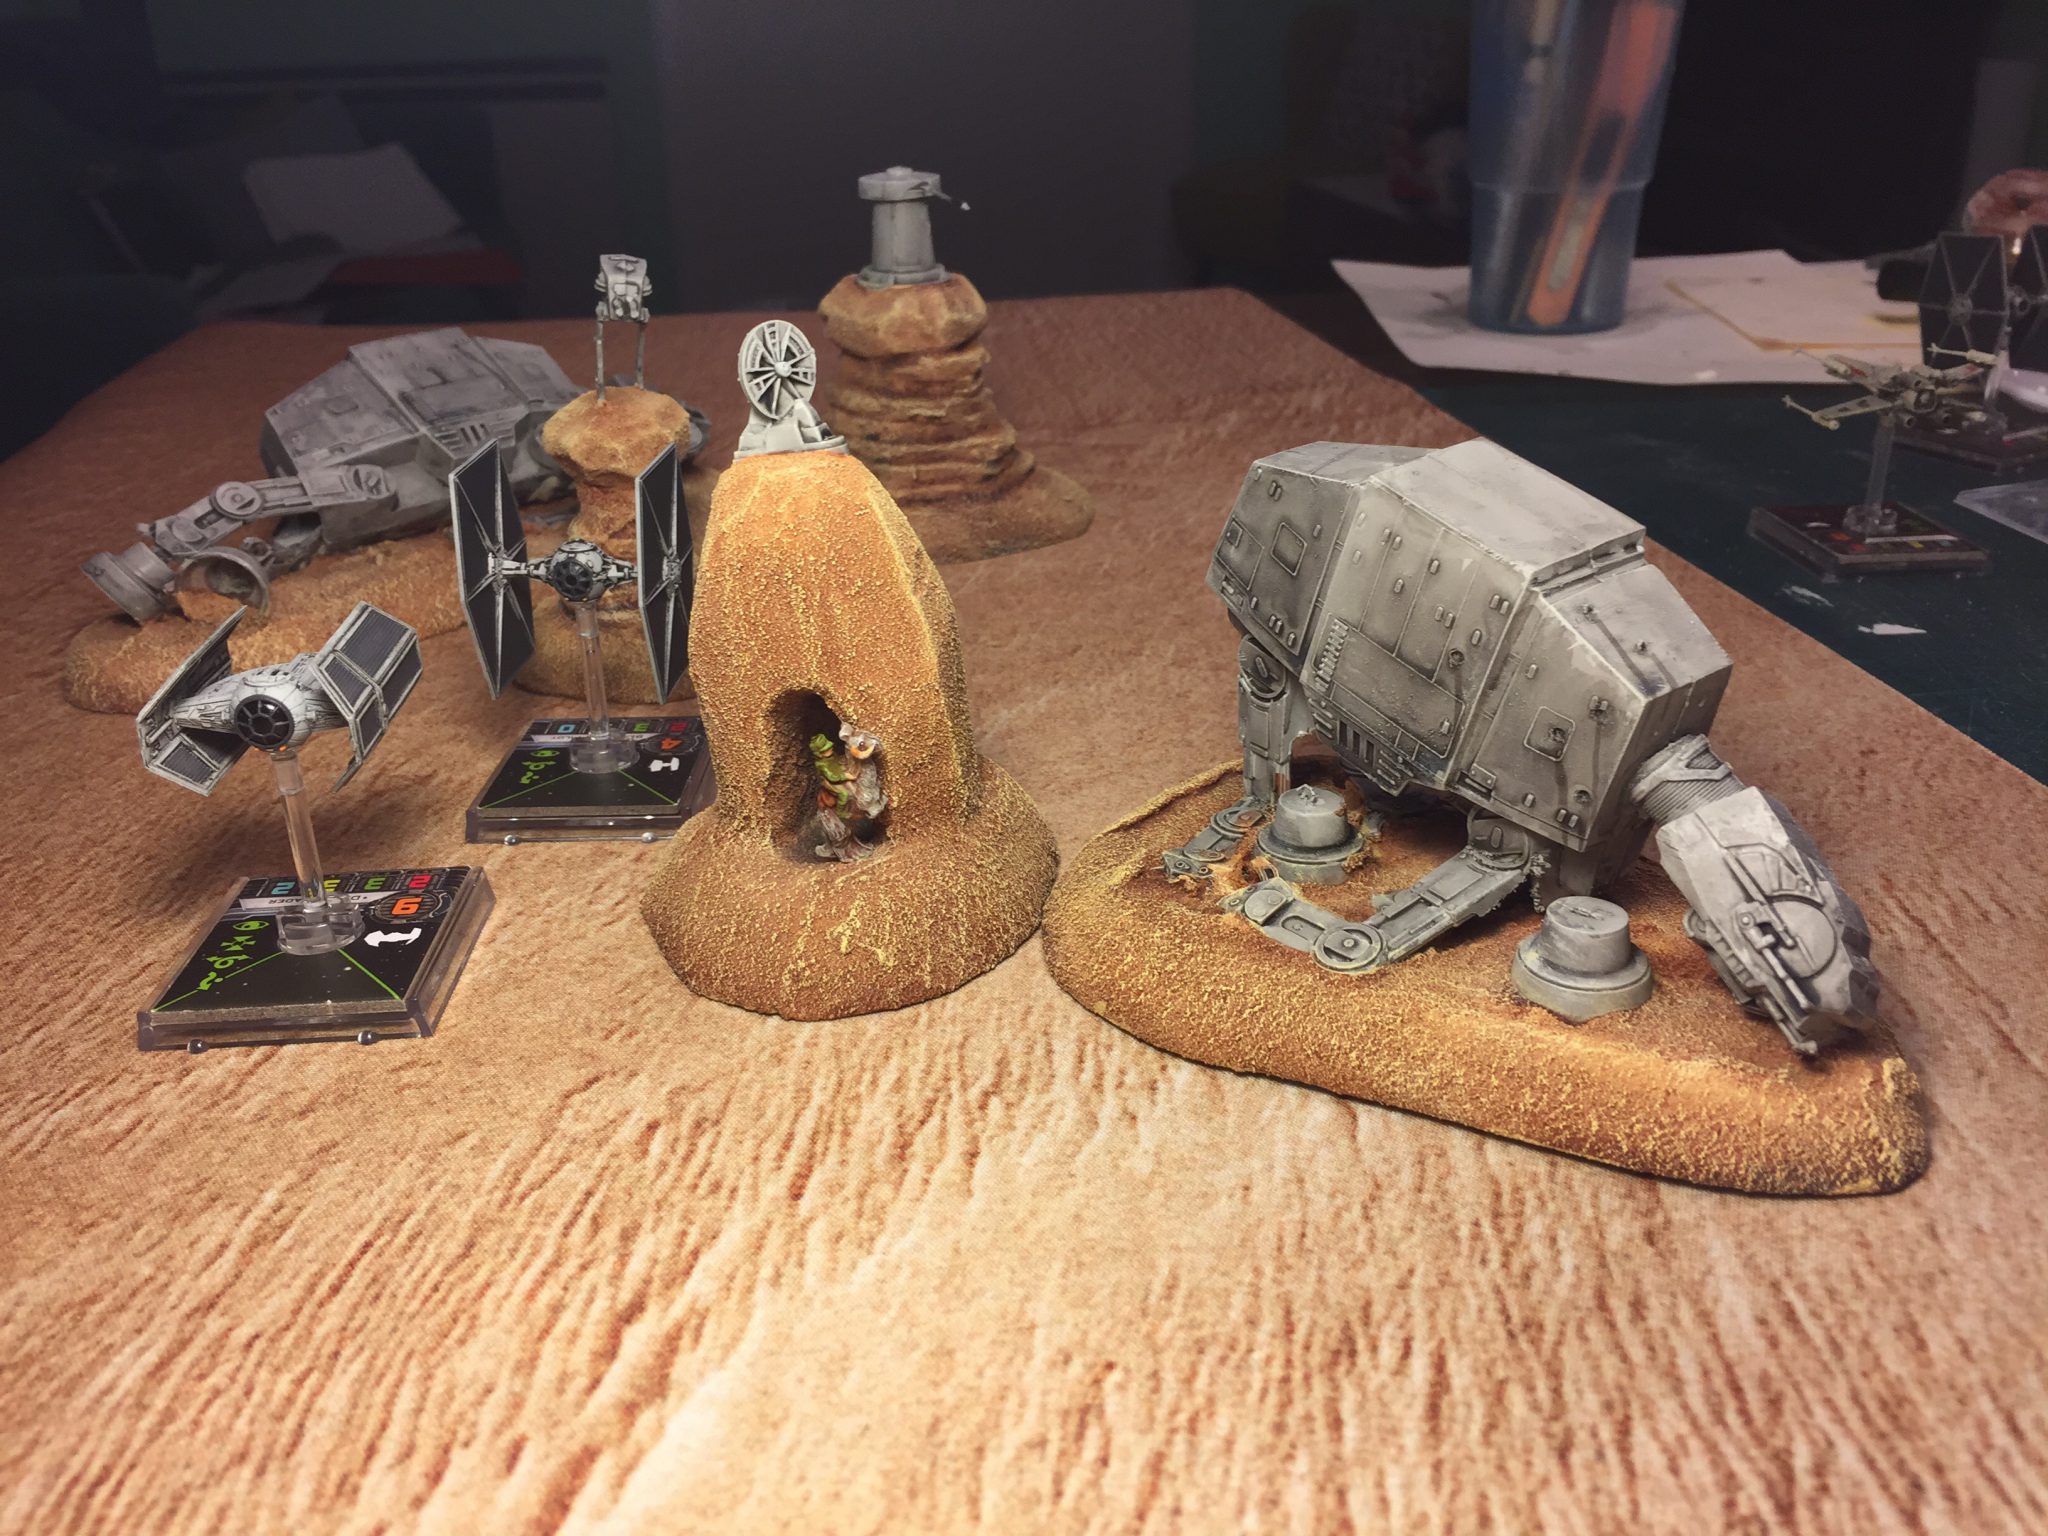
The Finished result!
How I did it – The beginning
I’ve always had a thing for custom gaming boards and scenery, so it didn’t take me long after I bought the X-Wing core game to consider how I could make custom asteroids. Due to the amazing chase scene in Star Wars – The Force Awakens, I decided to make a huge board based on a crashed Cruiser… however, calculating the scale and size, it quickly became clear this wasn’t going to work.
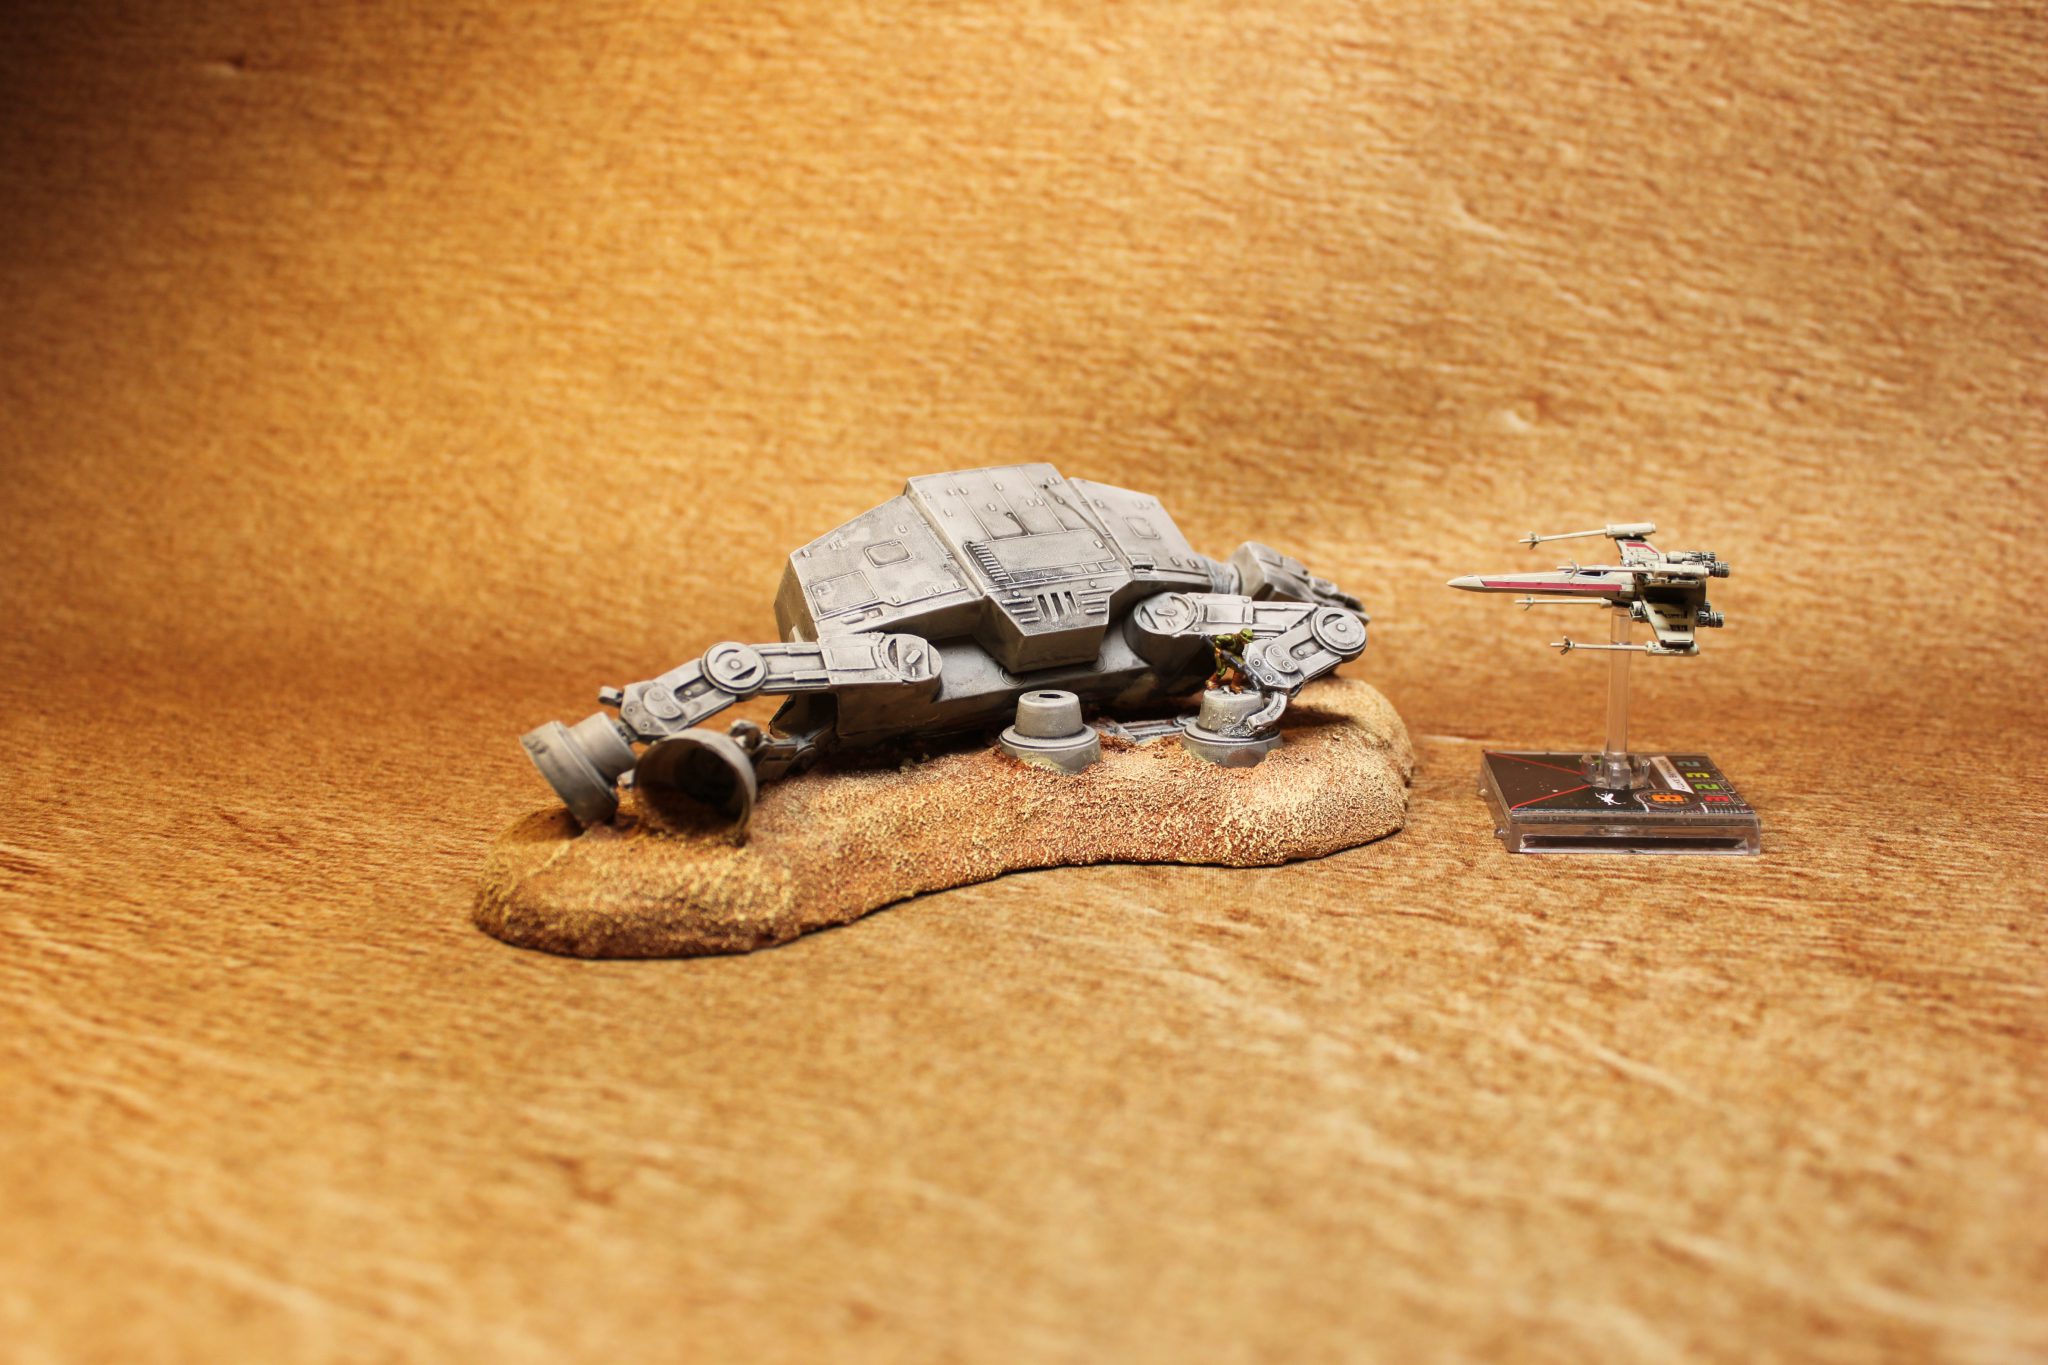
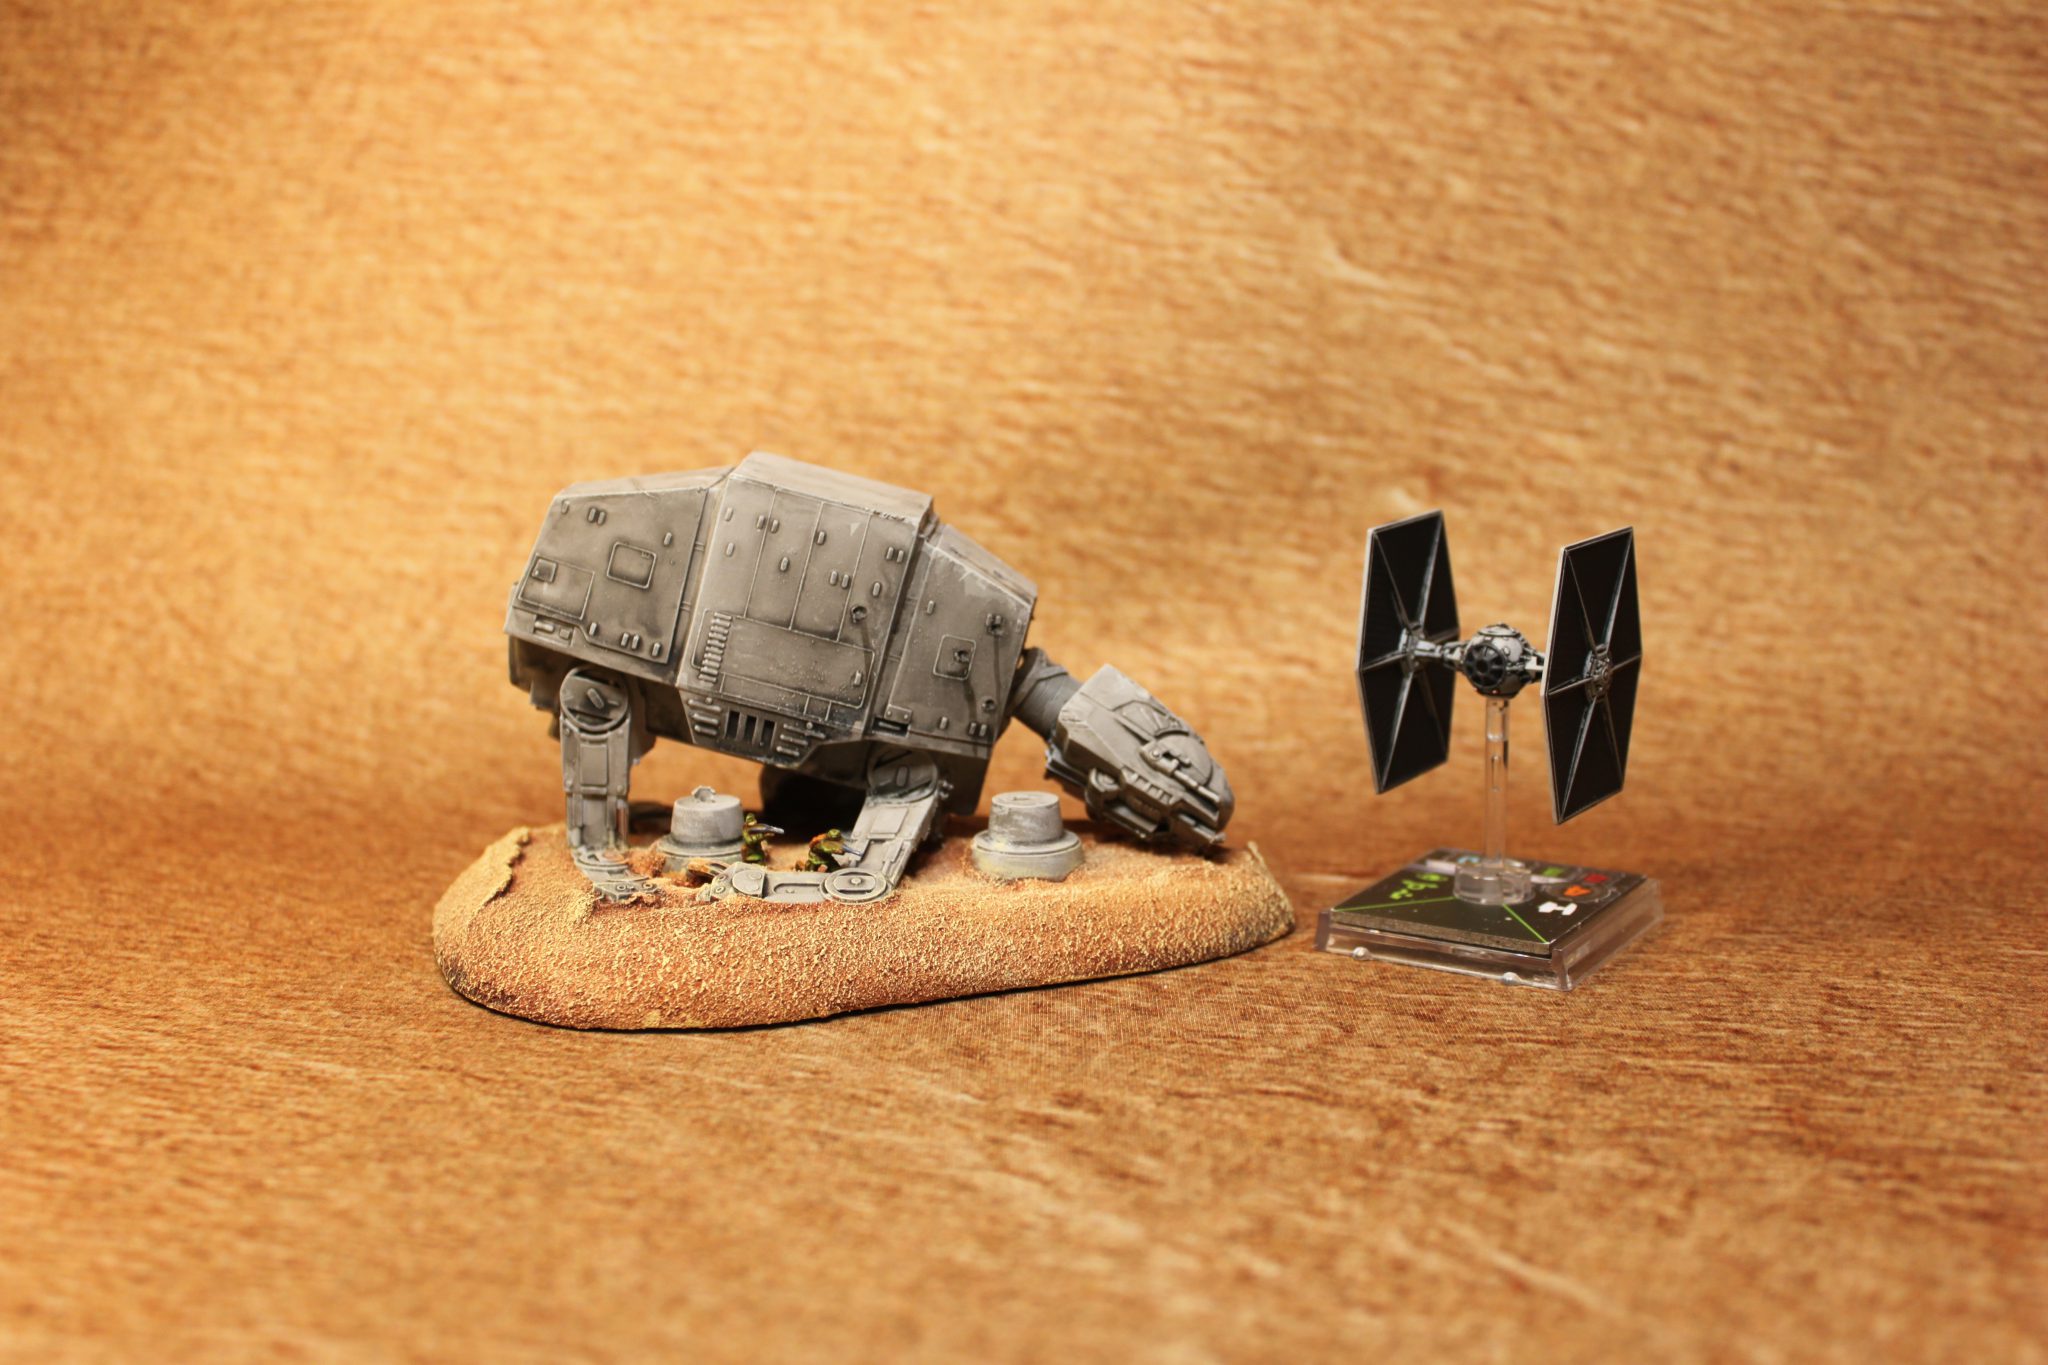
Instead I settled for Rei’s home, the destroyed AT-AT.
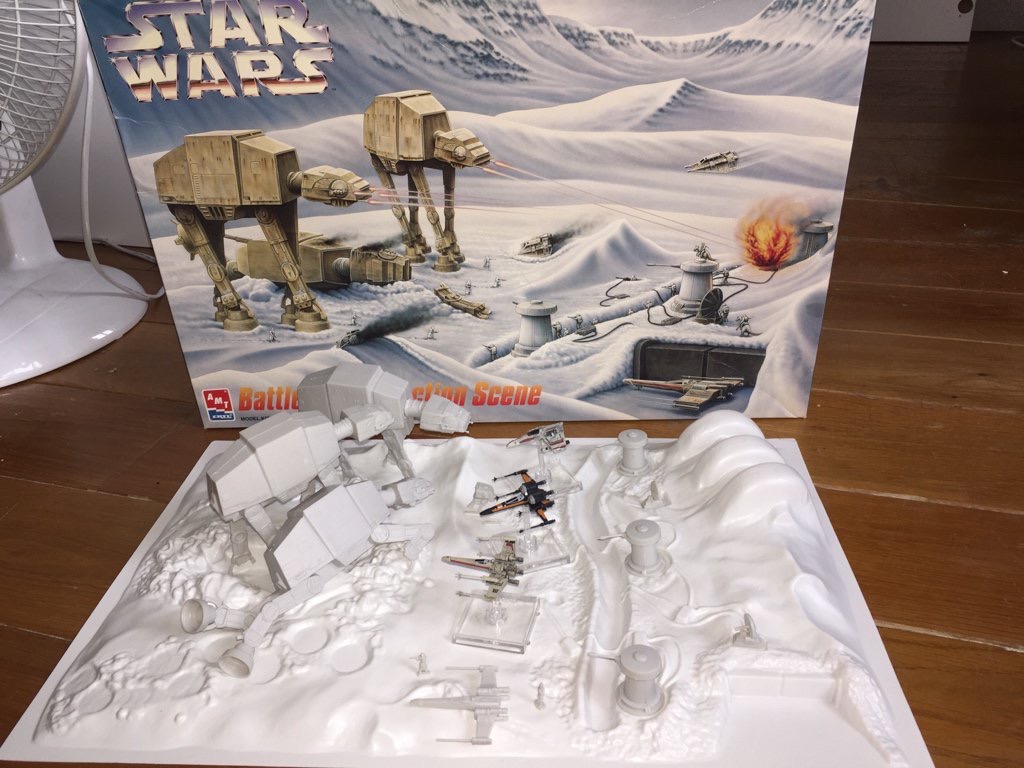
I browsed the web and found a list of Star Wars model kits with associated scale (handy) and found this AMT kit that has almost exactly same scale as X-wing Minatures (it is ever so slightly larger).
Step by step (ooh baby)
I fairly early on decided not to do snow-covered Hoth scenery although that would have made the most sense. But it would also have been the obvious one and I am a big fan of Force Awakens (and Rei’s home) so I decided to stick with a desert style scenery.
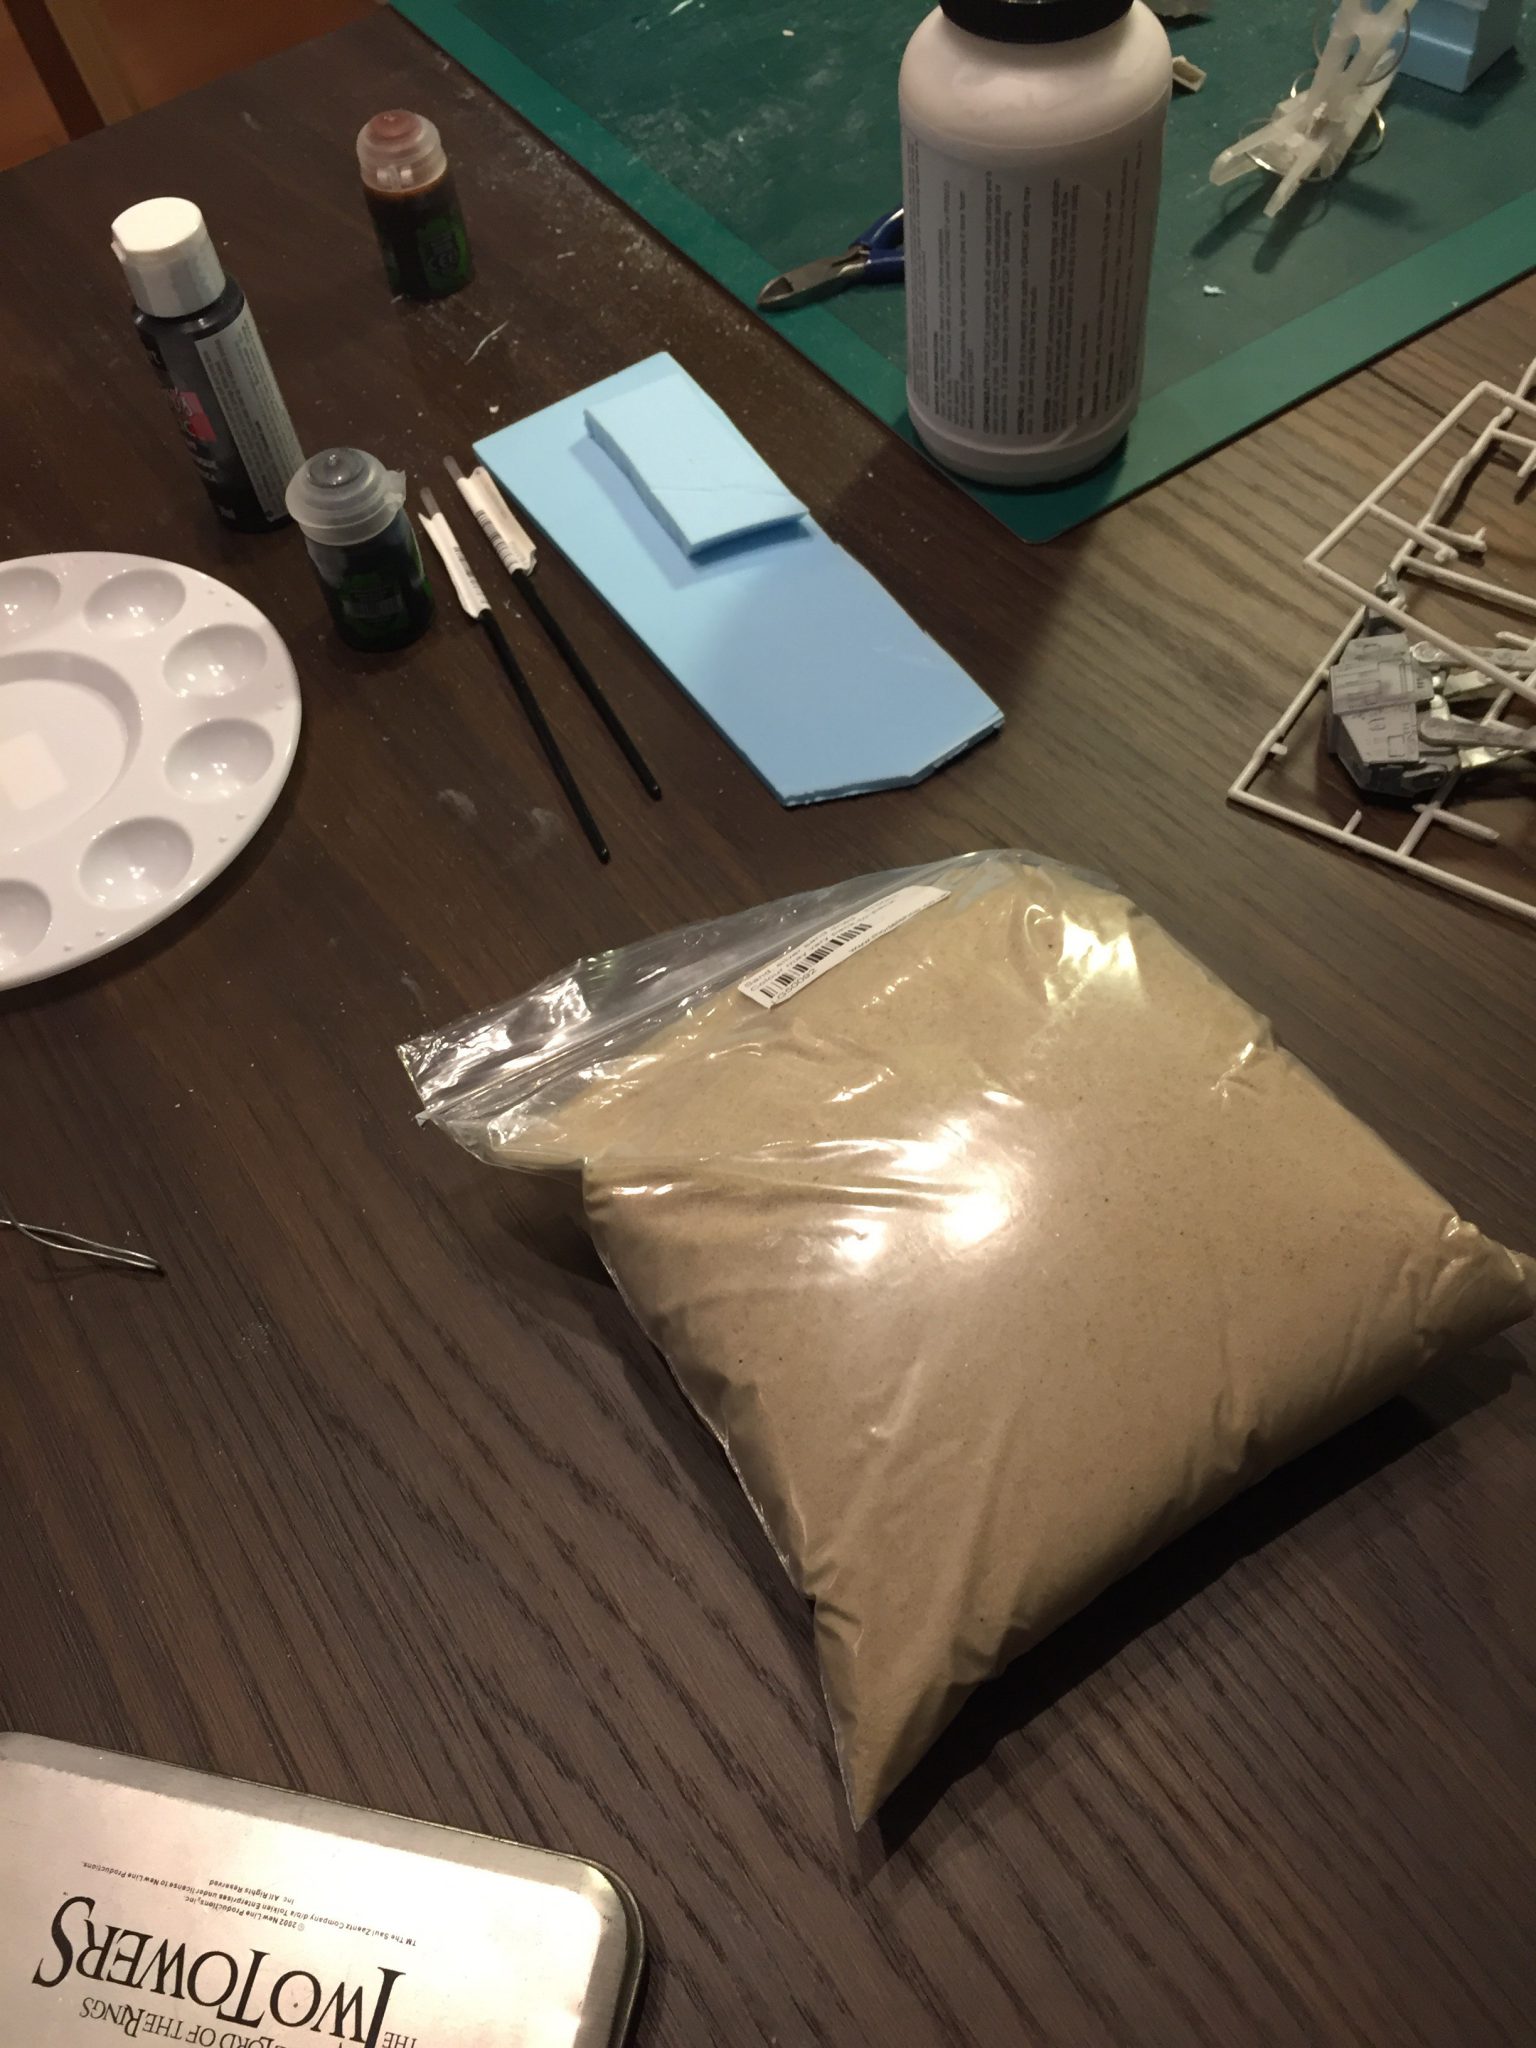
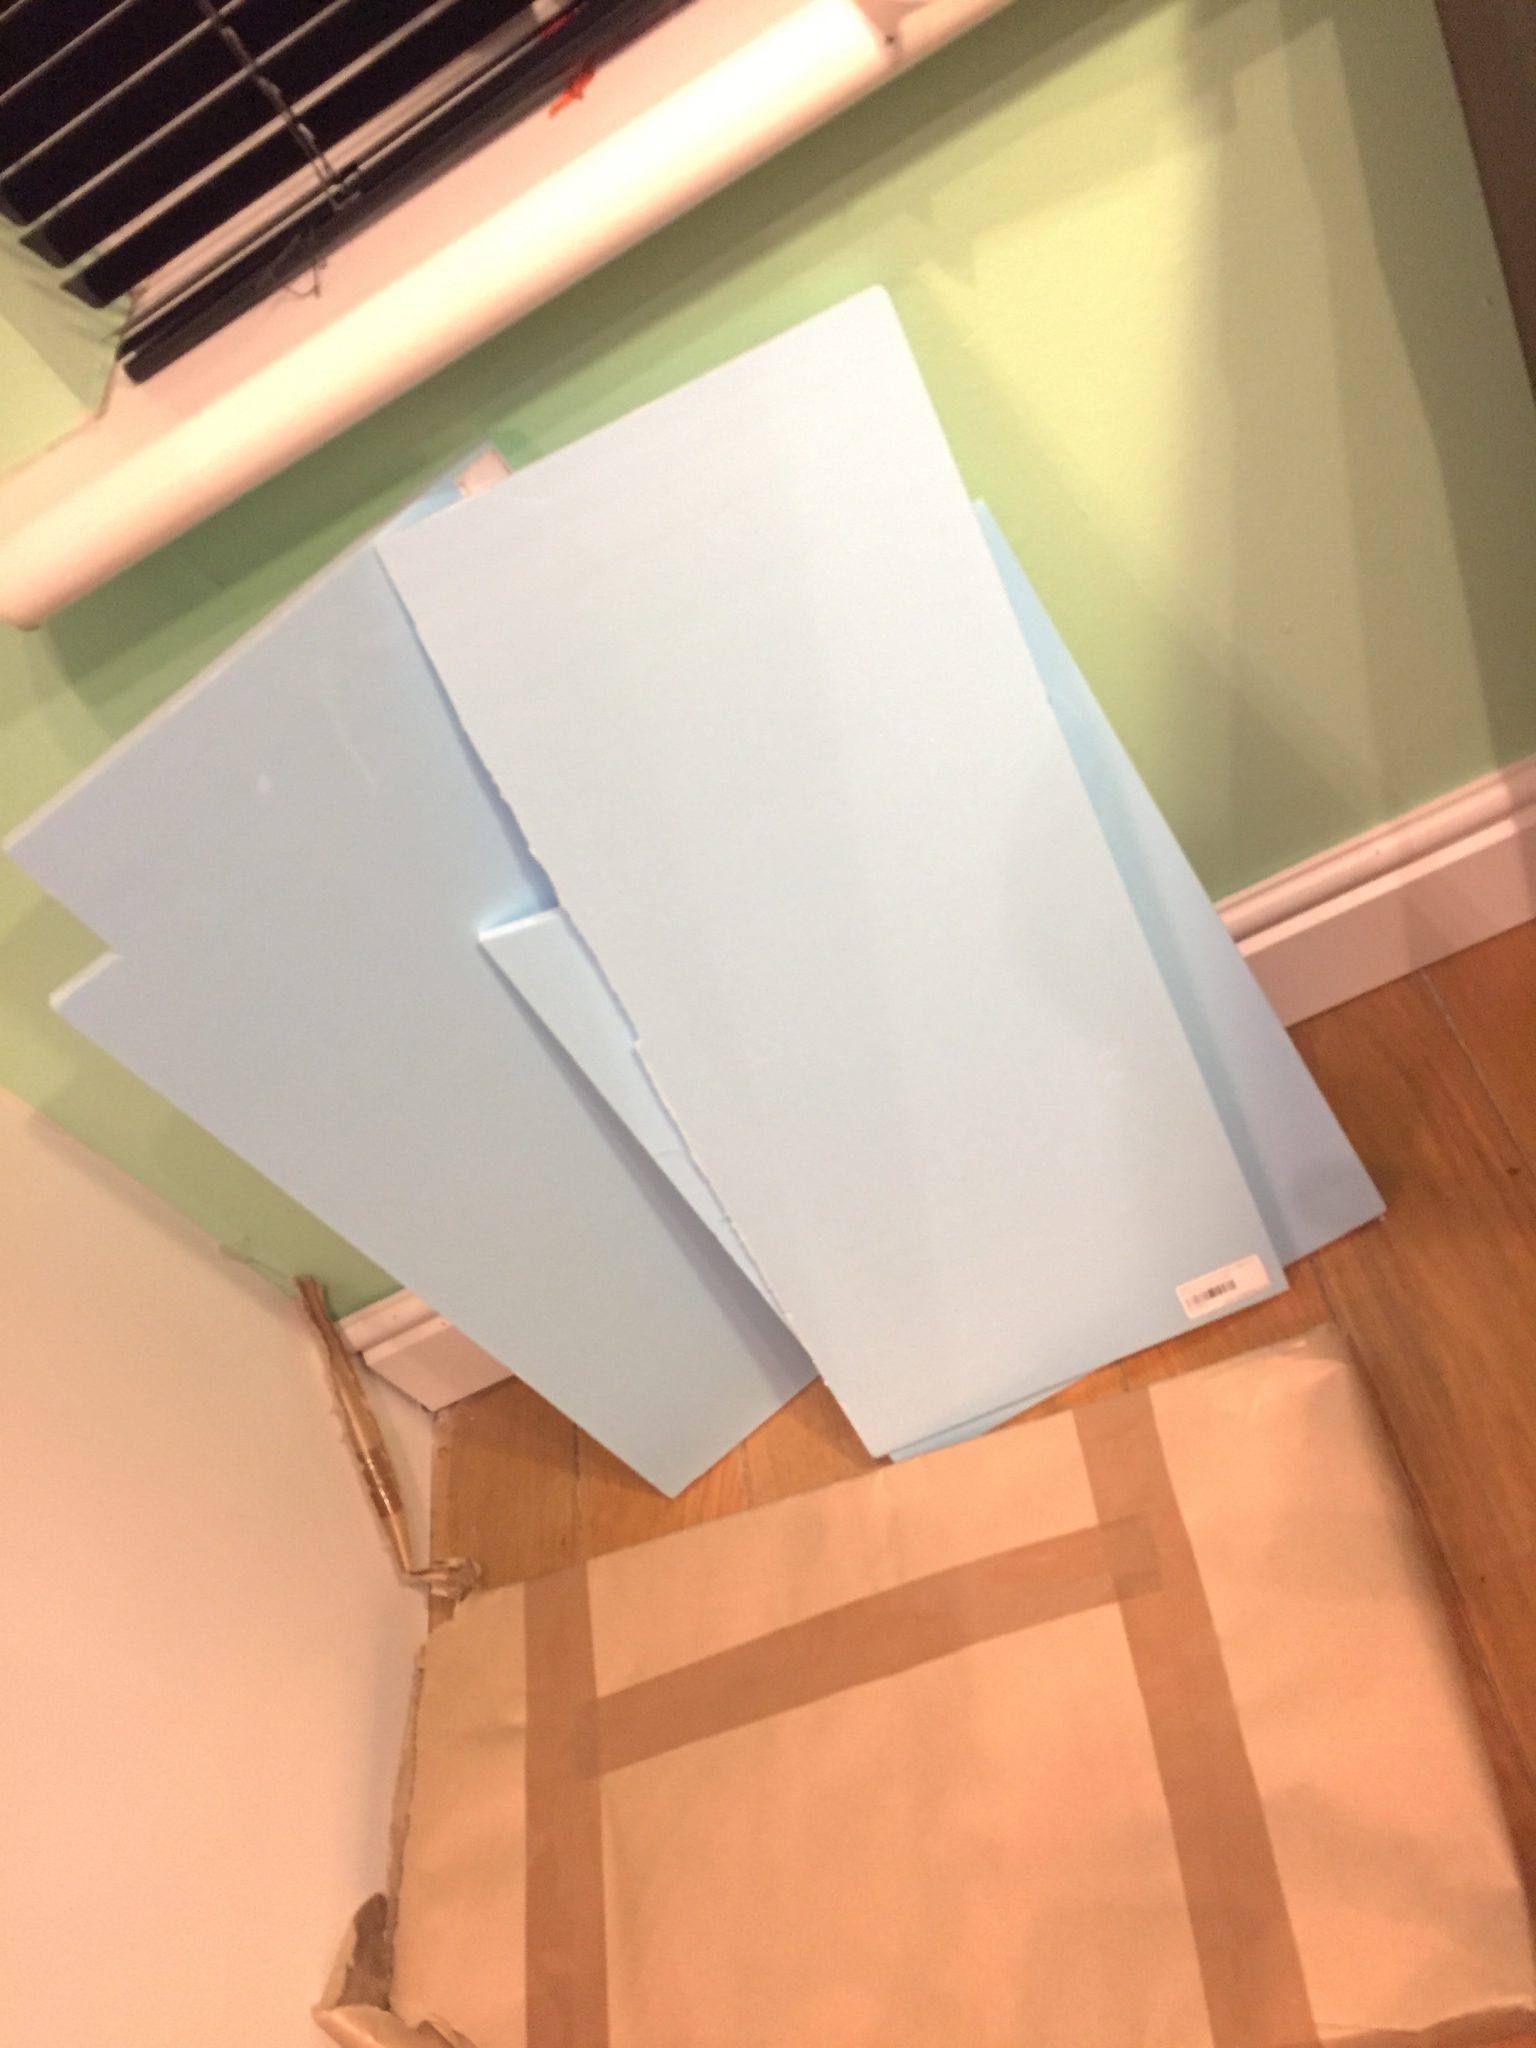
I went to a local store in London, 4D Model Shop, and bought blue foam plates, sand, some hardener for the surface and a few paints.
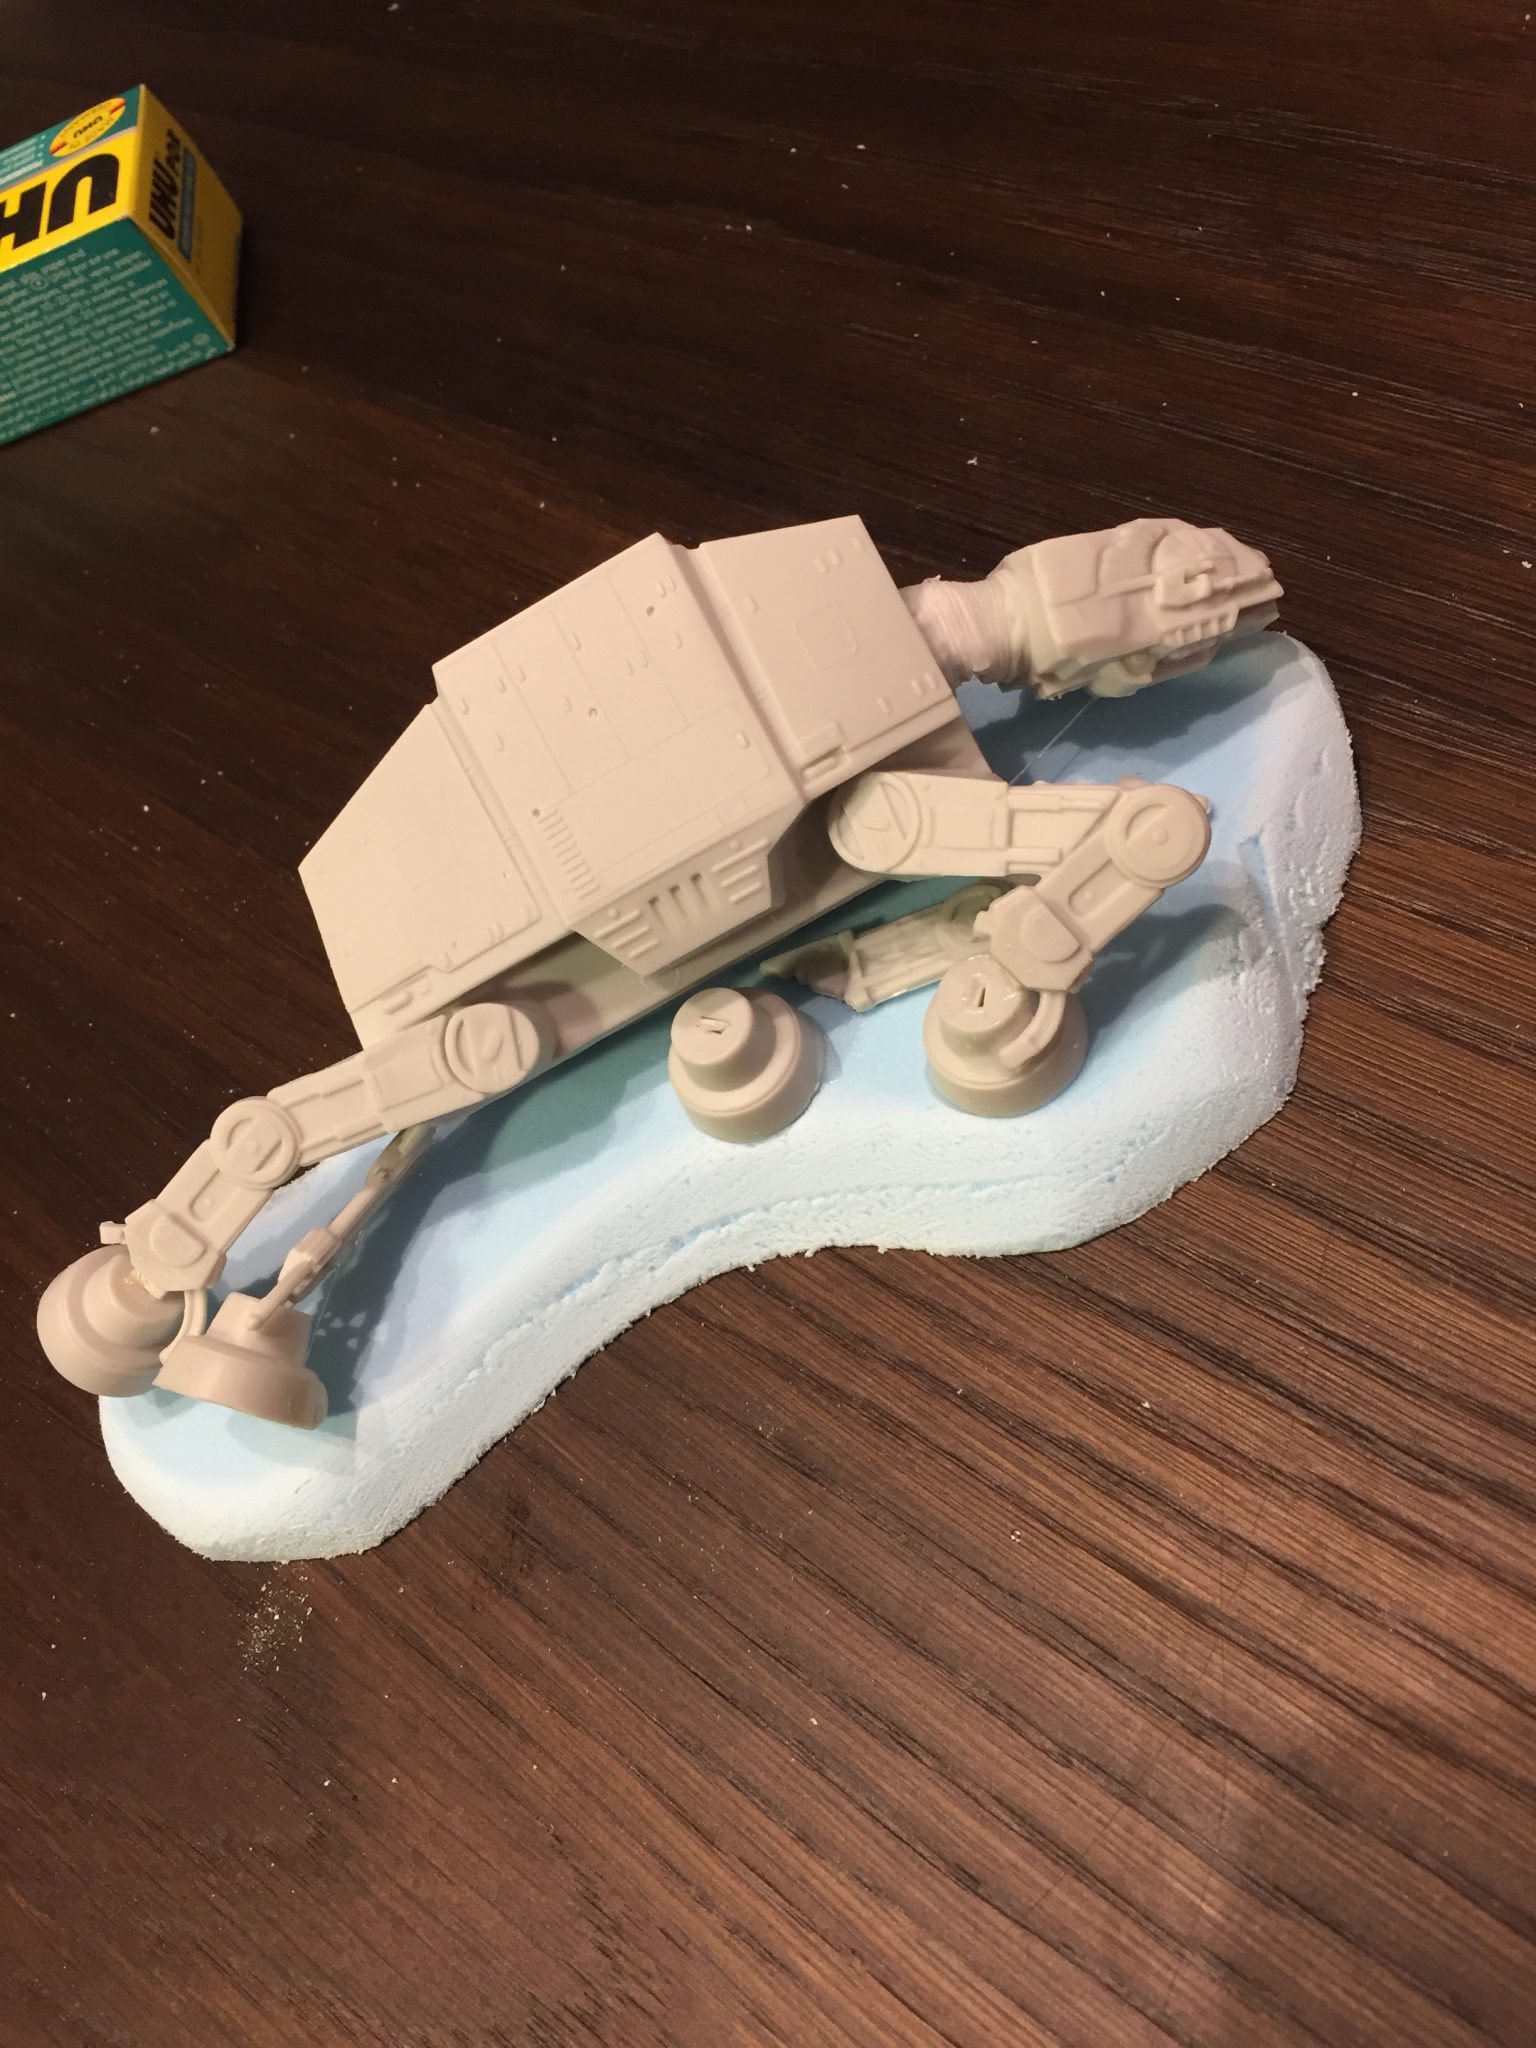
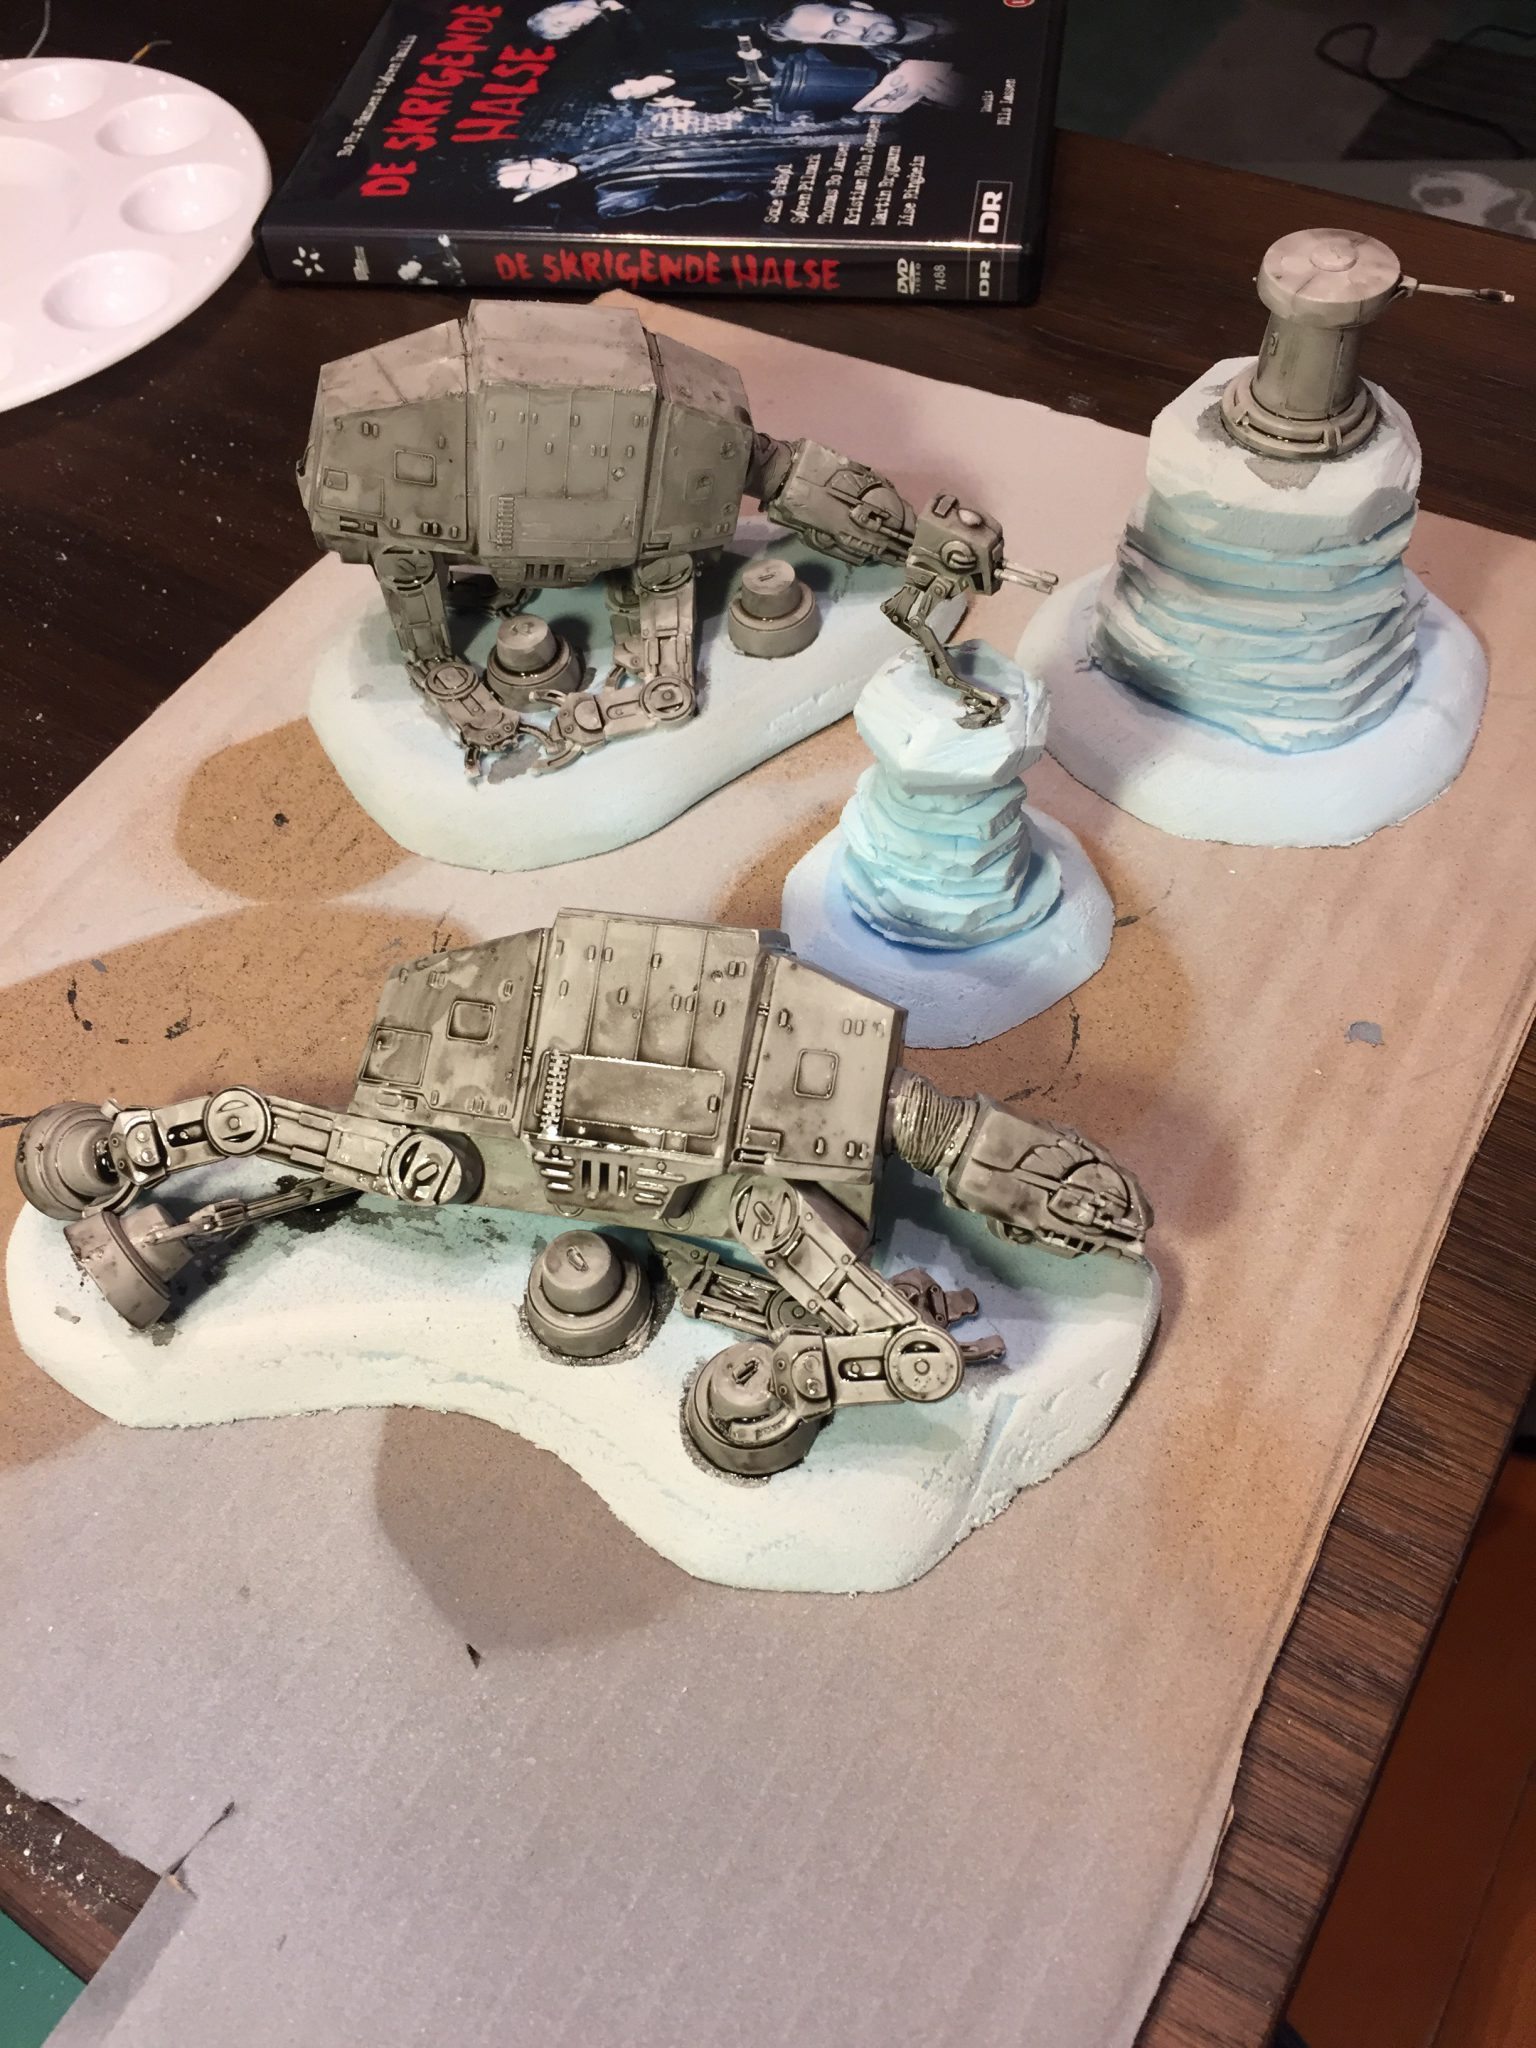
First step was to turn the AT-ATs into wrecks and glue them onto the cut out foamboards.
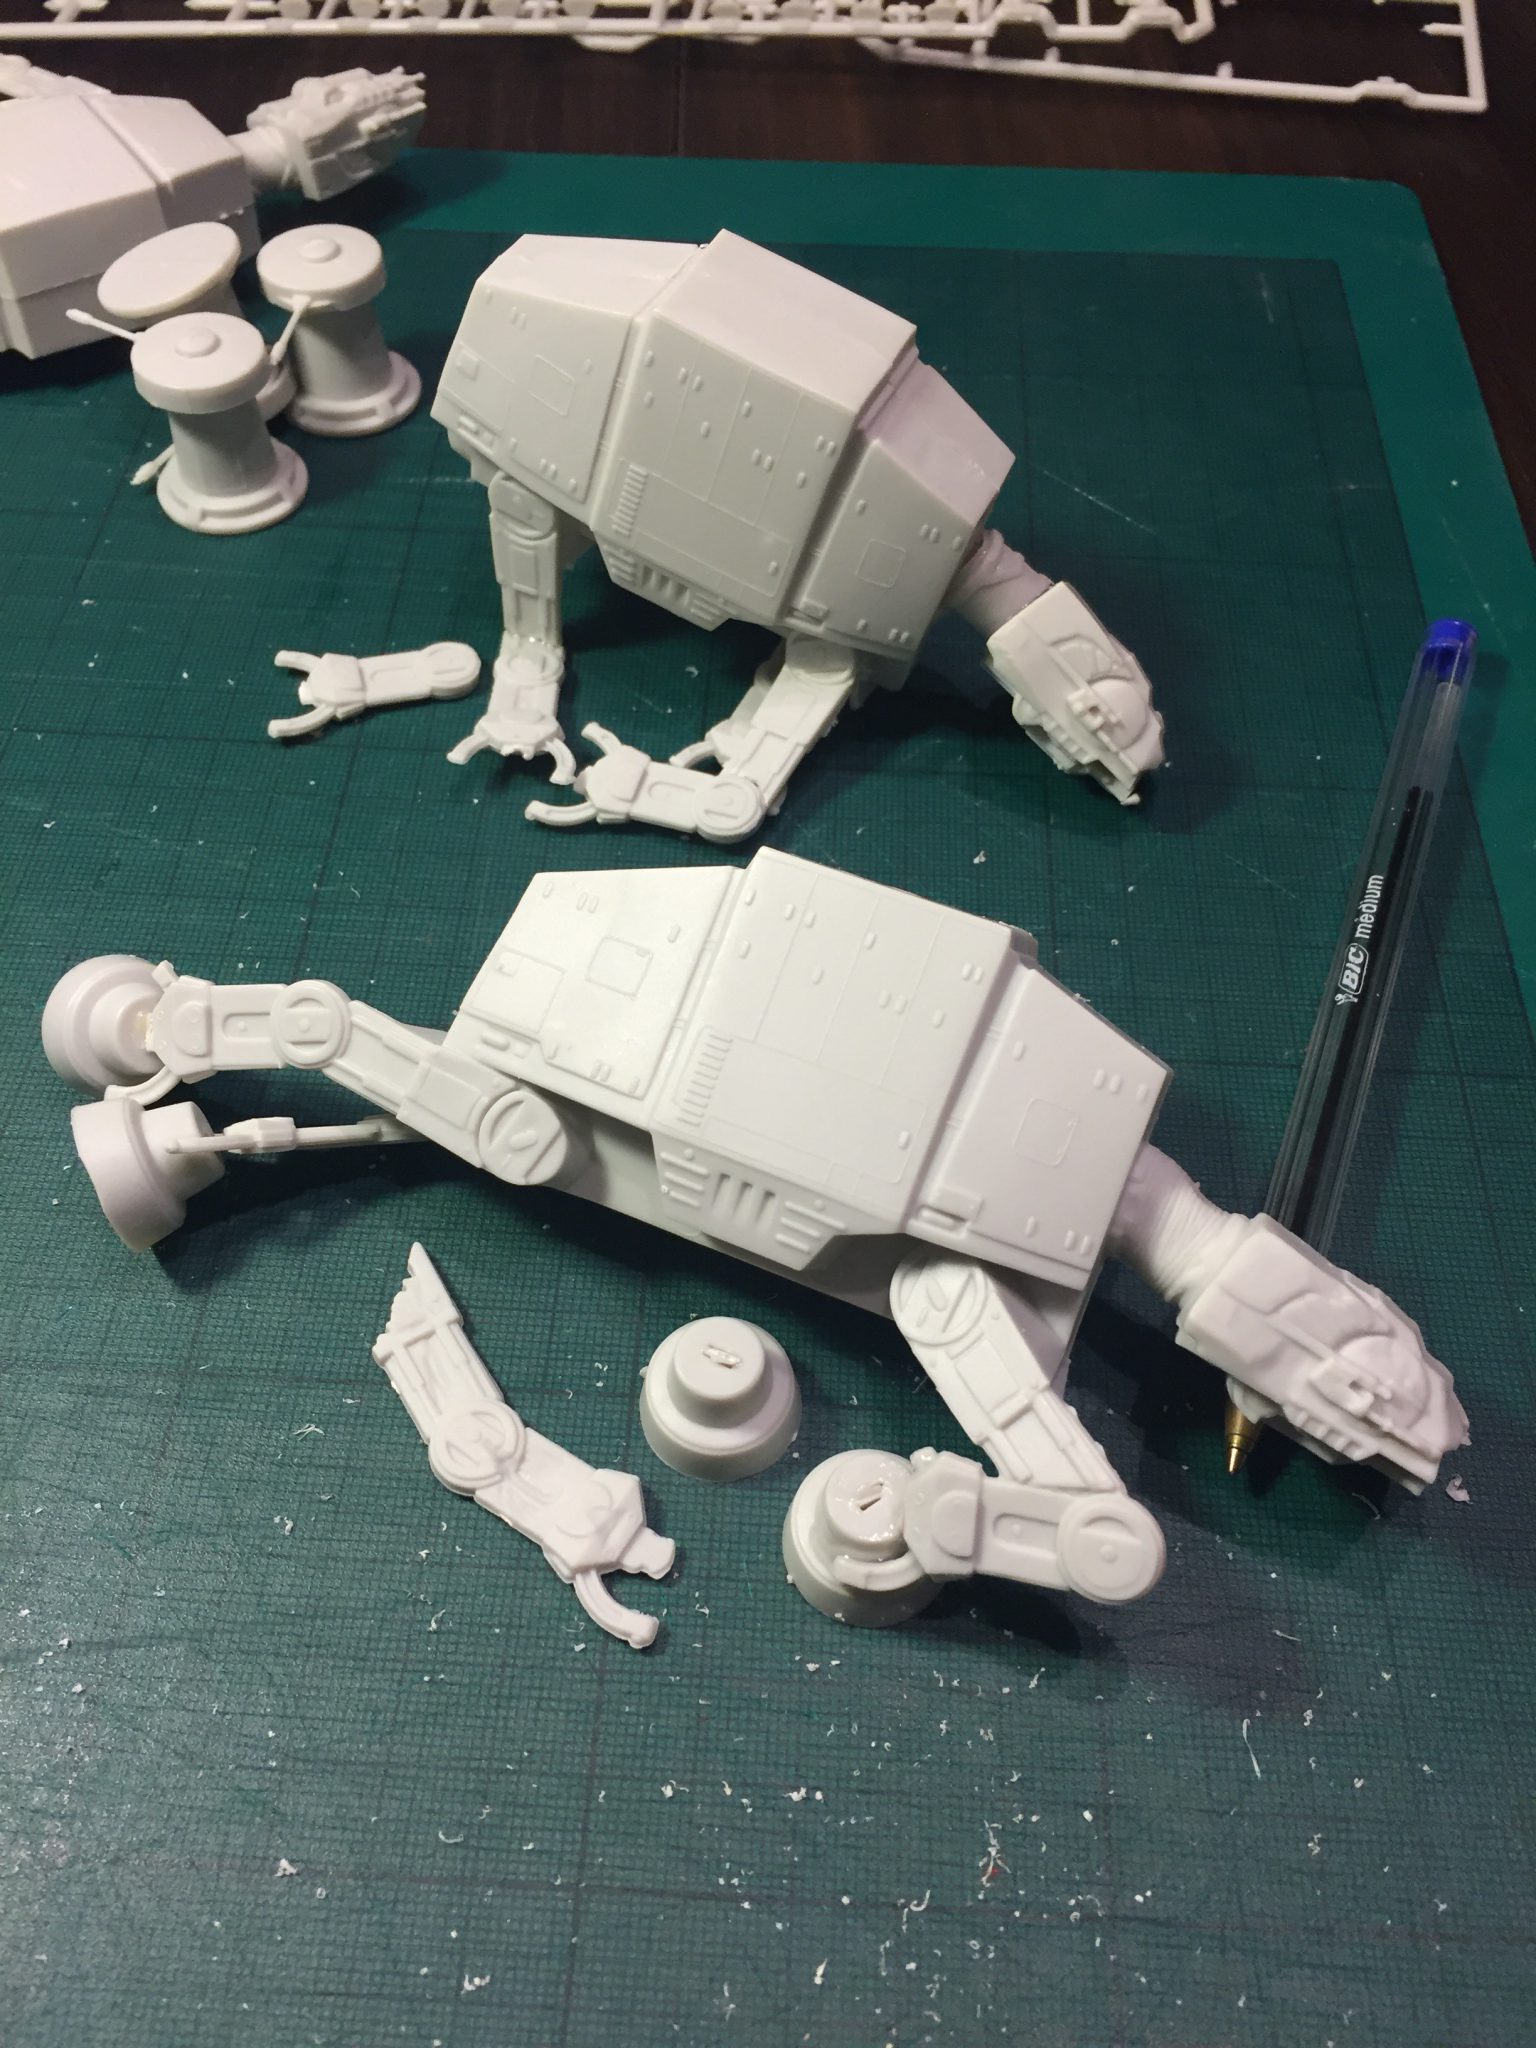
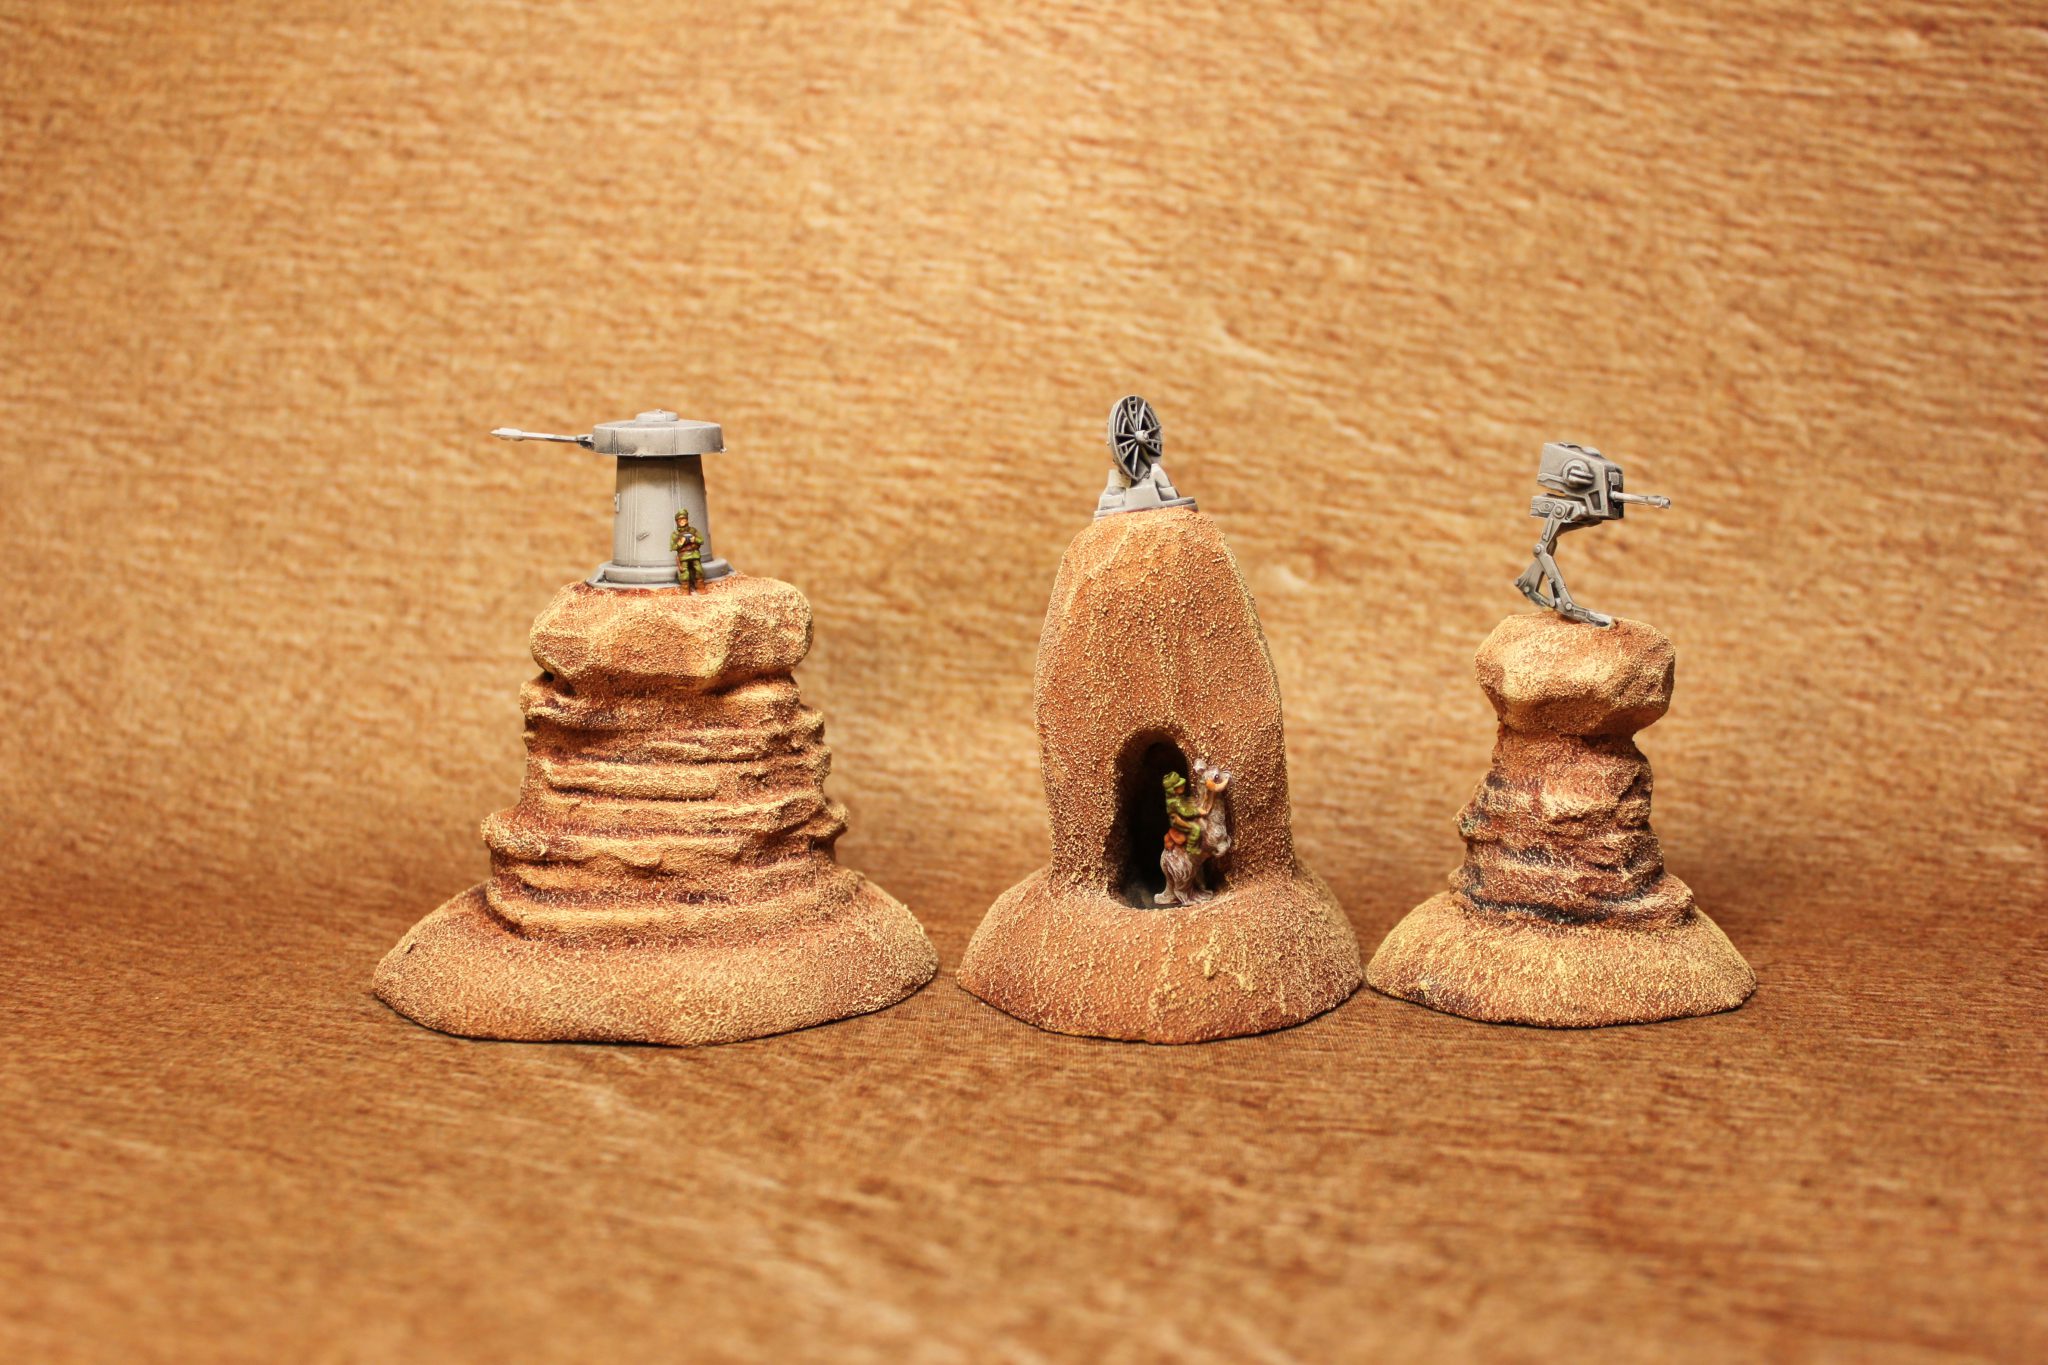
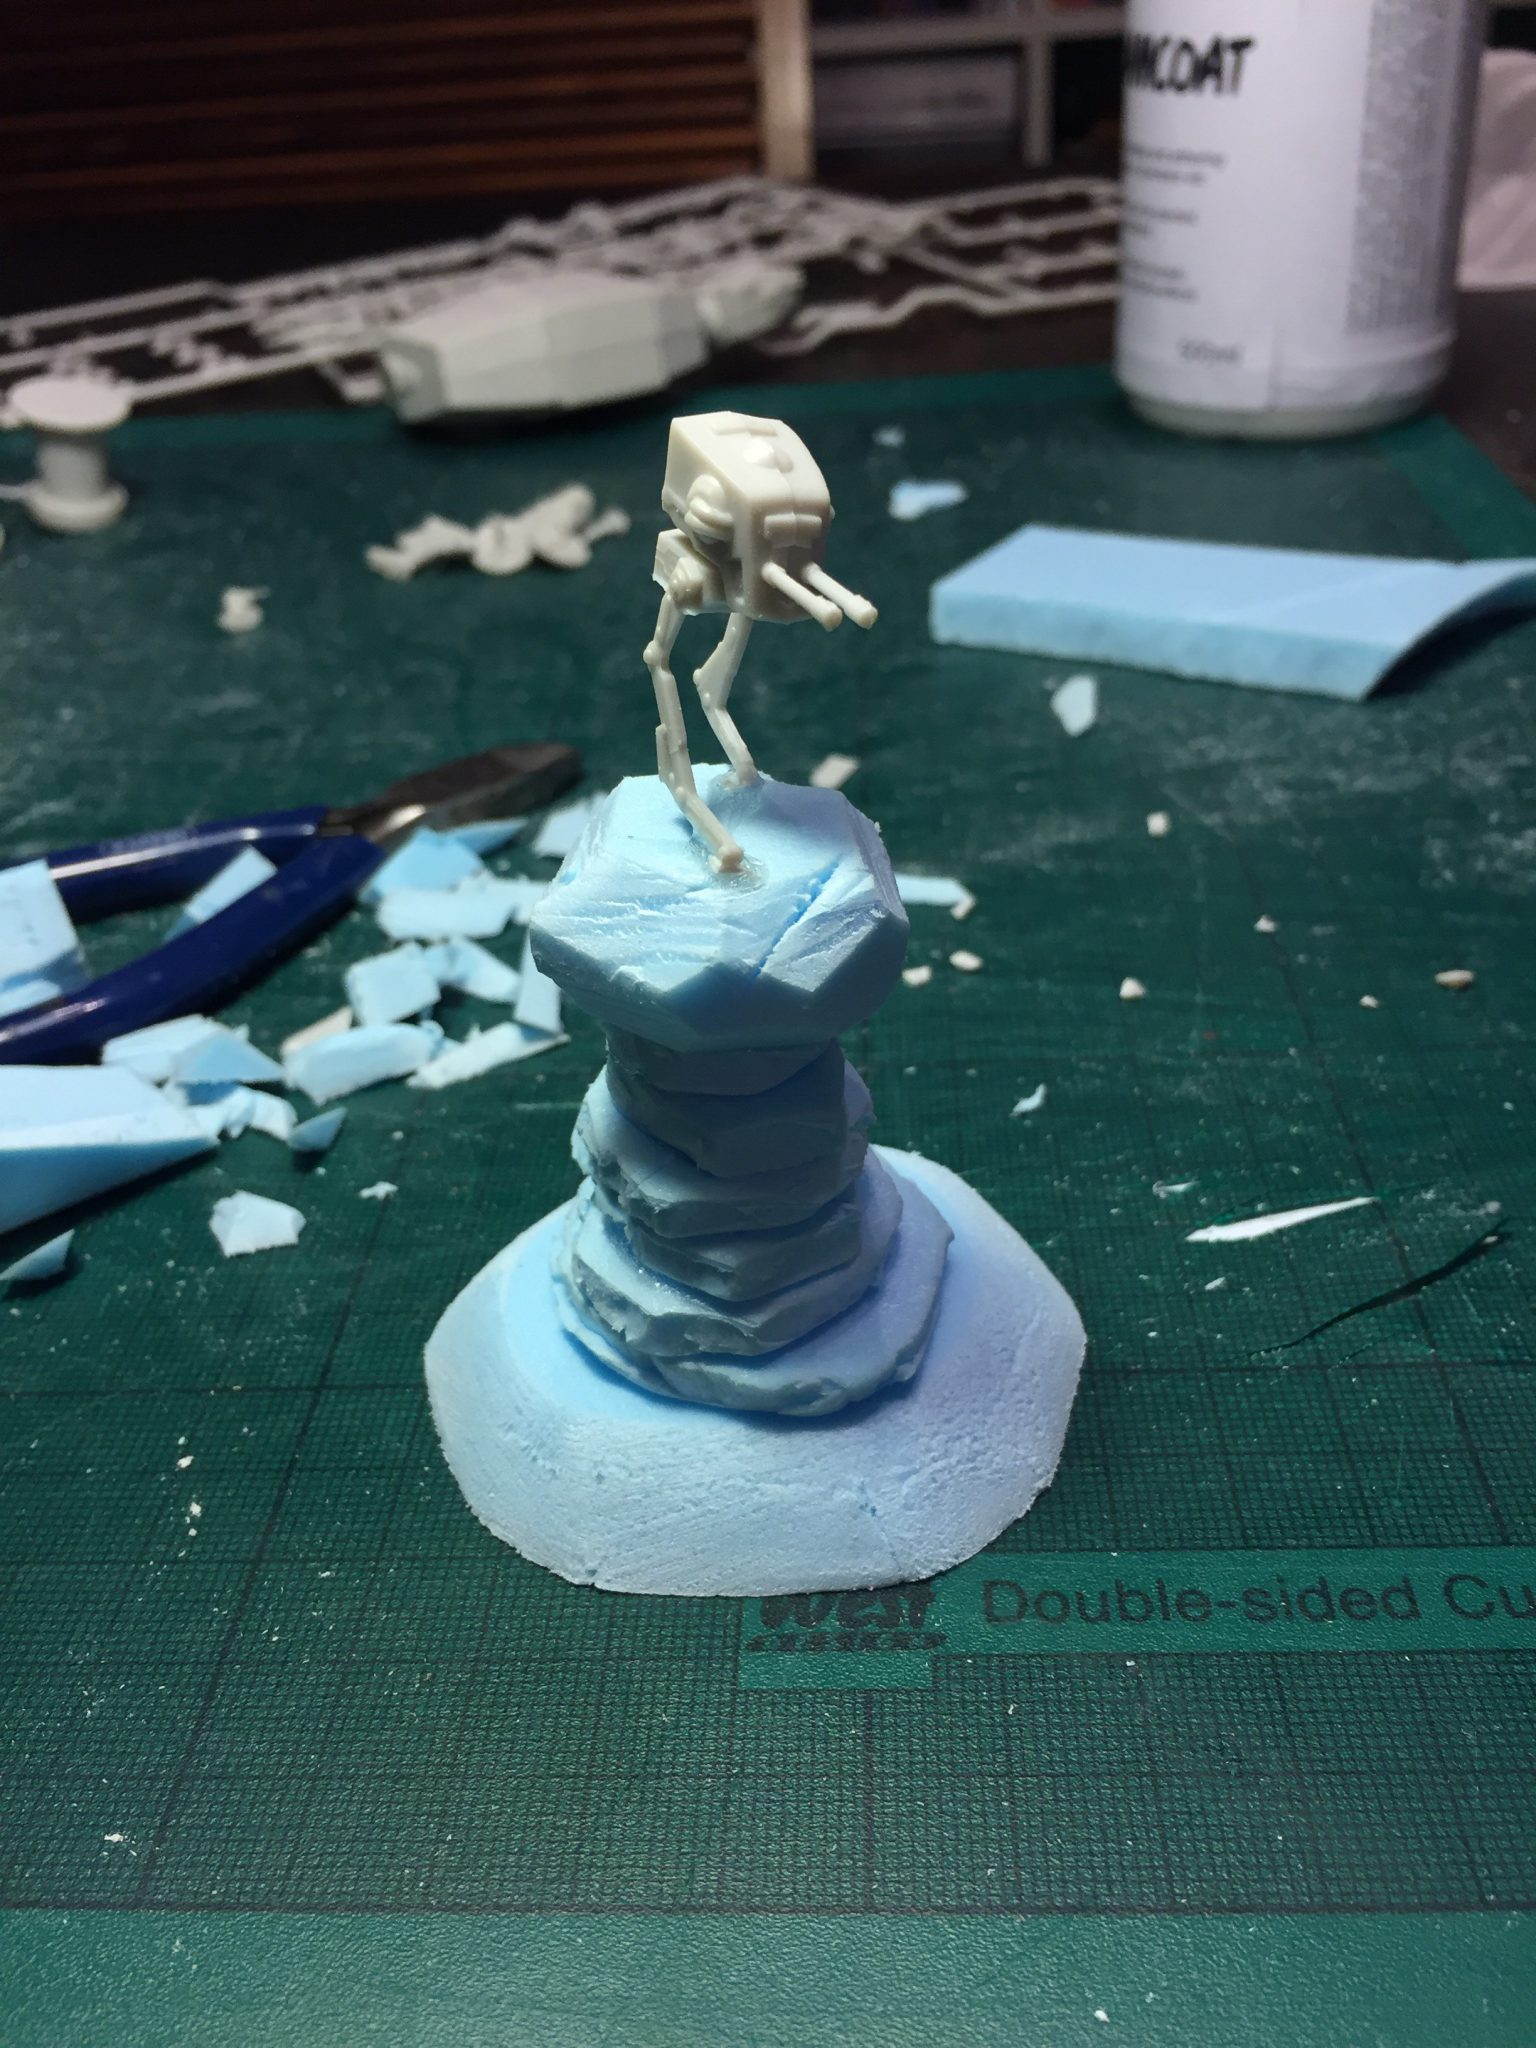
Then, to create some smaller asteroids, I made some desert HooDoos and added bits from the model kit such as an AT-ST, a radar and a canon turret.

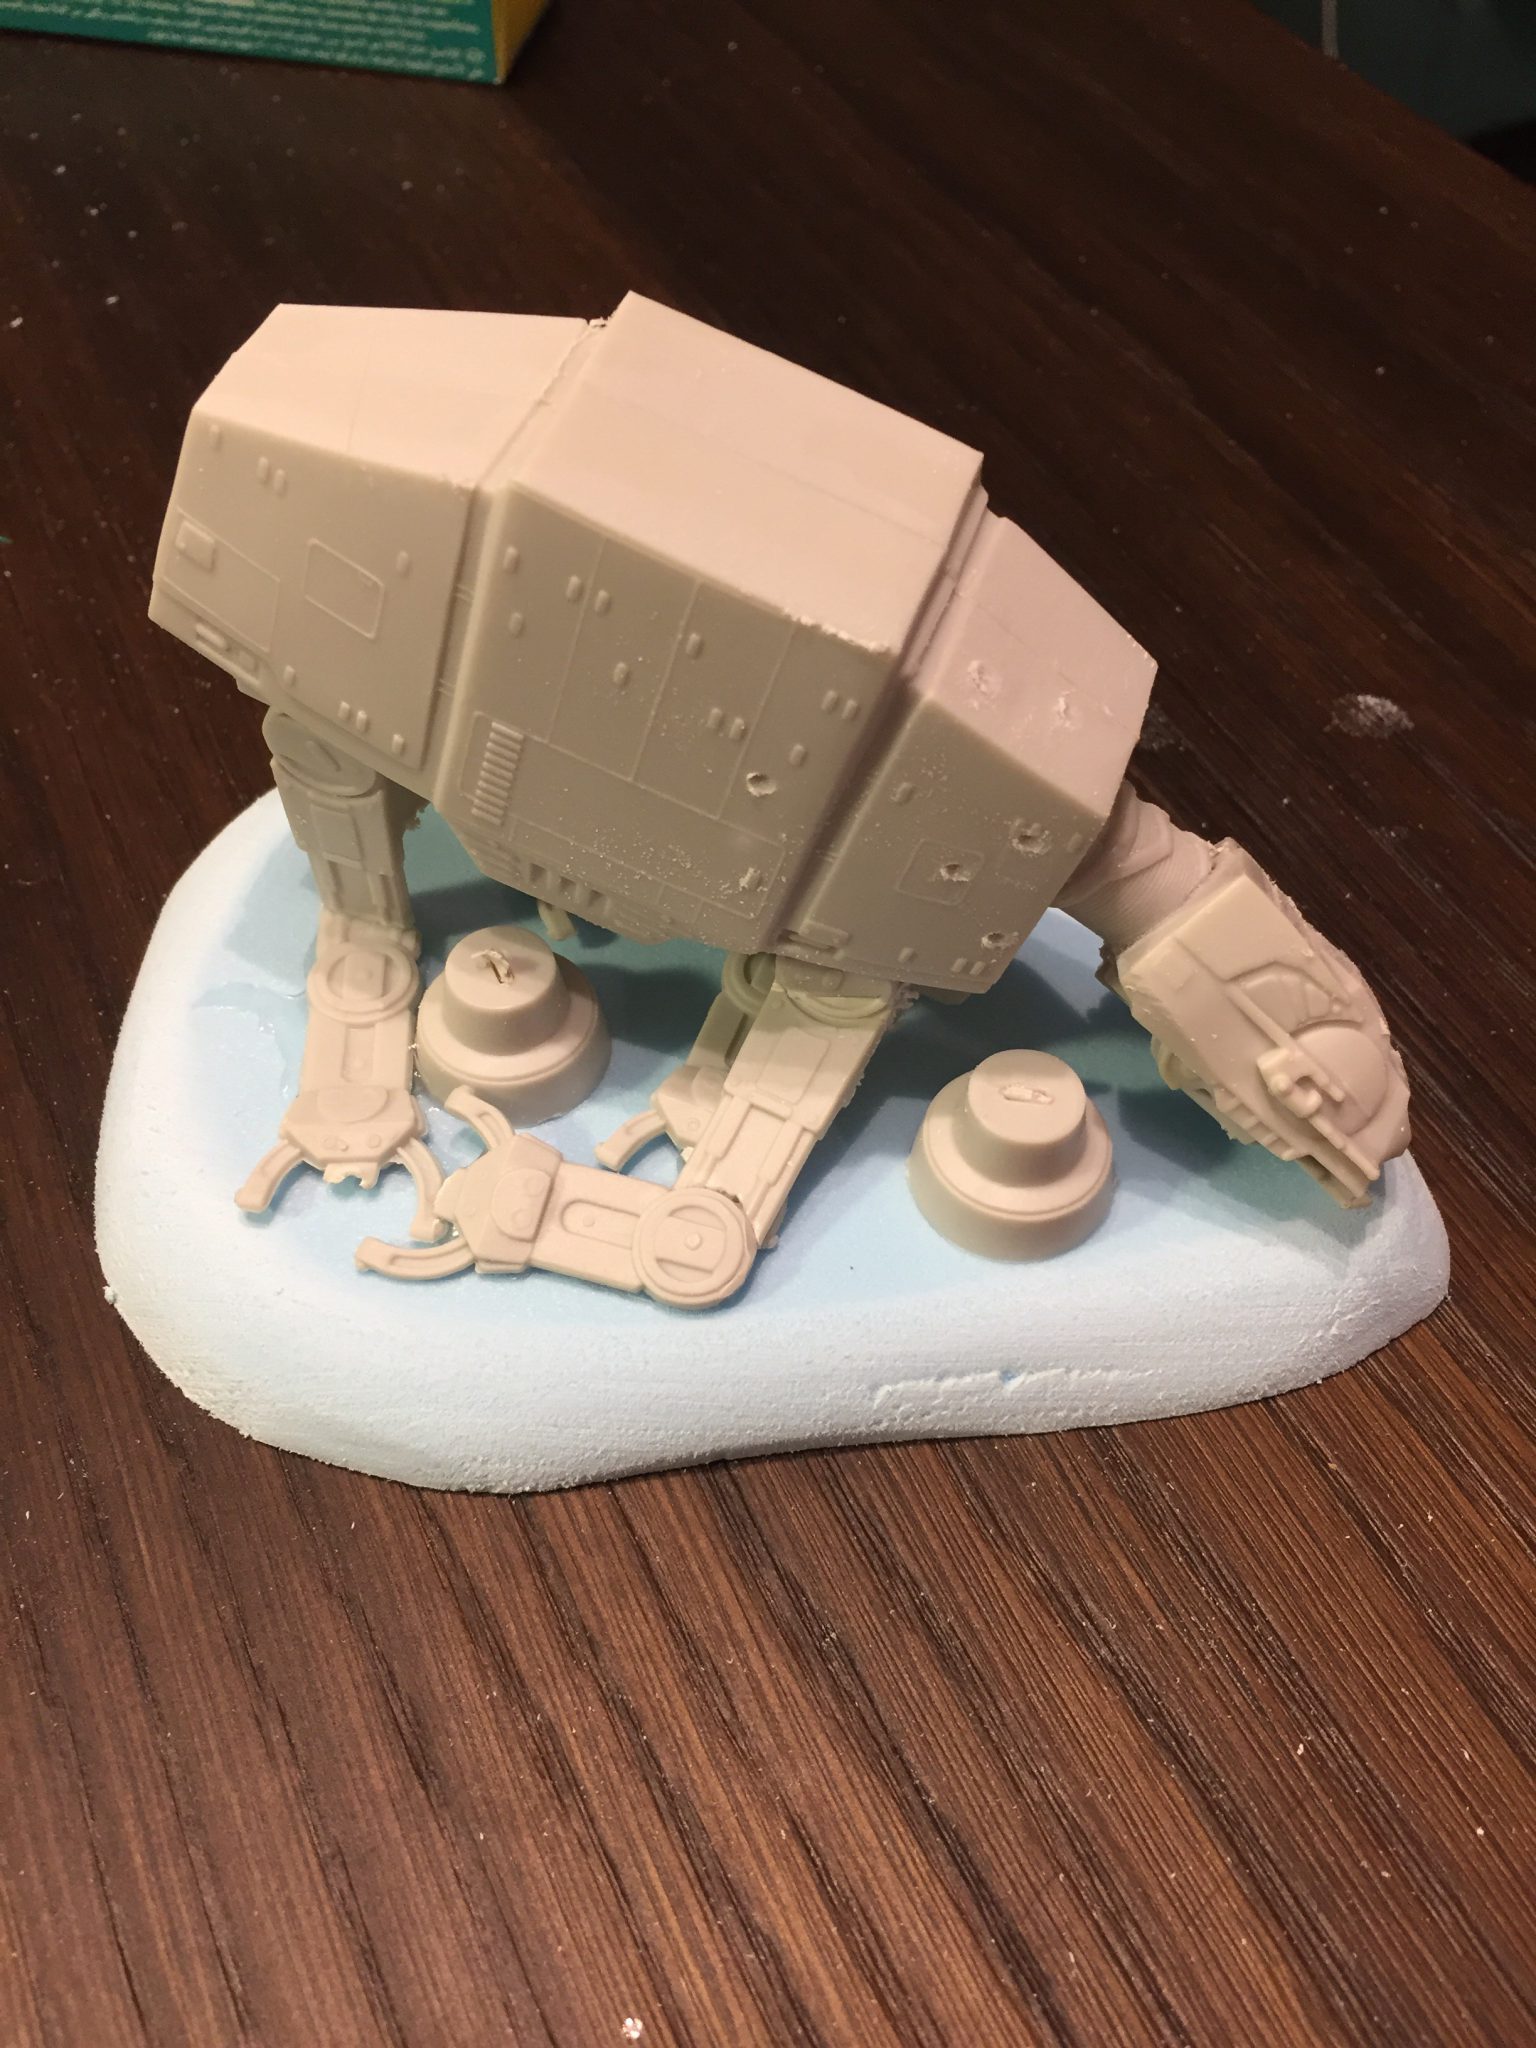
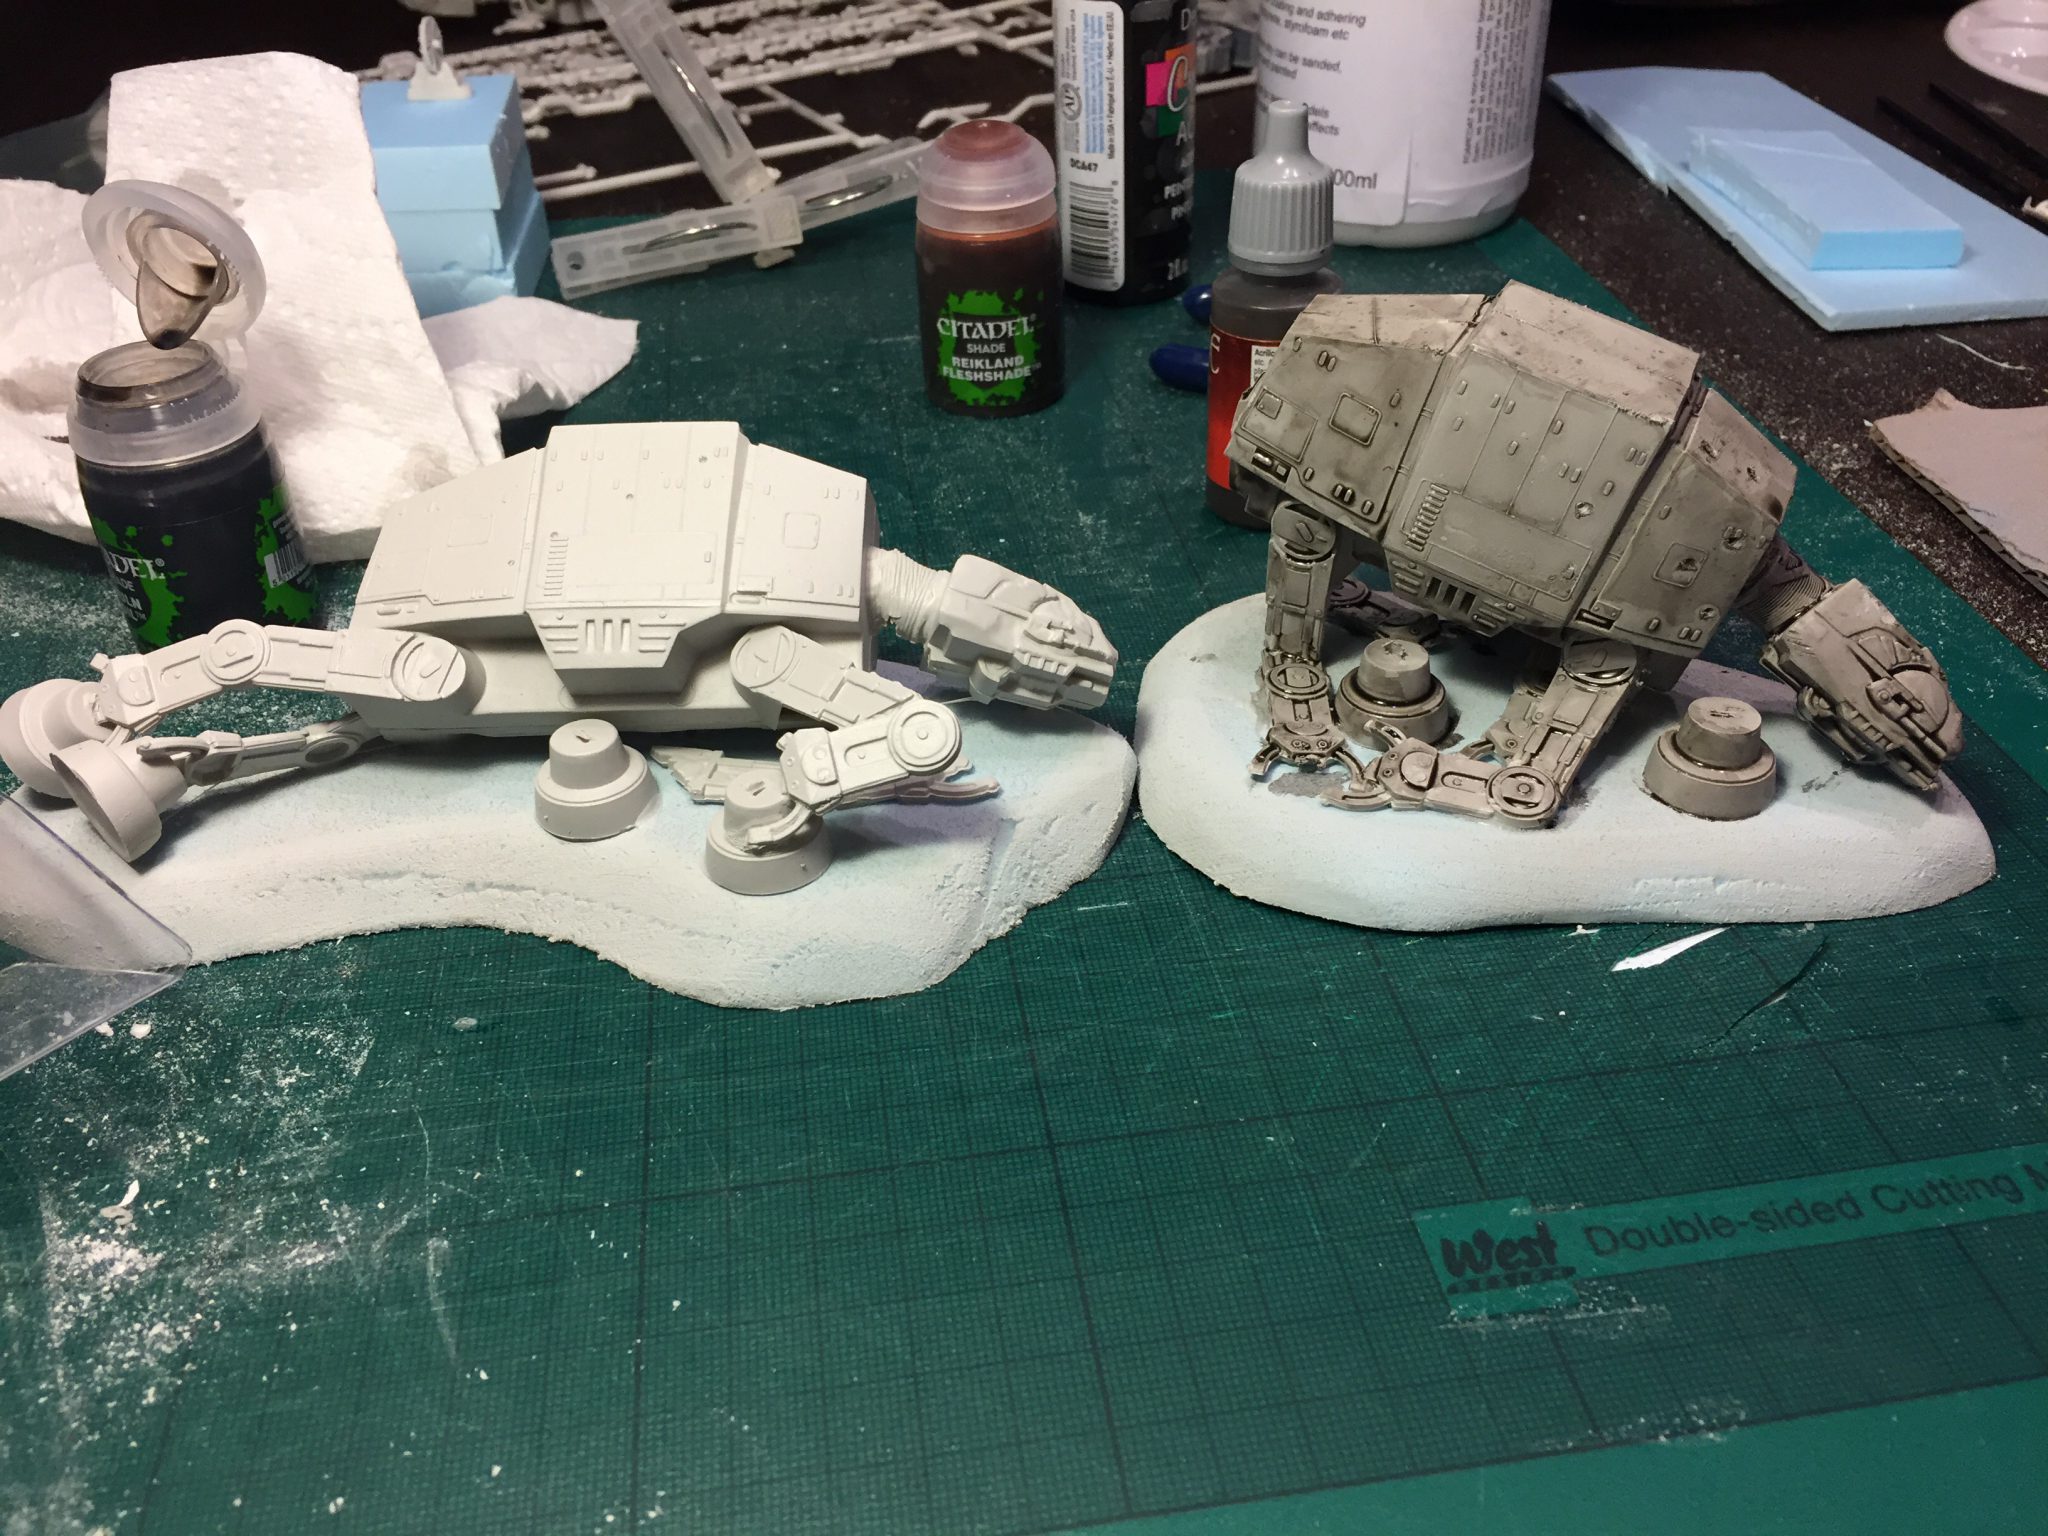
the next few steps when rather quick and basically was spray paint the models grey, Soak them in oil ink fron Games Workshop and finally give them a rough drybrush of light grey.
Simply but effective. Here’s an before and after shot:
Next up I brushed them in the harderner (to be honest PVC glue might have worked as well) and soaked them in sand for the night.
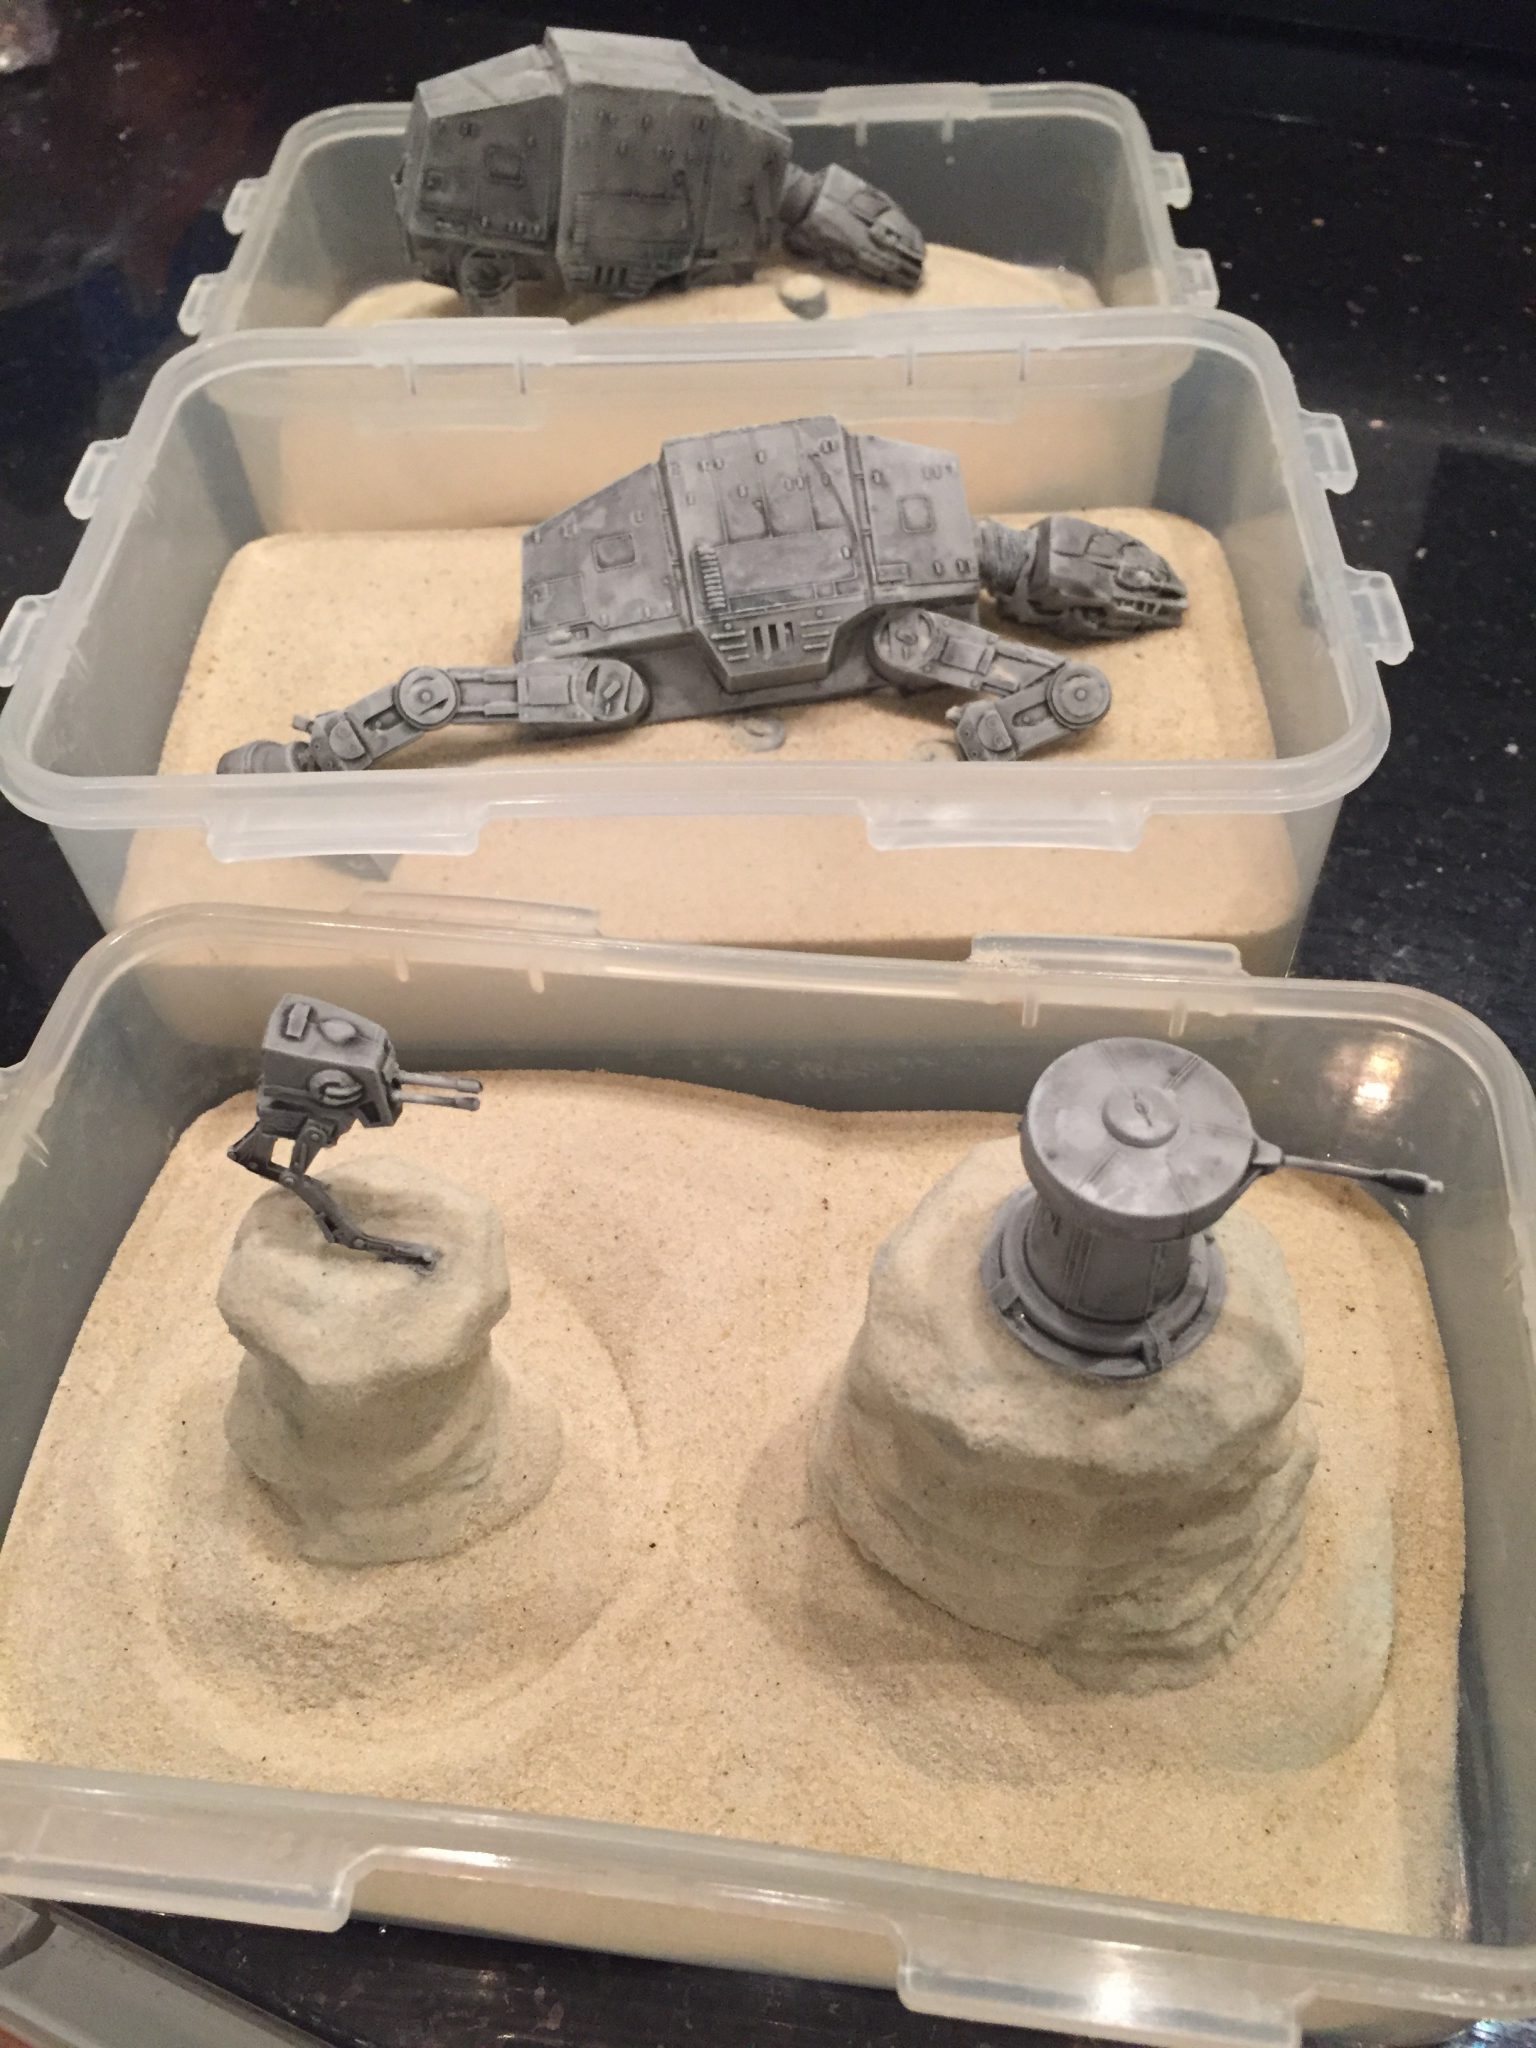
the result looked like this.

Now I should mention I had ordered a mouse mat material play mat made by Deep Cut Studio from Wayland Games and not knowing what it would look like with the bases, I couldn’t continue until it arrived.
I painted some of the little rebels and a tauntaun to add extra details to the scenery, Mainly just based colours, a quick round of ink and a few highlights. done!
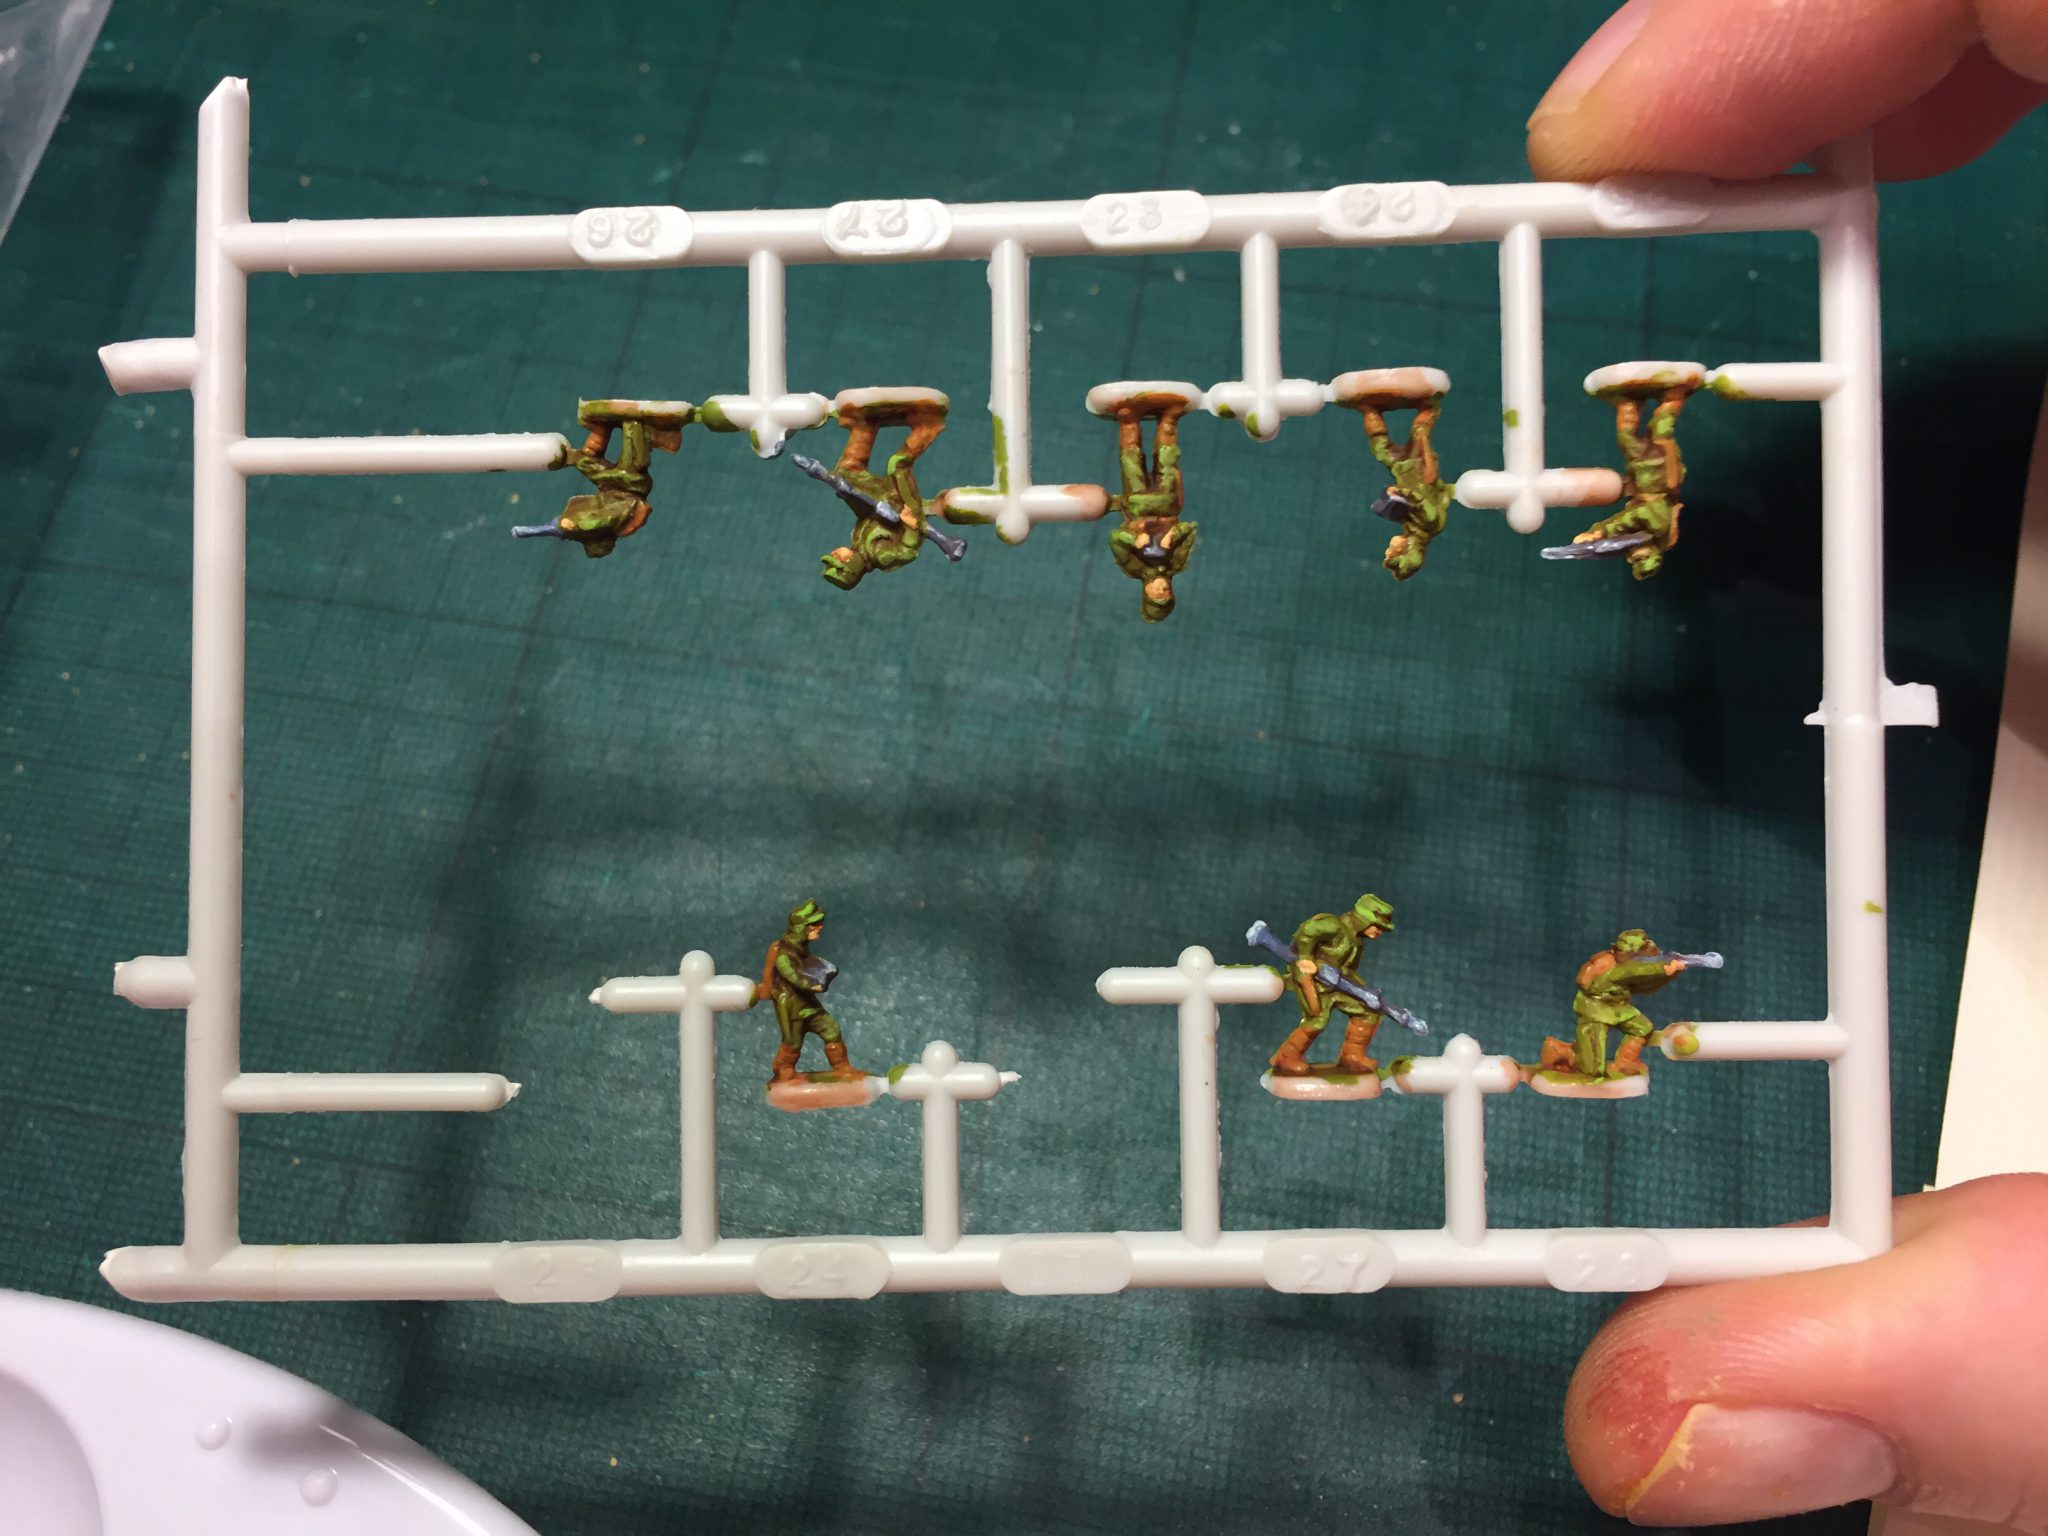
Must be the tiniest minis I have ever painted

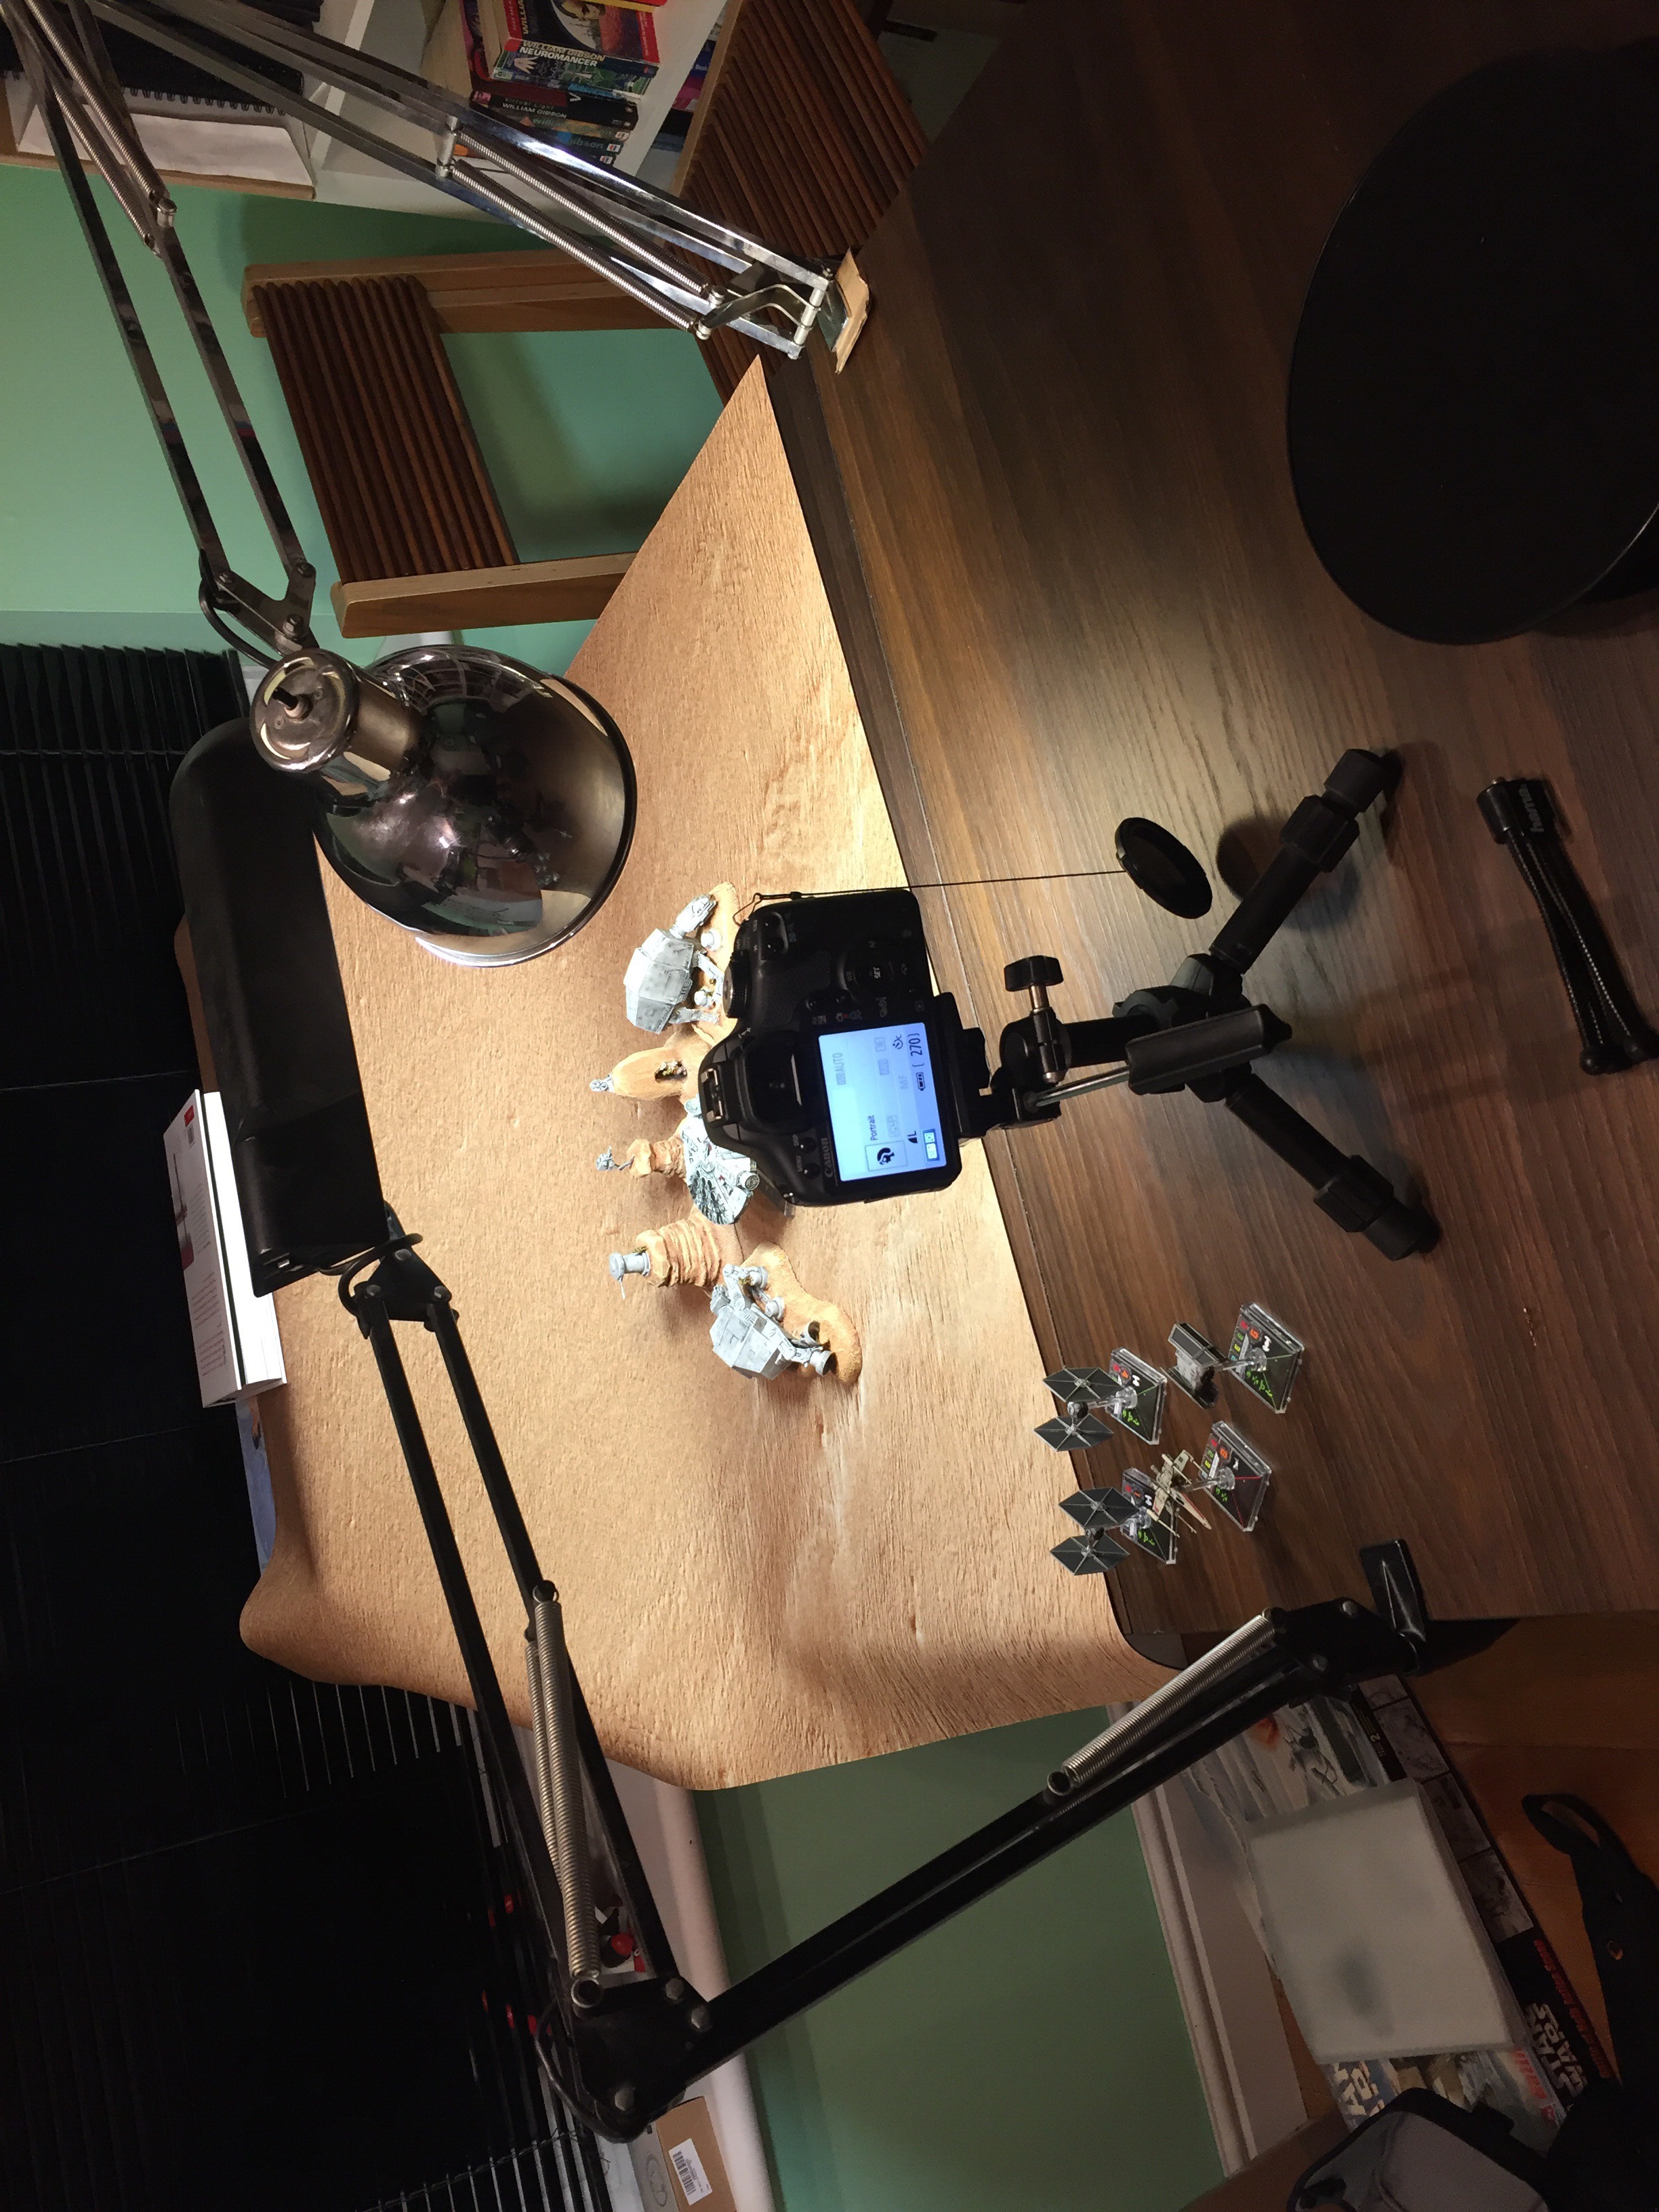
From there on I went through and did some colour matching to paint and drybrush the bases to a colour that would be close to the play mat and finally took some proper photos with my make shift studio.