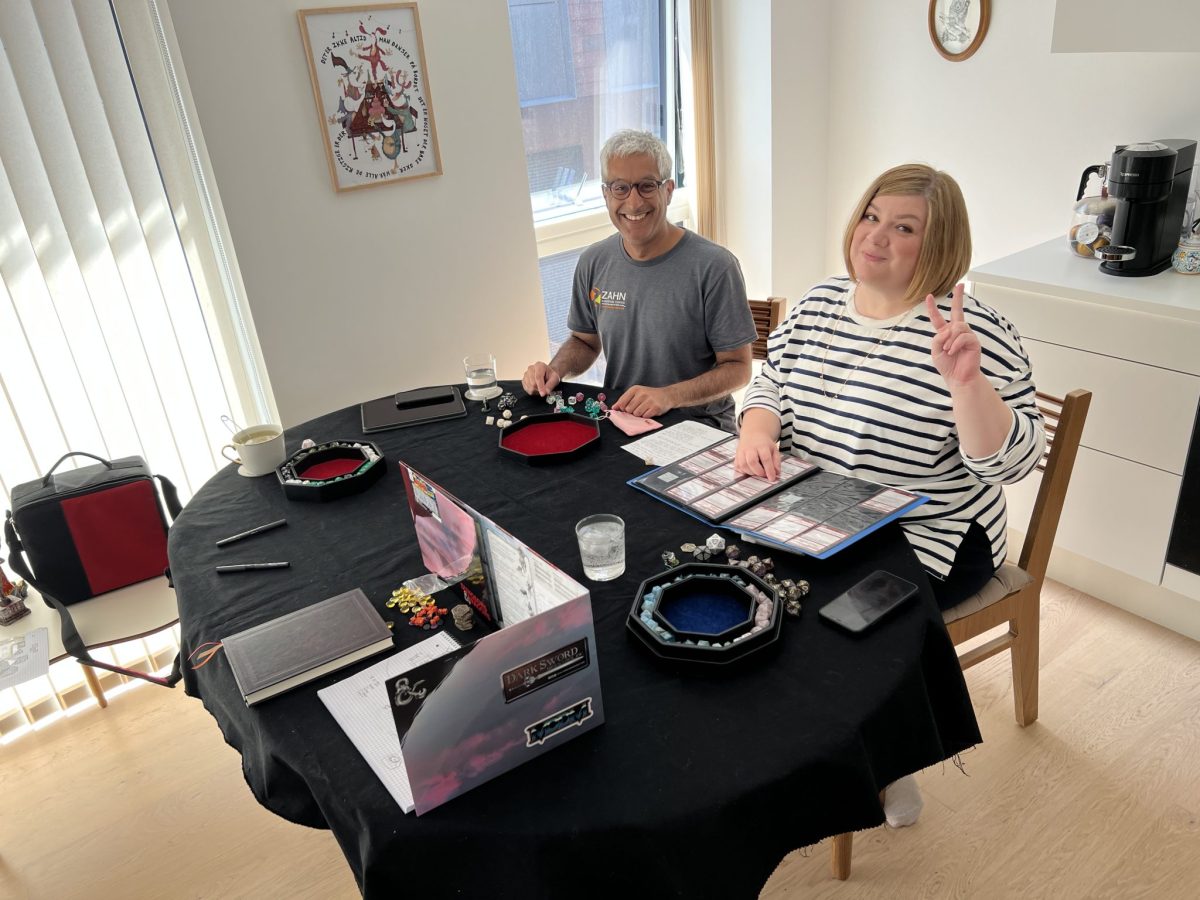
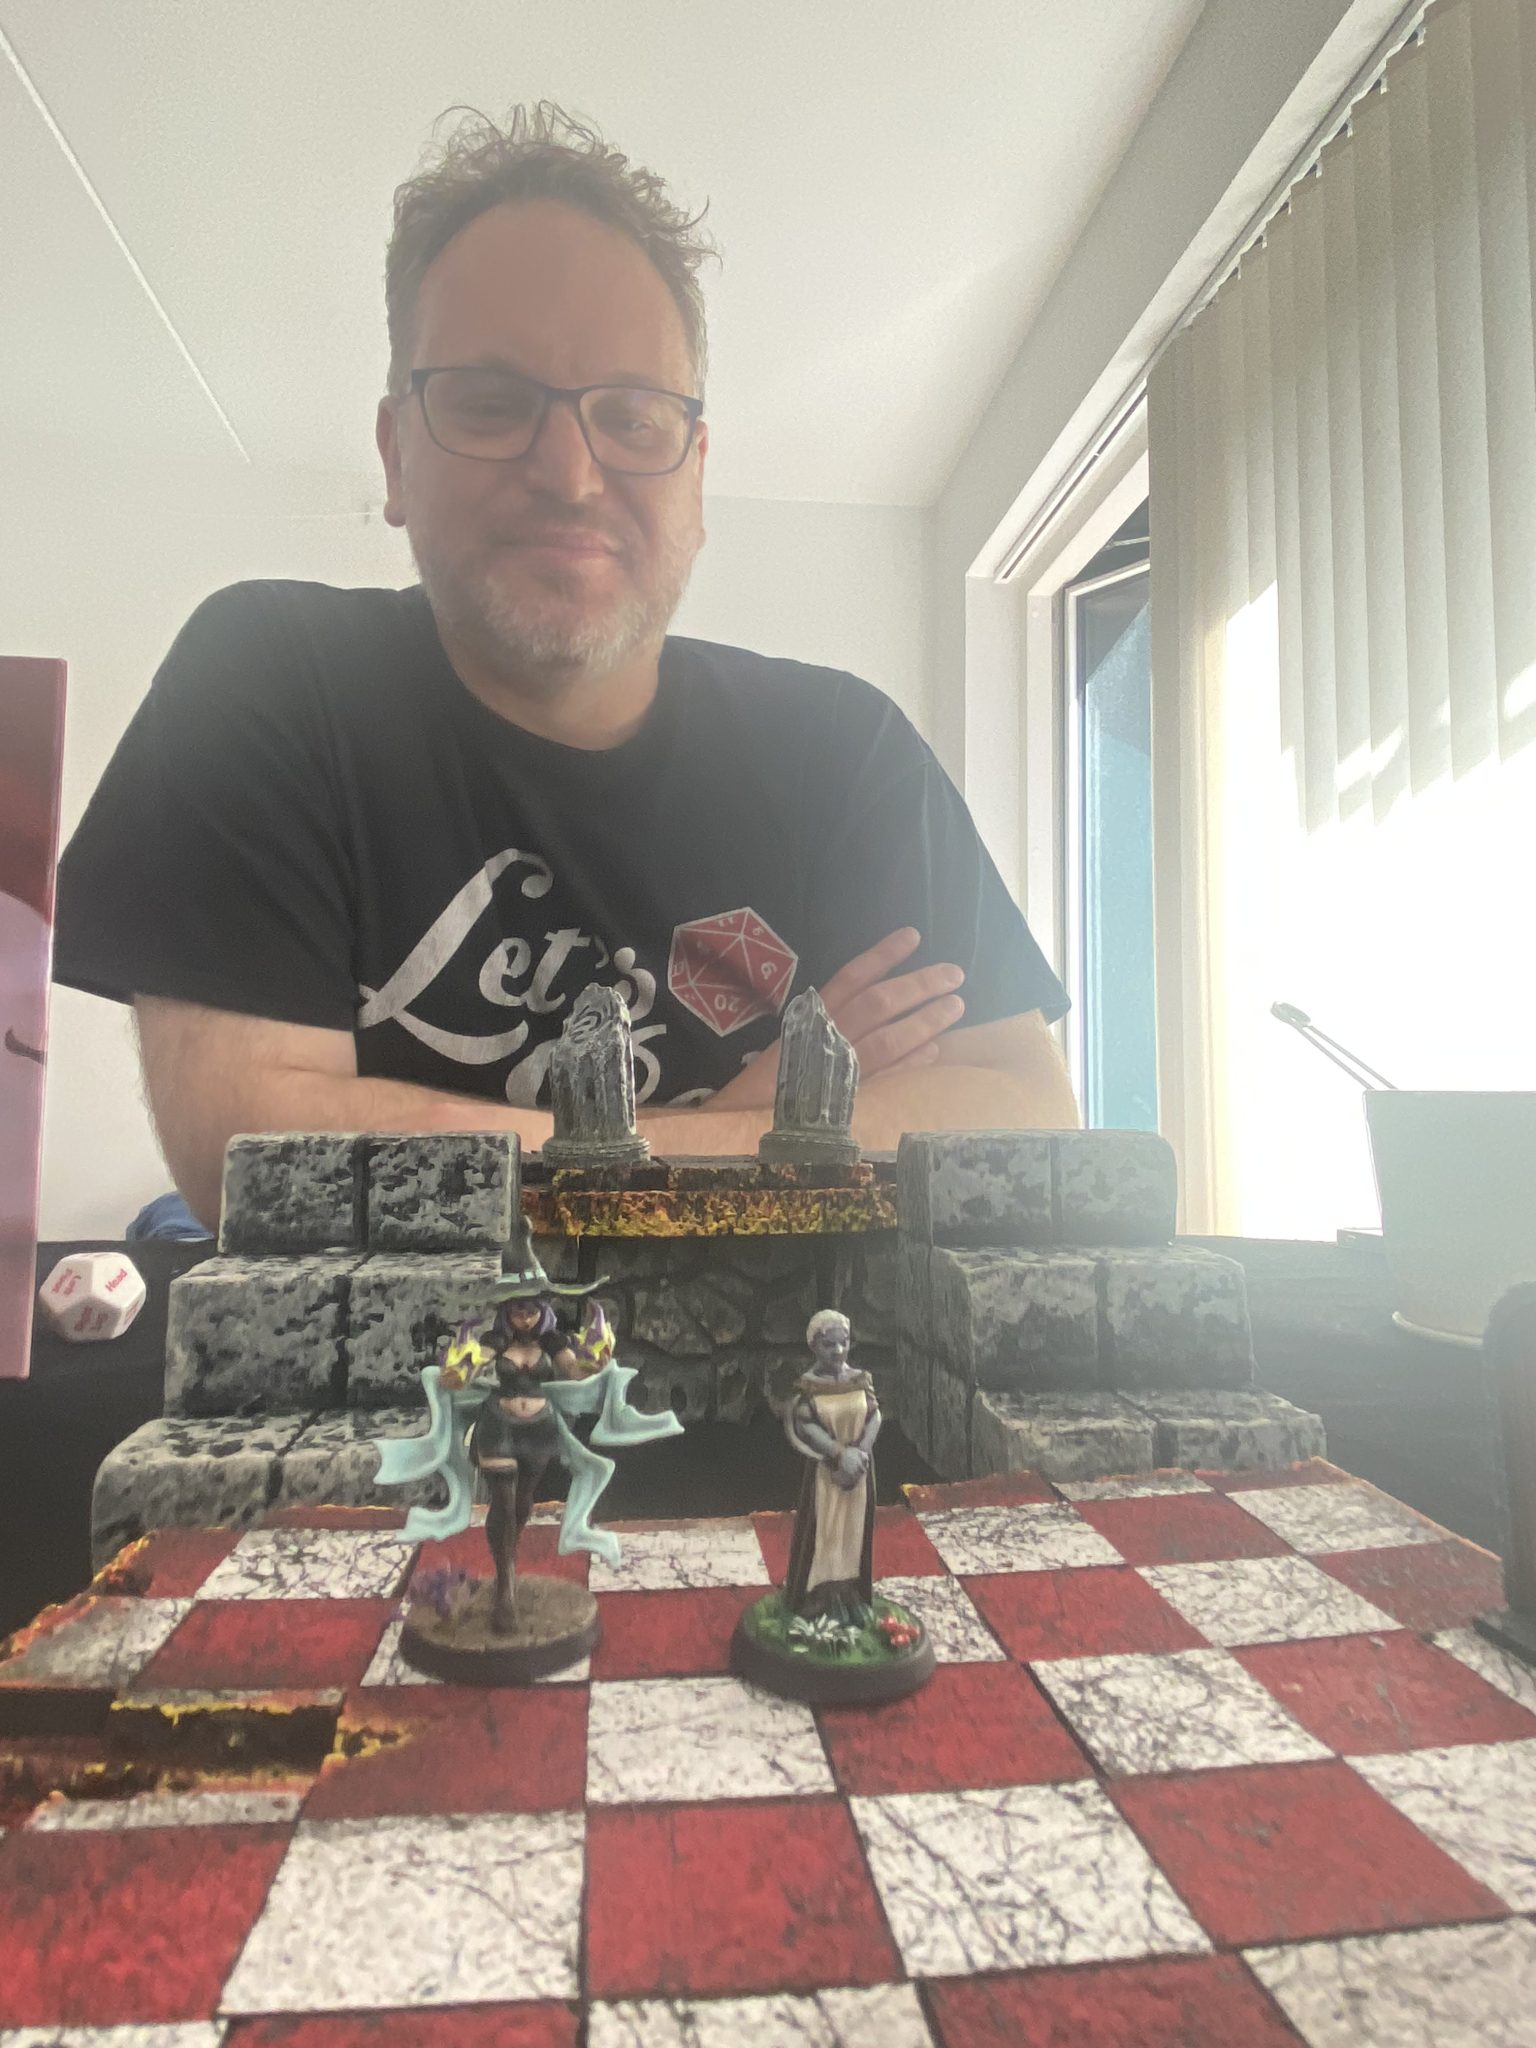
A bit of background: My wife and I are still playing D&D with the team we started D&D with back in 2018 in London. These days we still play, but now online and not as often.
But one of them visited Copenhagen this week and I wanted to use the opportunity to set up a game that I cannot run online, namely a Dungeon Crawl!
While it was fun, I think we all agreed Dungeon Crawls in not something any of us prefer. The players found the format too limiting in choices and I as a DM found it too rigid to “flex” around the story the players’ movements created. I also think it works best if you can keep the whole dungeon on the table rather than spending time removing corridors and setting new ones up.
The setup
The interplanar tavern “Here Today. Gone Tomorrow” was heading for Mechanus, the plane of Lawful Neutral, when the owner, Bebbie the Beholder Barkeep, realised it had lost the landing permit required.
Bit panicky about being late to Machanus, a plane where noone is ever late, Bebbie asked Alfein, the Drow Chef, and Penny Purplesparks, the Bartender, to quickly pick up landing permit A38-B during a quick pitstop.
Mount Olympus
Arriving at the heavenly Mount Olympus, Penny and Alfein was faced with a pleasant office angel, who very helpfully and fast looked through the forms available to him, only to realise that A38-B was not in his possession but the heroes would have to visit his colleague, James Brimstone, further down the establishment.
Taking the elevator down, the heroes soon realised how much further down in the establishment as they in rapid descension arrived in Phlegethos.
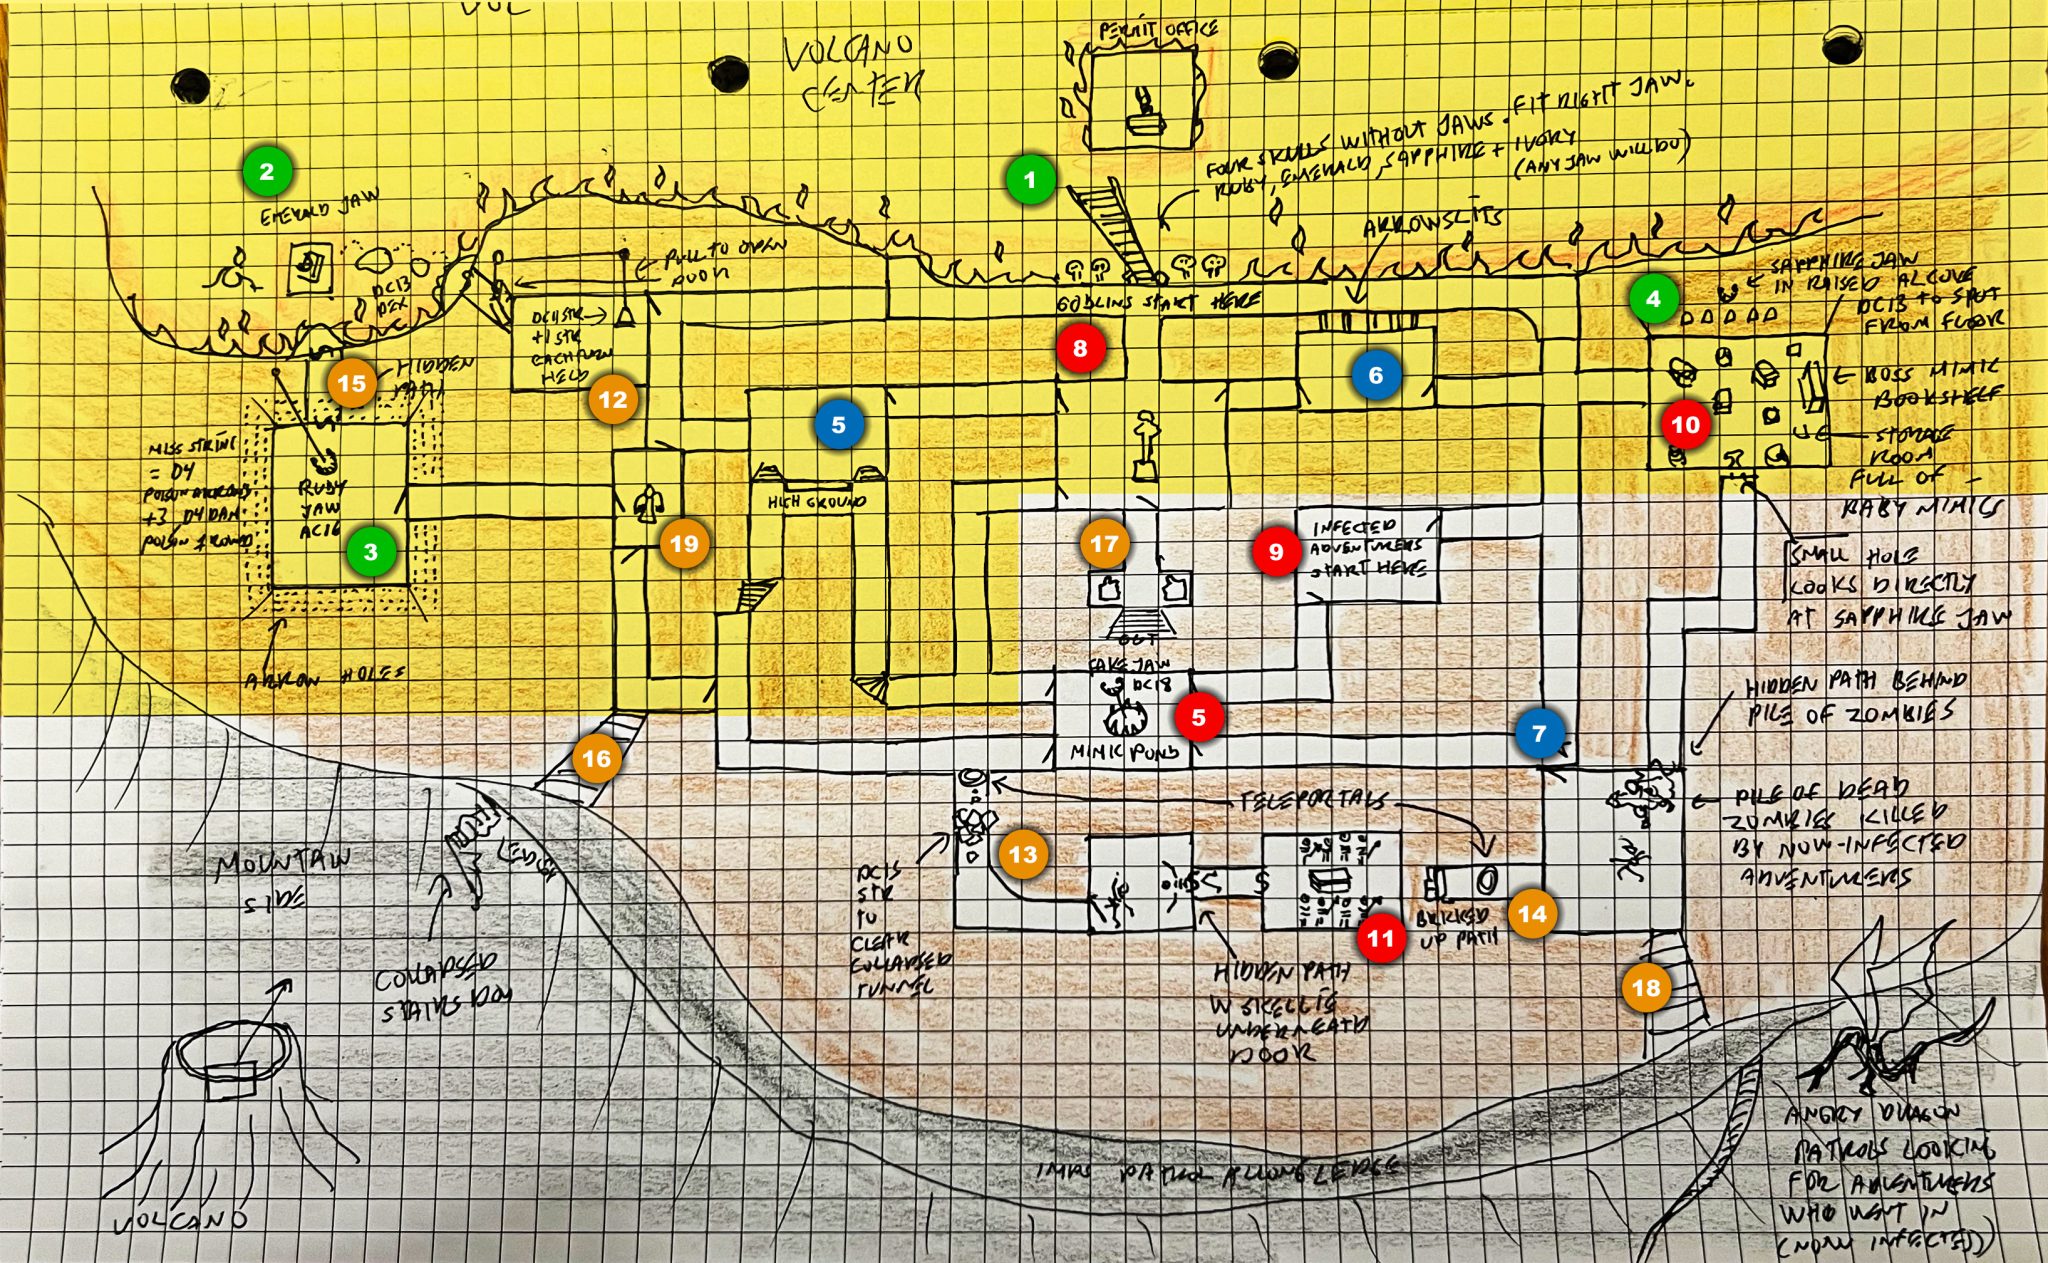
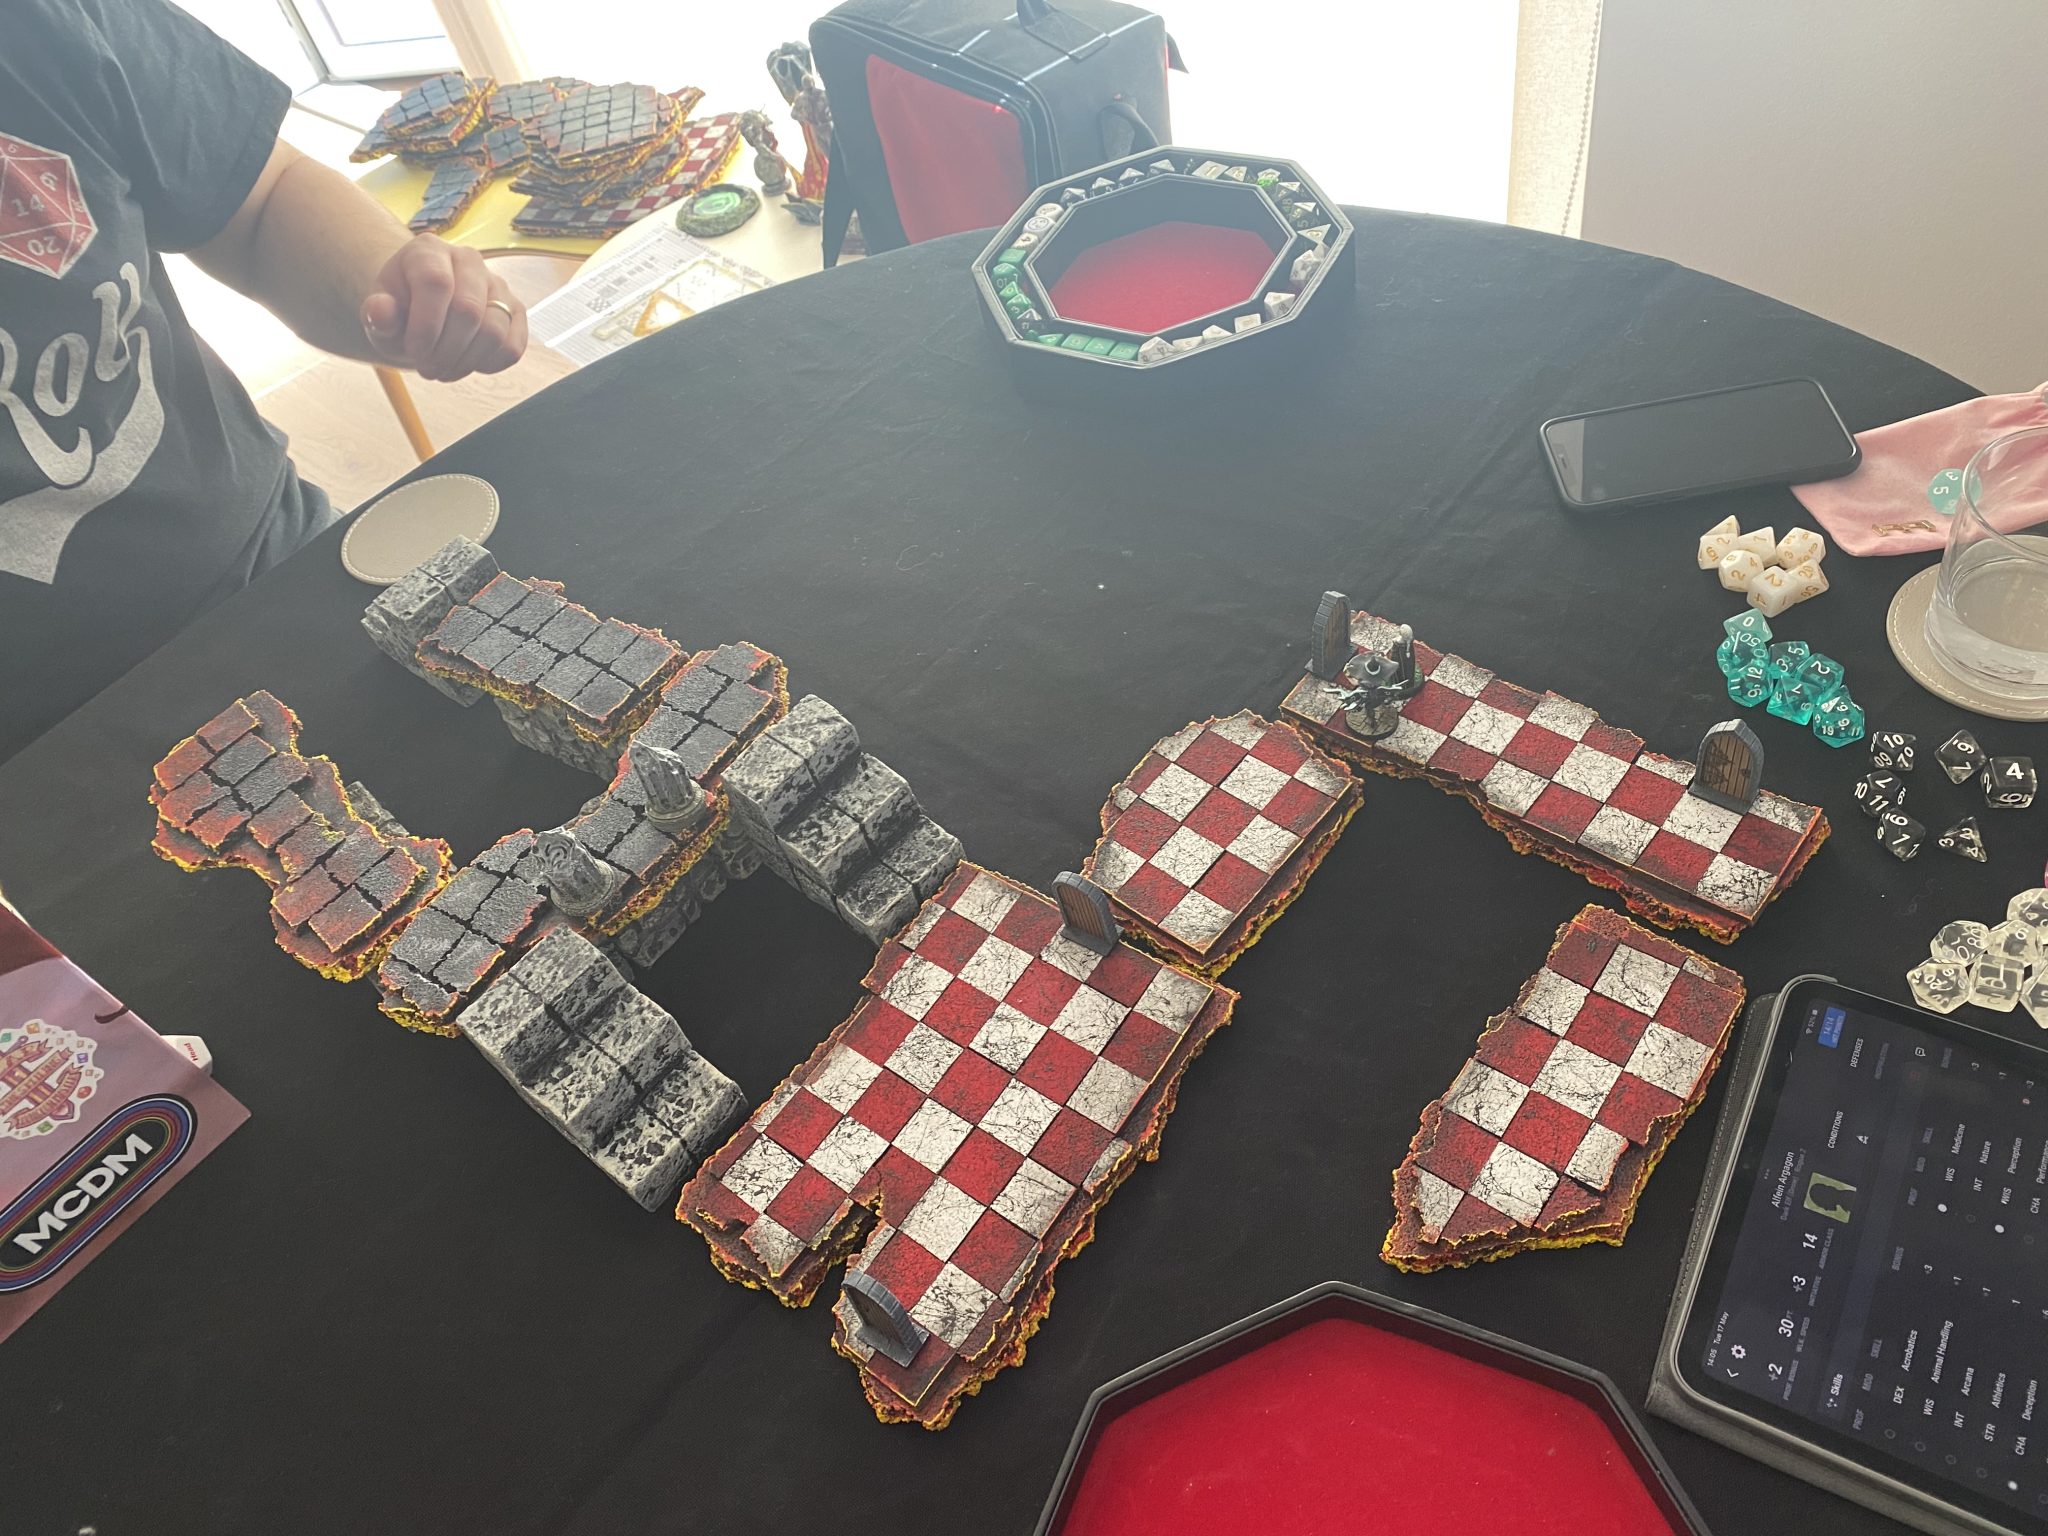
The Map
Effectively, I wanted a looping map as described in this video by Dungeon Masterpiece.
- To complete the mission, the party needs to lower the bridge over to the “office”. There are four skulls by the raised bridge, one ruby, one emerald, one sapphire and one ivory. All four are missing the jaw.
- Location of Emerald Jaw. Plain sight on stone table. but in the middle of lava.
- Location of Ruby Jaw. Hanging high up in a tall room full of small holes in the walls.
- Location of Sapphire Jaw. Storage room (disguised Mimic next). Hidden in small alcove in North wall.
- Possible start location for the party. Decided on a D3 roll. This was the location they started in in the game. Has a higher ground layout creating a fairly defensible position.
- Possible start location for the party. Decided on a D3 roll. Arrow slits to the outer path creating ambush opportunity.
- Possible start location for the party. Decided on a D3 roll. Near the room where the Adventurers killed the Zombies. Hidden path behind the Zombie corpses leading to a small hole allowing people to spot where the Sapphire Jaw is hidden (4).
- Start location for frustrated Goblins trying to get a permit for opening a fishing location.
- Starting location for a group of Adventures trying to get a farming permit. They have been in fight with Zombies earlier and have been infected although they don’t know if at the start of the game.
- Mimic nest.
- Hidden and forgotten tomb with skeleton guards that are brought to life if the sarcophagus is disturbed.
- This room has a pull mechanism that will open the door to (3). It’s a DC14 STR to lift and DC14+1 STR to hold (+1 each turn held)
- Collapsed tunnel. A portal has been placed in front to allow people to jump to other end of tunnel (14), effectively by passing (11) that can be accessed by clearing the collapsed rocks.
- Portal at bricked up wall taking people to (13), effectively by passing (11), which is inaccessible from this direction.
- Hidden pathway to (2).
- Stairs up up to outer edge of volcano. Path leading down from volcano is destroyed. Moving across the ledge to the East takes people to (18) if they can make it passed attacks of Imps.
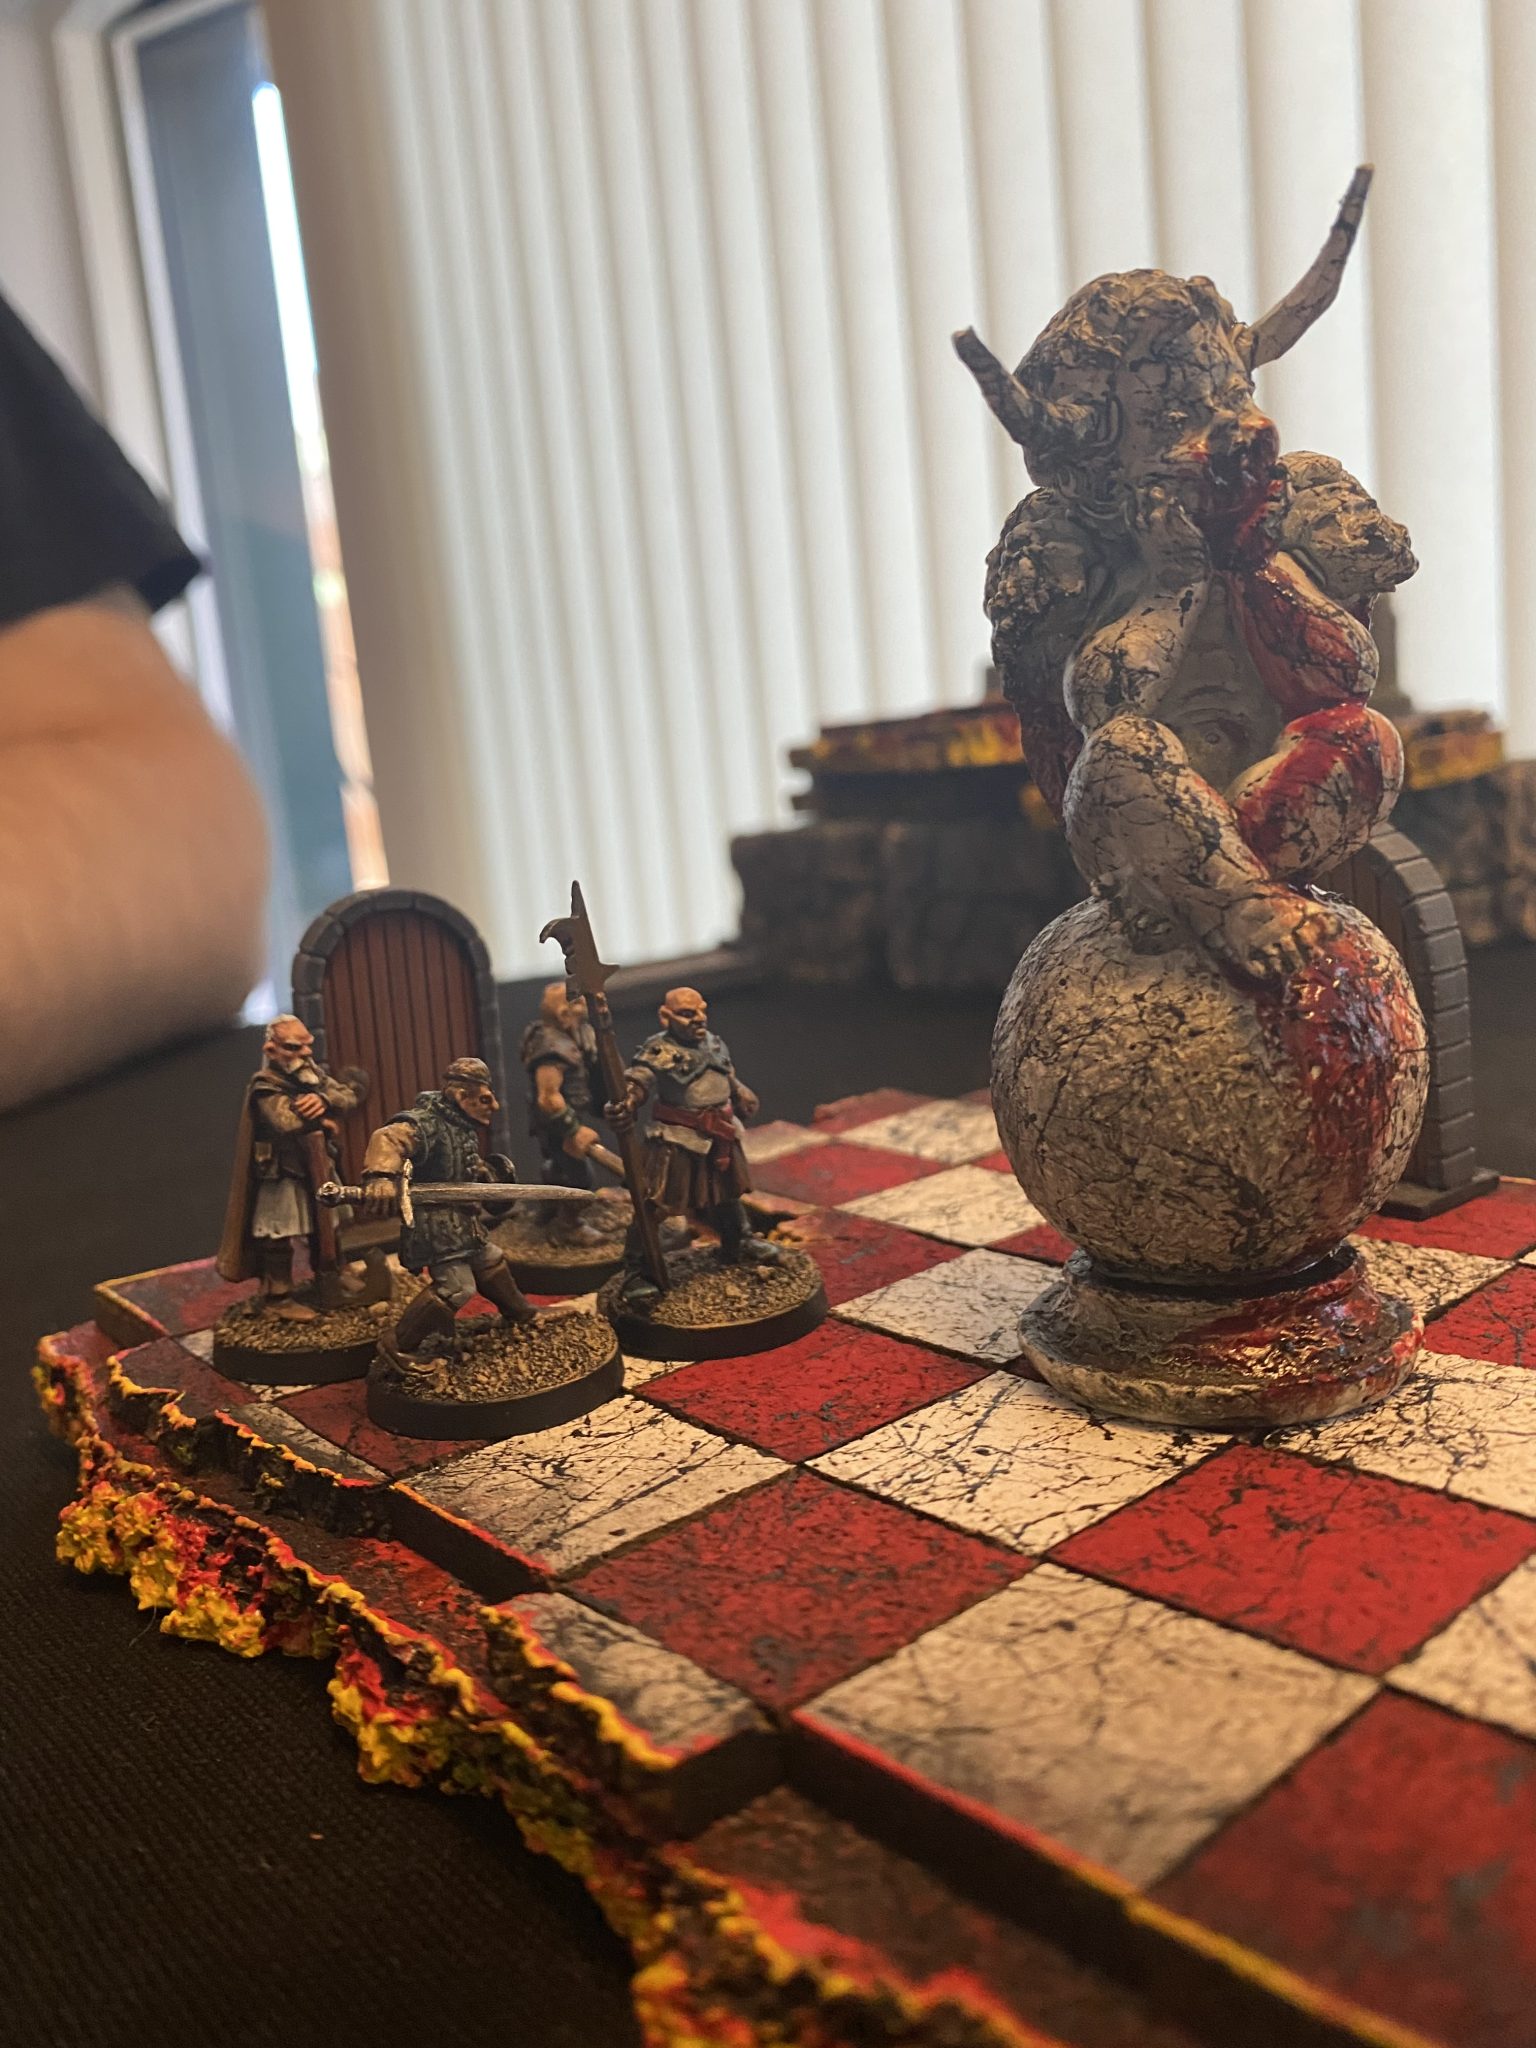
- Main entrance. Can only be used with a Ebony Jaw amulet. Otherwise the Stone Golems will crush anybody trying to cross. Leads to reception hall with huge disturbing statue.
- Stairs up up to outer edge of volcano. An angry dragon waiting here. It has been injured by the Adventurers when they entered. It will take it out on anybody foolishly enough to linger for too long. Pathway West to (16).
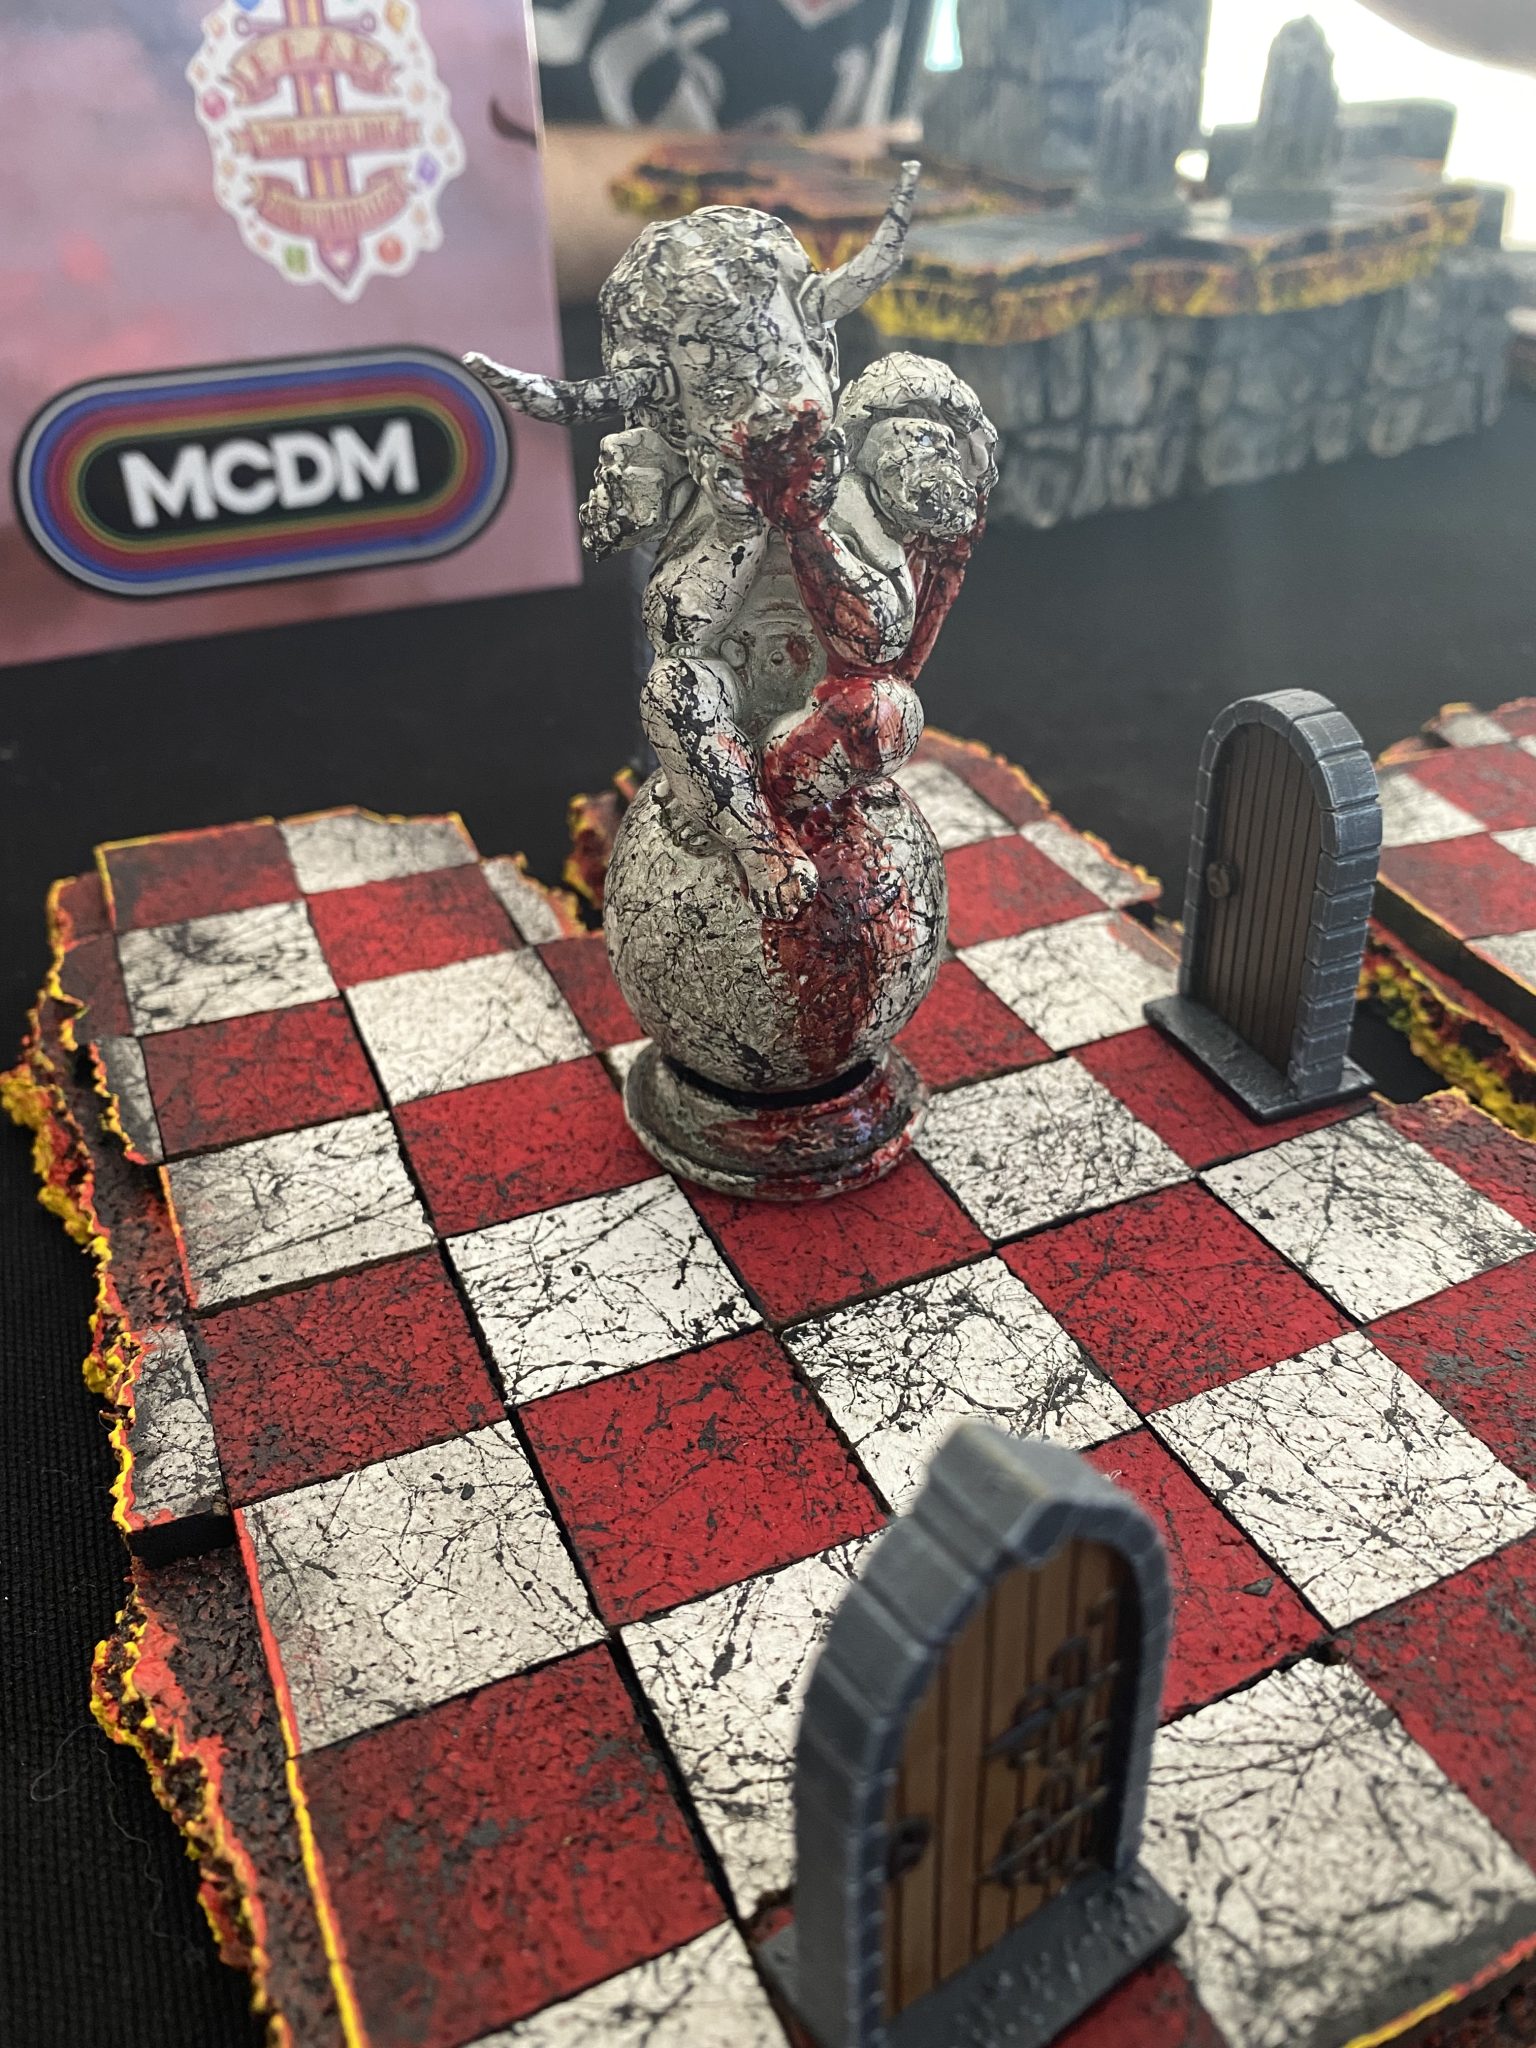
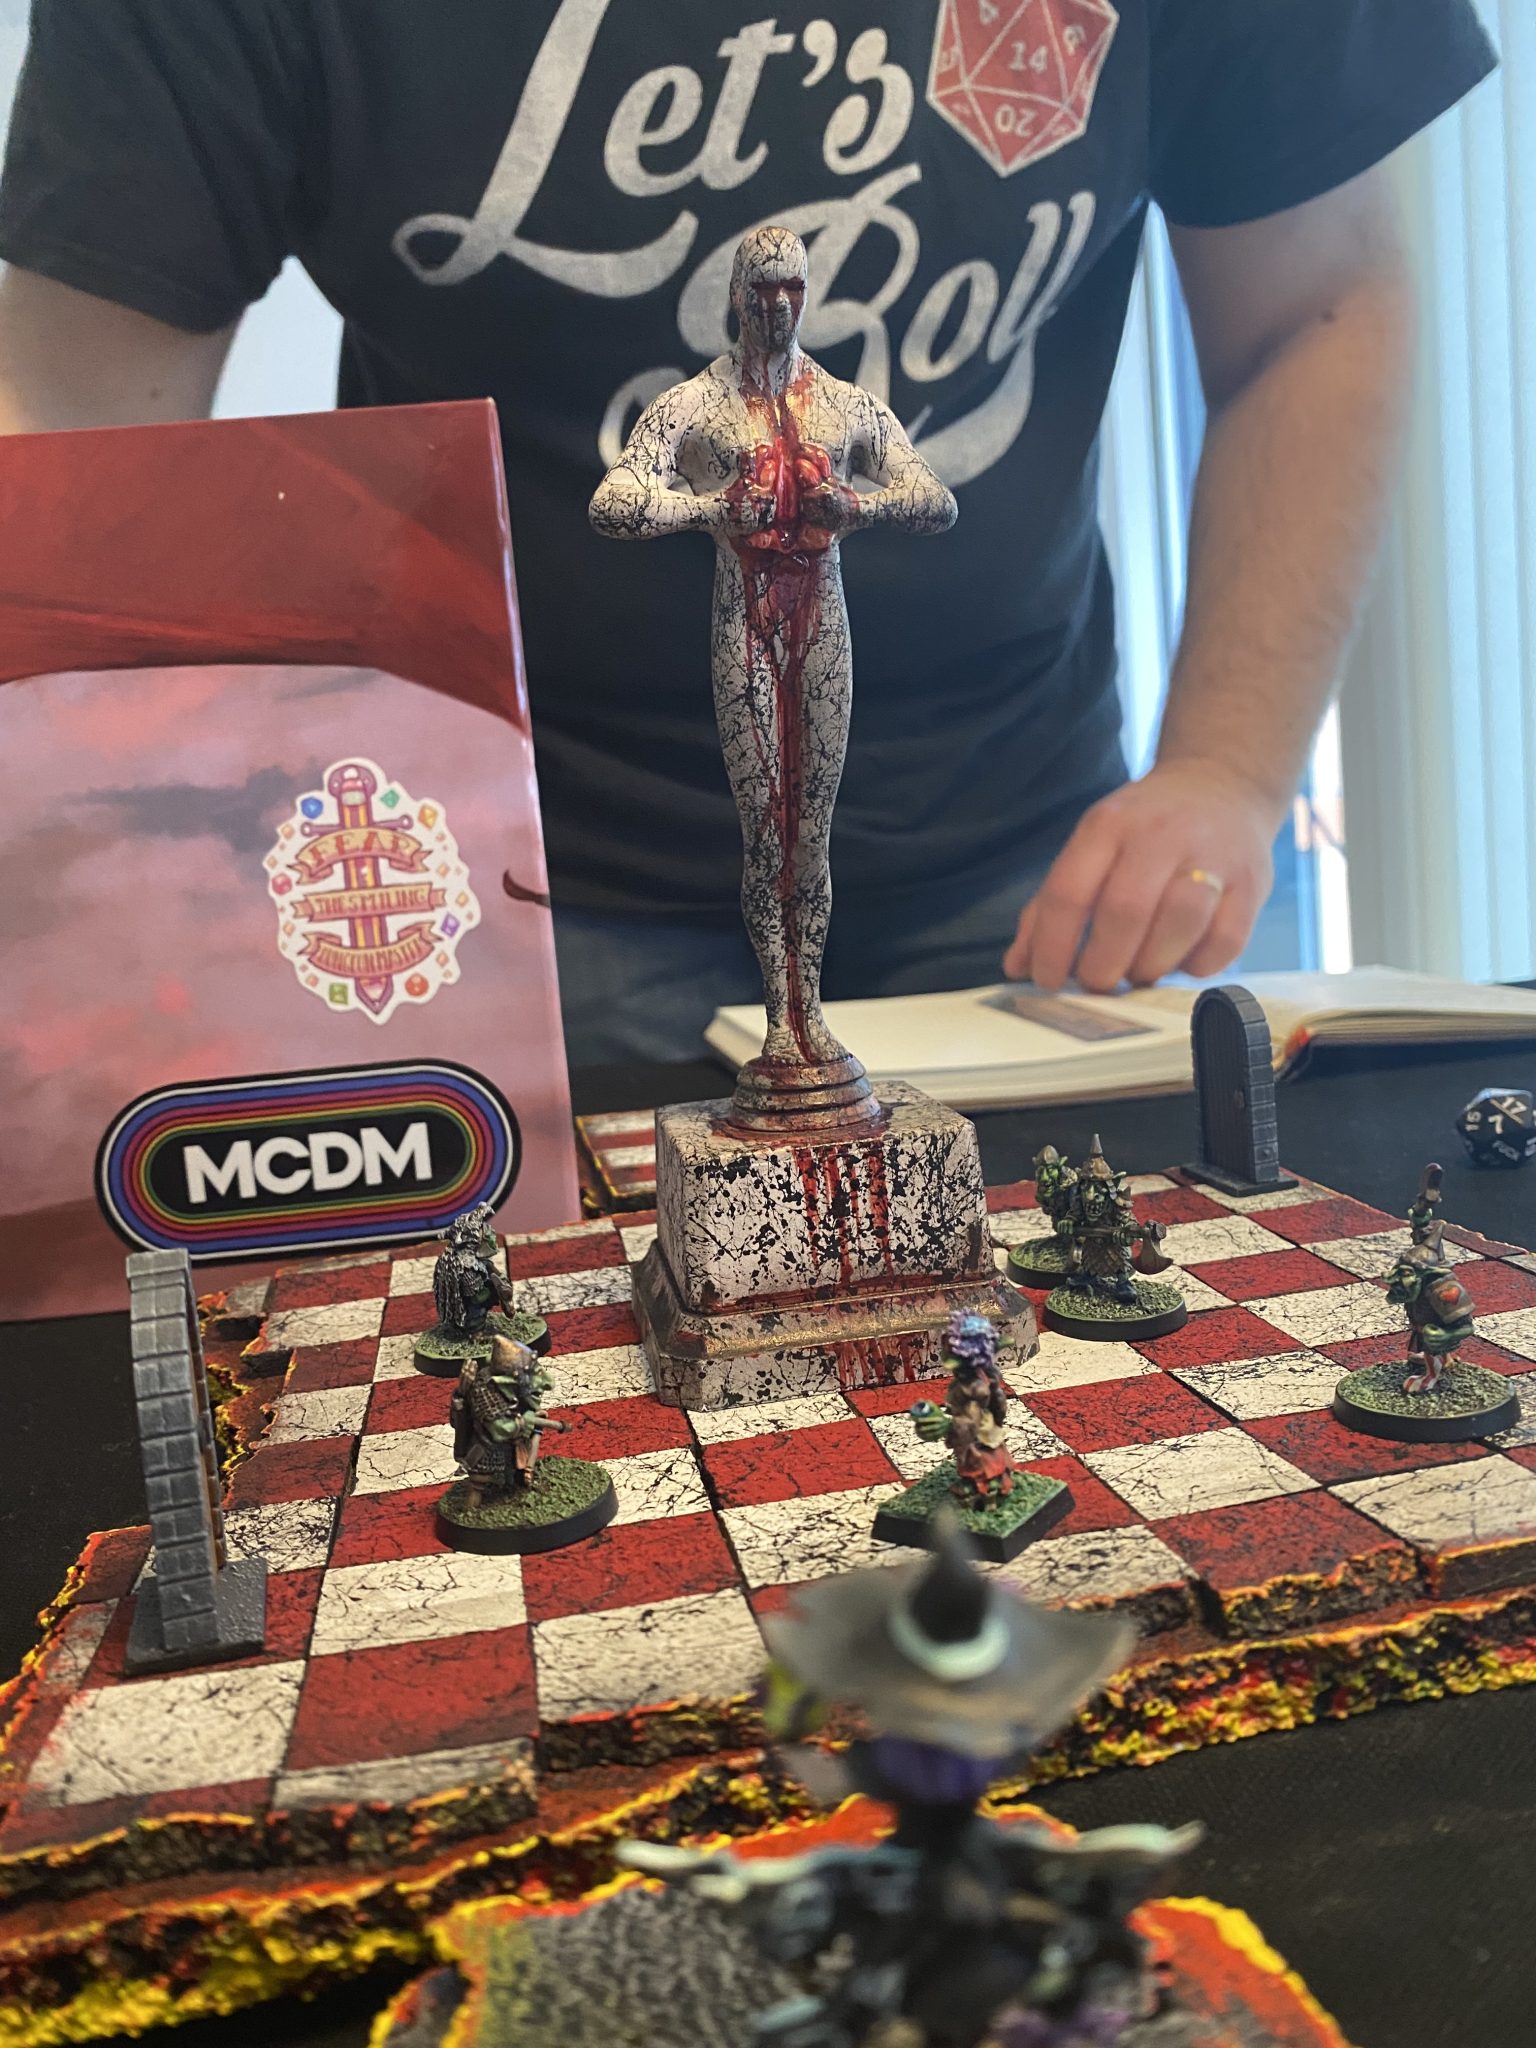
- Destroyed Angel statue.
Summary of the game
The heroes arrived in Room 5 with exits leading in several directions. Disoriented, the experienced heroes knew they wouldn’t be any smarter if they didn’t start moving and resolute took the west door, passing through room 19 with the eerie angel statue and ended up in room 3.
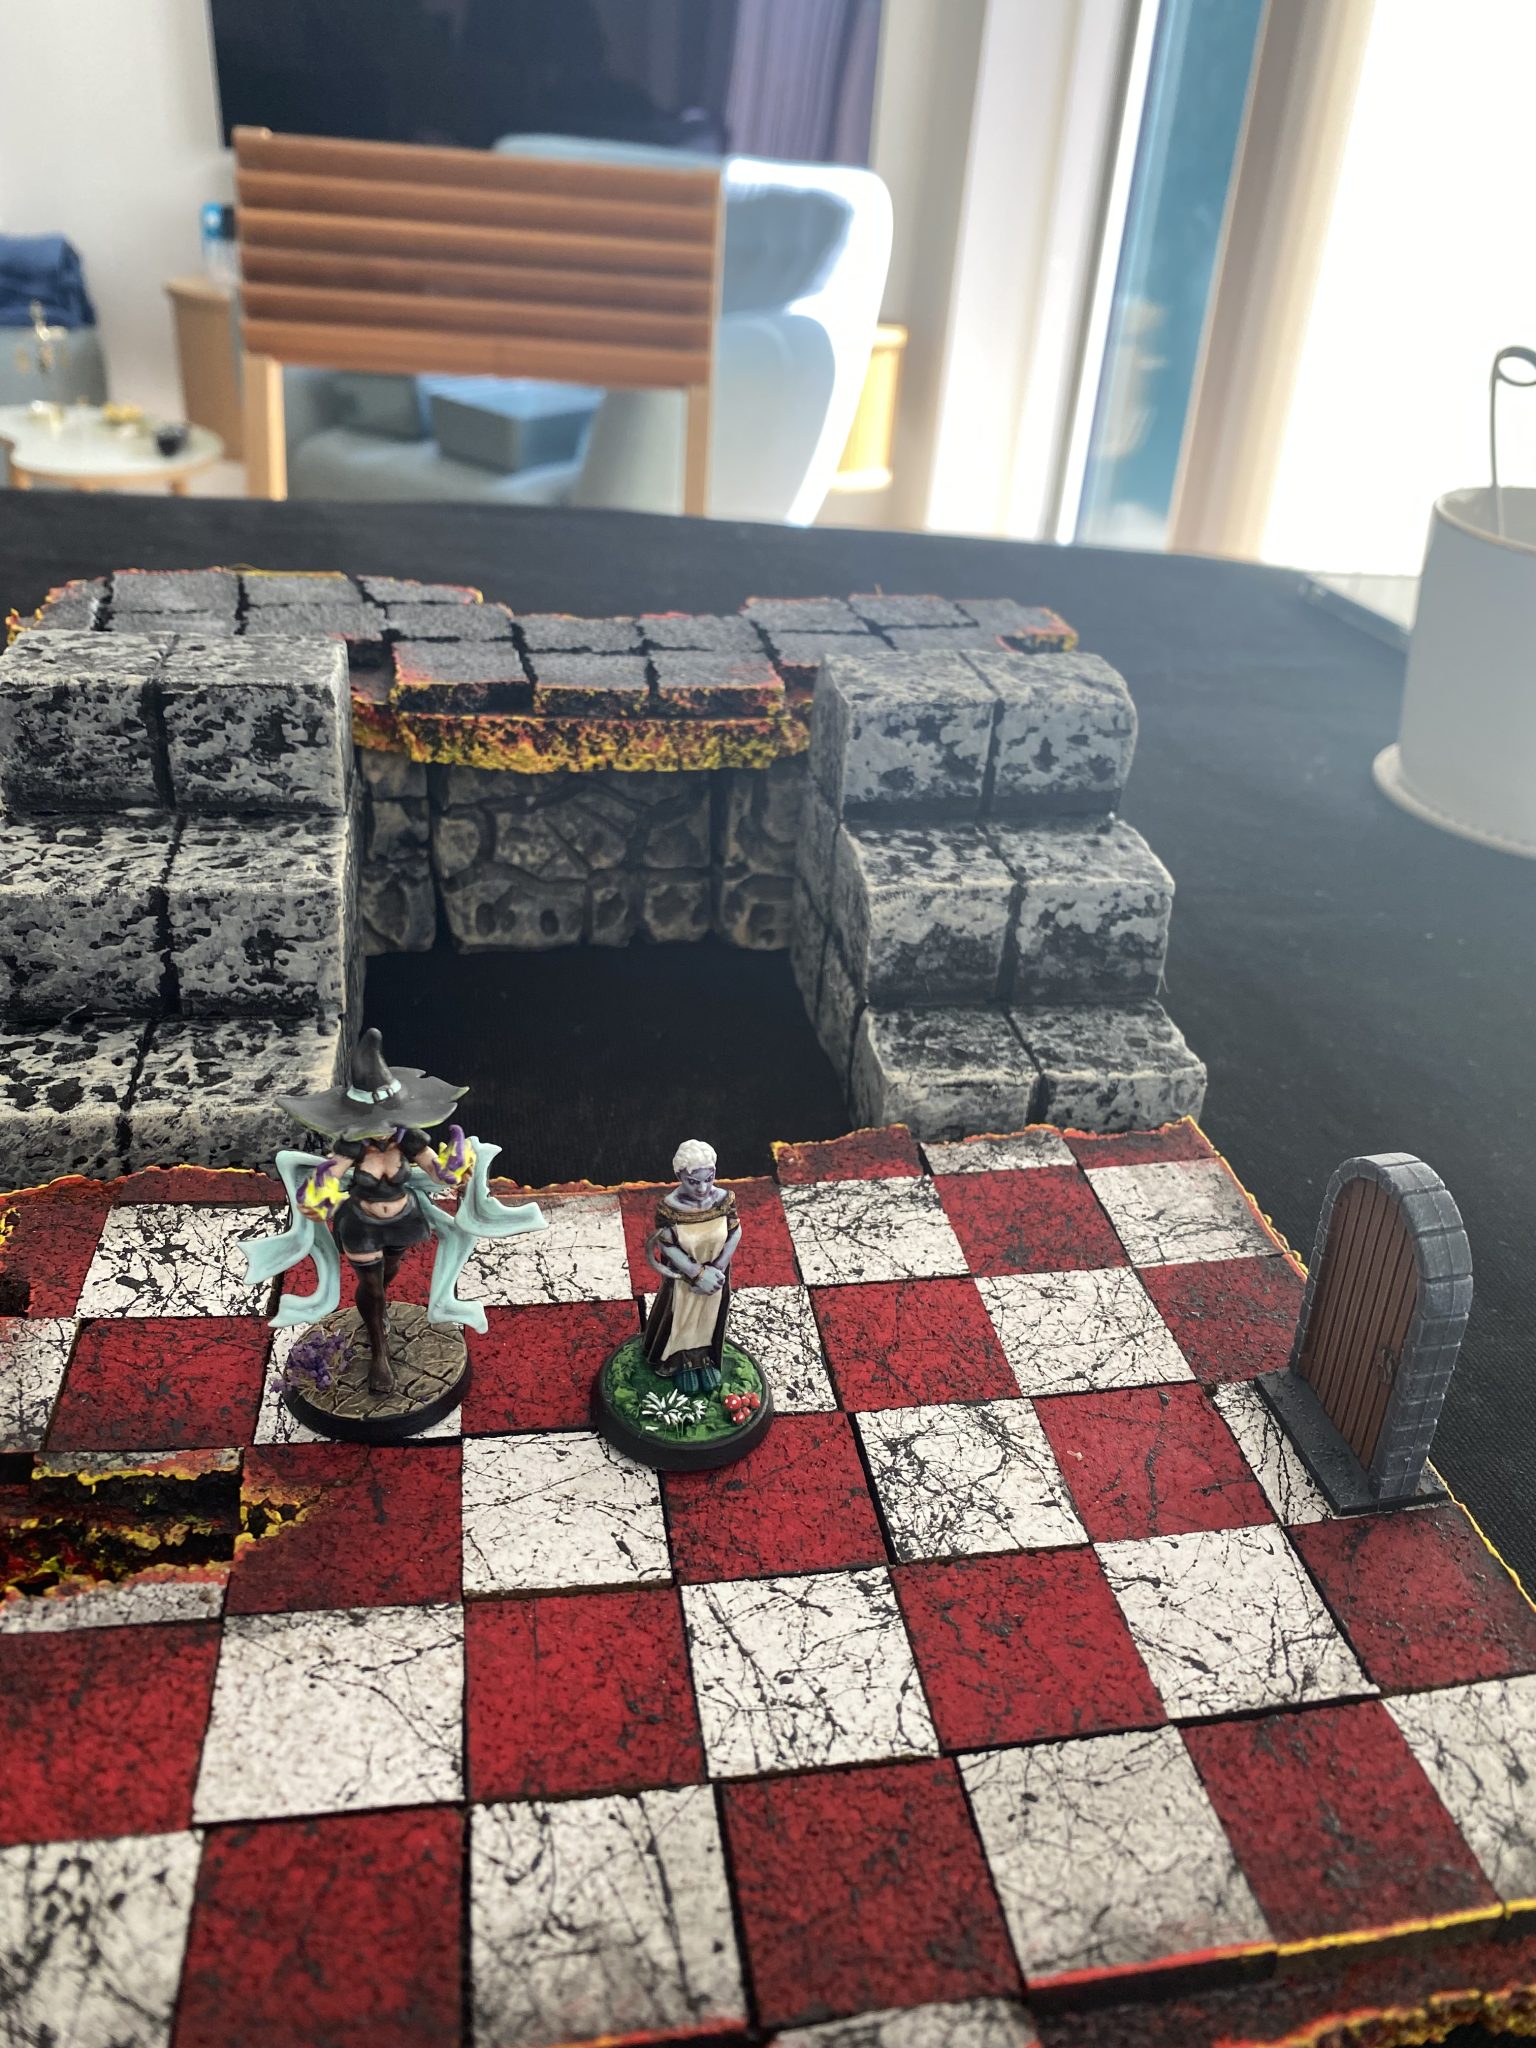
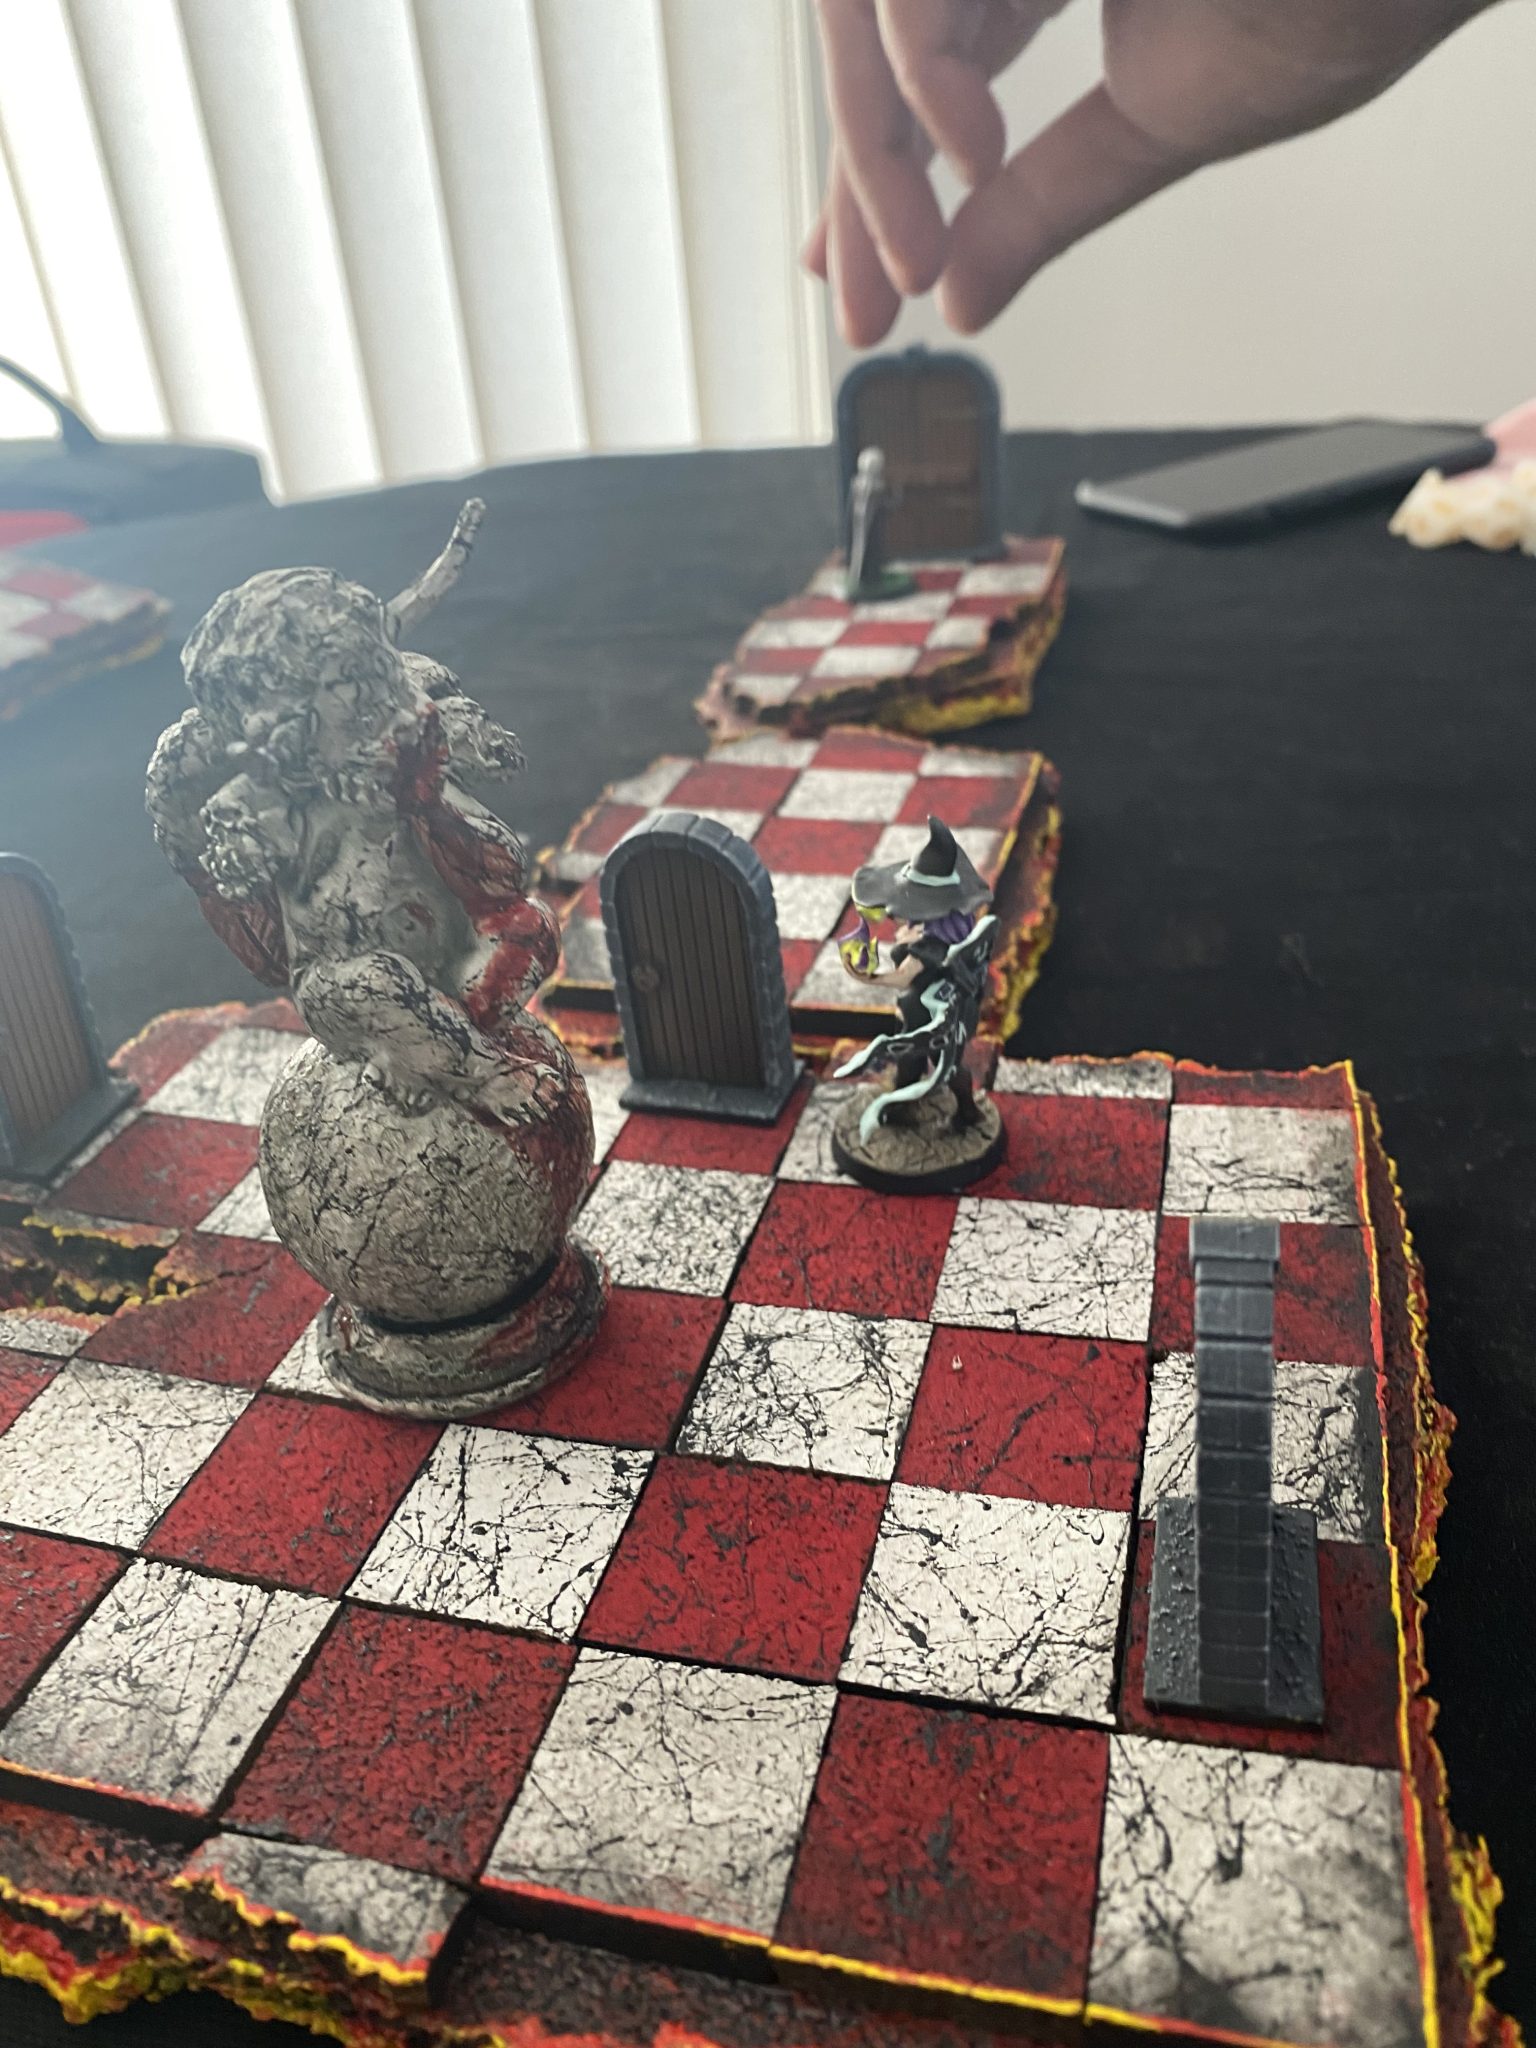
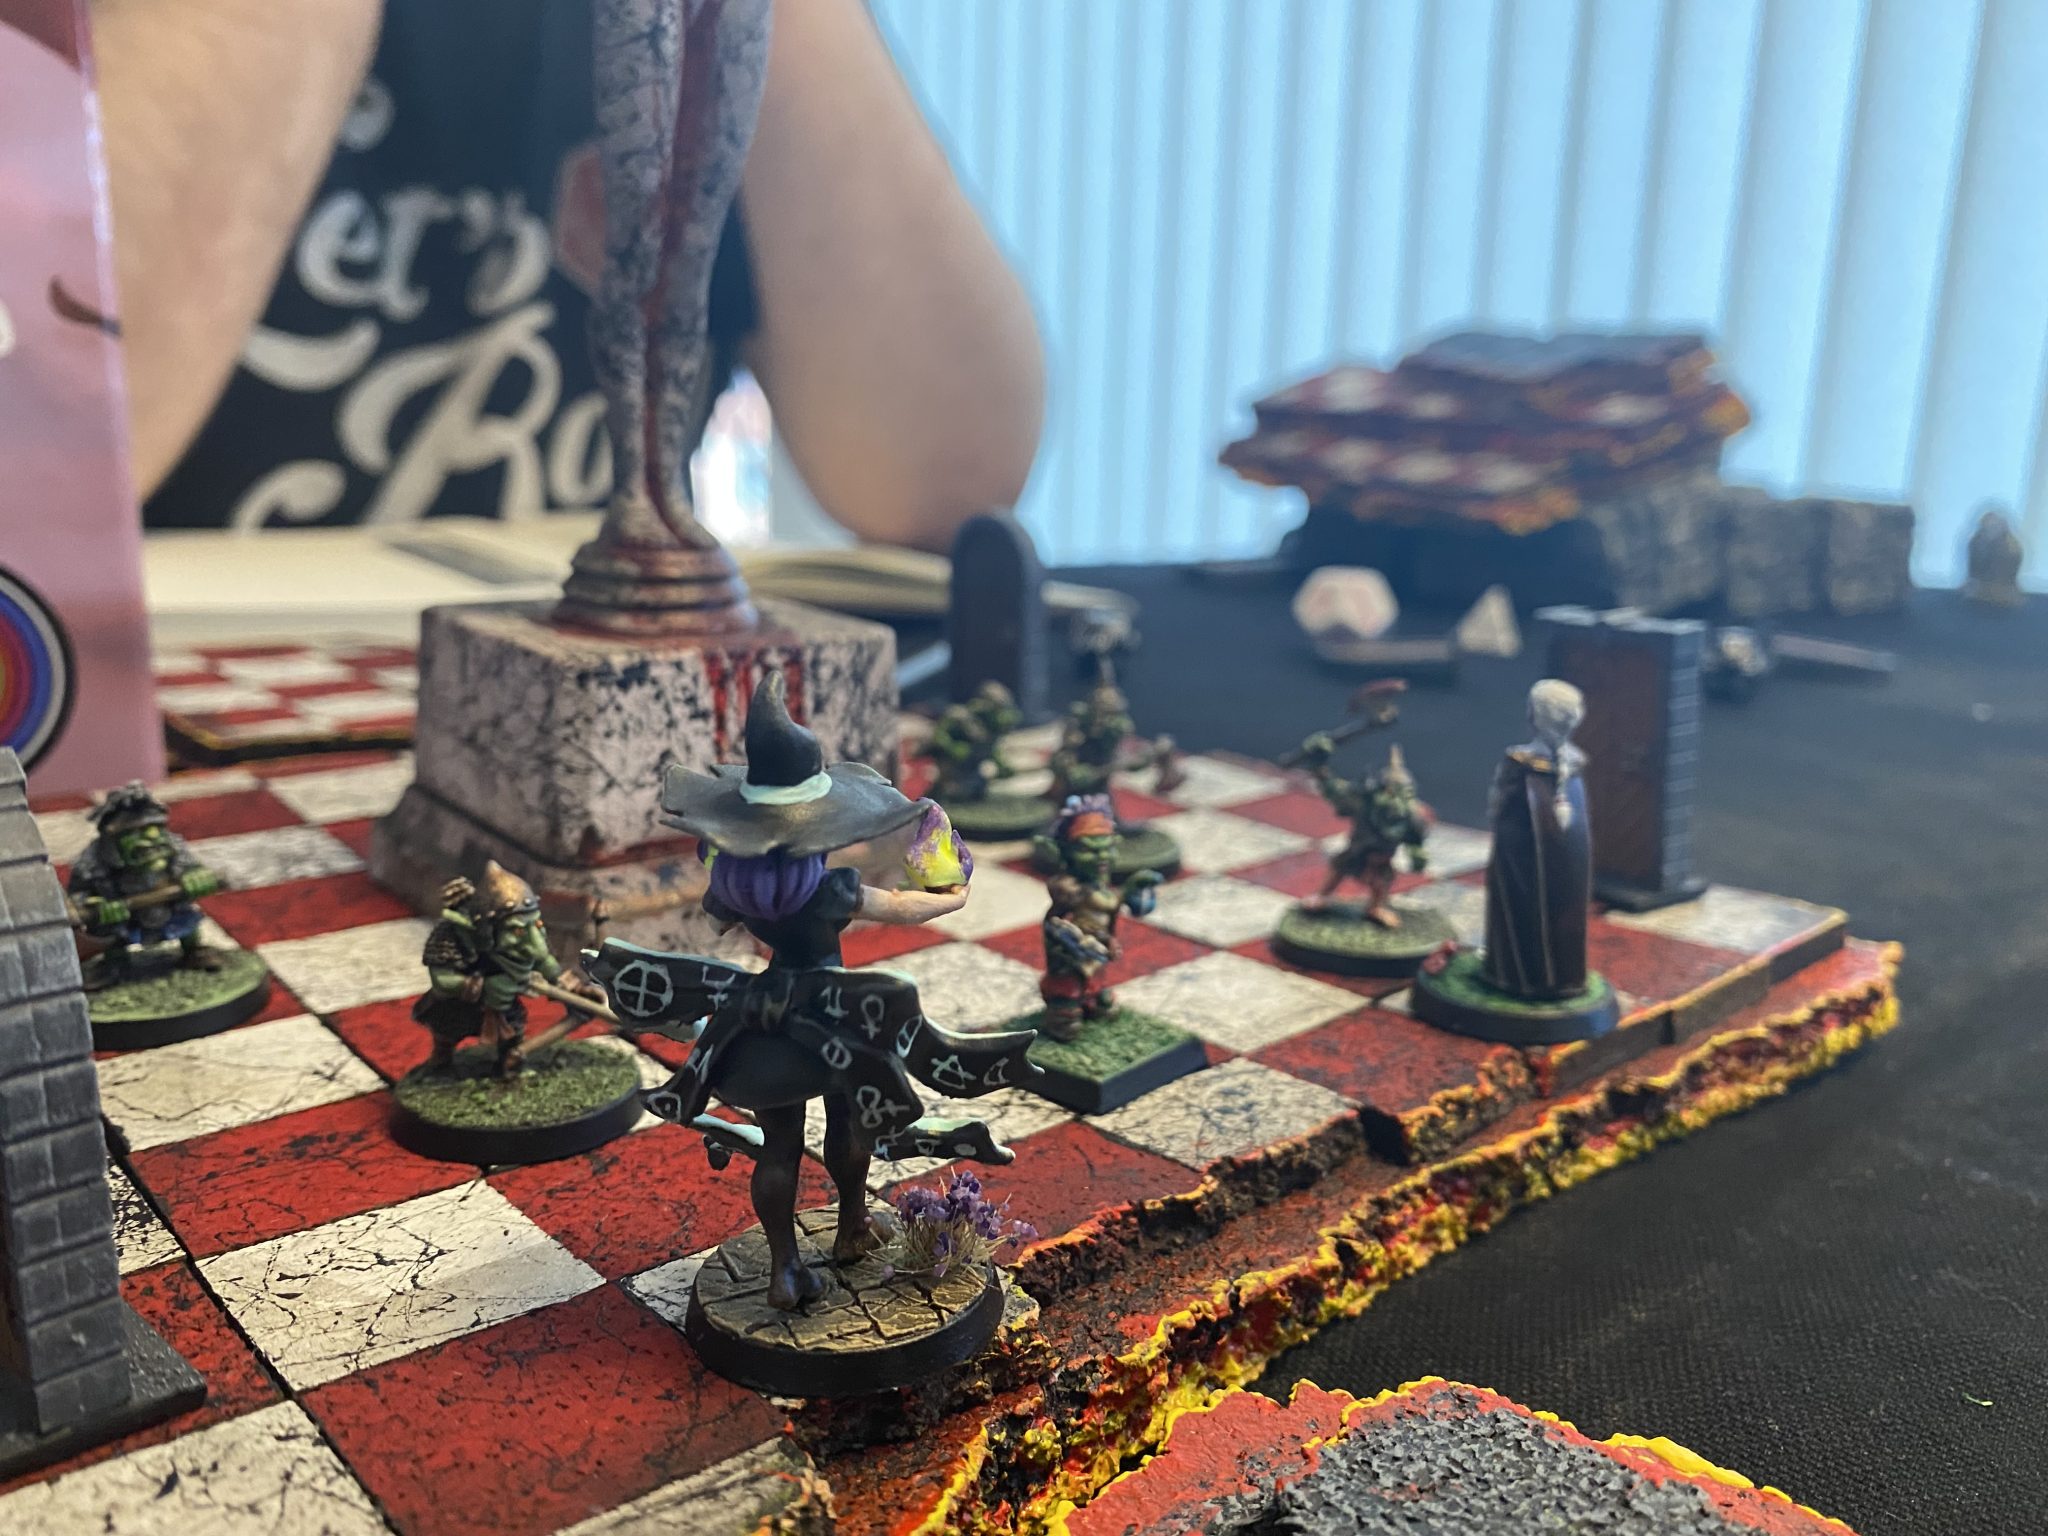
The Ruby Jaw
In this tall room (3) they spotted what looked like a Ruby jawbone hanging from a rope from the ceiling. Other than that, the only thing they noticed was all the four walls were covered in tiny holes.
As Penny Purplesparks tried to shoot down the Jaw, it became clear missing the rope meant poisonous darts would fly out from the tiny holes.
Not know what the Jaw was for, the heroes decided to retreat.

Meeting fellow adventurers
Having retreated to the angel statue room (19), our heroes ran into another lost group of adventurers, who had clearly seen recent combat. They explained they had come from the east and had killed a larger group of zombies in that direction, but other than that they couldn’t help with directions to the permit office and to James Brimstone.
Witb no clear direction, the heroes decided to go back to the tall room (3) to see if they had missed something.
The floor is lava
Back in the tall room with the Ruby jaw still hanging (3), the heroes started investigating the walls and discovered a hidden path (15) leading north to a door that they quietly opened up.
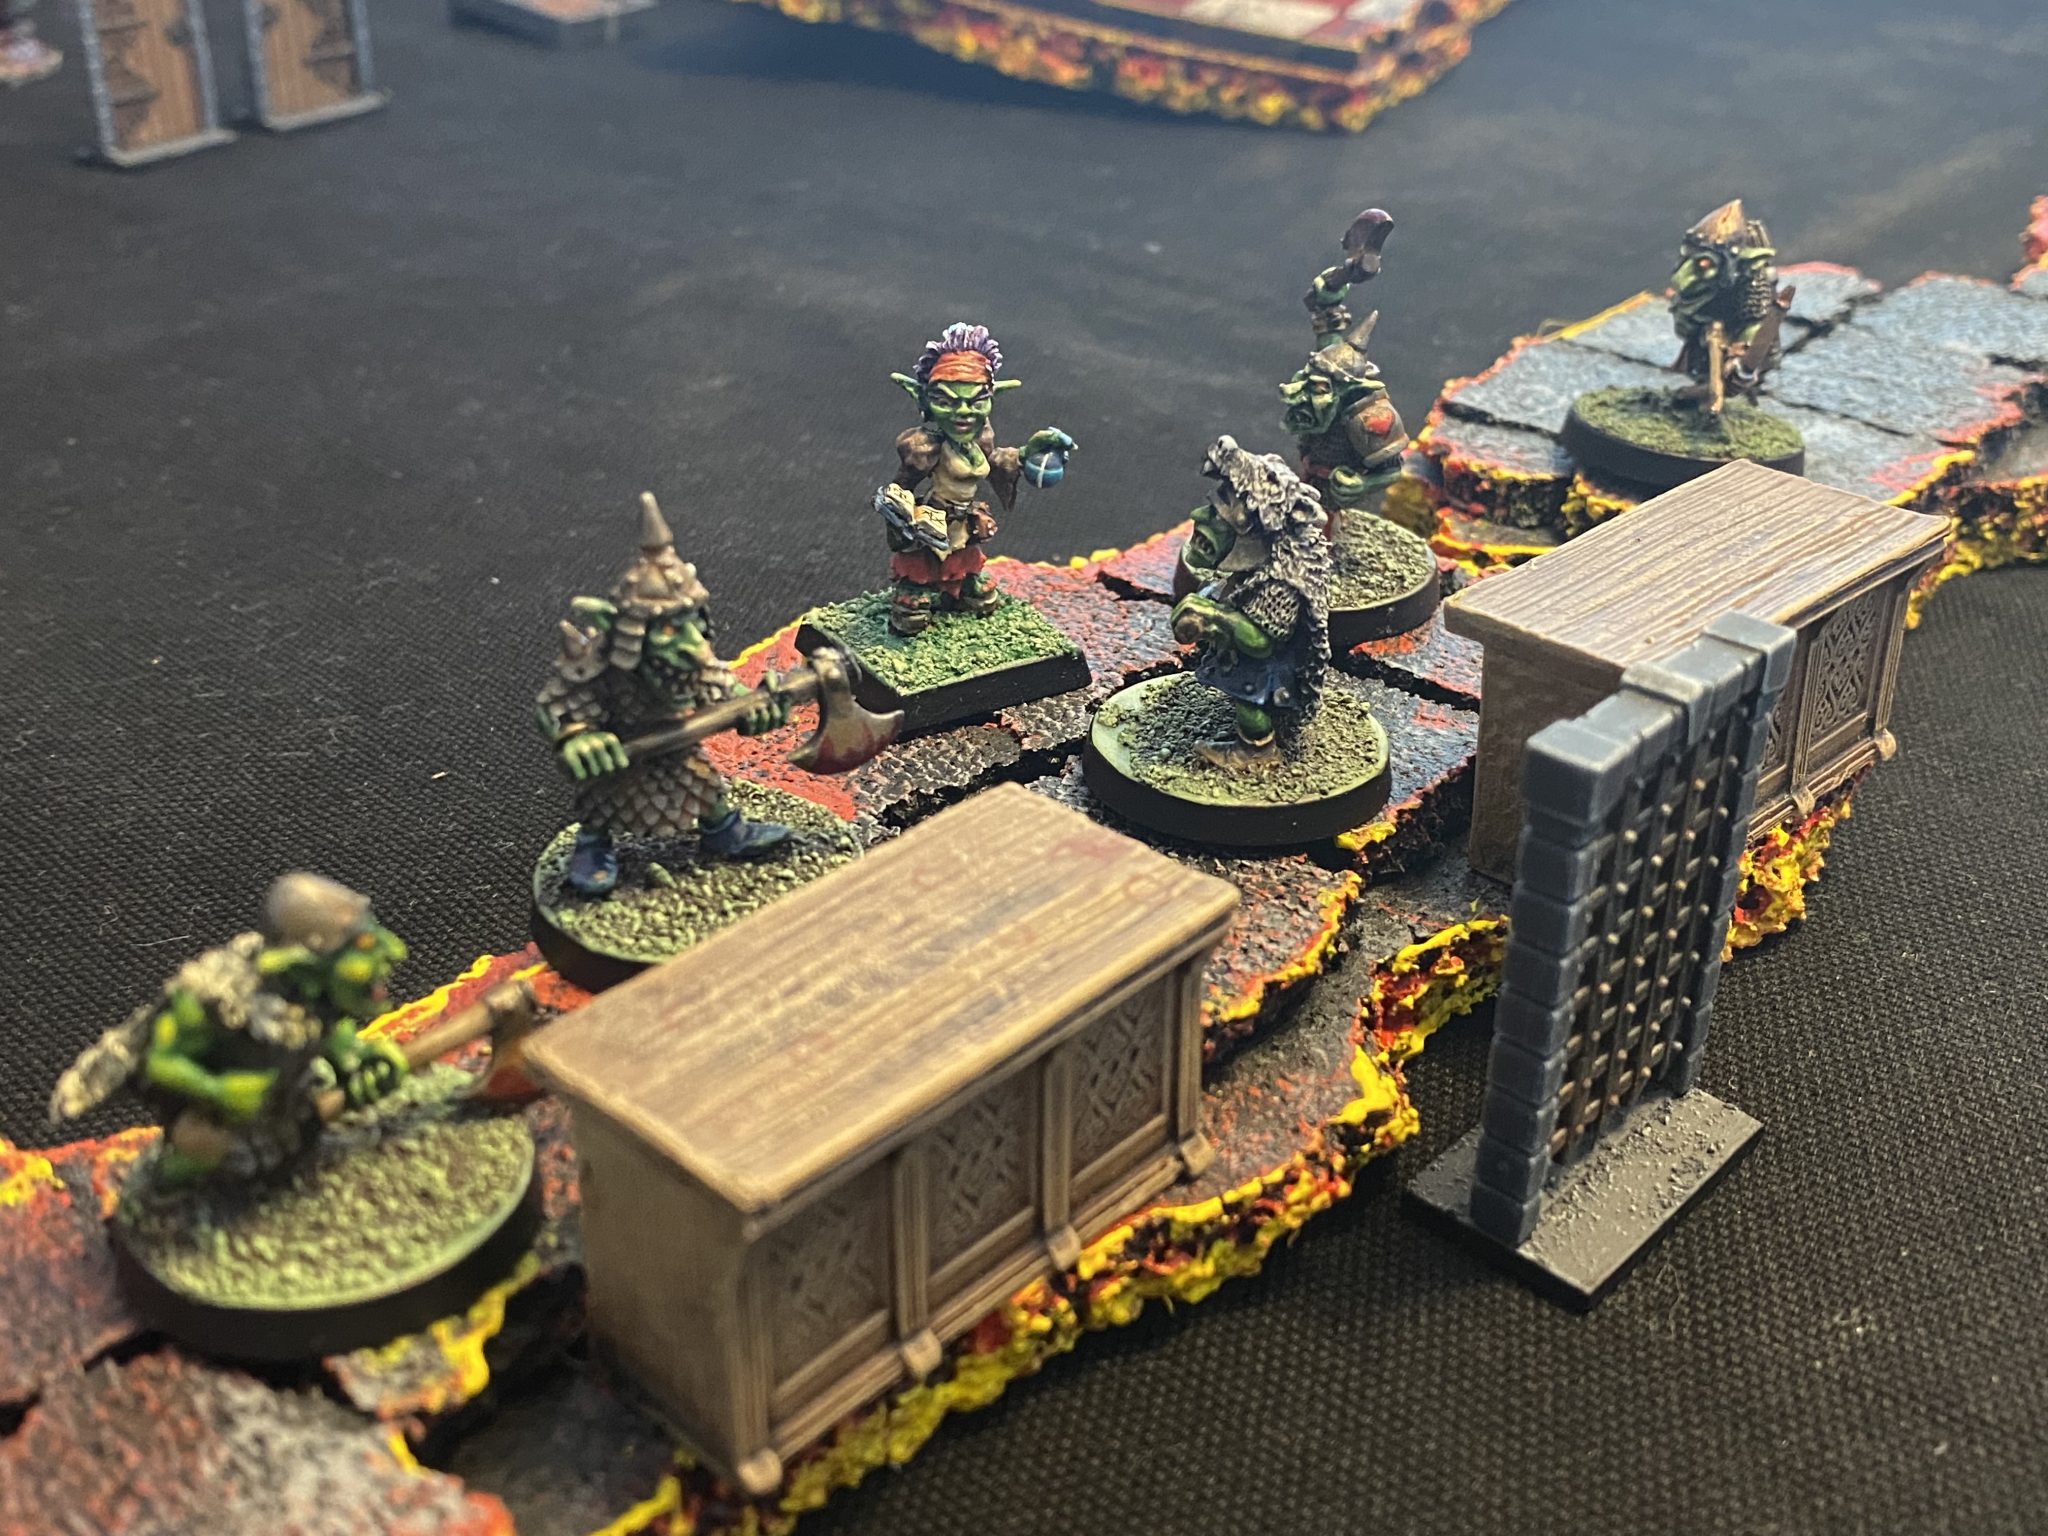
As they peaked in to an open sea of lava (2), they spotted another Jaw this time of Emerald, but before they could do anything, another door to the east was raised and a goblin came through as it pushed.
The Goblin started to make its way across raised stones across the lava clearly with the intent to collect the Emerald Jaw. Clearly not comfortable with the task, the Goblin argued with other Goblins on the other side of the raised door. The debate was largely around whether this area was haunted or not.
Penny took advantage of the situation to try and scare the Goblin. It worked, but not before the Goblin had snatched the Jaw and legged it out the heavy door to the east, which came crashing down.
investigating the door to the east, the party realised it had to be raised from somewhere else and decided to return all the way back to room 5 where they had started.
The permit office… almost.
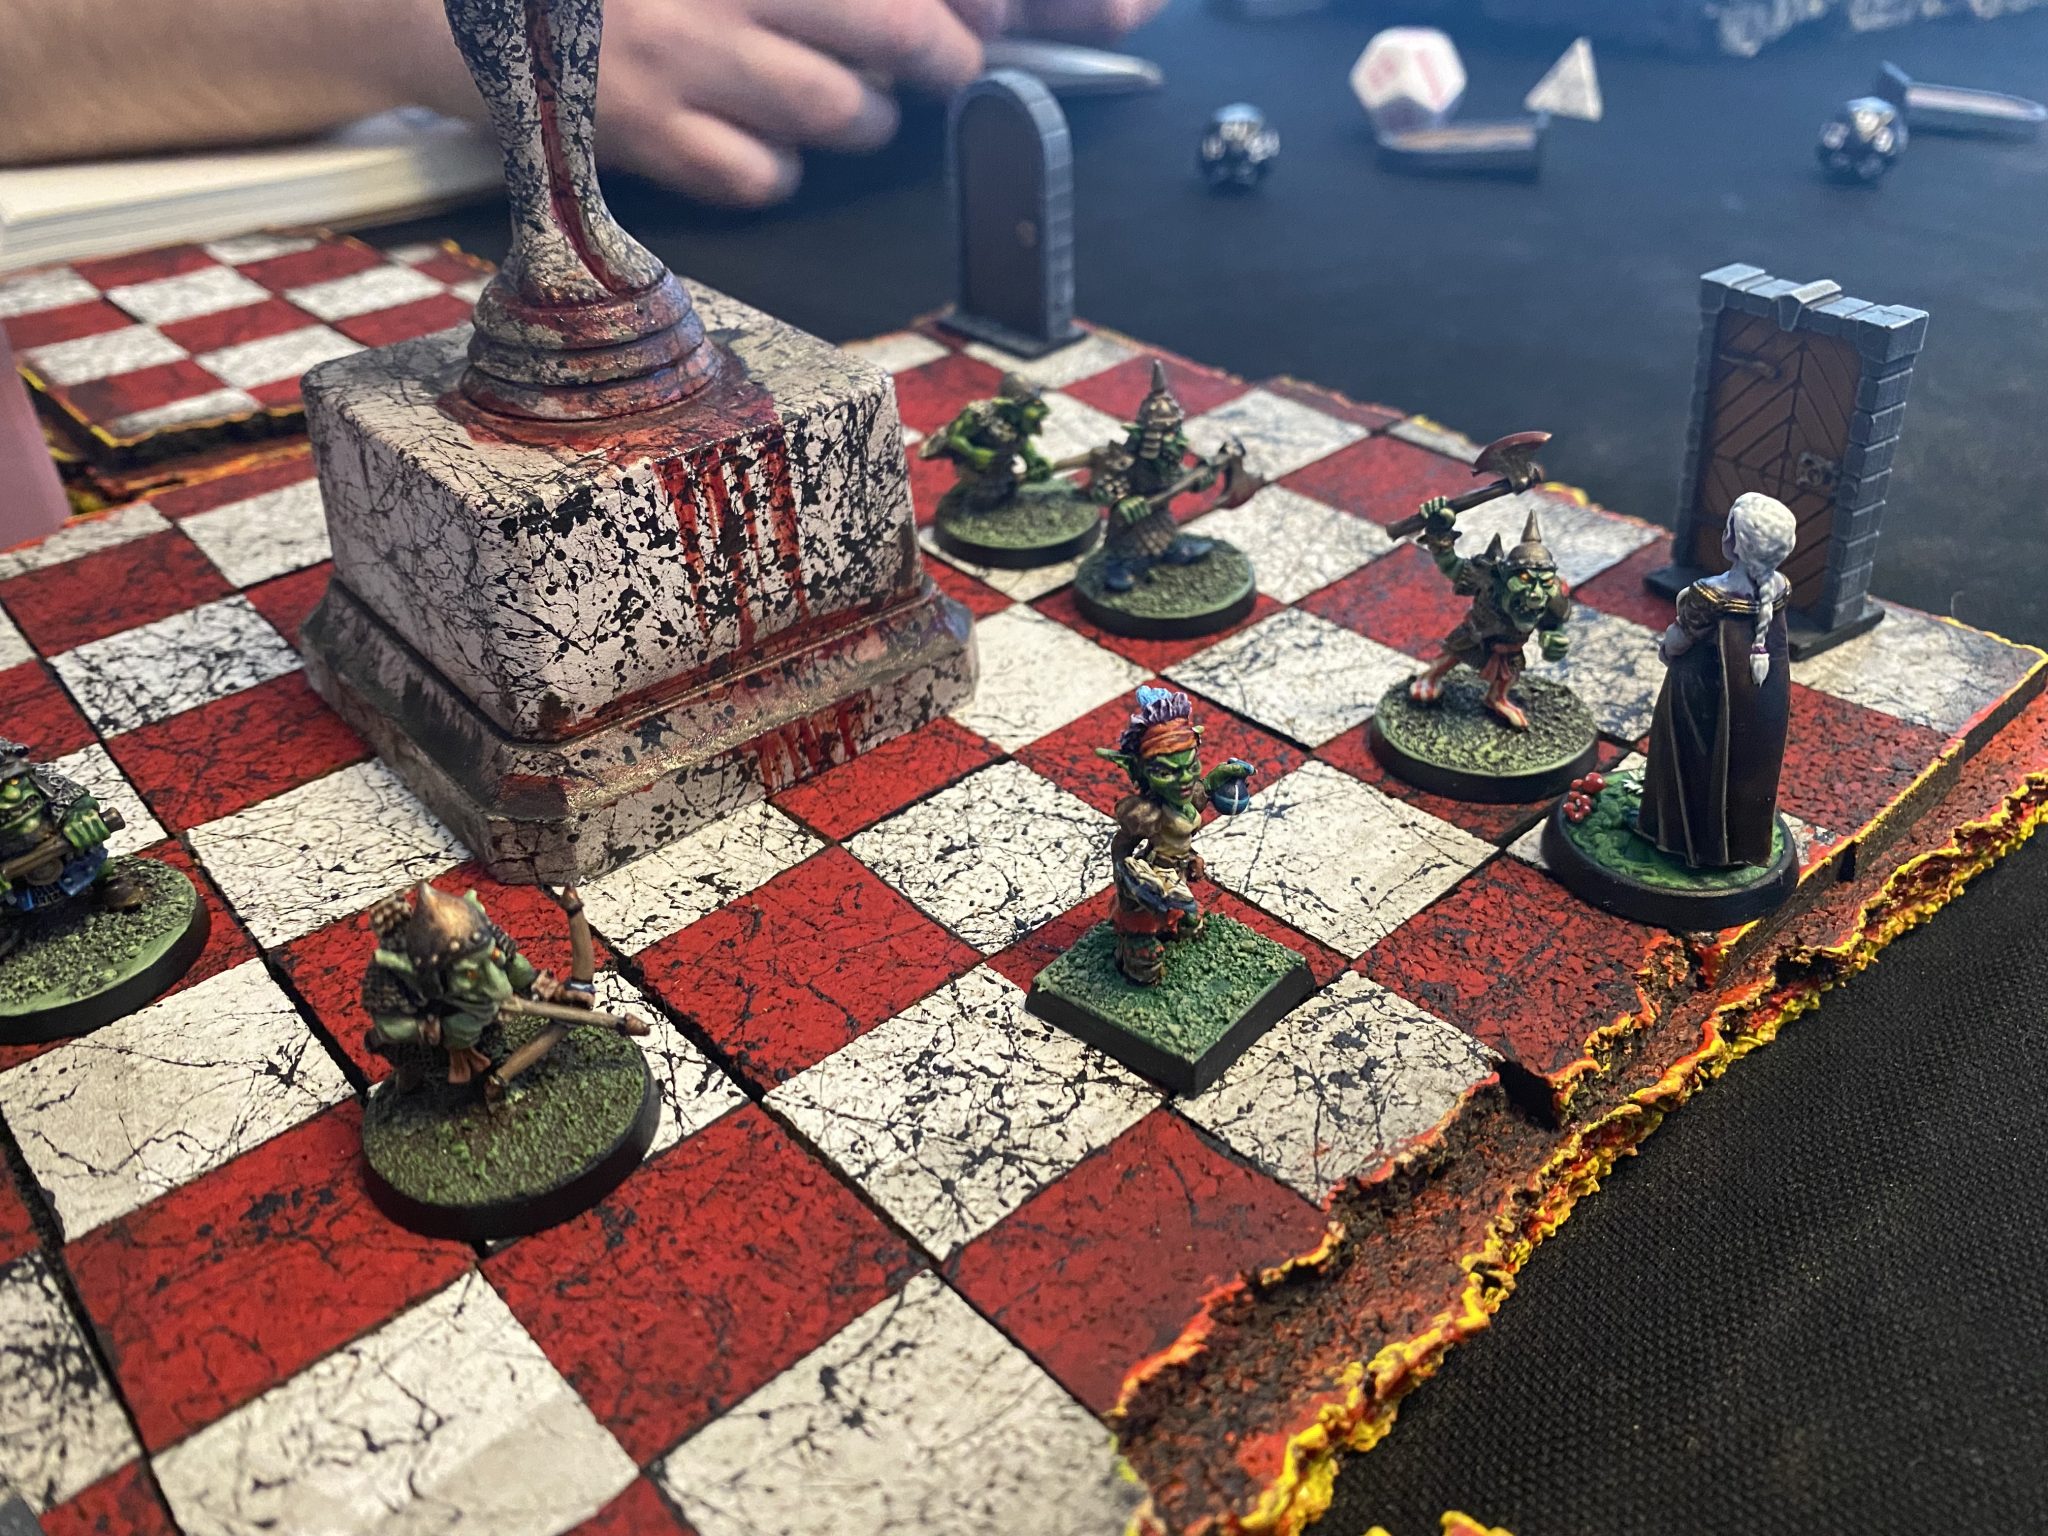
The heroes moved to the east finding the actual welcome hall (8) with the main entrance leading south (17). But what was more interesting was raised voices from a hallway to the North leading out to the open lava again (1).
Here the heroes met the fully Goblin gang arguing with a polite devil located in what looked like a small office in the middle of the lava.
A raised bridge seemed to be the only way across and attached to the bridge was a mechani-magical contraption with four jawless skulls: Ruby, Emerald, Sapphire and Ivory.
The Goblins, in their frustration, left the argument and went South towards the welcome hall (8). But the heroes knowing the Goblins had one of the jaws, ran after to ambush them.
However, the leader of the Goblin wasn’t phased. She quickly dispatched half the Goblins to the West to locate the missing jaws, while her and a few of her minions remained to “take care” of the attacking heroes.
Follow that Goblin!
The heroes quickly dealt with the a few henchmen, before the Goblin boss fled to the East.
The heroes gave pursuit through a room with shooting slits (6) killing one of the Goblins in the pursuit only to find the Goblin boss and the remaining minion dead in a storage room fully of things (10).
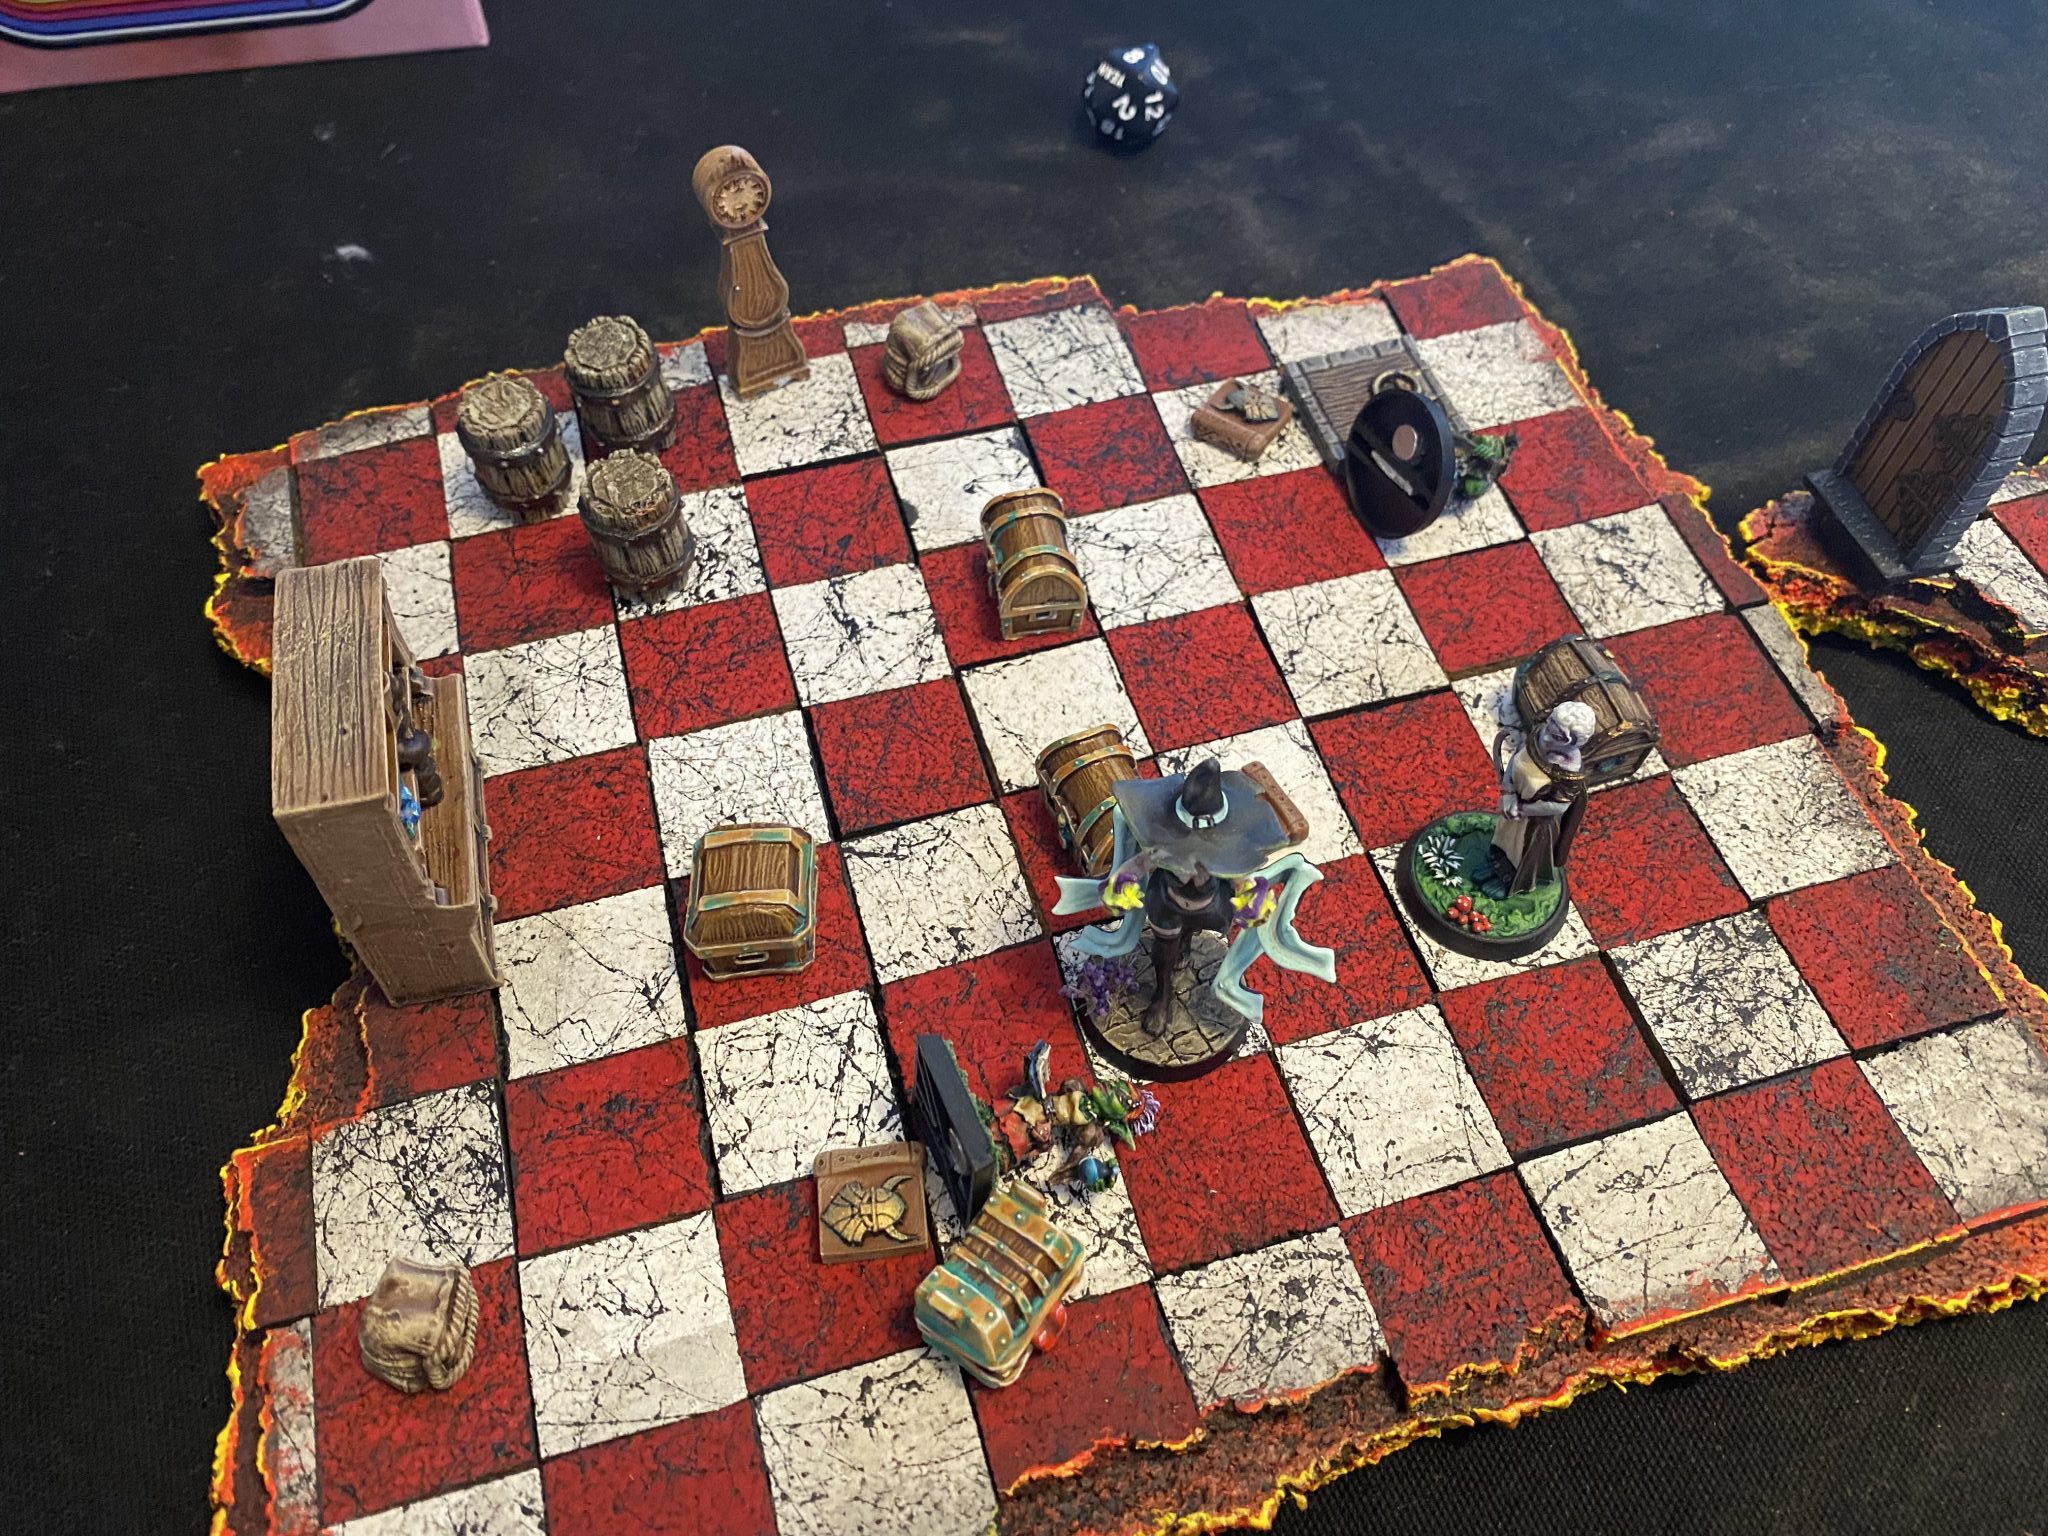
It quickly became clear the storage room was a nest of Mimic cubs.
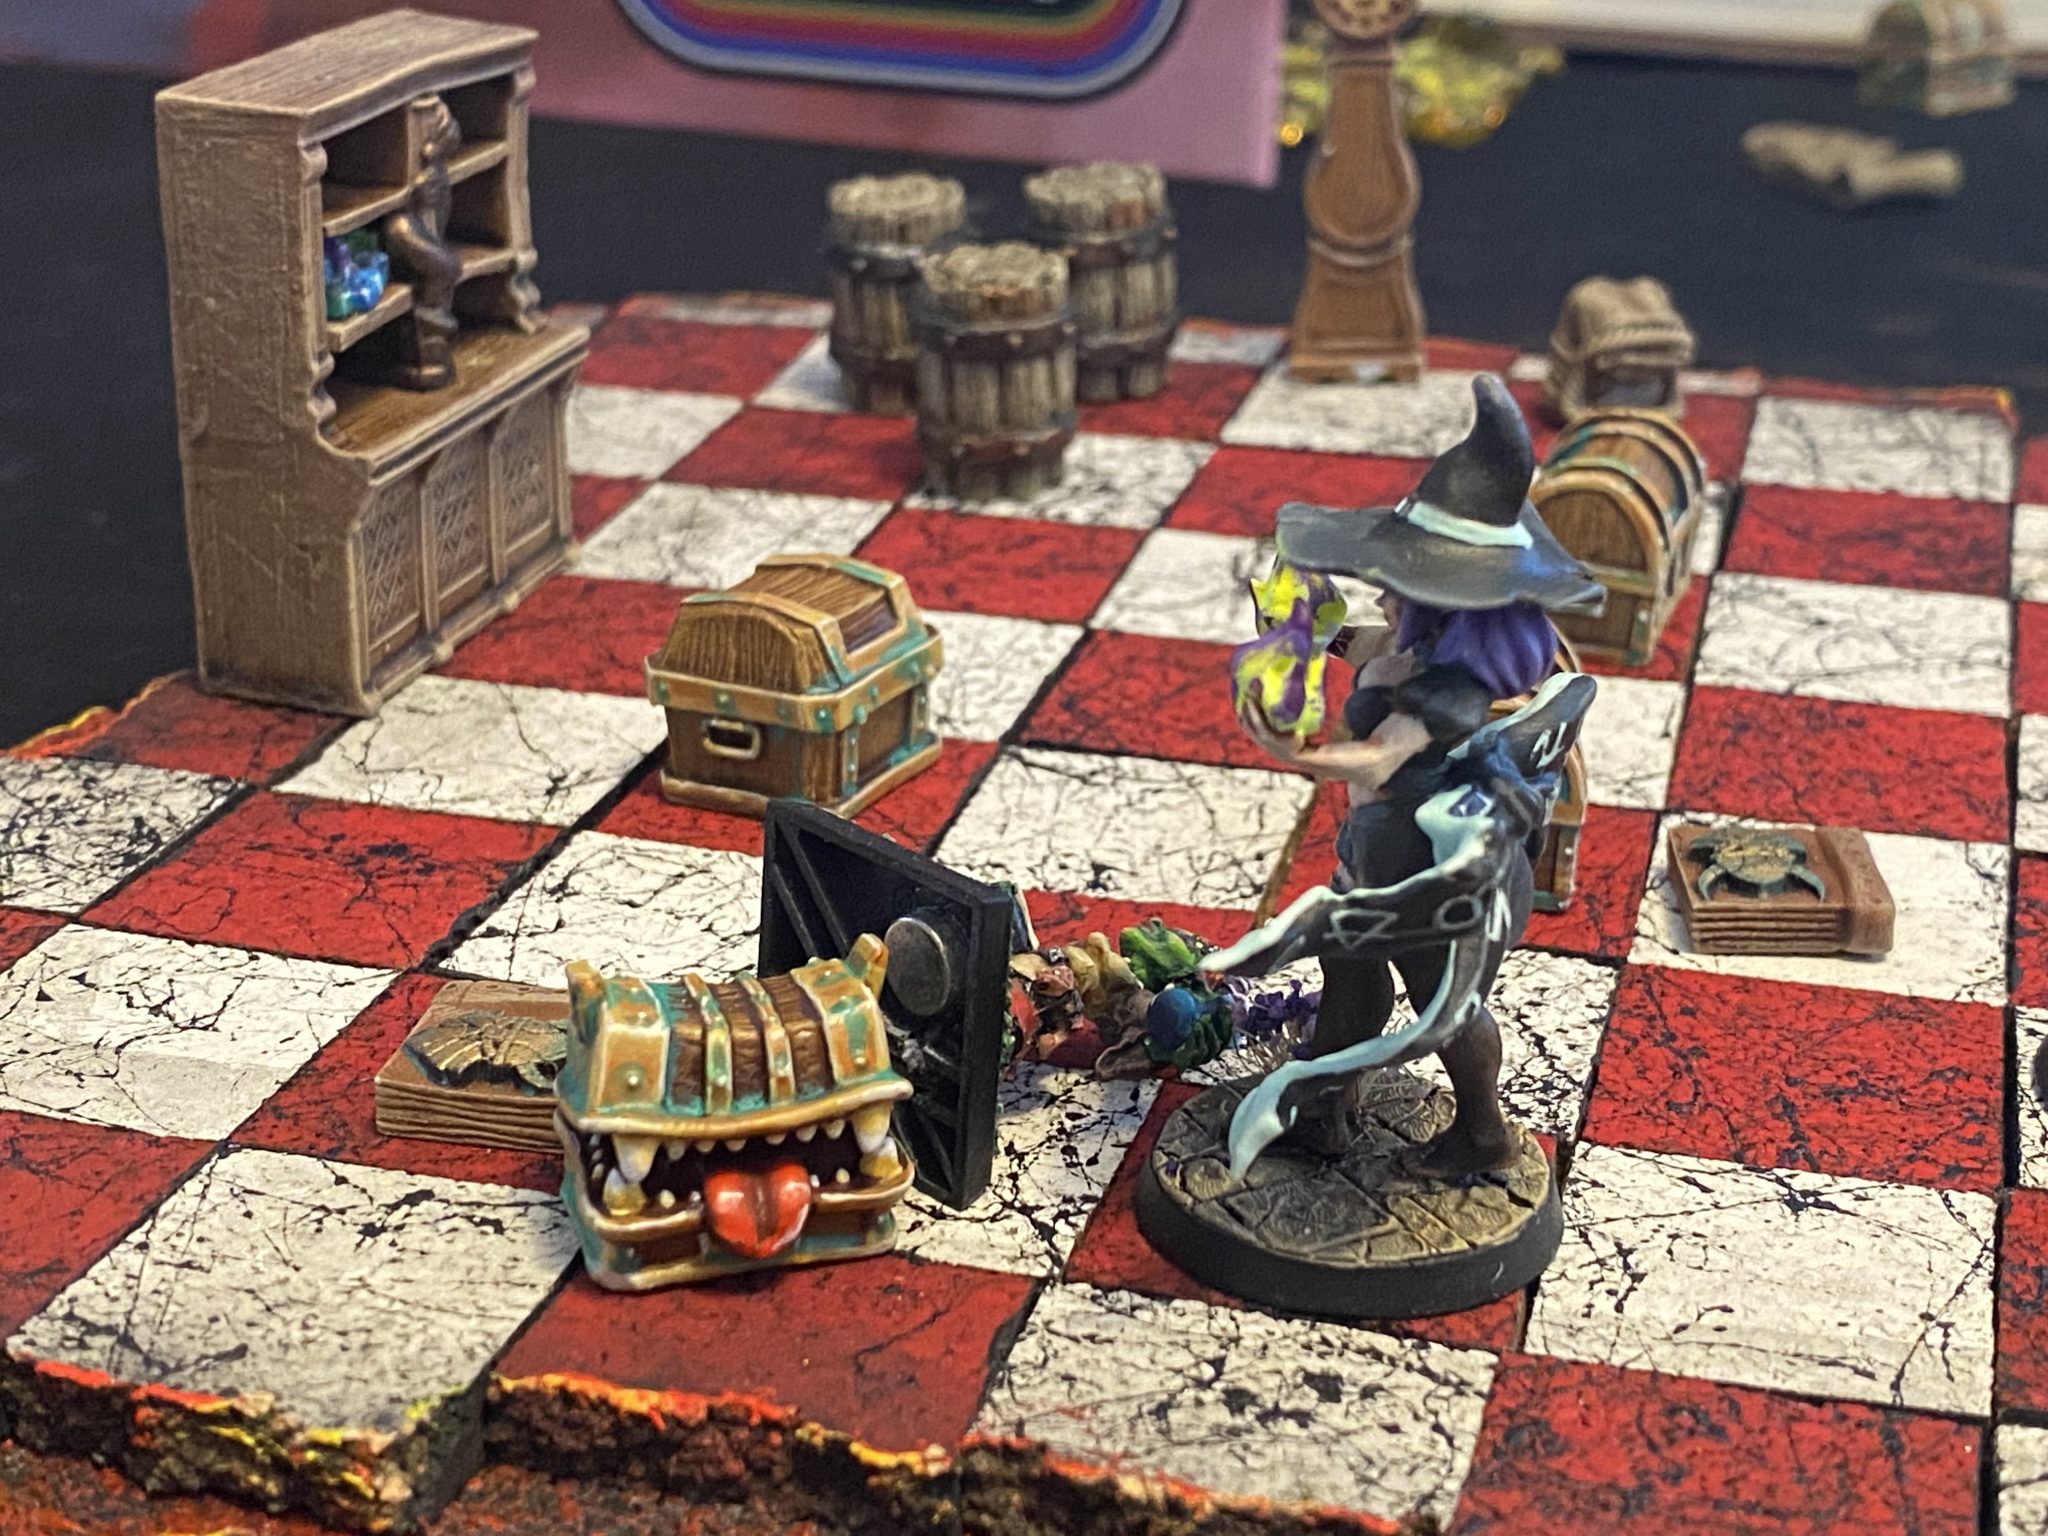
During the fight, by chance, the heroes realised that north wall of the room had some indents high up (4) where they found the Sapphire Jaw.
With the Sapphire Jaw recovered, and the Emerald Jaw found in the Goblin Boss’ puches, the heroes ventured back to the tall room (3) to get the Ruby jaw.
With friends like these…
However, back in the angel statue room (19), the heroes saw the adventurers again, but they all huddled around a corner in the far room not responding to the friendly hails from the heroes.
As the heroes cautiously approached, they realised the adventures had succumbed to the infectious wounds from their earlier fight with zombies and had turned undead themselves!
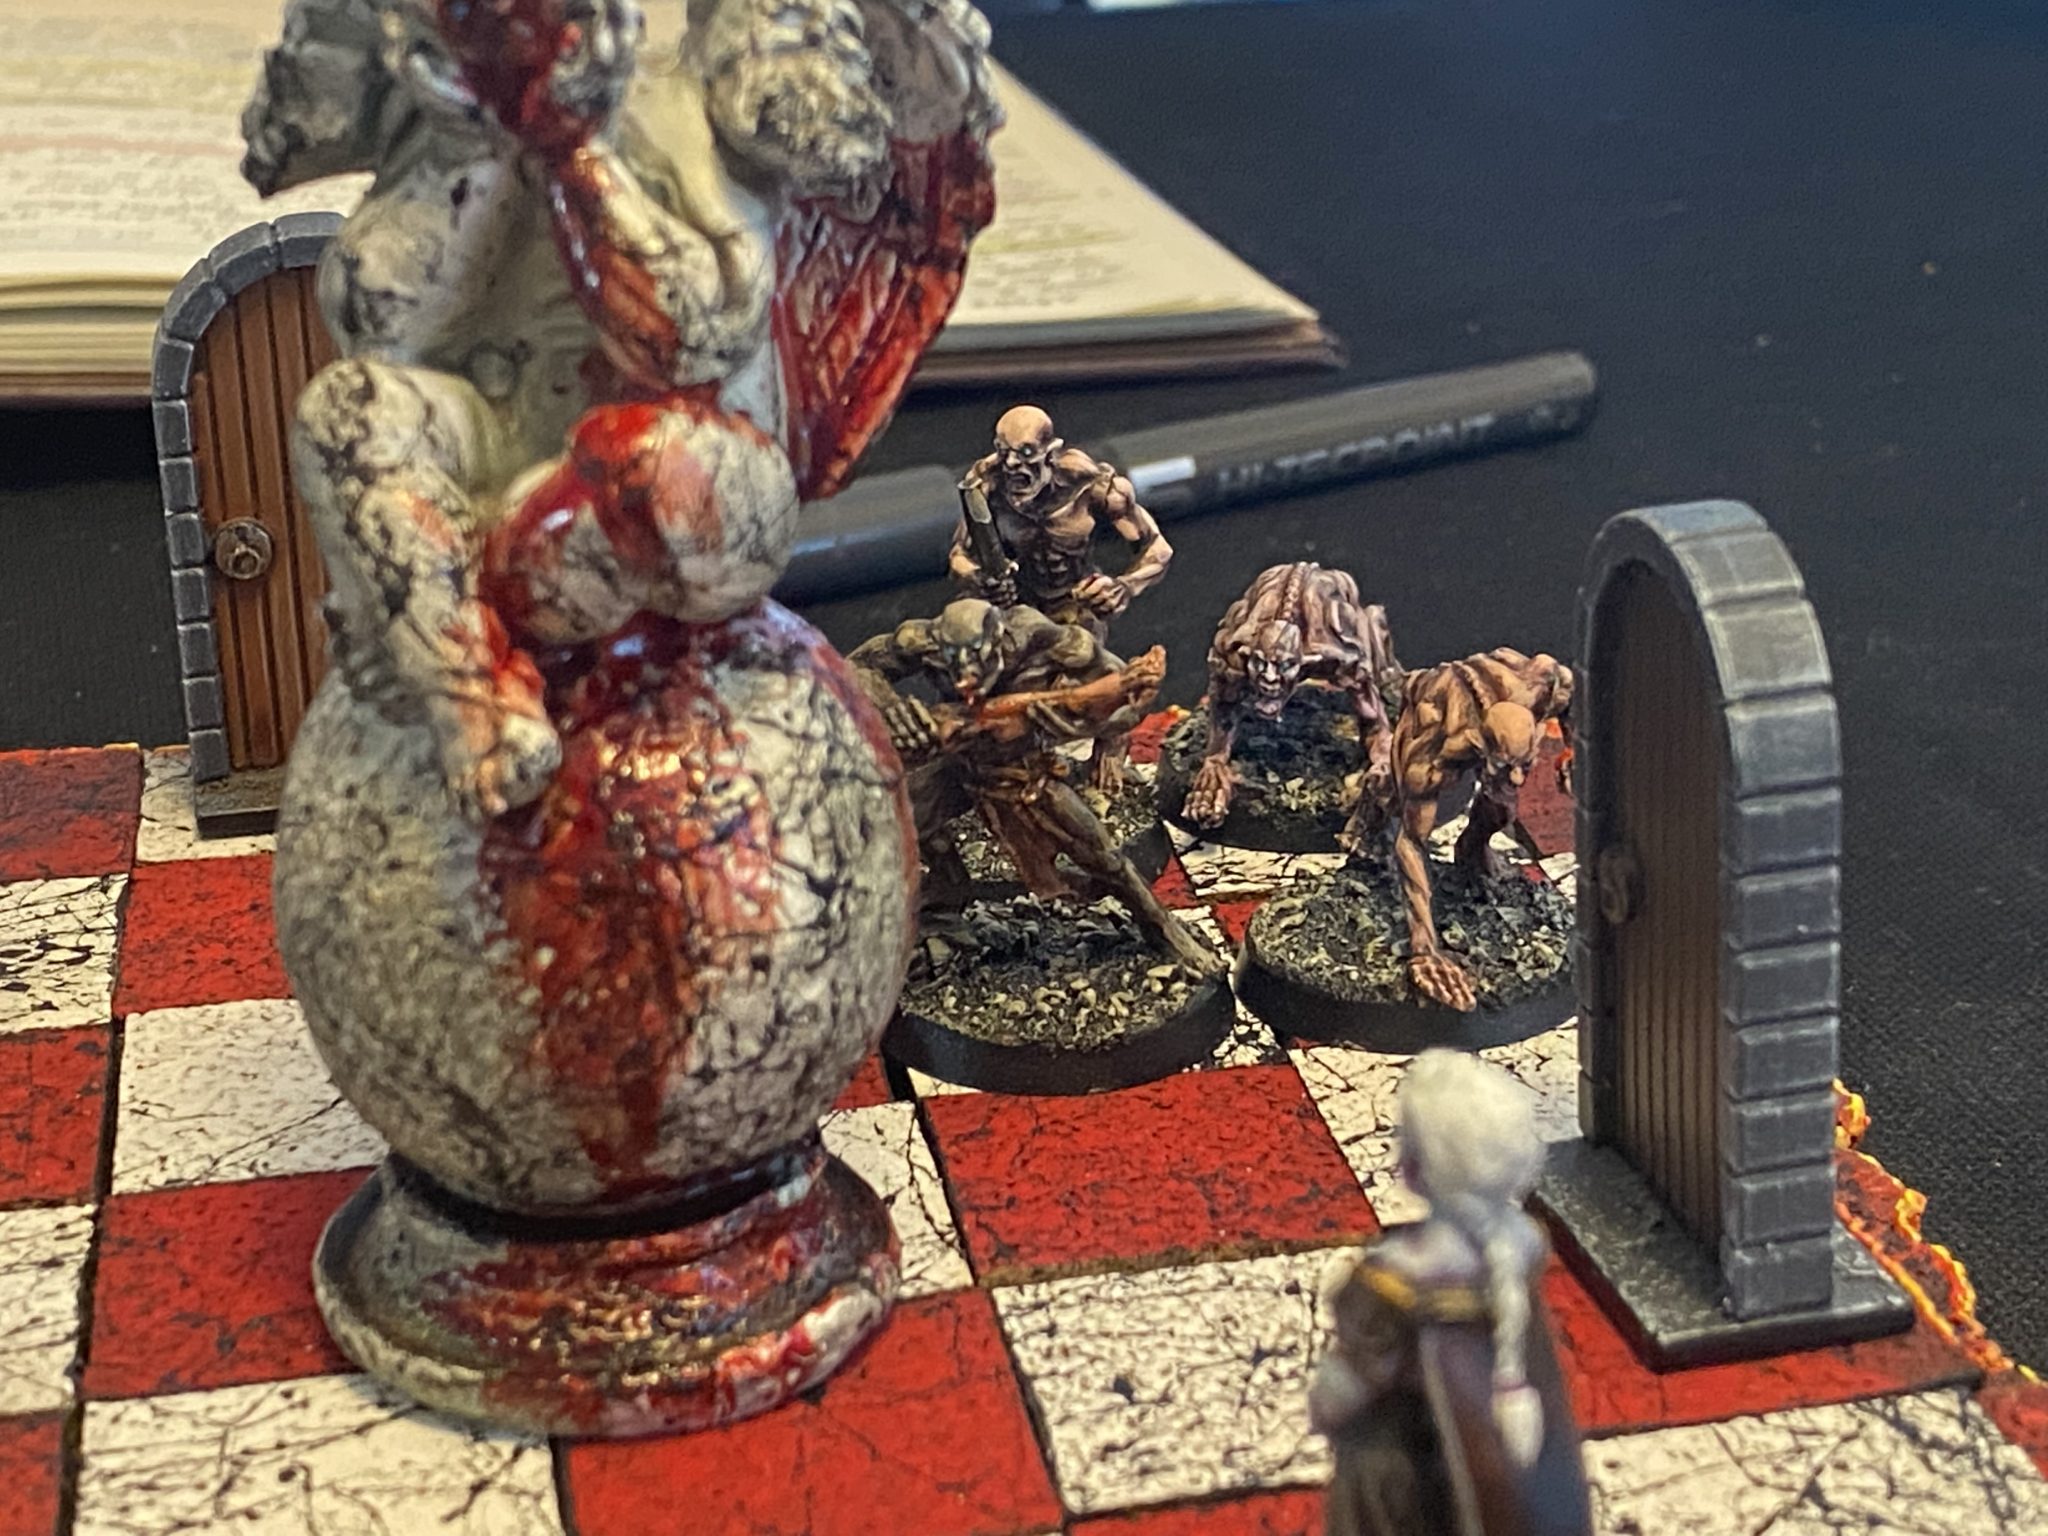 It became clear the zombies were too much to handle. But luckily Alfein had brought some meet from the kitchen before they left. She threw it down the north corridor to lure the zombies away while the heroes ran into the tall room (3).
Here they quickly shot down the Ruby Jaw but not before taking additional damage from the darts.
There was no time to spare as the zombies, having returned, were bringing down the door. The heroes devised a plan to lure the zombies into the tunnel (15) with Alfein using her Rogue skills to hide behind the door and Penny pretending to run in only to turn invisible last second turn before the entrance.
It worked and finally the zombies were trapped.
The final Jaw
As they ran out through the angel statue room (3) again, they had a grim thought: Could they use a jaw from one of the dead zombies as the final jaw? After all the skull had been ivory.
Quickly, Alfein put her chef skills to use and elegantly carved out the jaw of one of the dead zombies.
Papers please
Back by James Brimstone’s office, the four jaws did indeed fit and the bridge was lowered so the heroes could secure the landing papers and return to safely to Here Today. Gone Tomorrow.
Afterthought
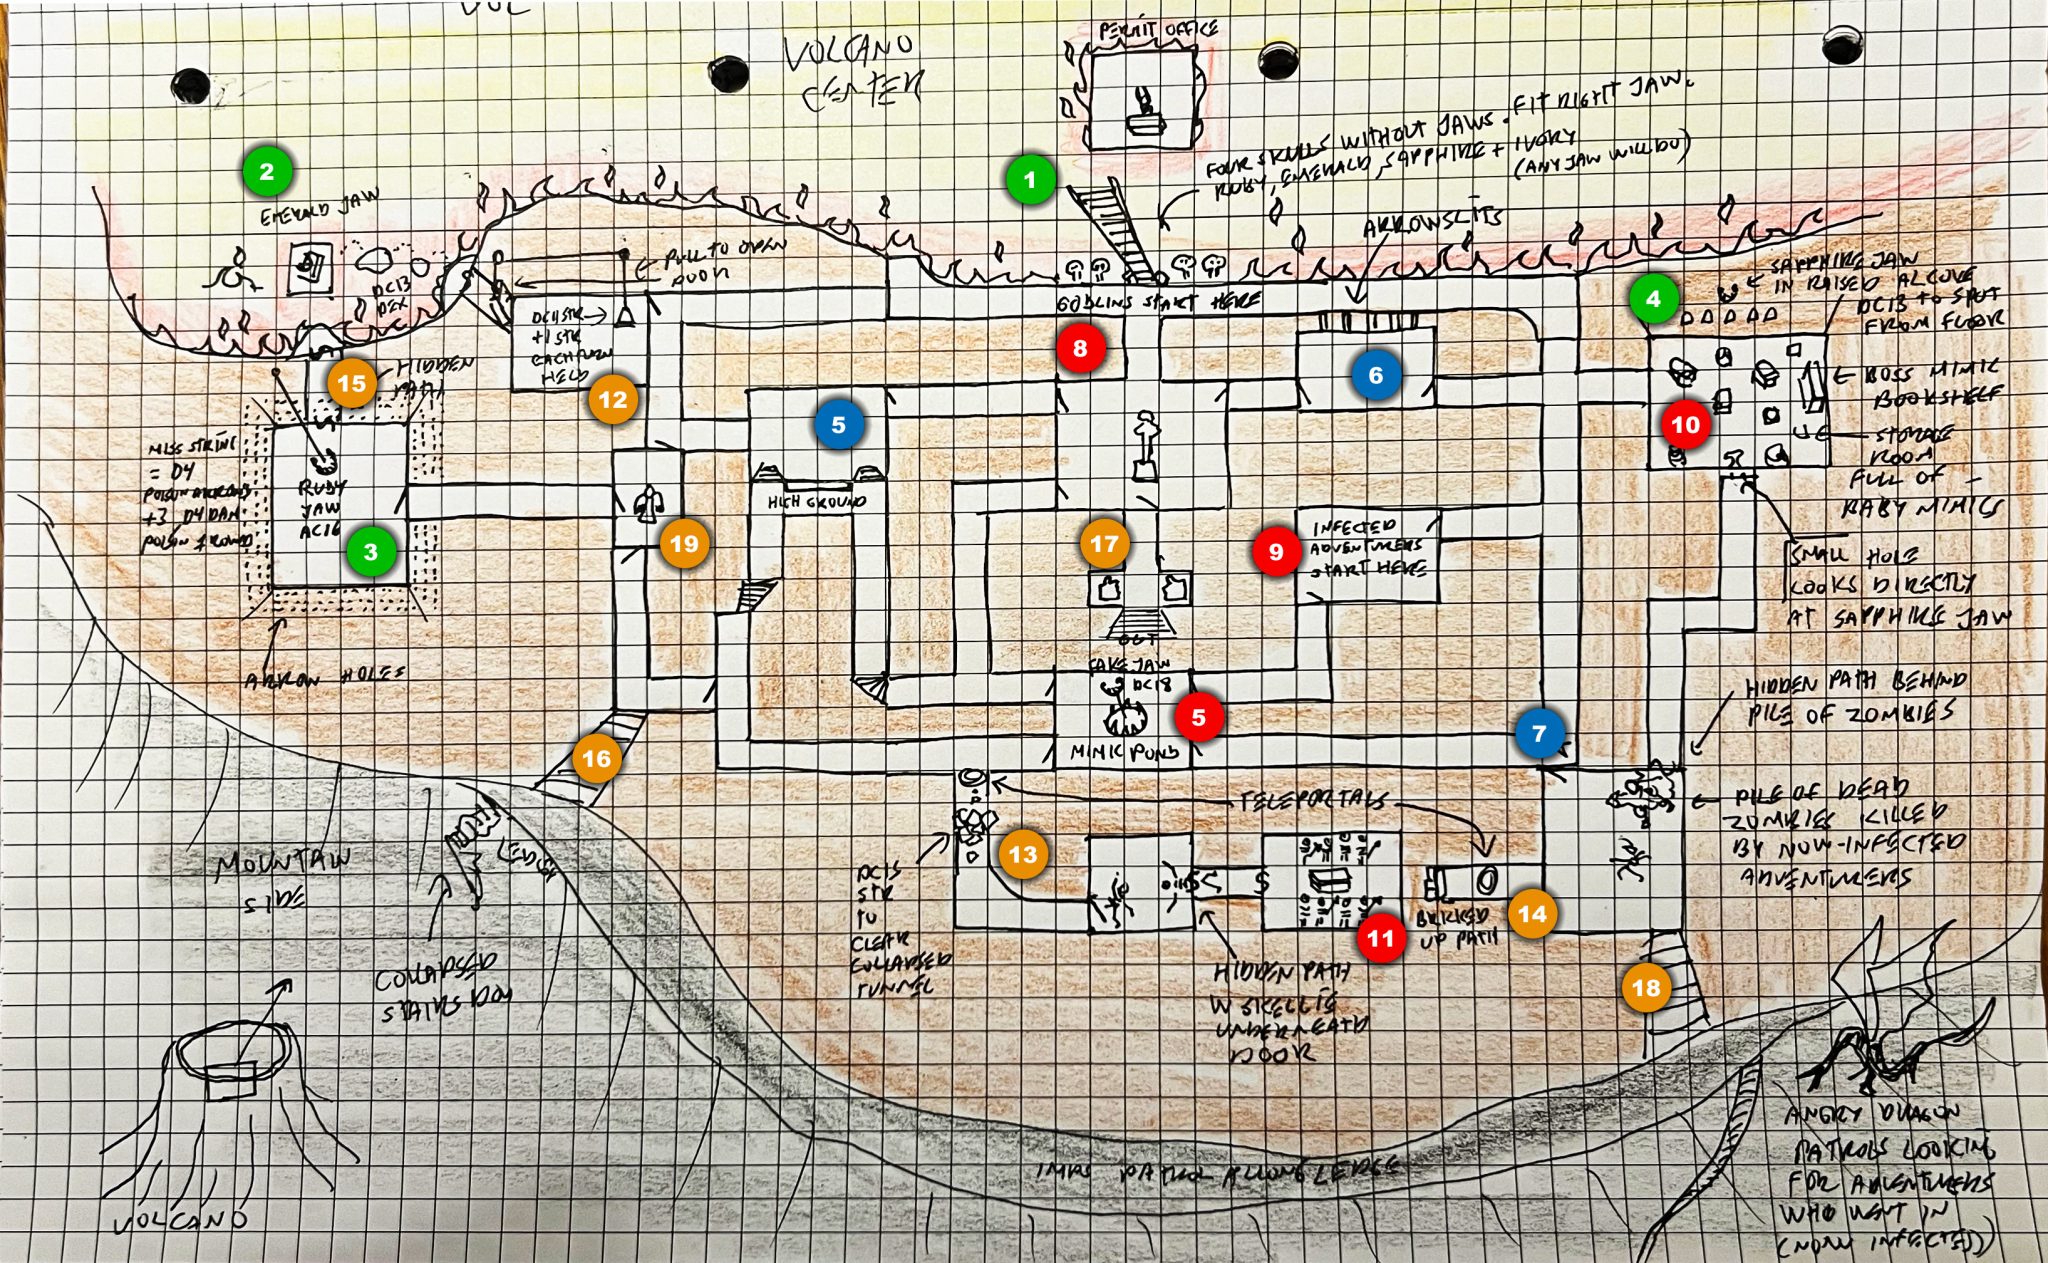
Here is the map with yellow marking where the players actually went.
While classic dungeon crawl doesn’t really seems to be what floats our boat, I do want to comment on how wonderful it was to play around a table again.
No amount of digital tools or zoom calls can replace real life tabletop roleplaying gaming.
Thanks to Elena and Sean for playing.