These are my notes as a player as this Chapter was DMed by first-time Dungeon Master Tony, who did a great job despite having the handicap of having to run the game remotely due to the current pandemic. This was my second game as a player.
Our heroes were hanging out in the Unnamed Tavern when a Knight-type character in the unusualy company of two Orcs entered the tavern.
They aimed for the bar owner and in somewhat aggressive fashion started questioning him about Dr Kloner. The bar owner looked positively puzzled and frightened and the heroes stepped in to calm the situation down.
As the Knight and his Orc muscle wouldn’t stand down or explain themselves, Jean-Jacques the Bard (my character) wove a magical song suggesting the Knight to leave. Entranced by the song, the Knight and the Orc left, but before they were out the dorr, one Orc dropped a locked satchel addressed to Dominer Tigel to be found in the Artisan quarters of Daisygate.
Welby, our Rogue easily opened the lock to find papers referring to experiments on fey creatures and map labeled “Map 2 of Lab 4 SPINOR”.
Visiting Dominer Tigel
The heroes decided to pay the addressee a visit, but chose to withhold the content and Alyanys the Warlock placed an illusion spell inside to mimic the documents. Unfortunately Dominer’s gratitude quickly soured as he realised the documents were an illusion.
Fortunately the heroes convinced Dominer they knew nothing about the illusion and offered to help find the real documents for a fee.
Back in the Unnamed Tavern, the heroes spent the rest of the day copying the content of the papers to the best of their abilities with the aim to return the original content to Dominer the following morning.
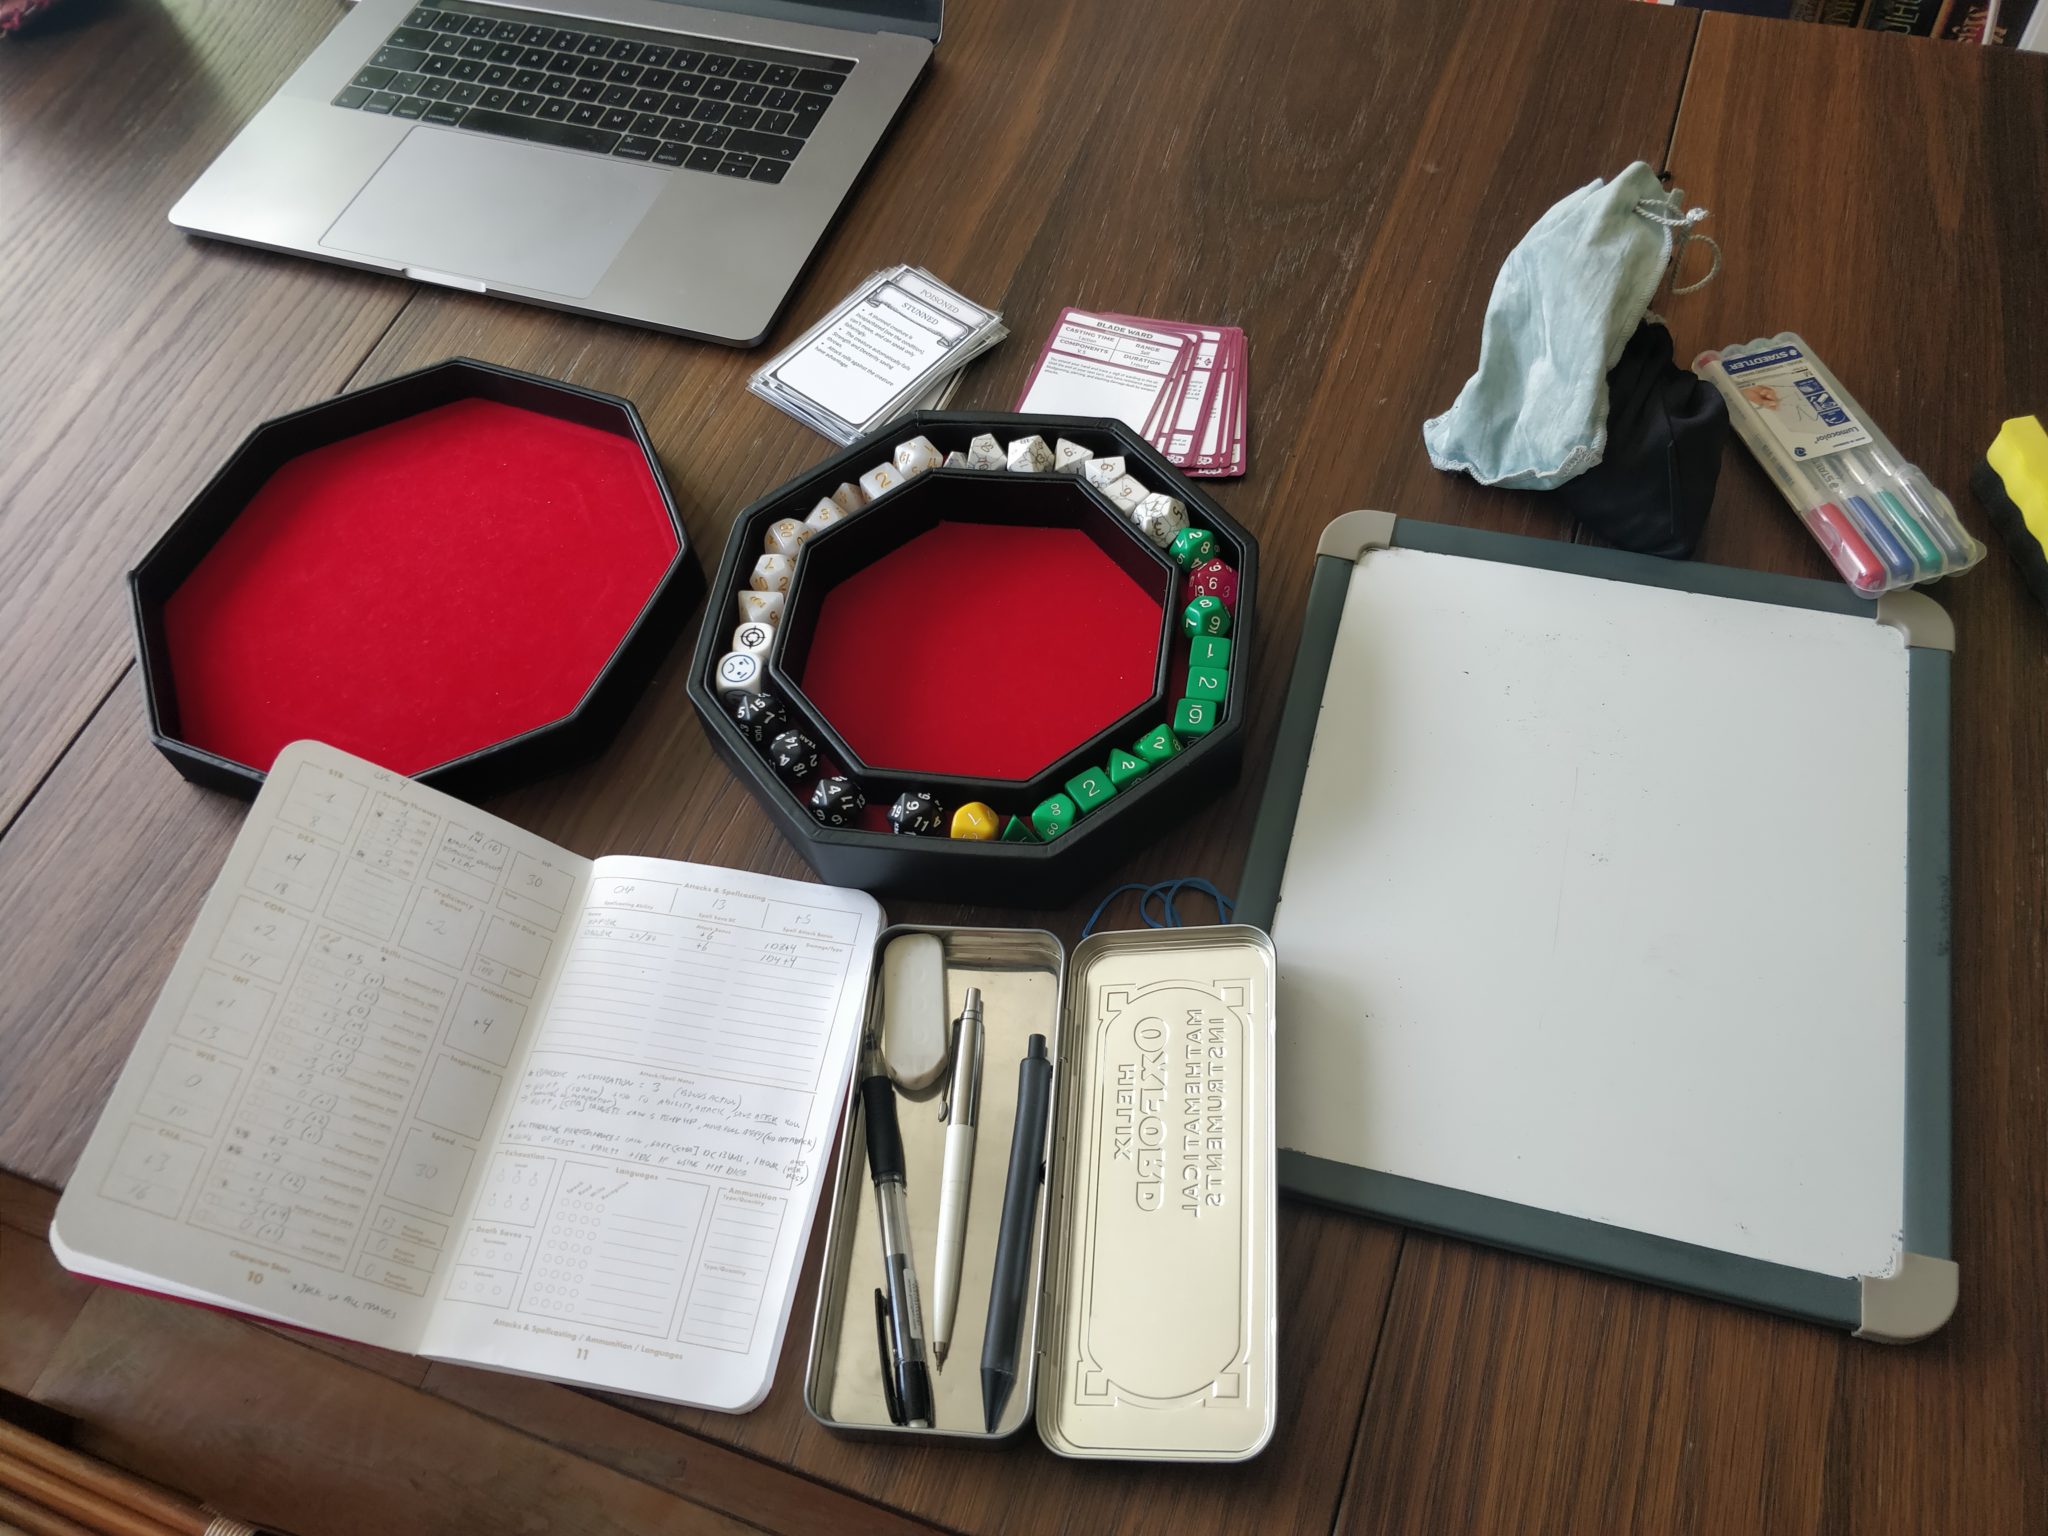
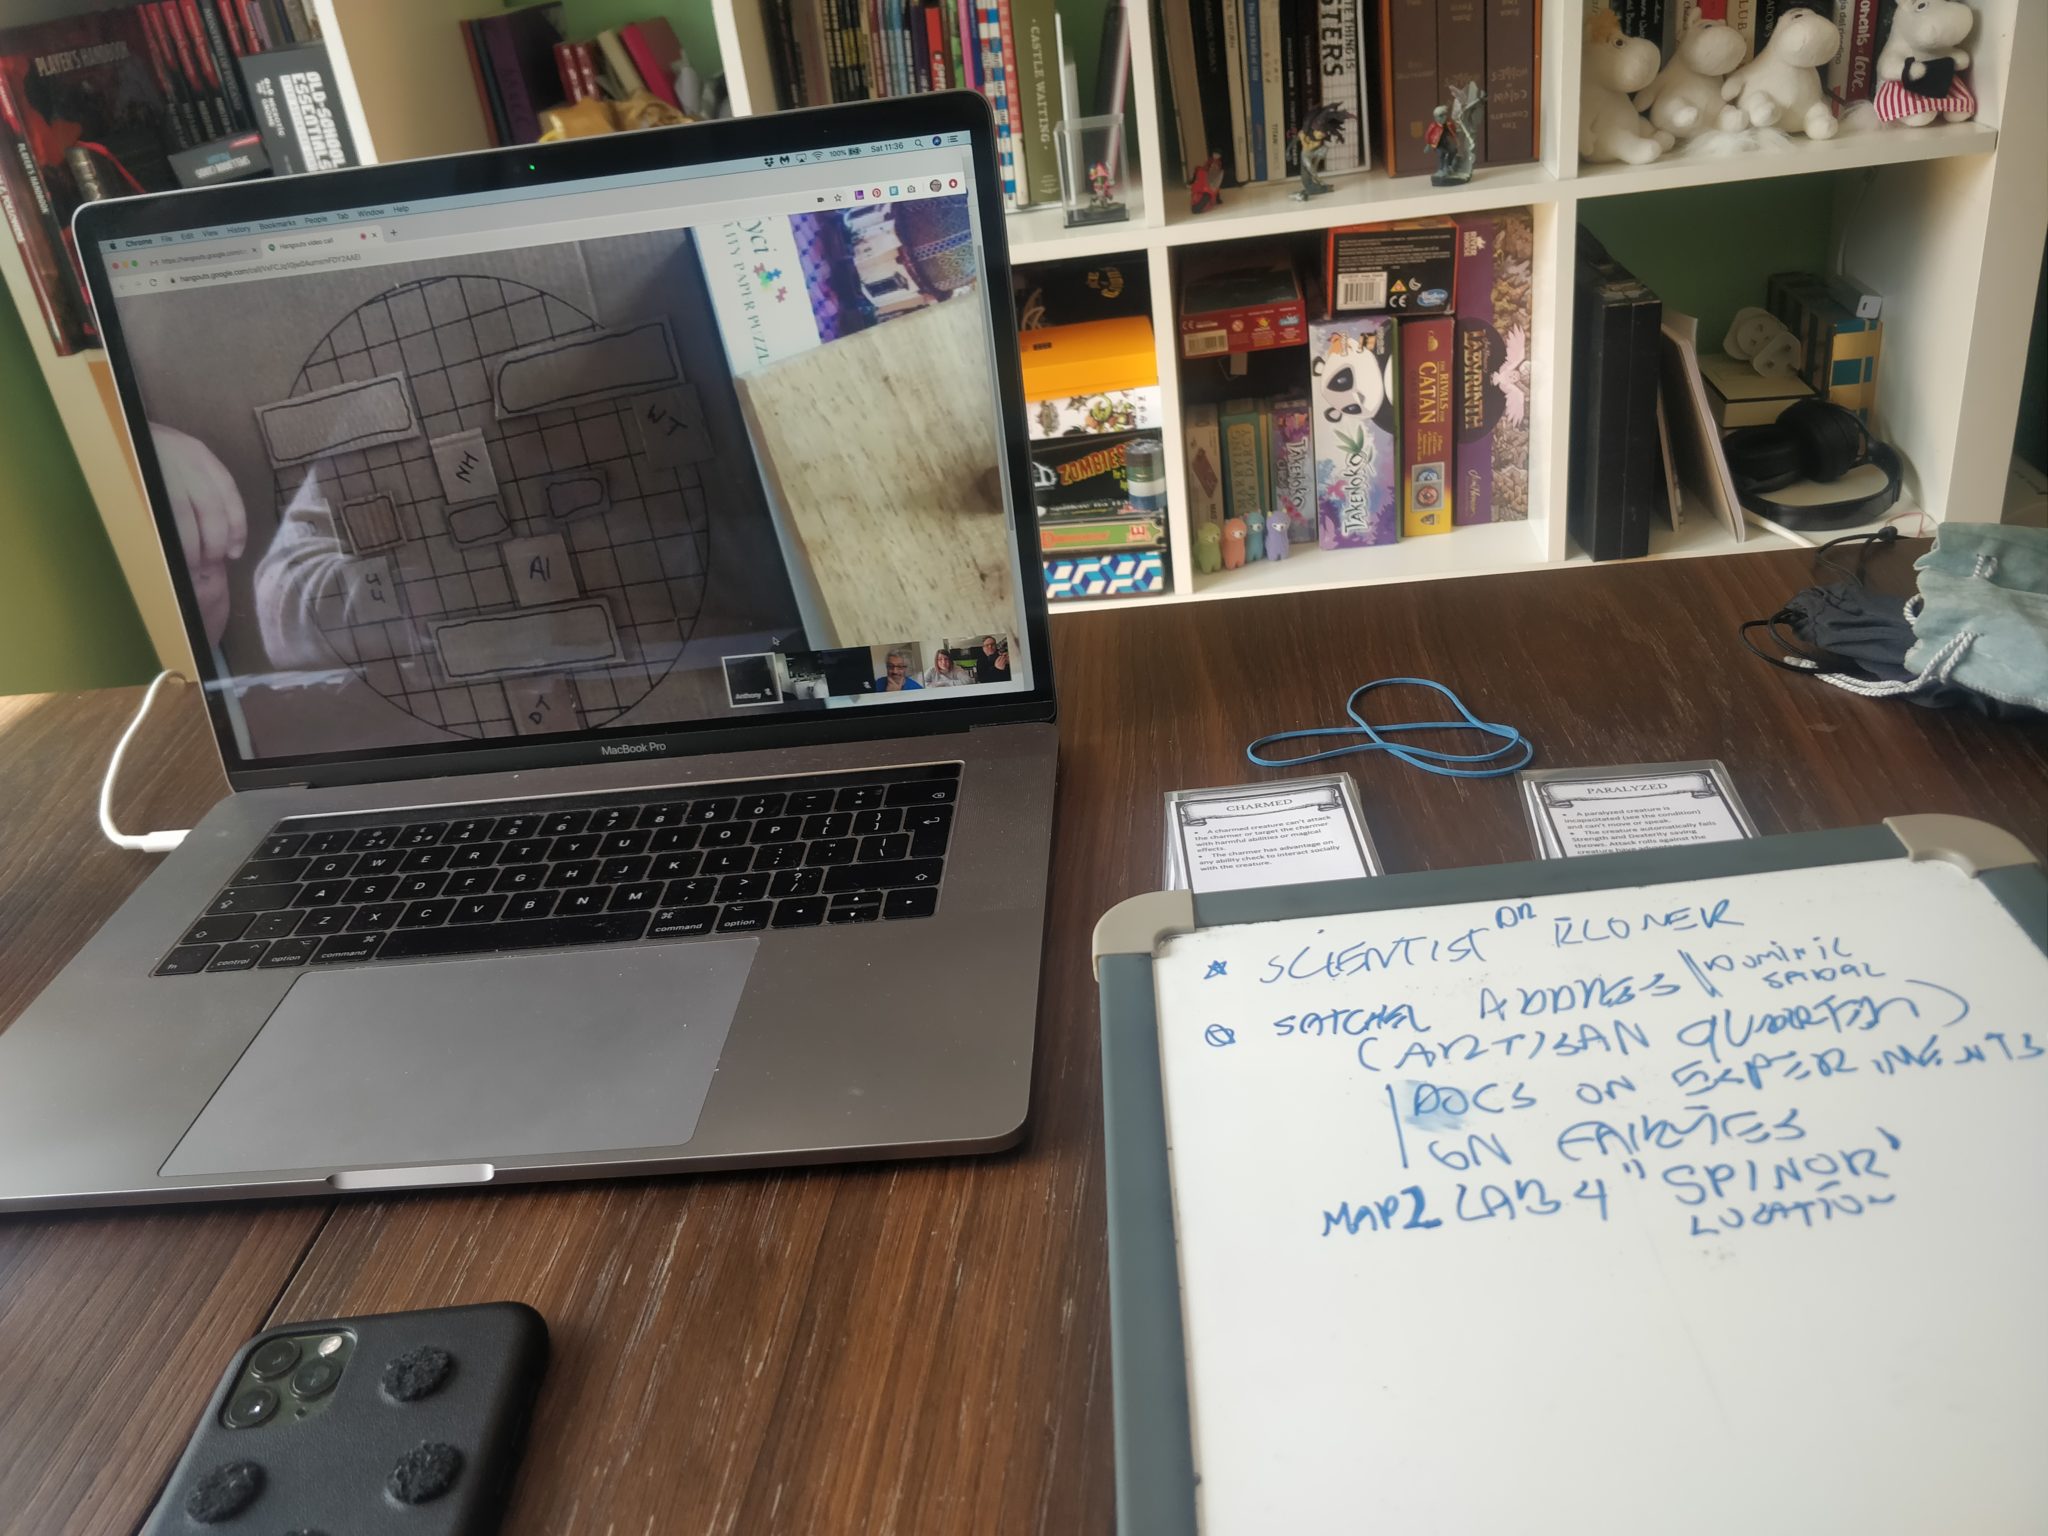
I find the little whiteboard handy as a scratch pad for notes.
Finding SPINOR
As the heroes returned to Dominer’s office, they found the office empty. No sign of struggle or the whereabouts of Mr Tigel. A disappointing deadend.
However, while the rest of the heroes examined every corner of the office, Damon the Paladin mused over the work SPINOR and realised it was an anagram for “Prison” and suddenly the wheels were in motion and the party soon found themselves outside the prison.
Their first instinct was to reach out to their contact in the Daisy Guard Captain Stirling Frostshadow to gain a visitor’s permit to the prison, but they were unable to find him.
But while looking for him, they found a semi-hidden cut, a path leading behind and under the prison.
Lab 4
The path led underground and down to a door guarded by a Matador and two Ghouls, who the party dispatched off before Welby the Rogue unlocked the door into a room with 6 doors guarded by a Giant Spider!
Battle commenced, but the blinded spider did not stand a chance against the might of our heroes.
Looking at the doors, they were numbered 1 to 6 and after Welby the Rouge examined the doors, the party realised door 4 was indeed the door to Lab 4.
Alyanys used her Warlock powers to turn, Heimaris our Wizard, into gaseous form allowing him to slip through the keyhole to make a single massive surprise attack in case anybody was in the room.
Fortunately the room was empty and when the rest of the party came through the door, they saw the horror of the laboratory. Full of fairy creatures mutilated and dead in big jars of formaldehyde.
They also found an inactive portal that suddenly activated with a Salamandar coming through looking very angry at the intruders and with no warning attacked the heroes.
In the end the heroes were victorious, but the portal closed in front of them, leaving them to wonder what they had now gotten themselves into…
To be continued.

Behind the scenes shots
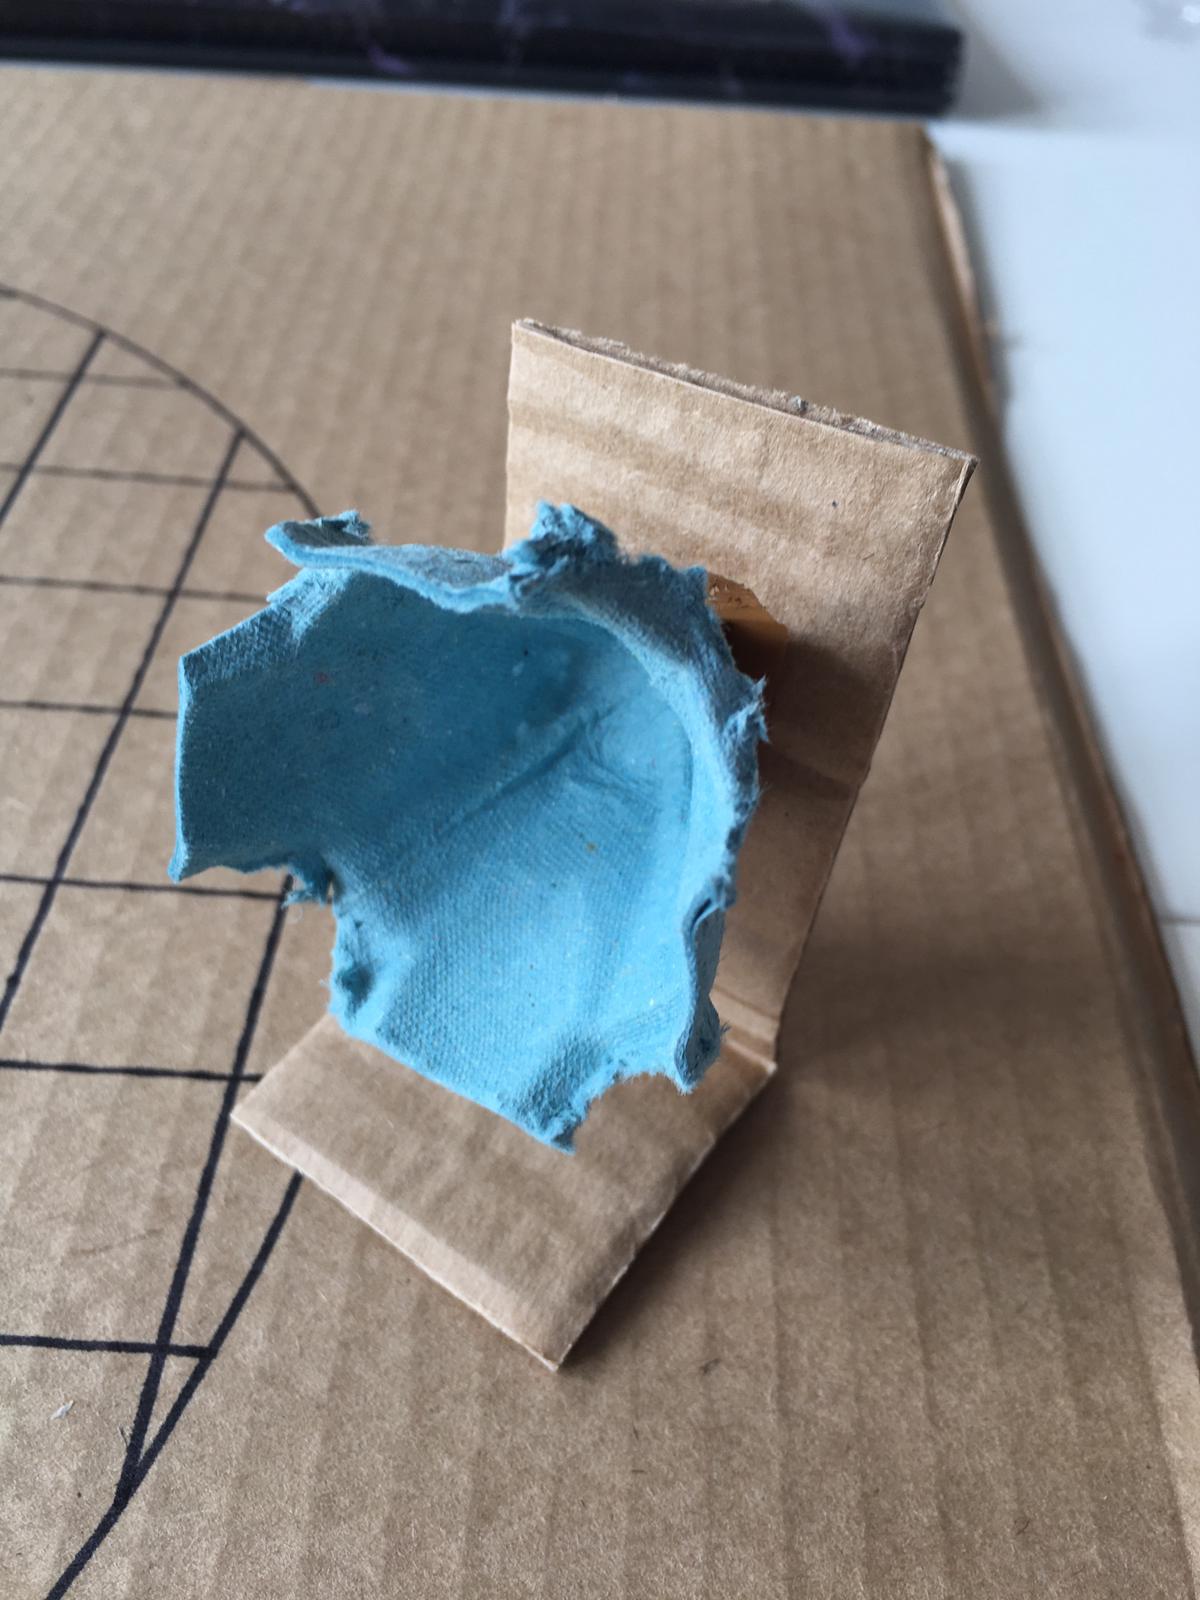
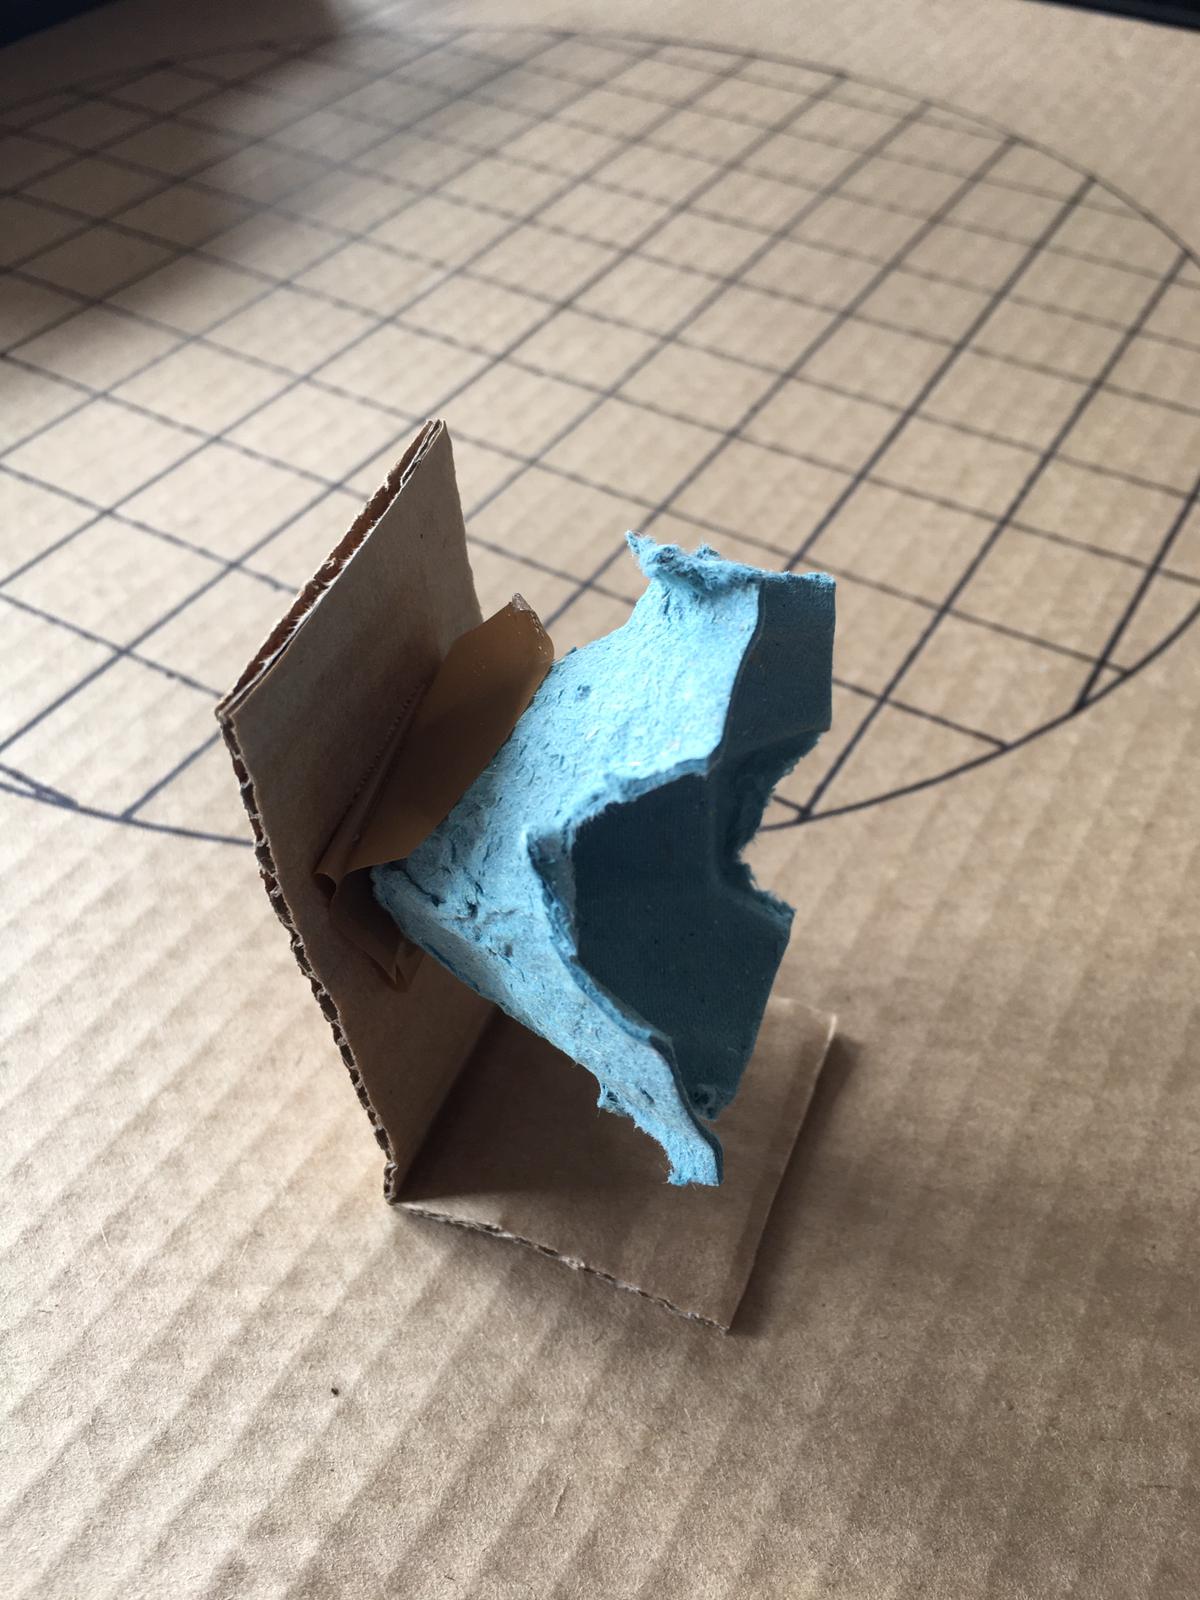
I like this portal scenery piece Tony put together.
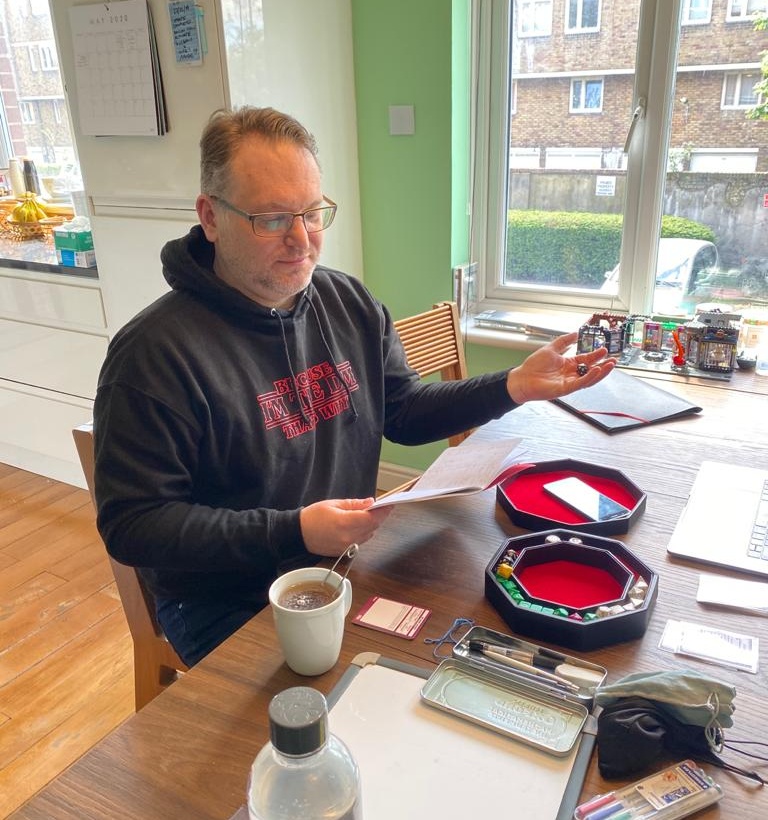
The calm before the storm – A sneaky photo of Tony putting the final touches on the game.

My play area