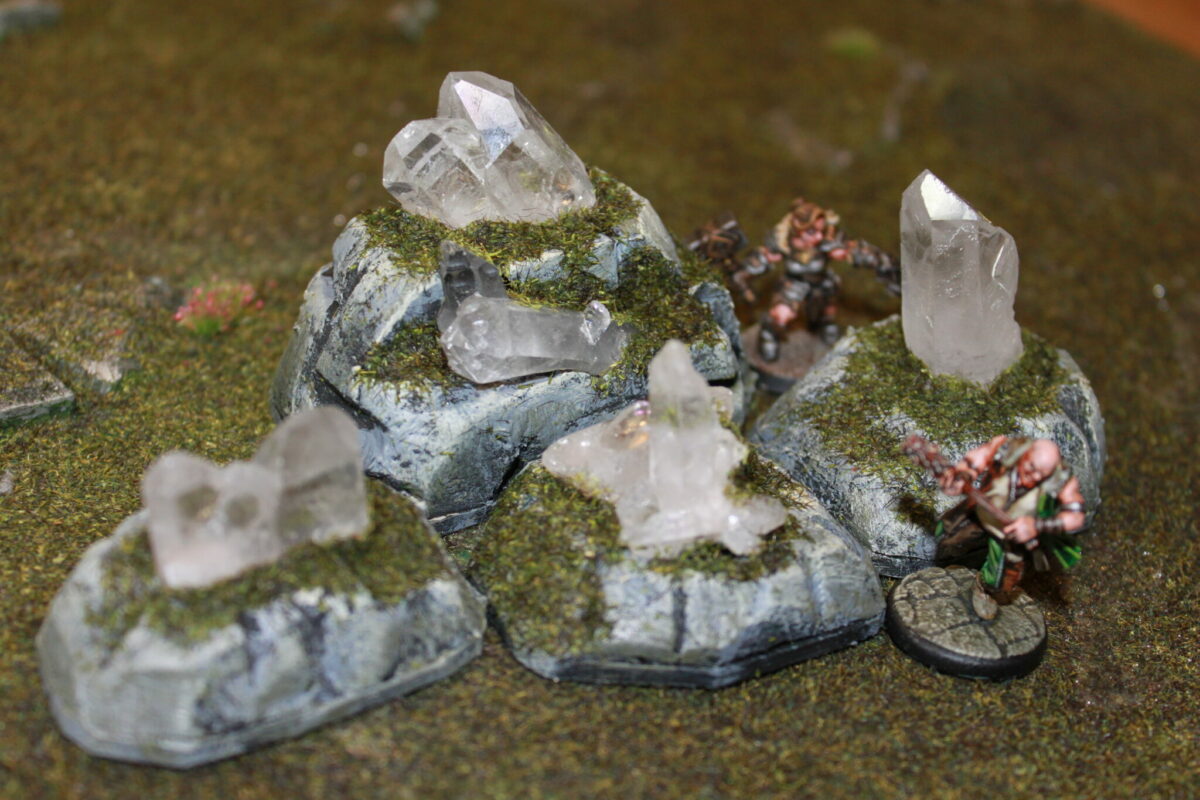
My wife spotted these little crystals at a museum in Malmö as potential terrain material.
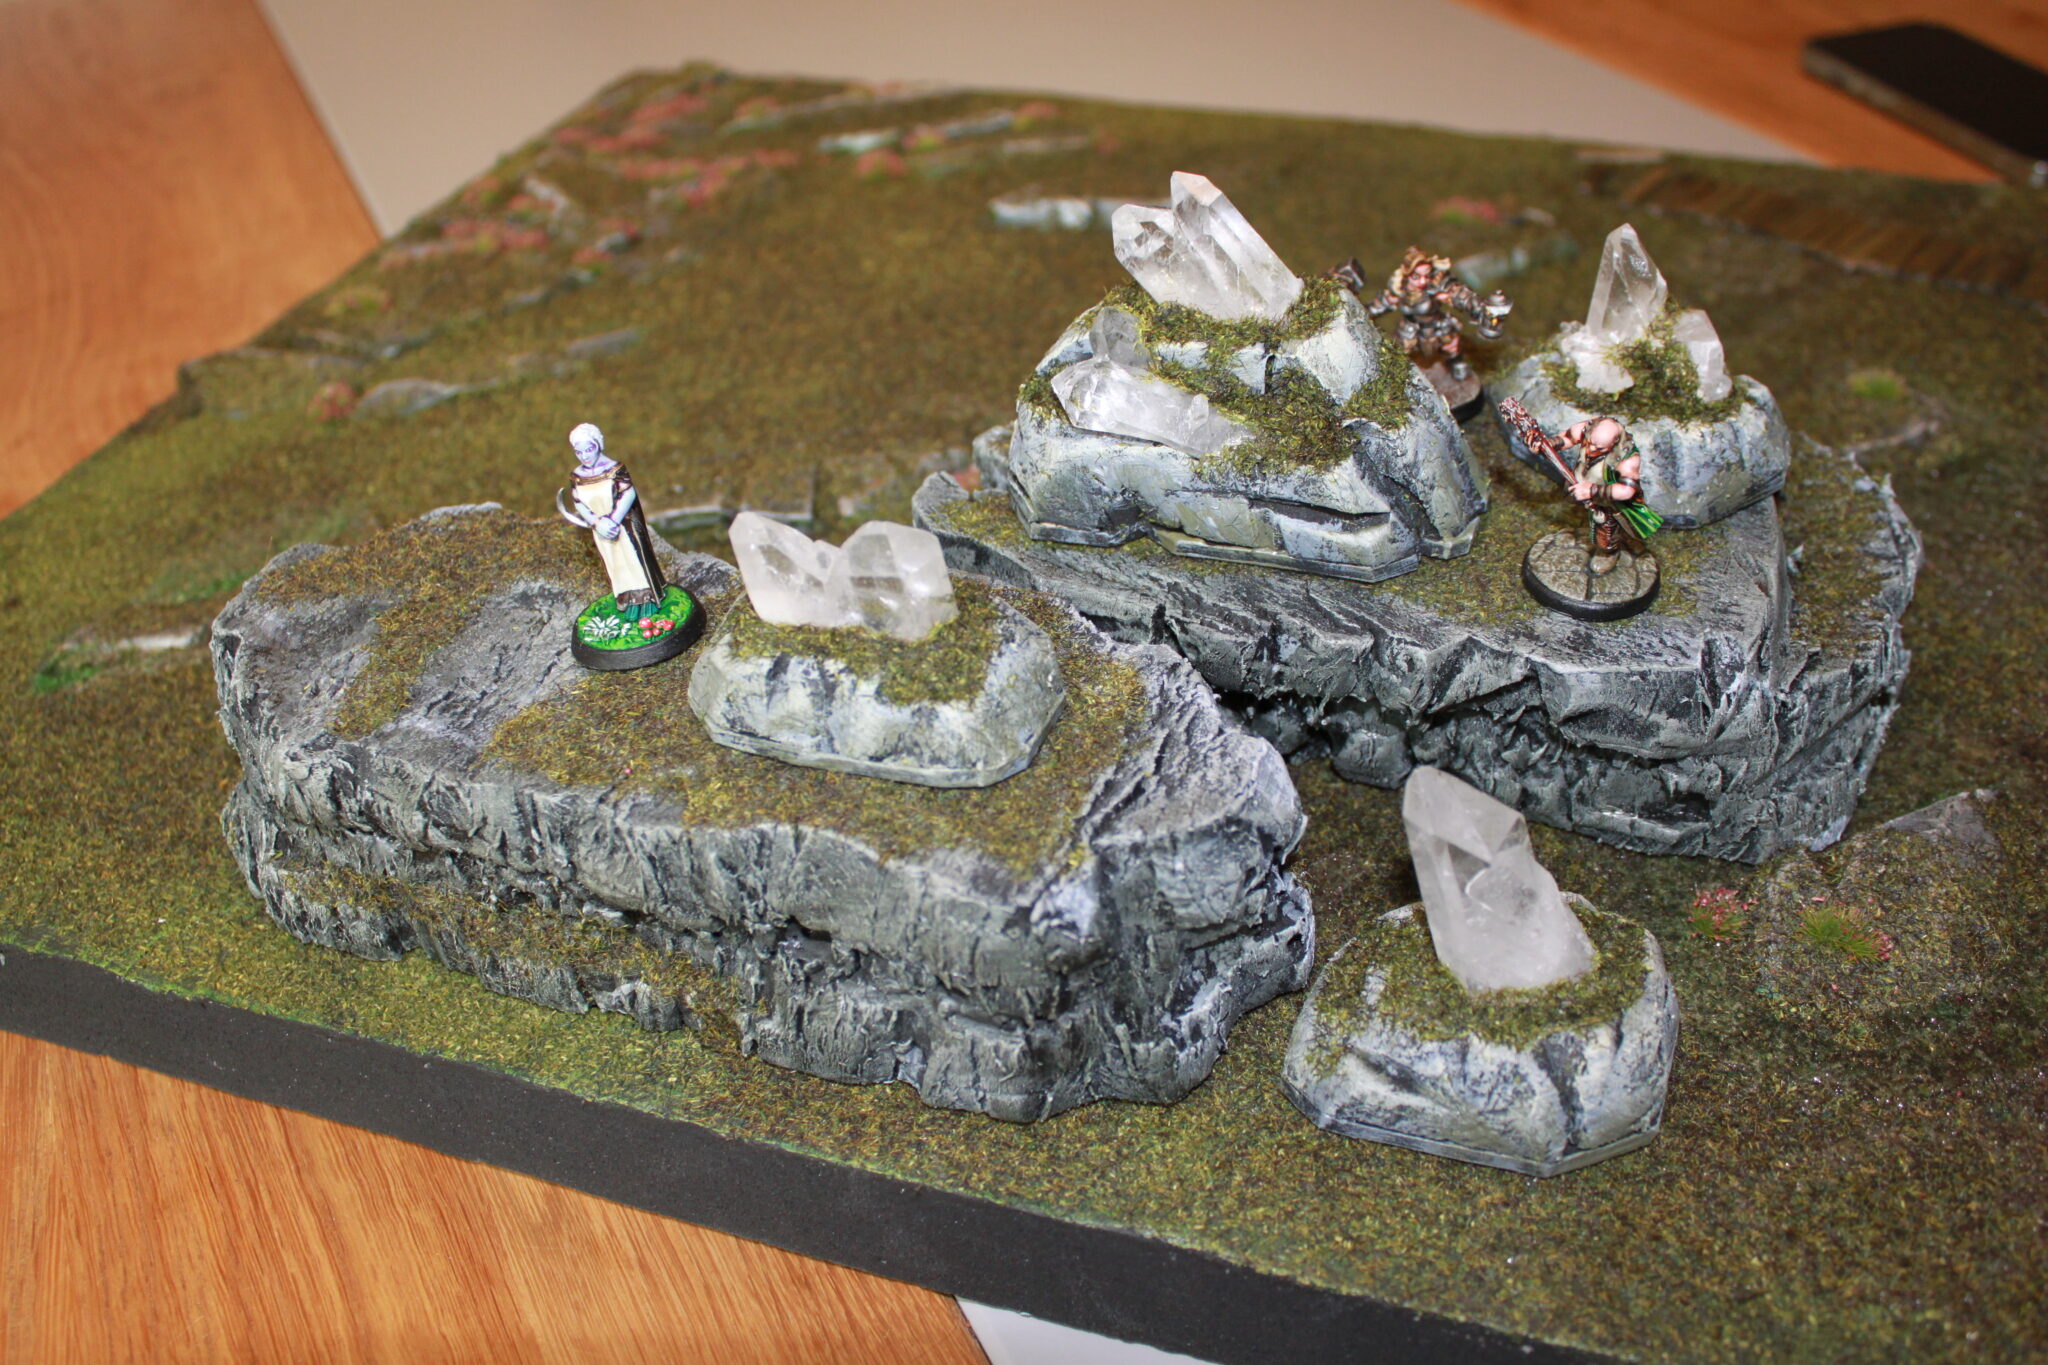
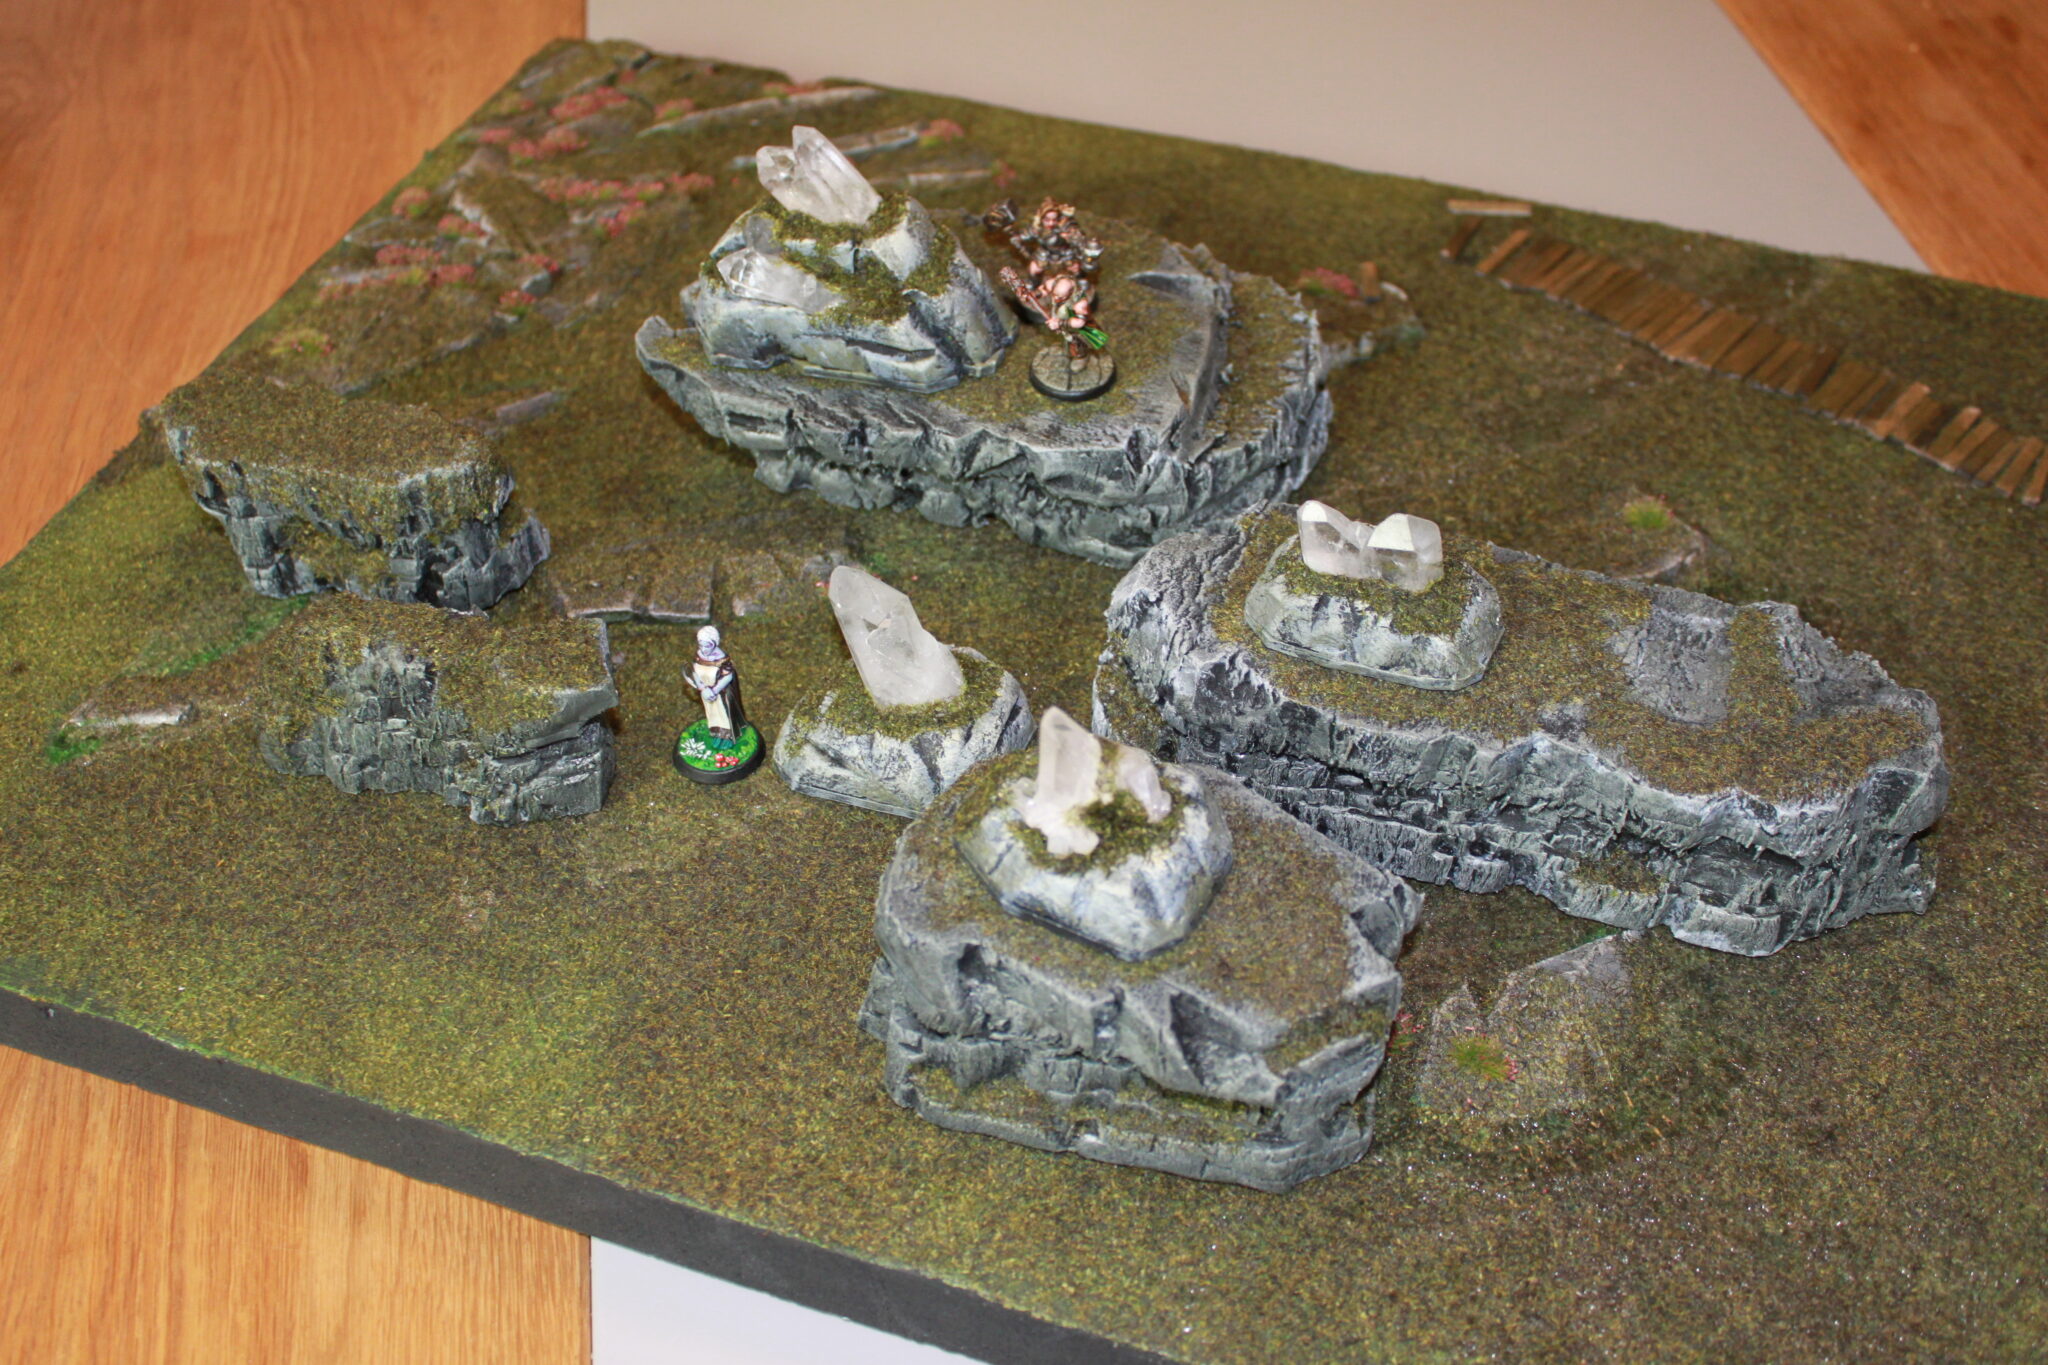
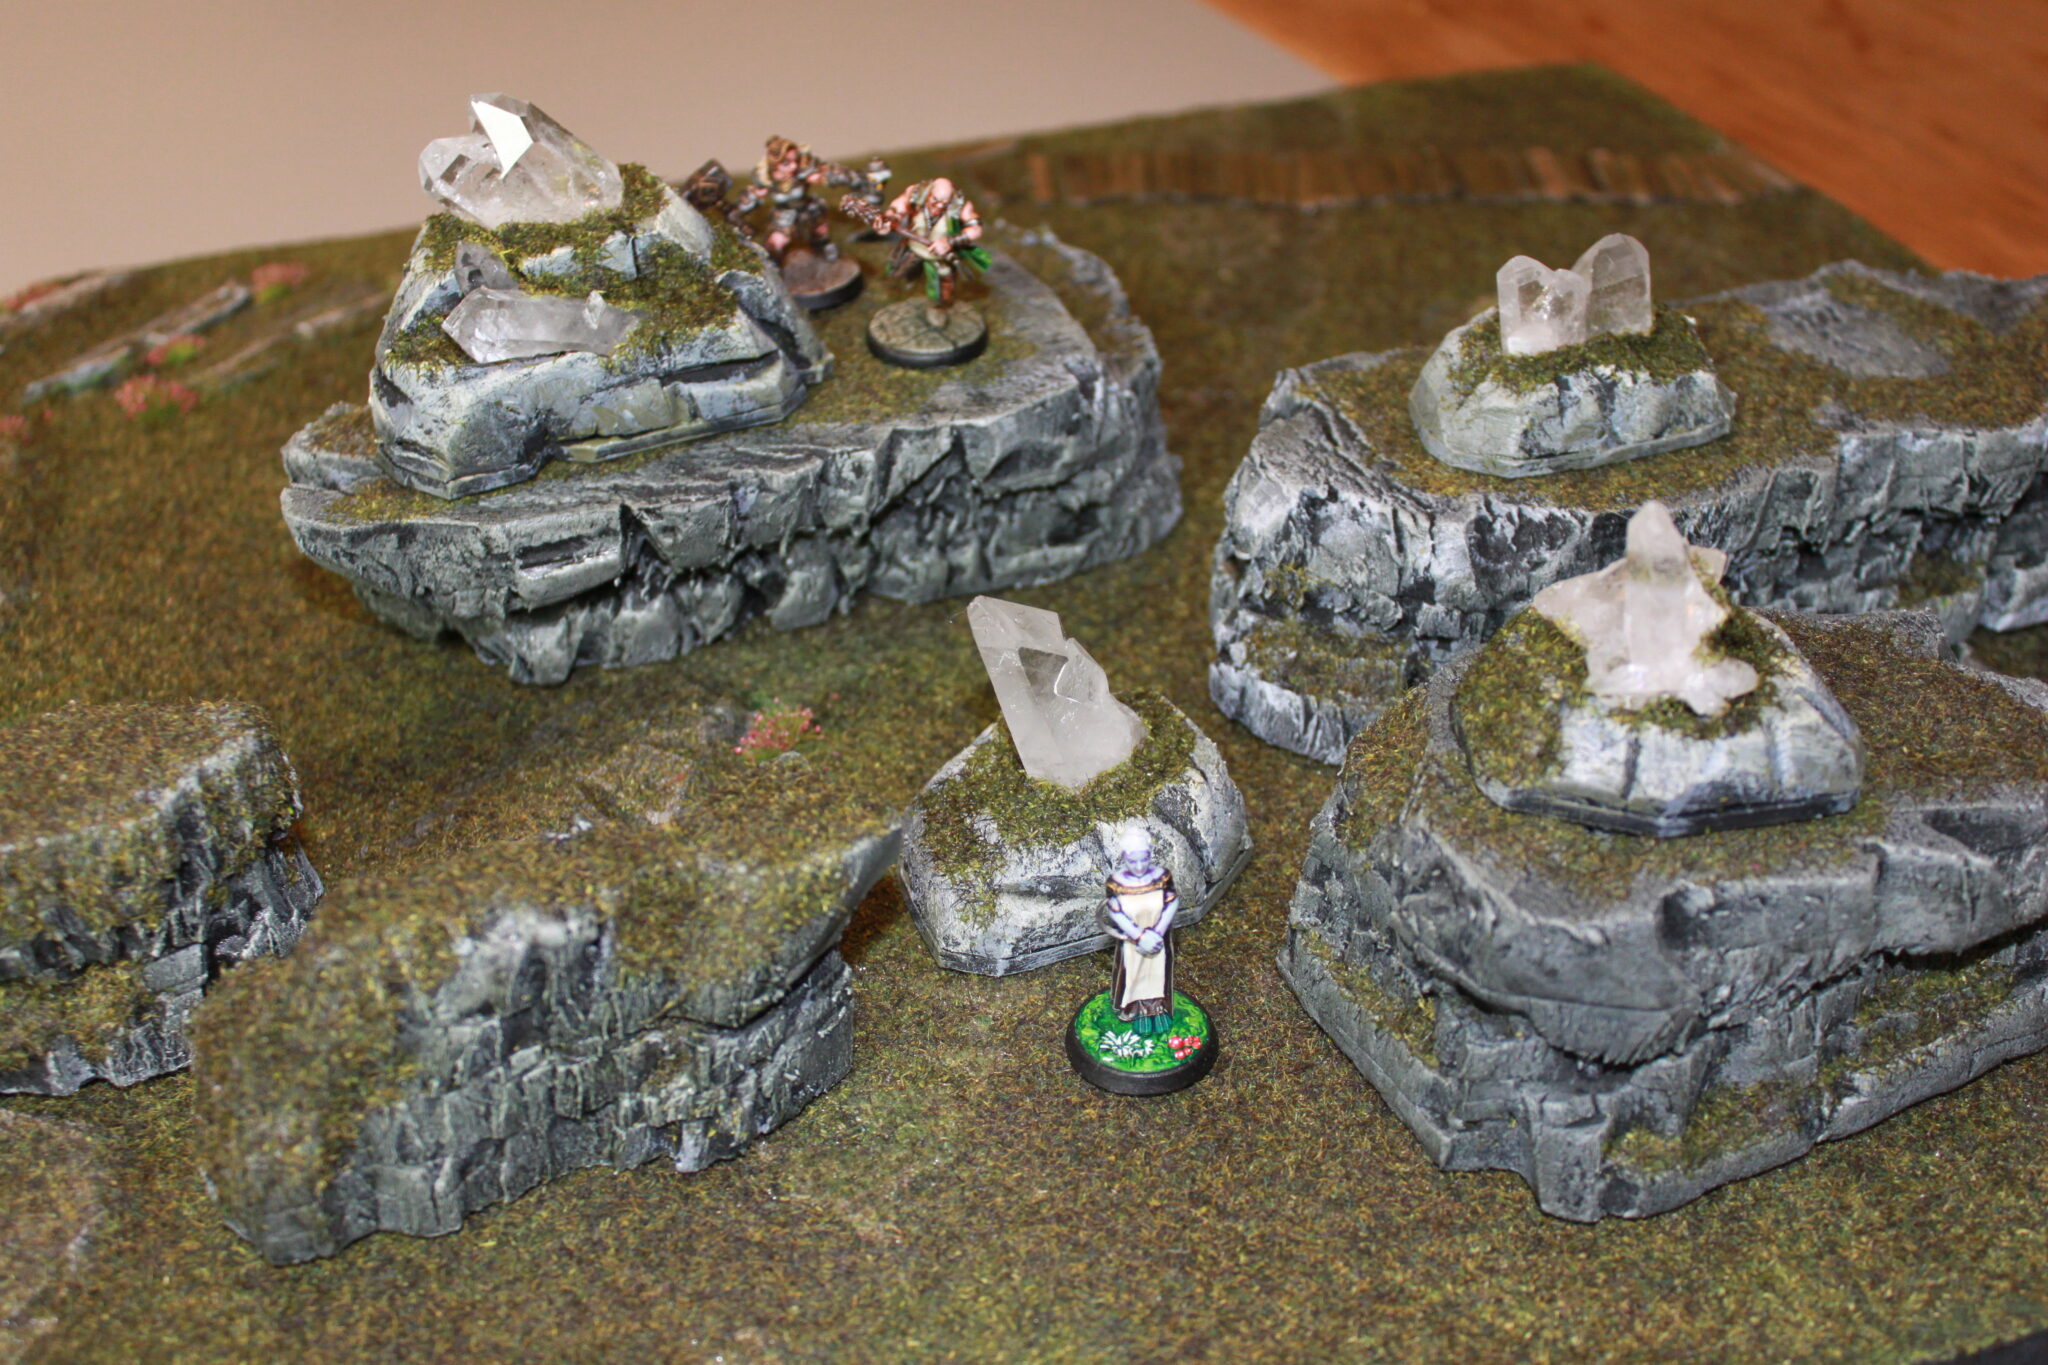
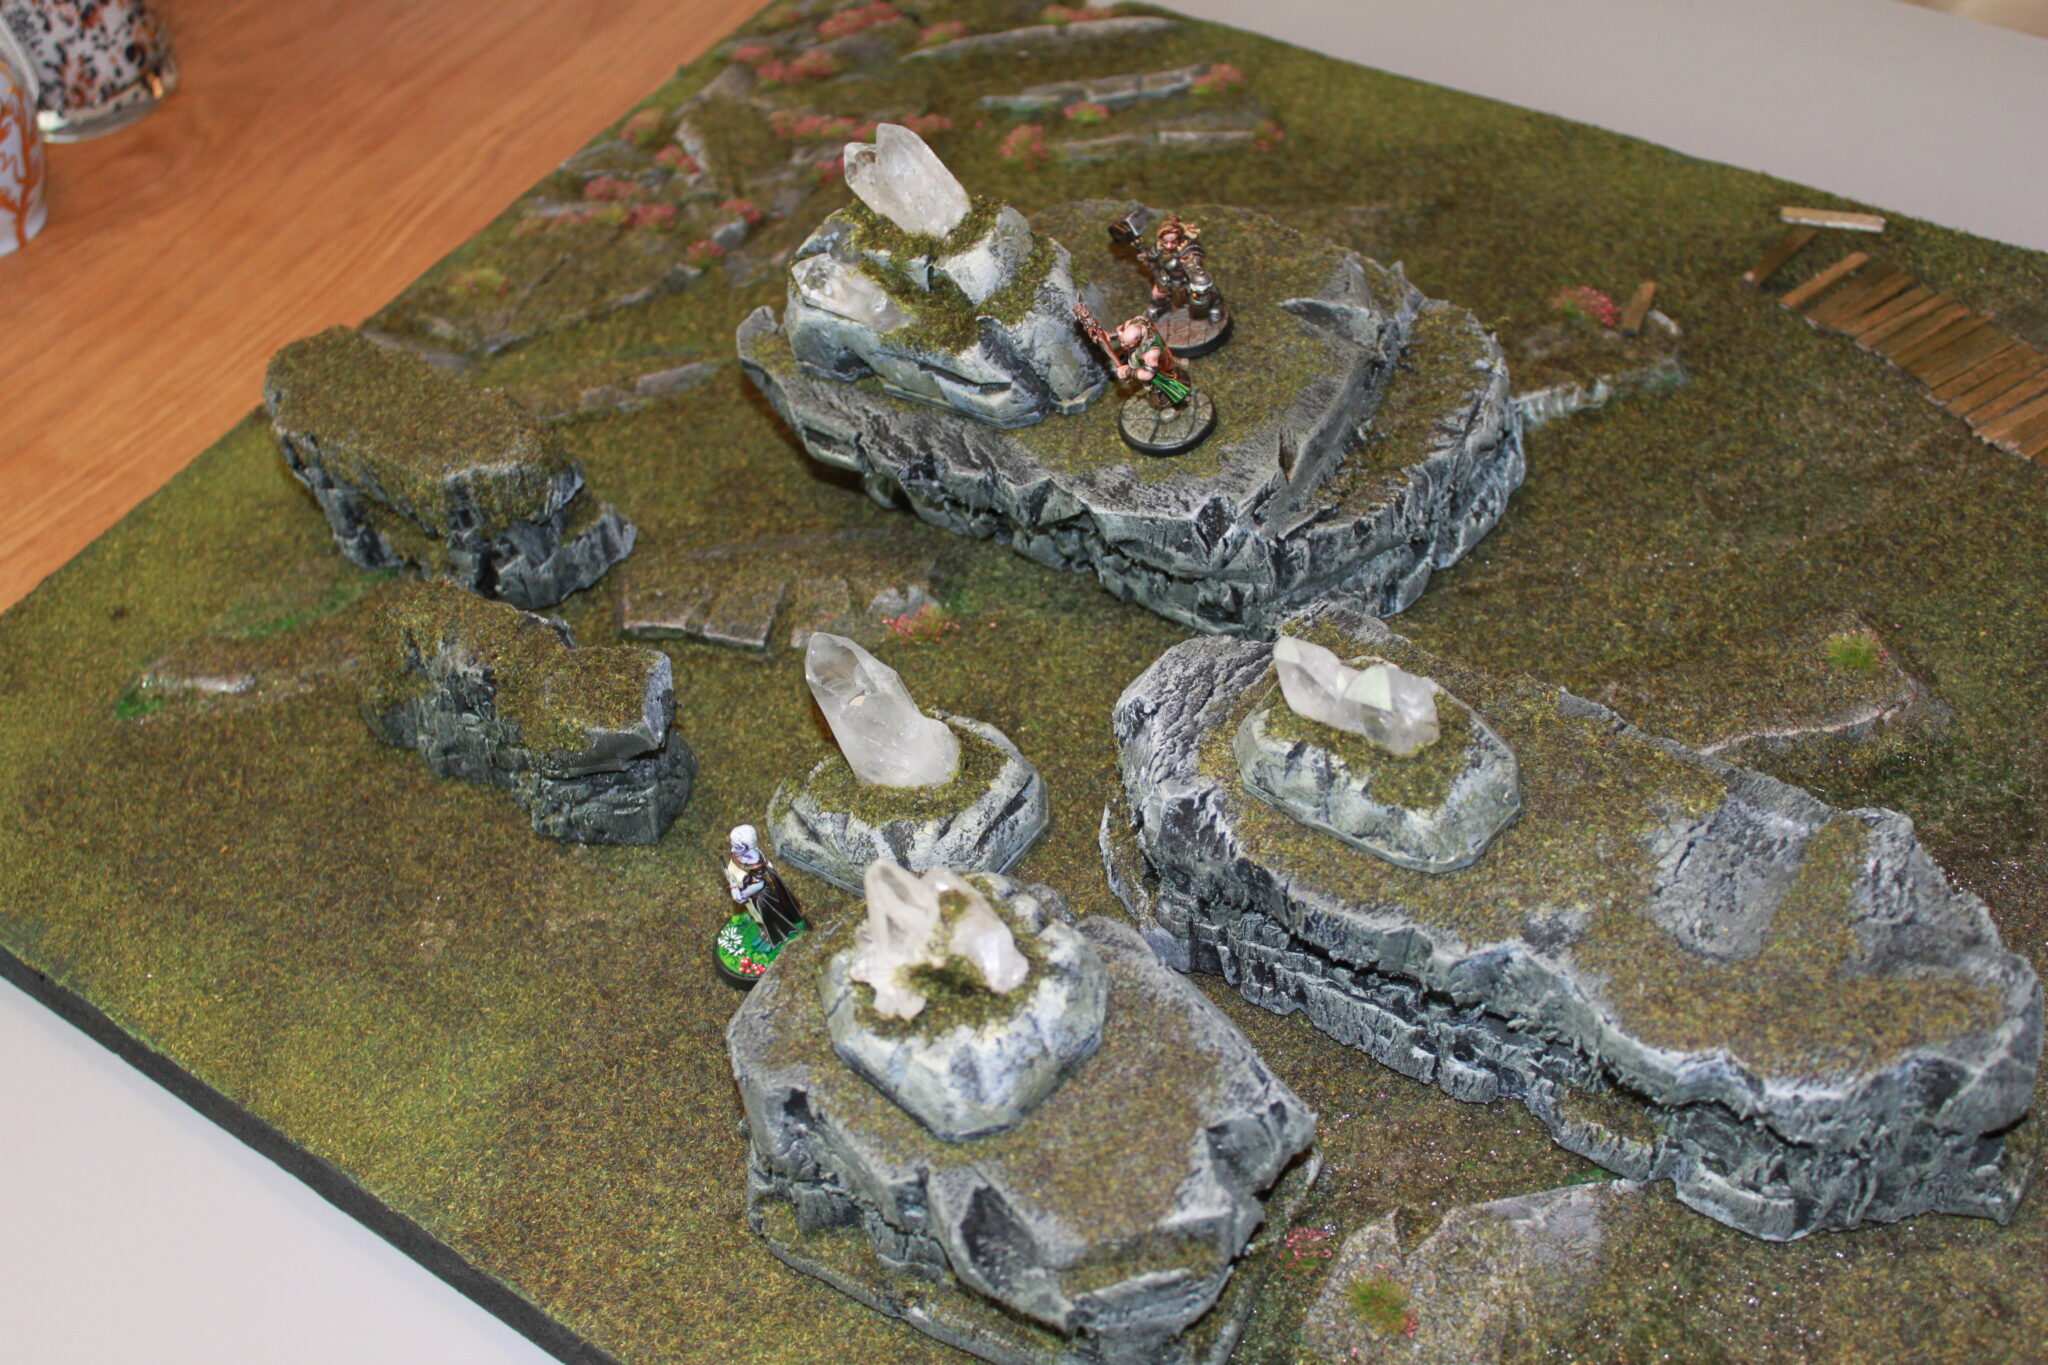
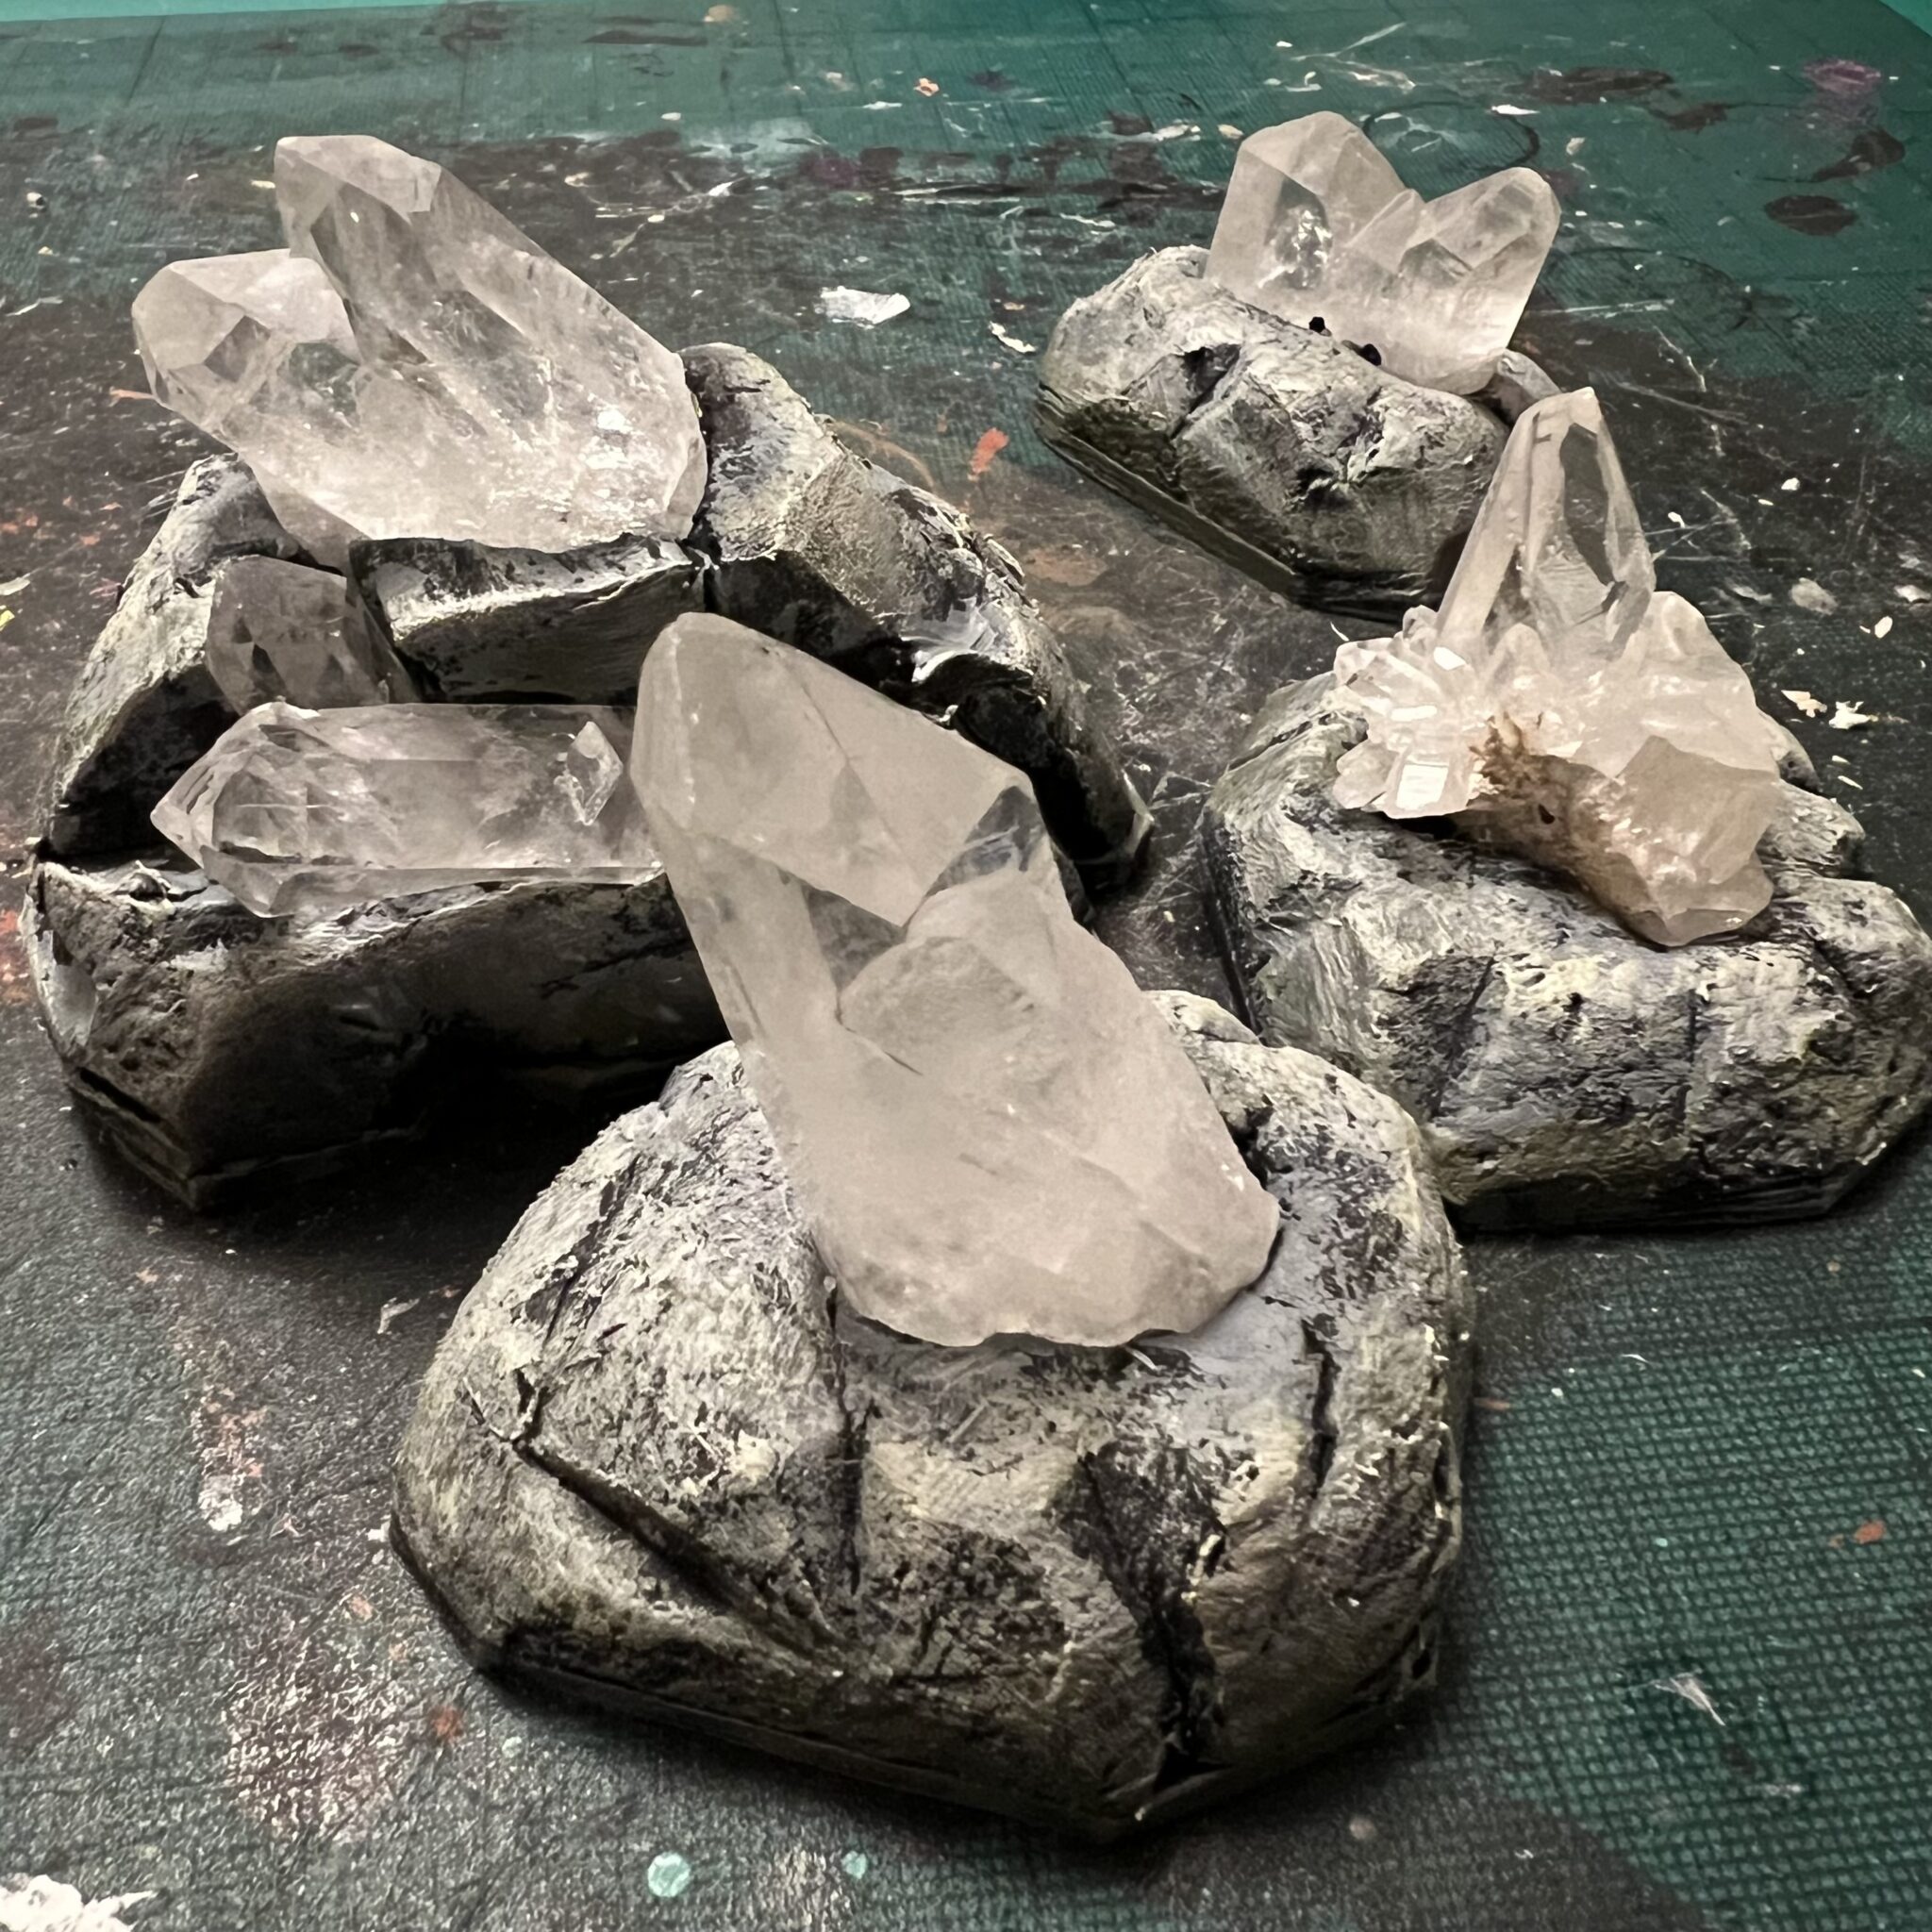
They were pretty neat so I bought a handful and made these little crystal scatter pieces. I always find it super fun to make terrain that I don’t already have a specific purpose for and in this case I made them so they enhanced by Rocky Plains gaming board set.
Below is the crystals on their own, with the terrain board set and a tutorial of how I made them.
Crystals
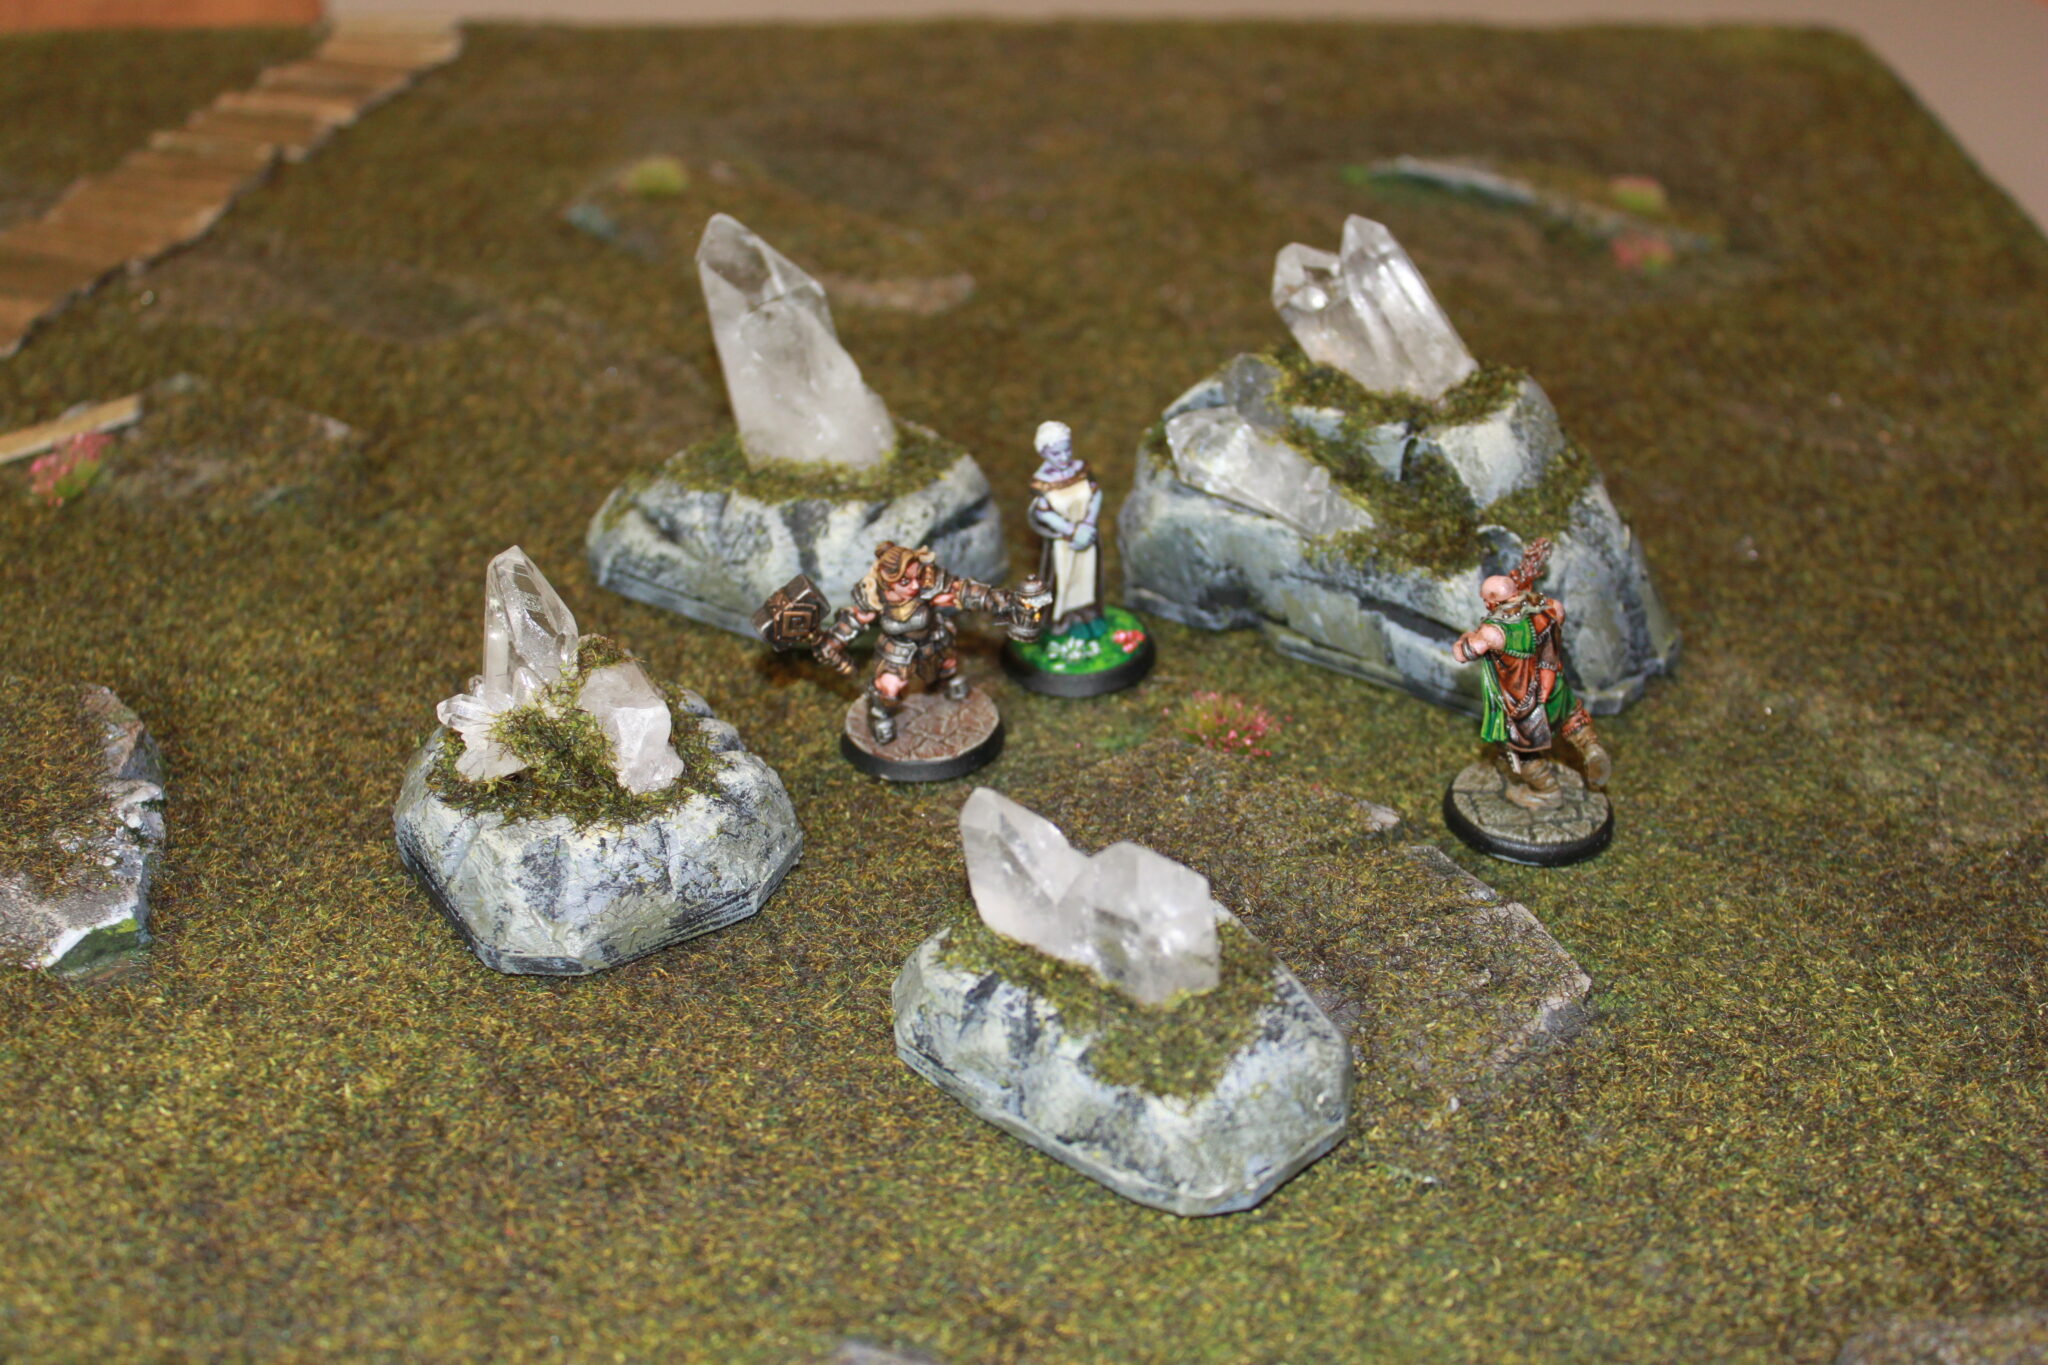
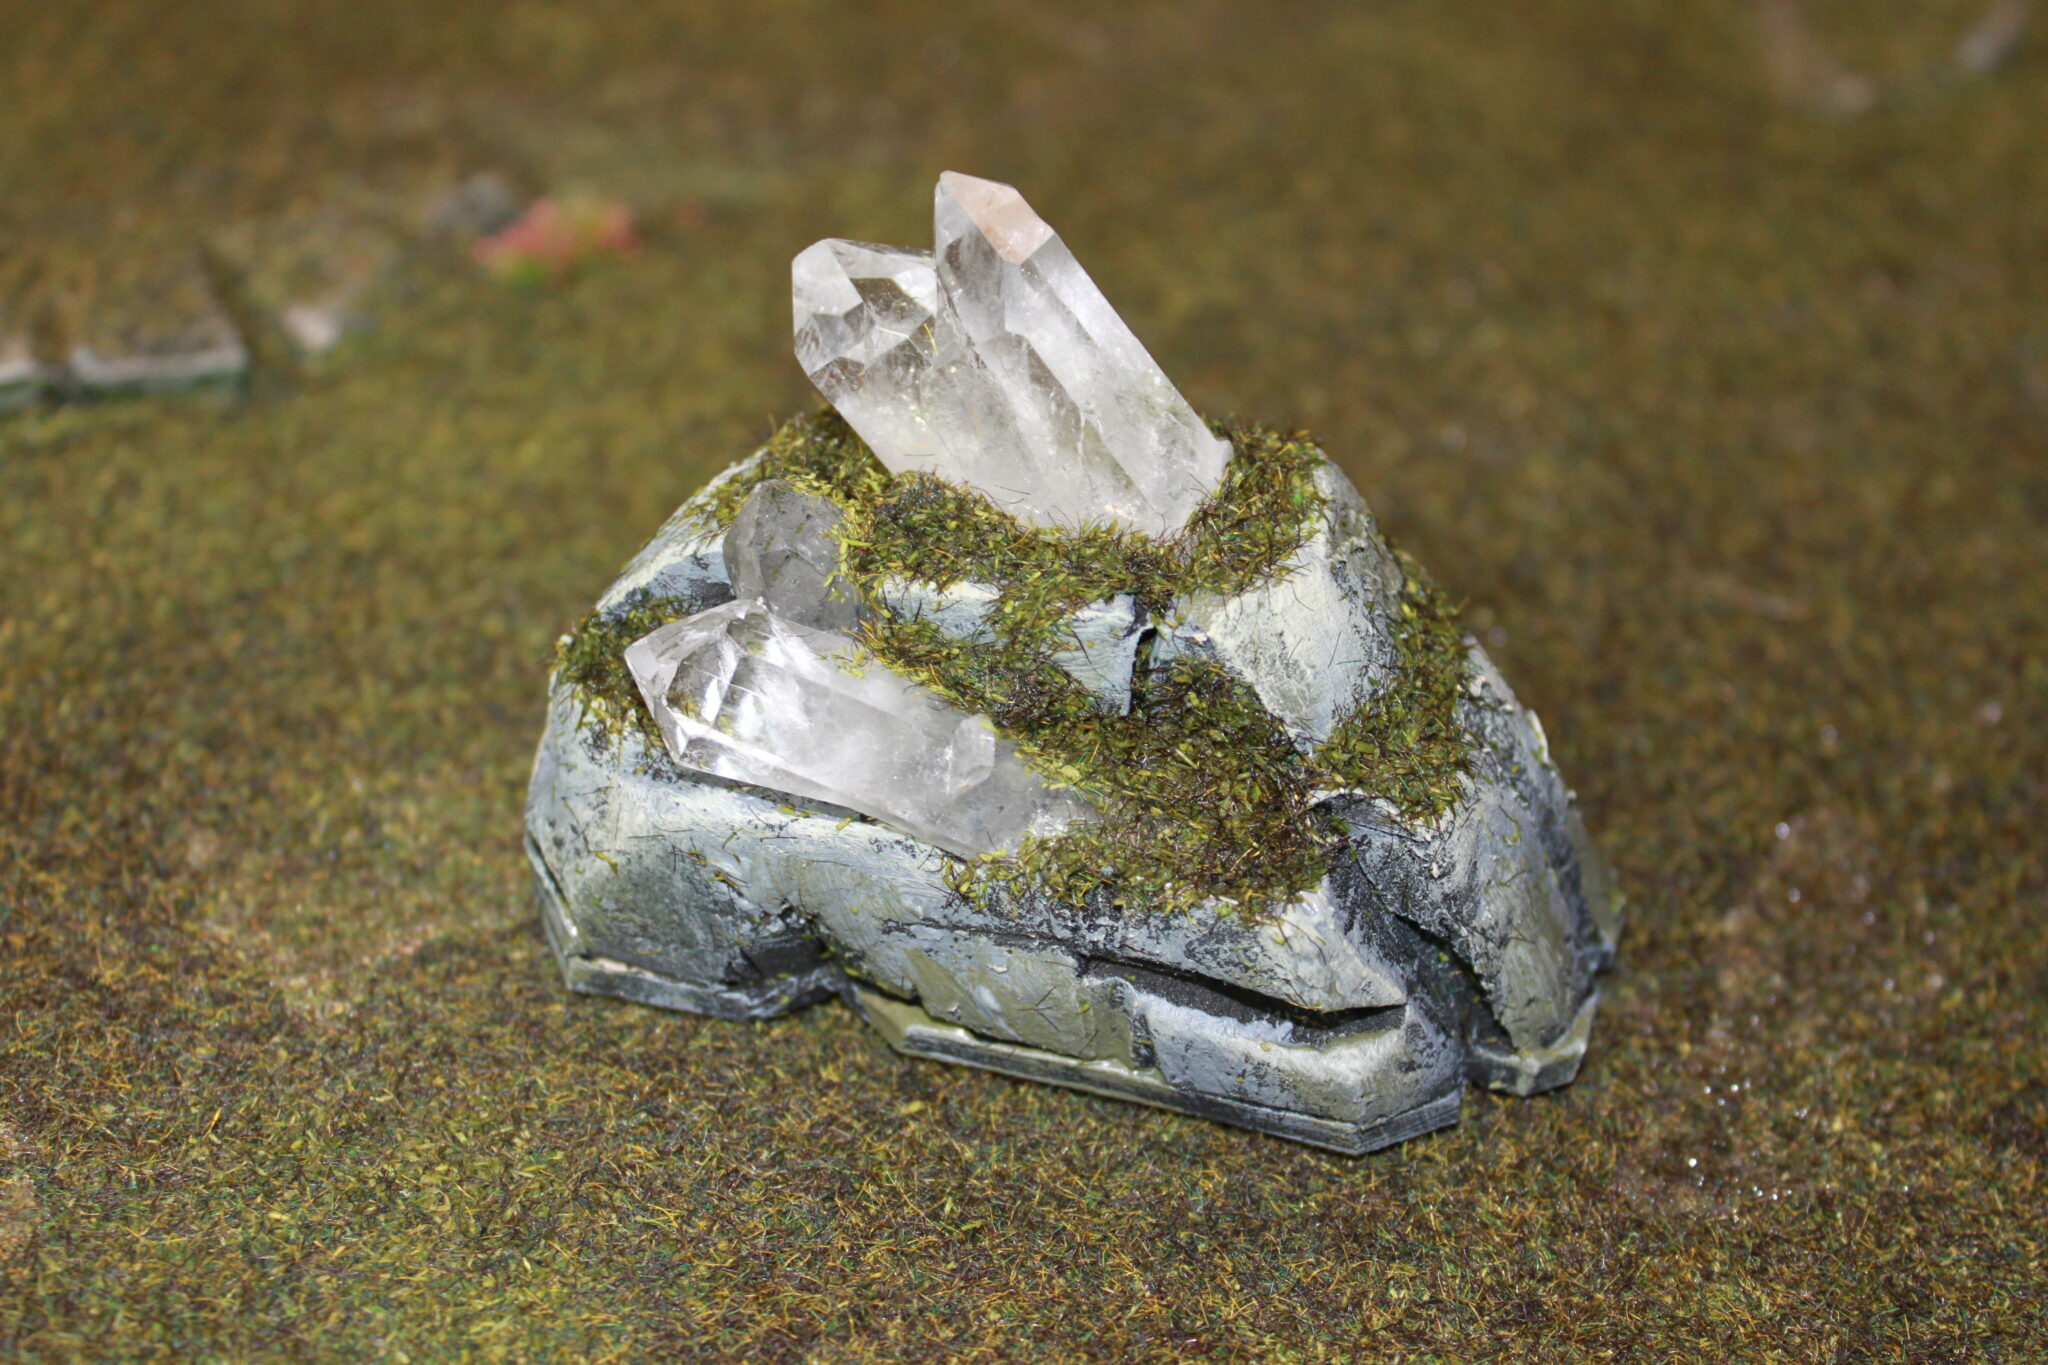
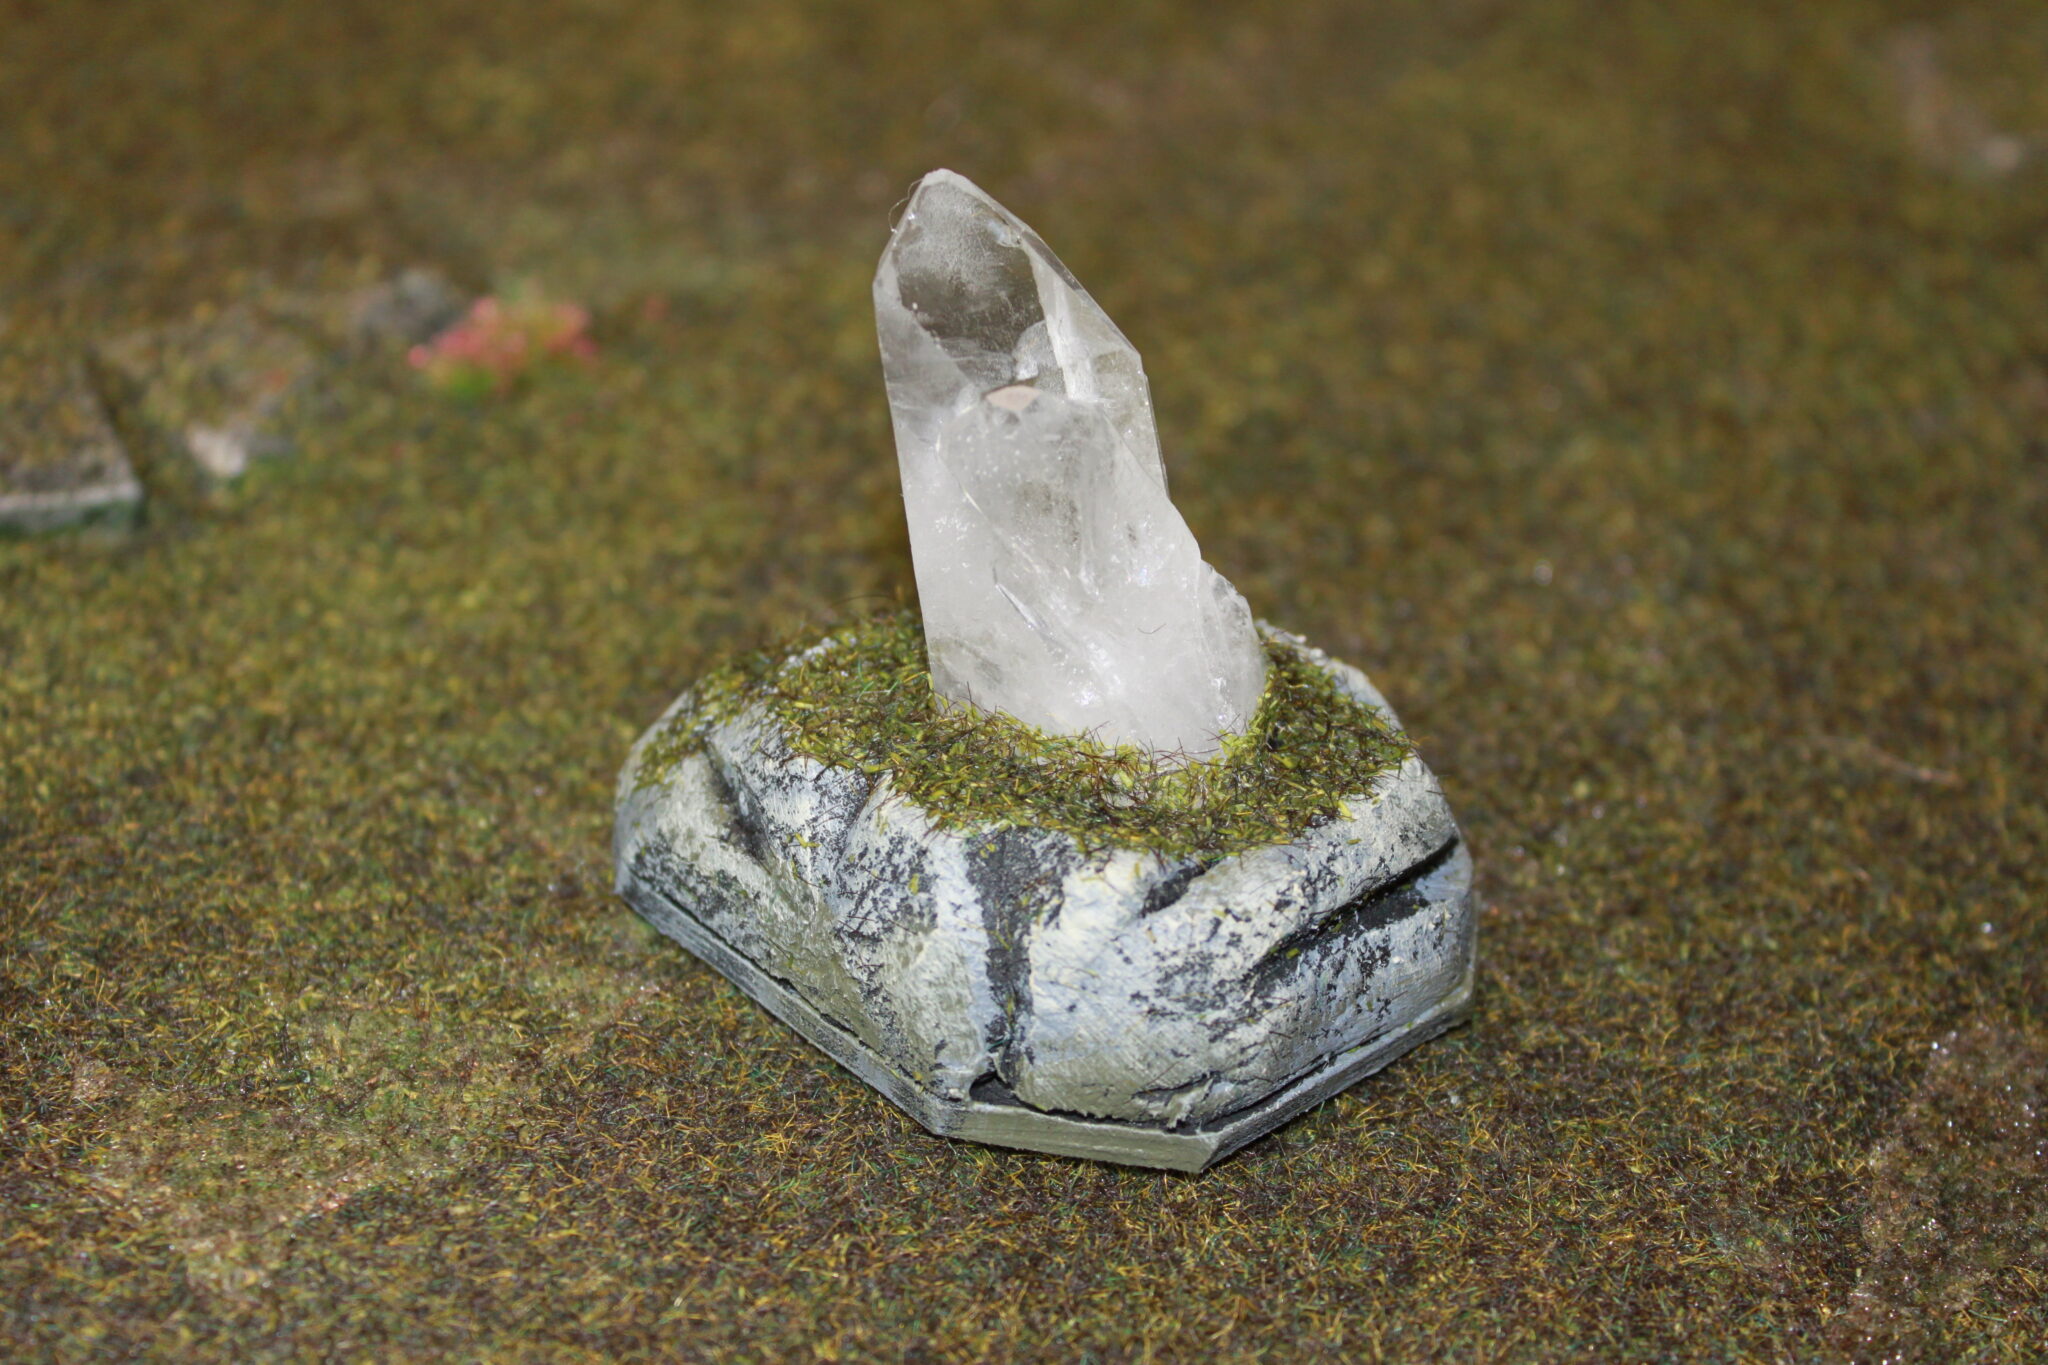
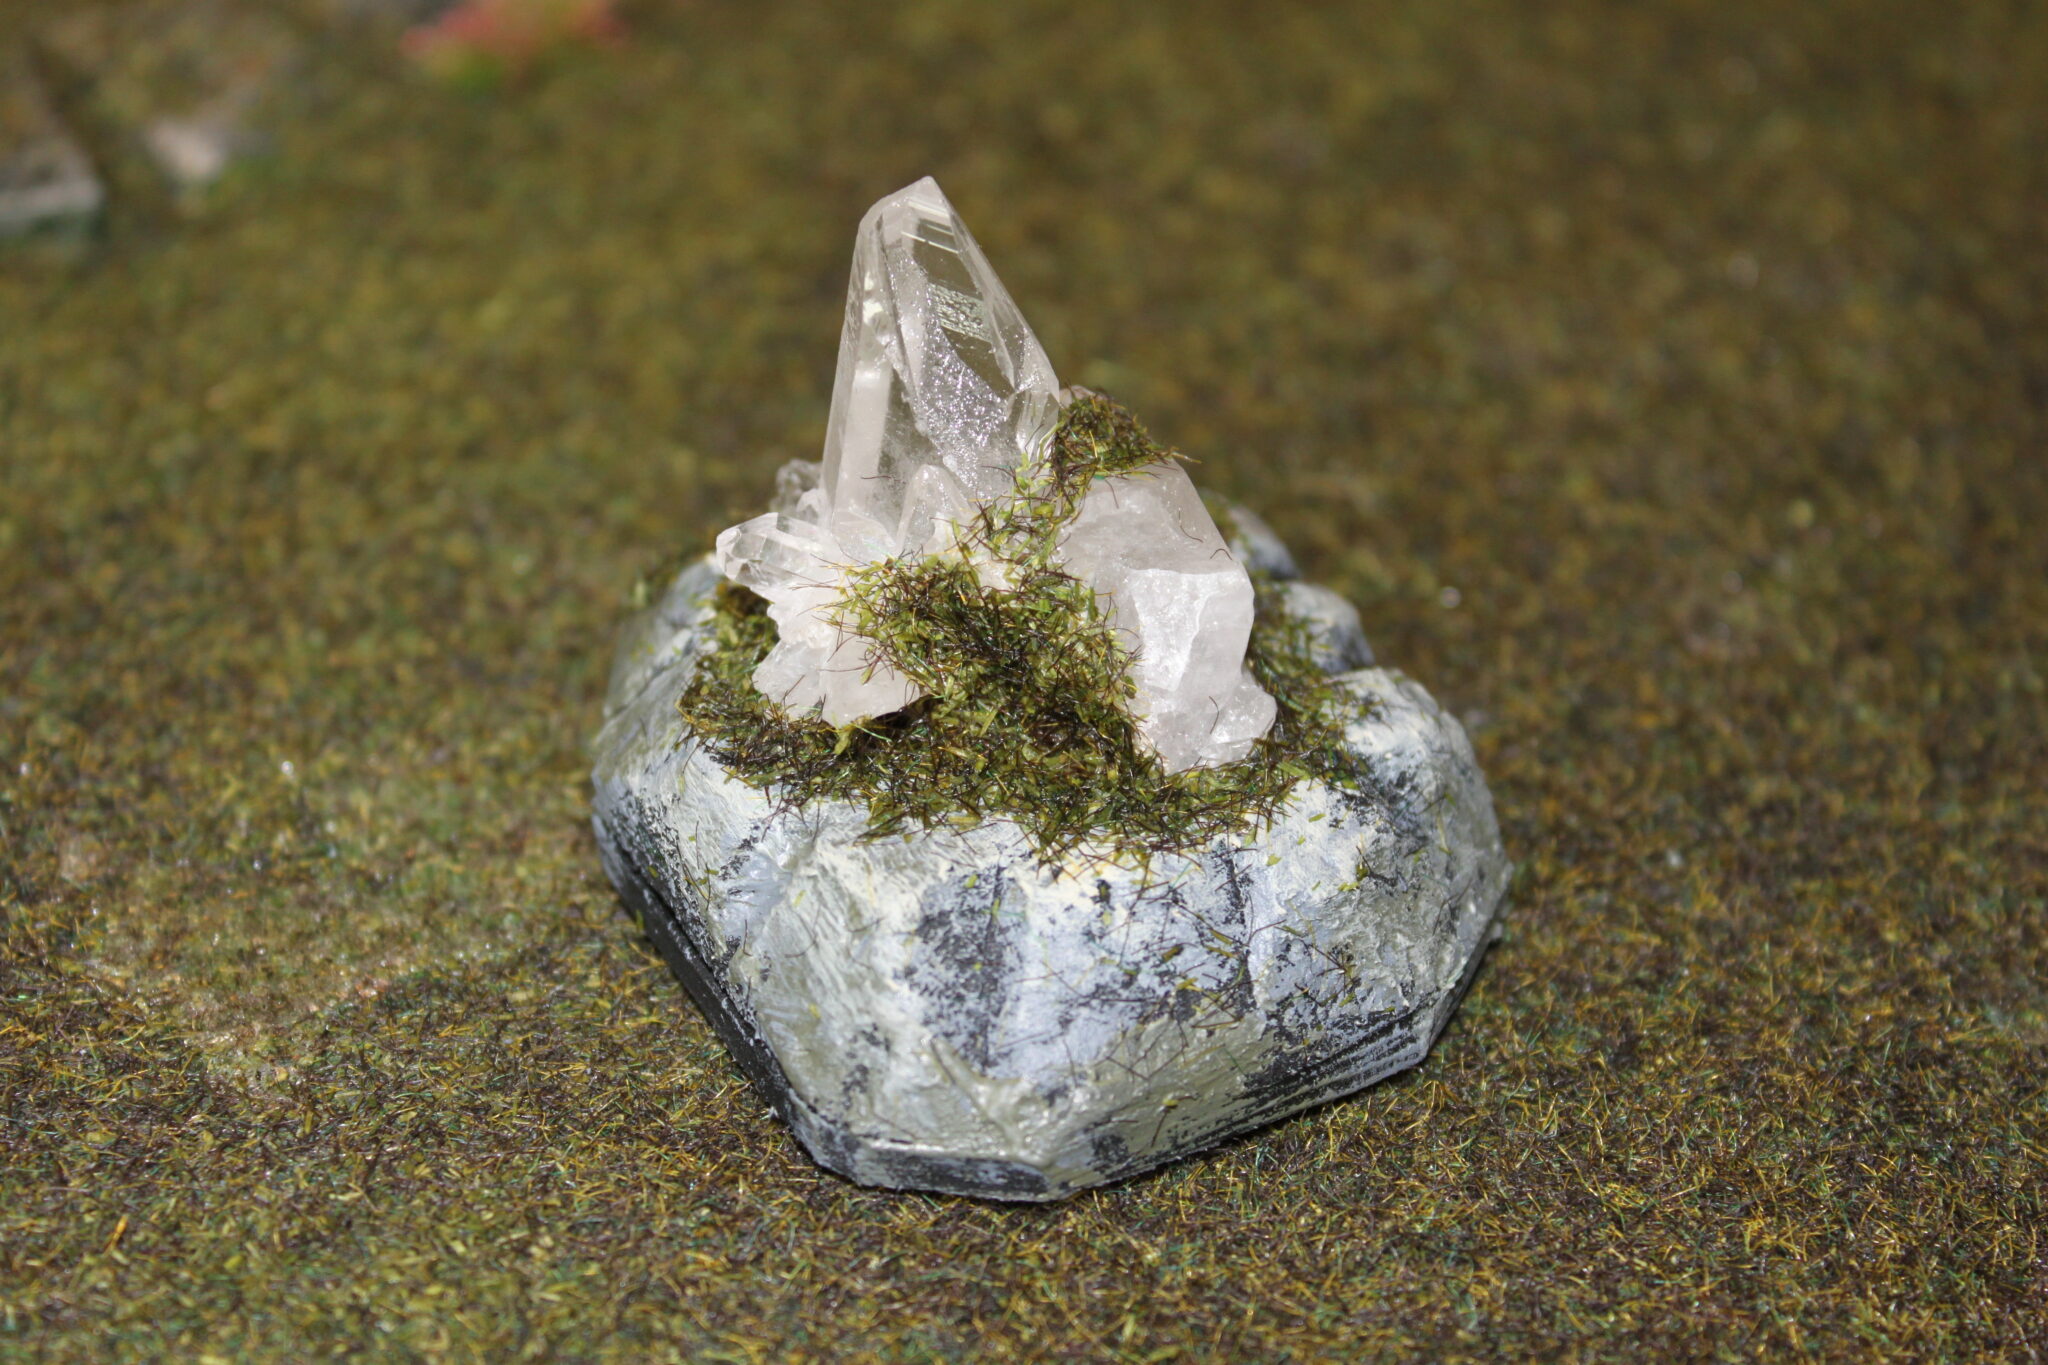
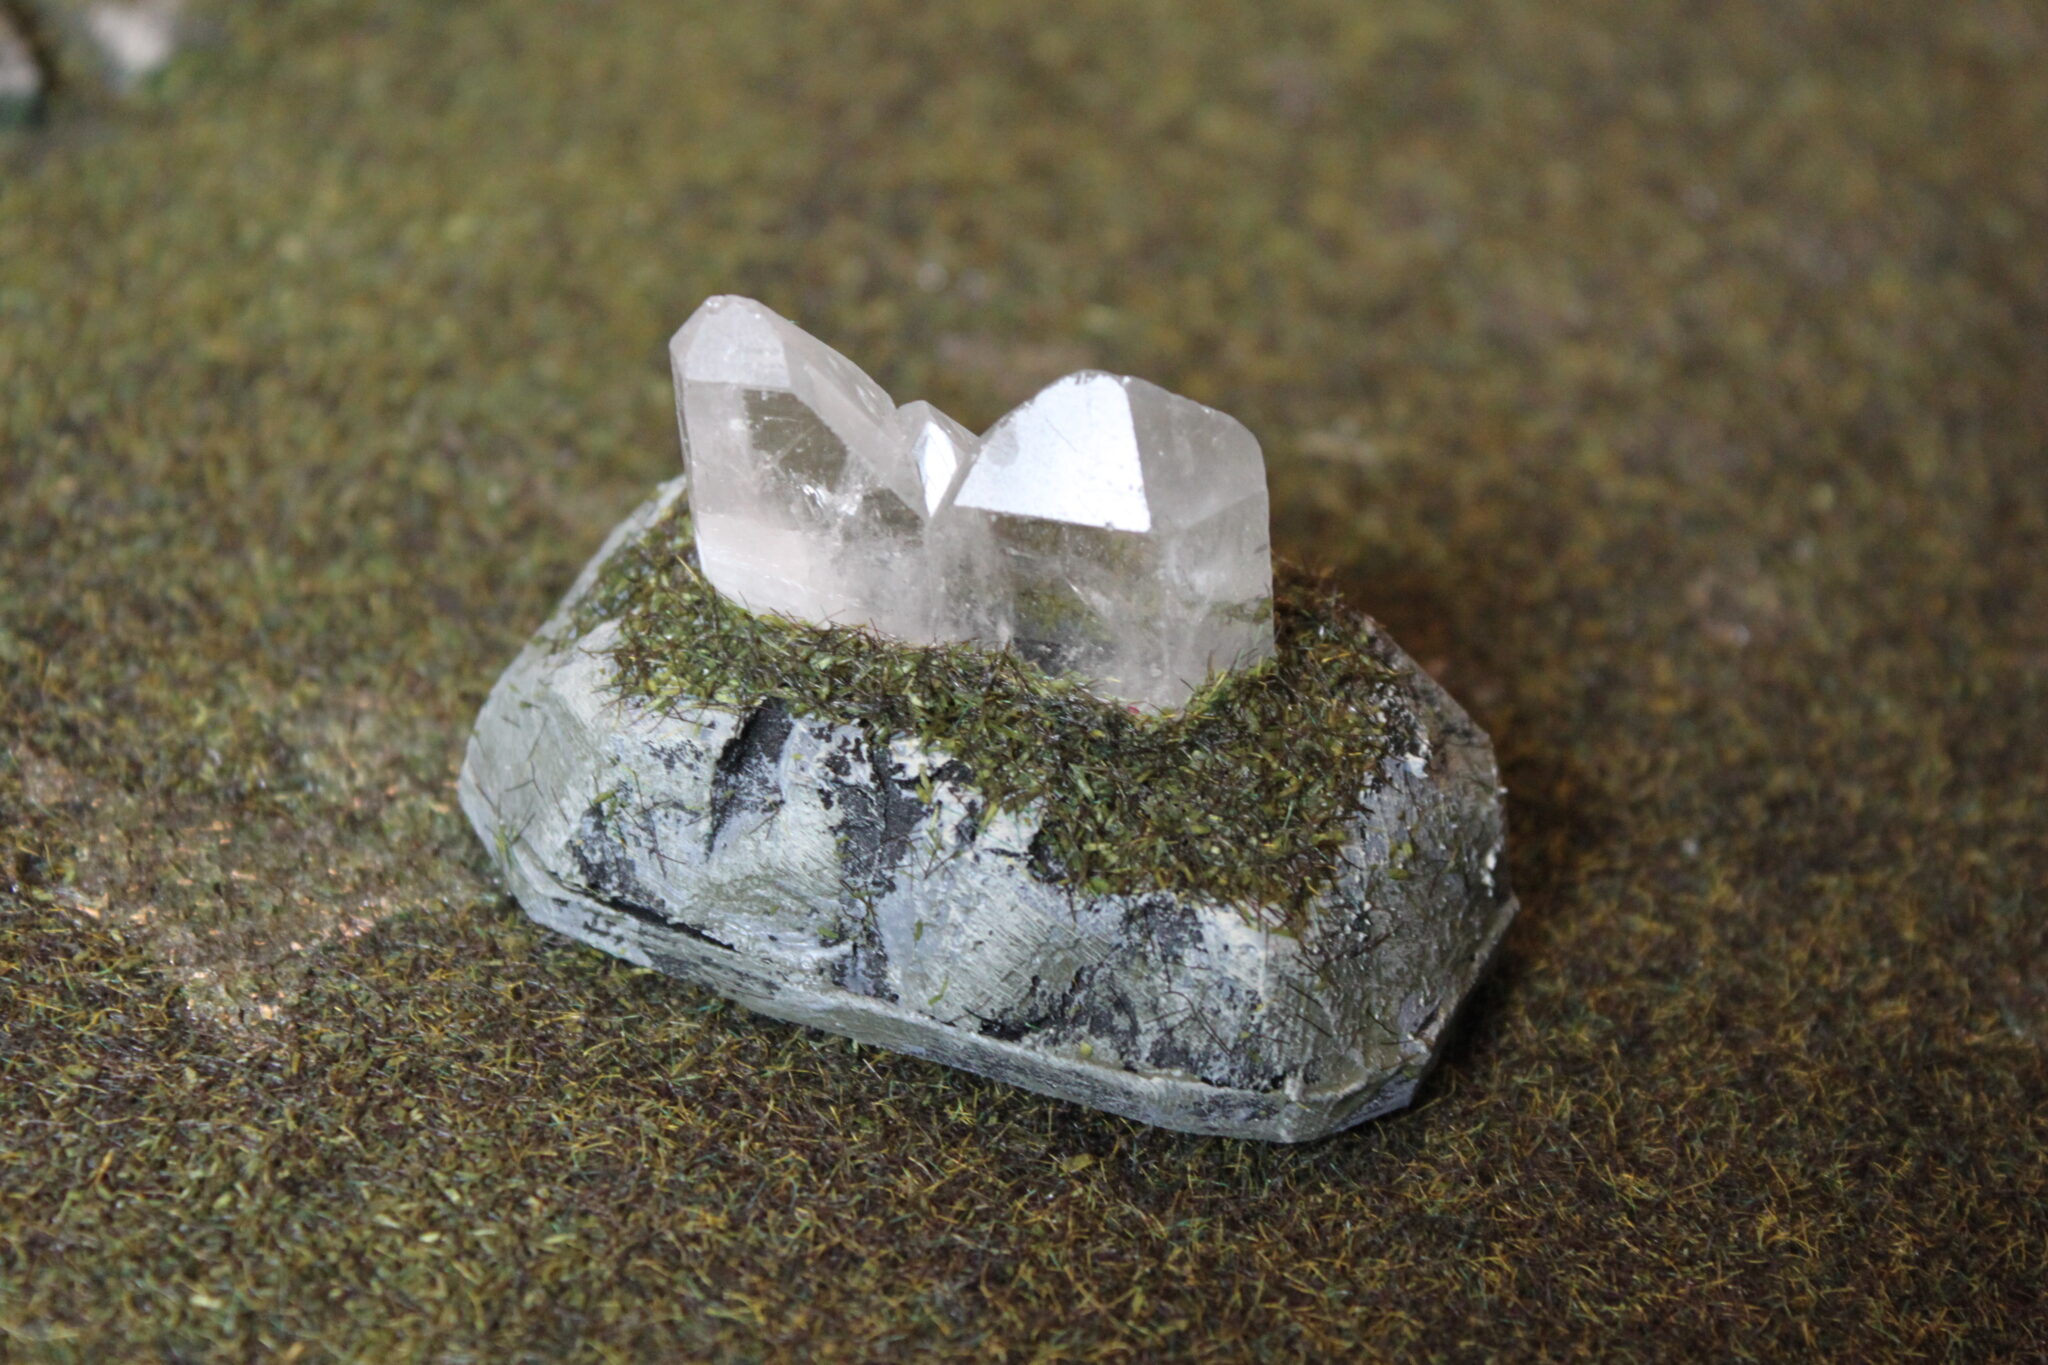
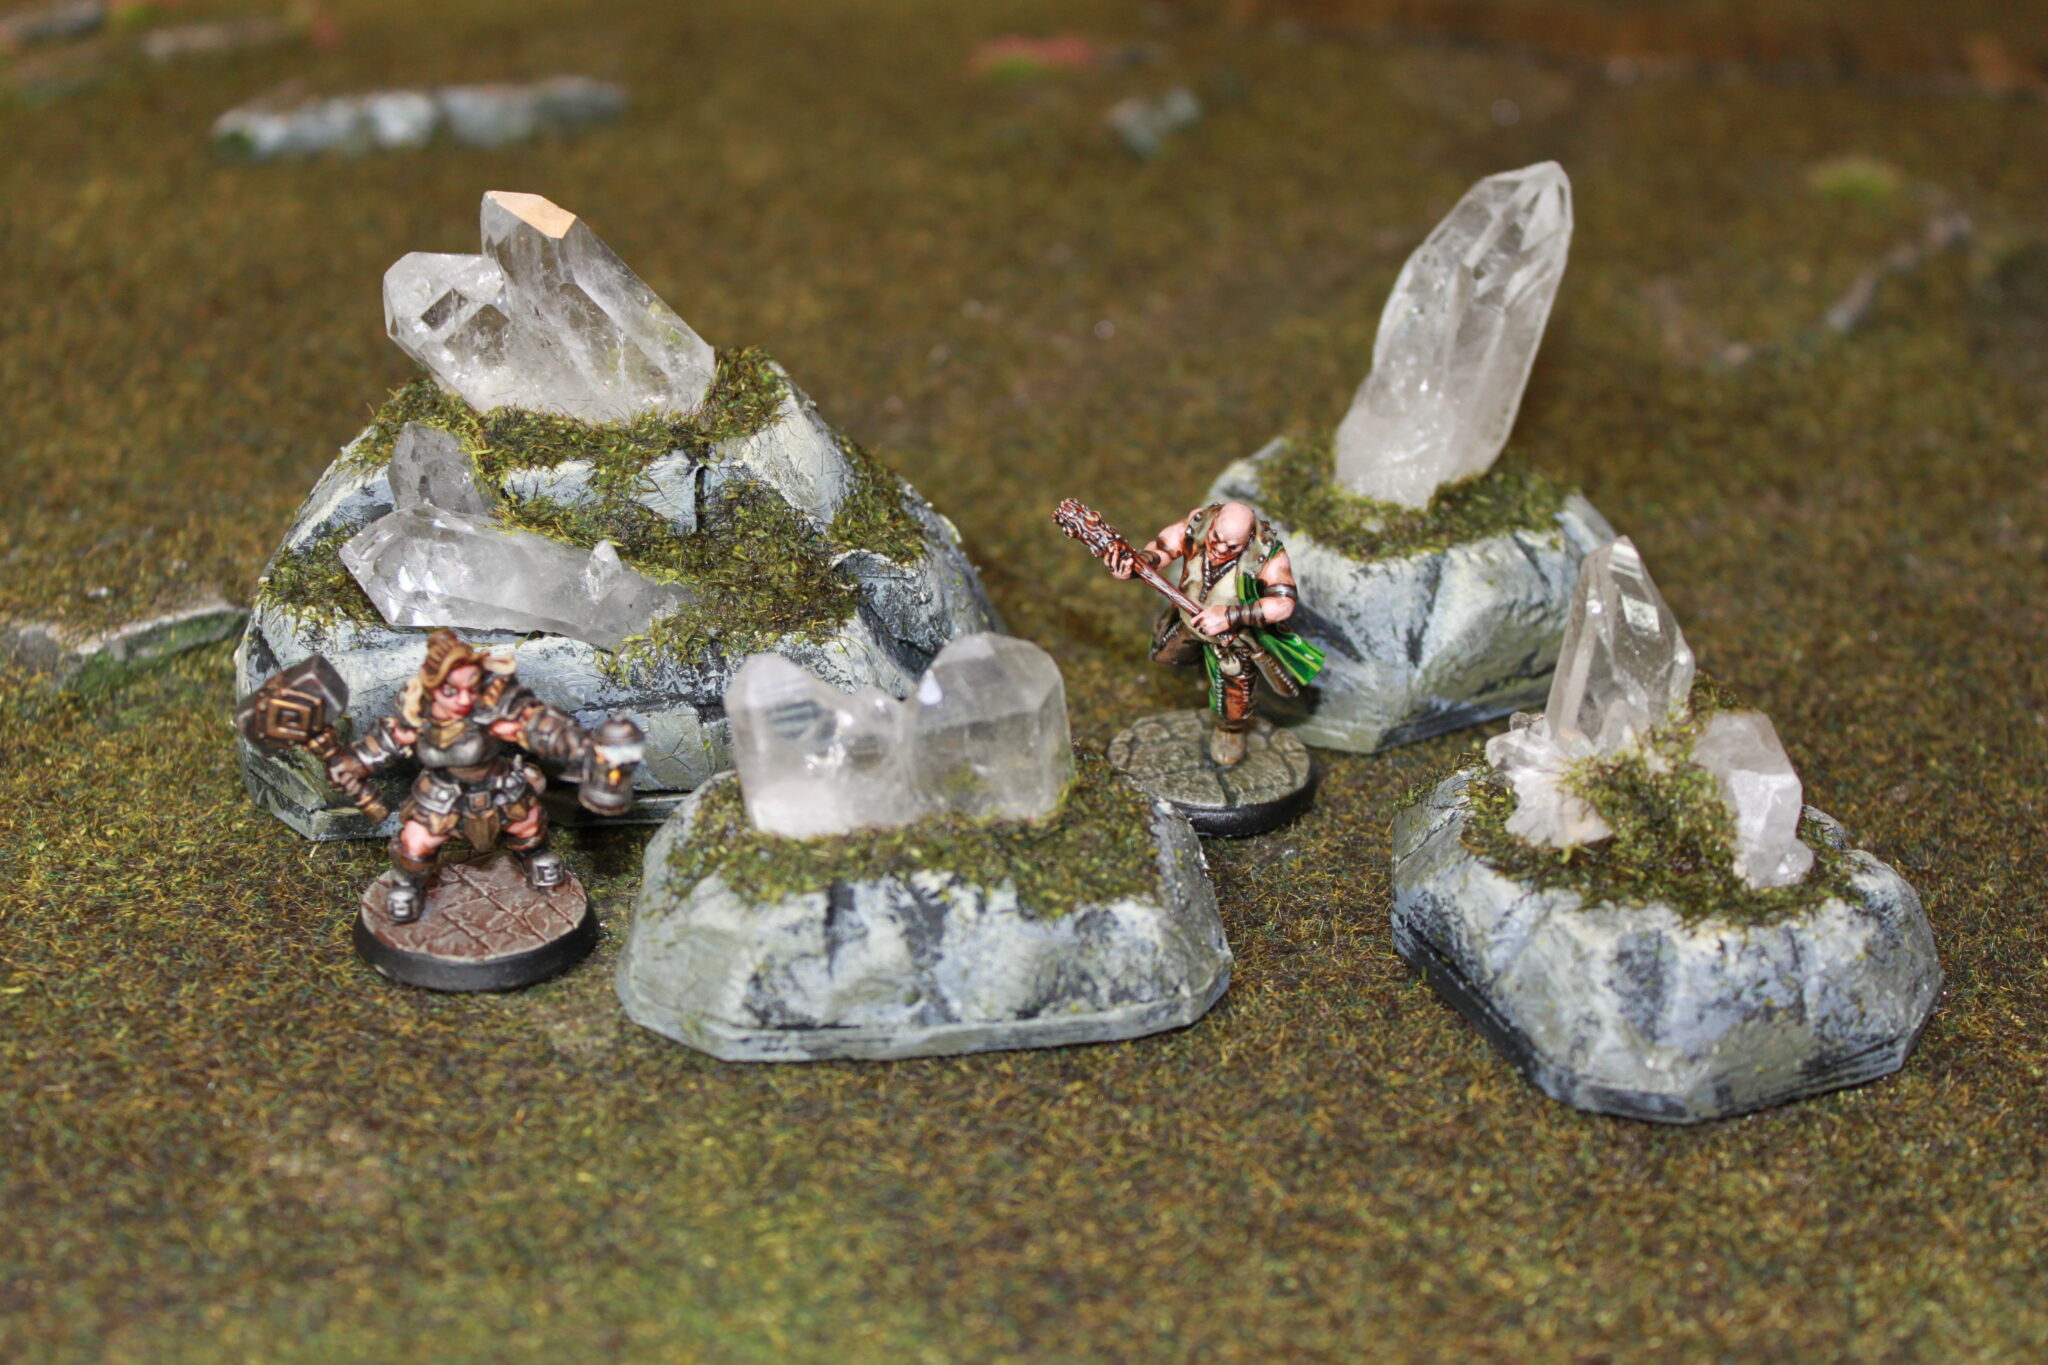
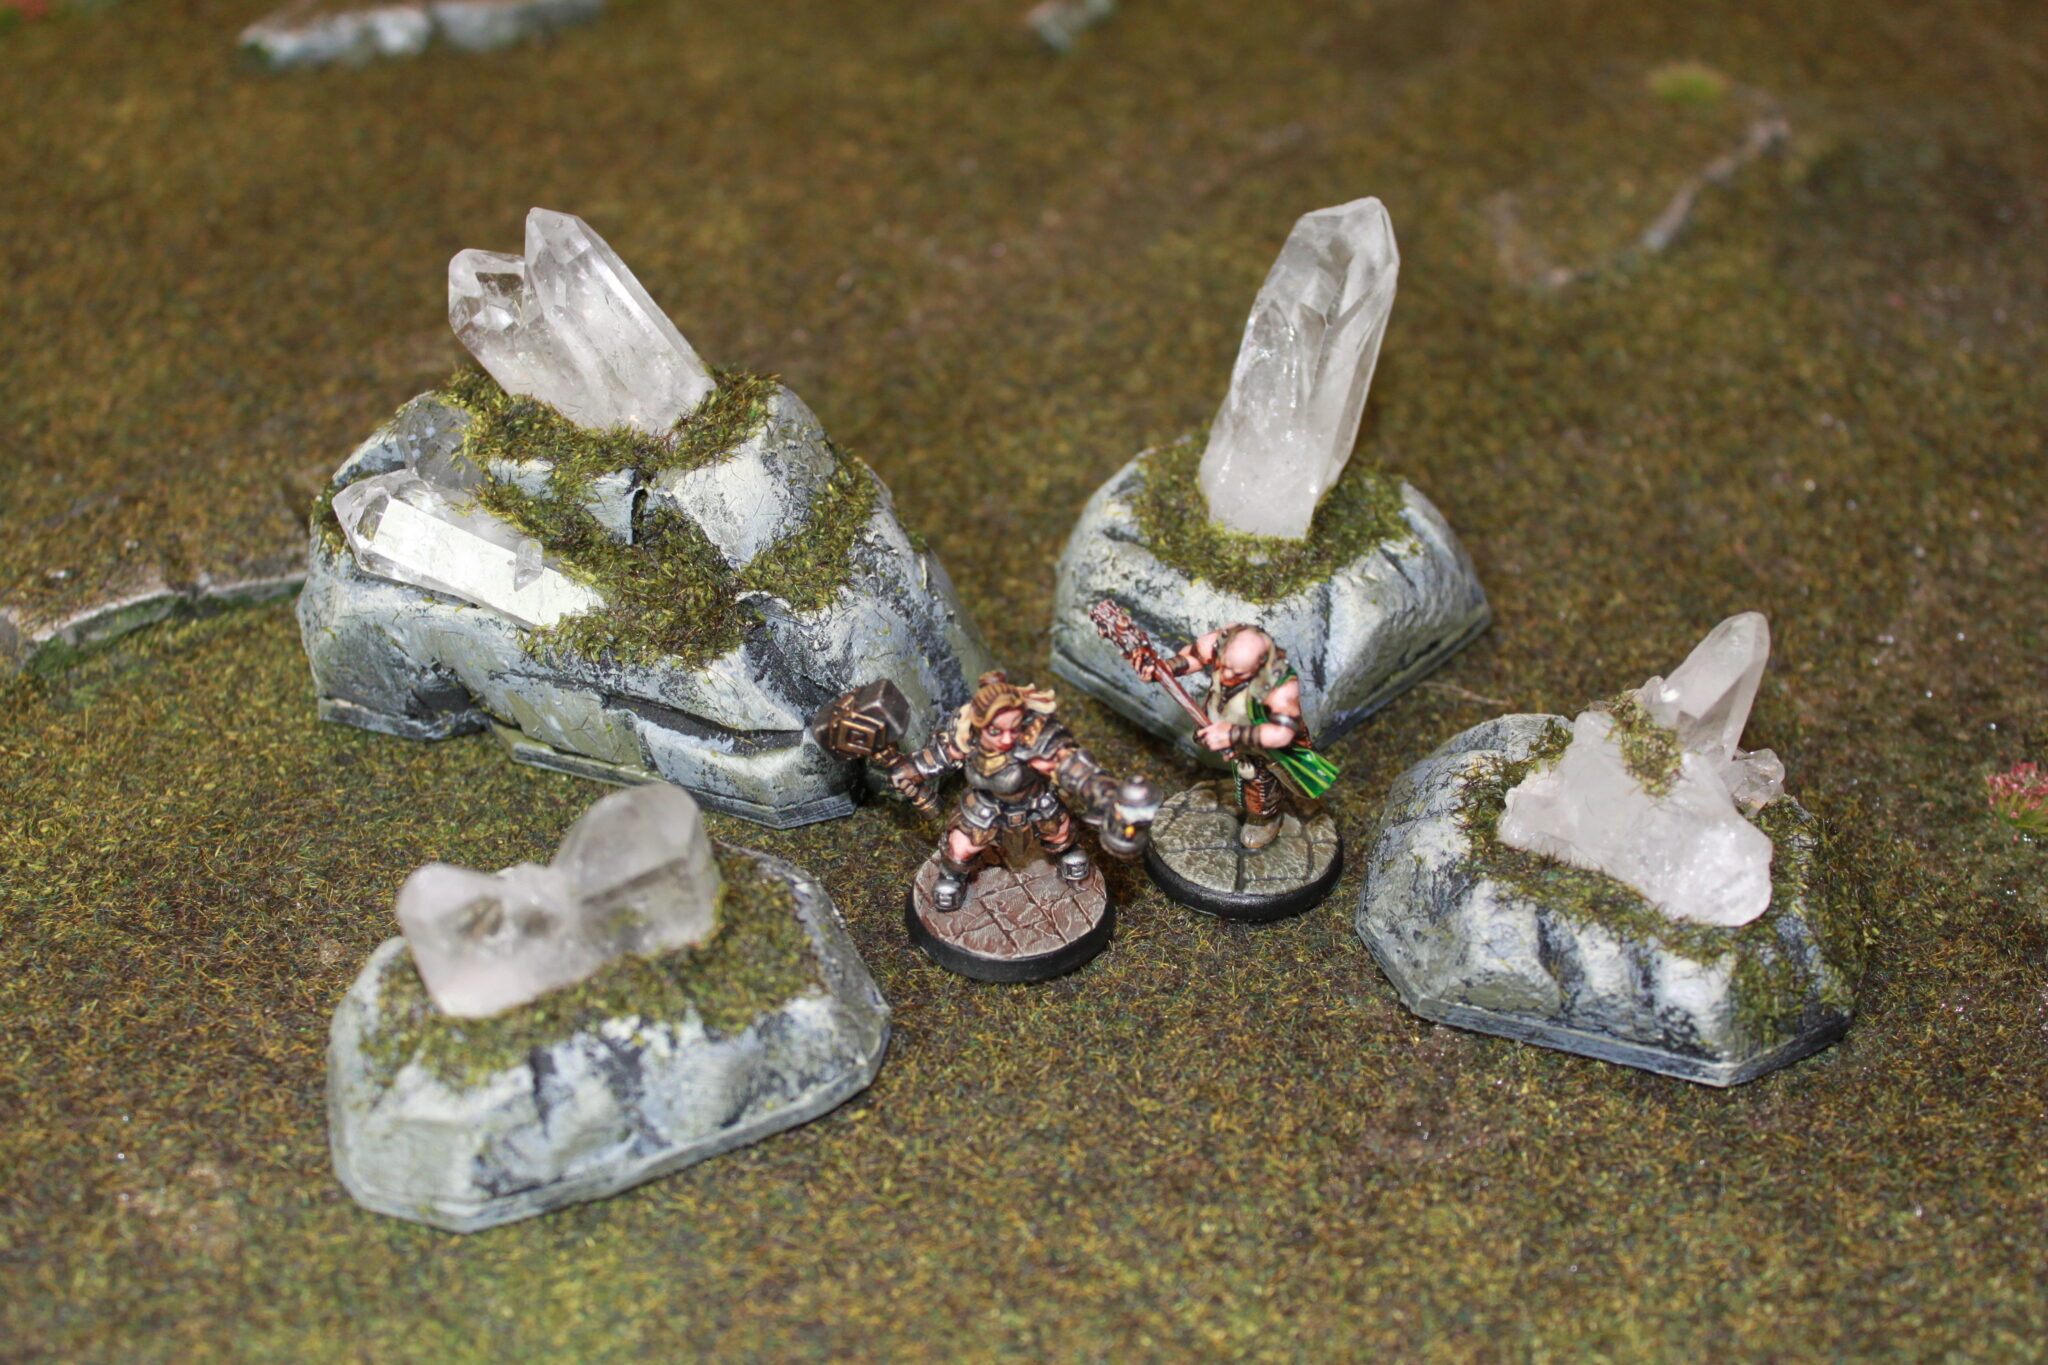
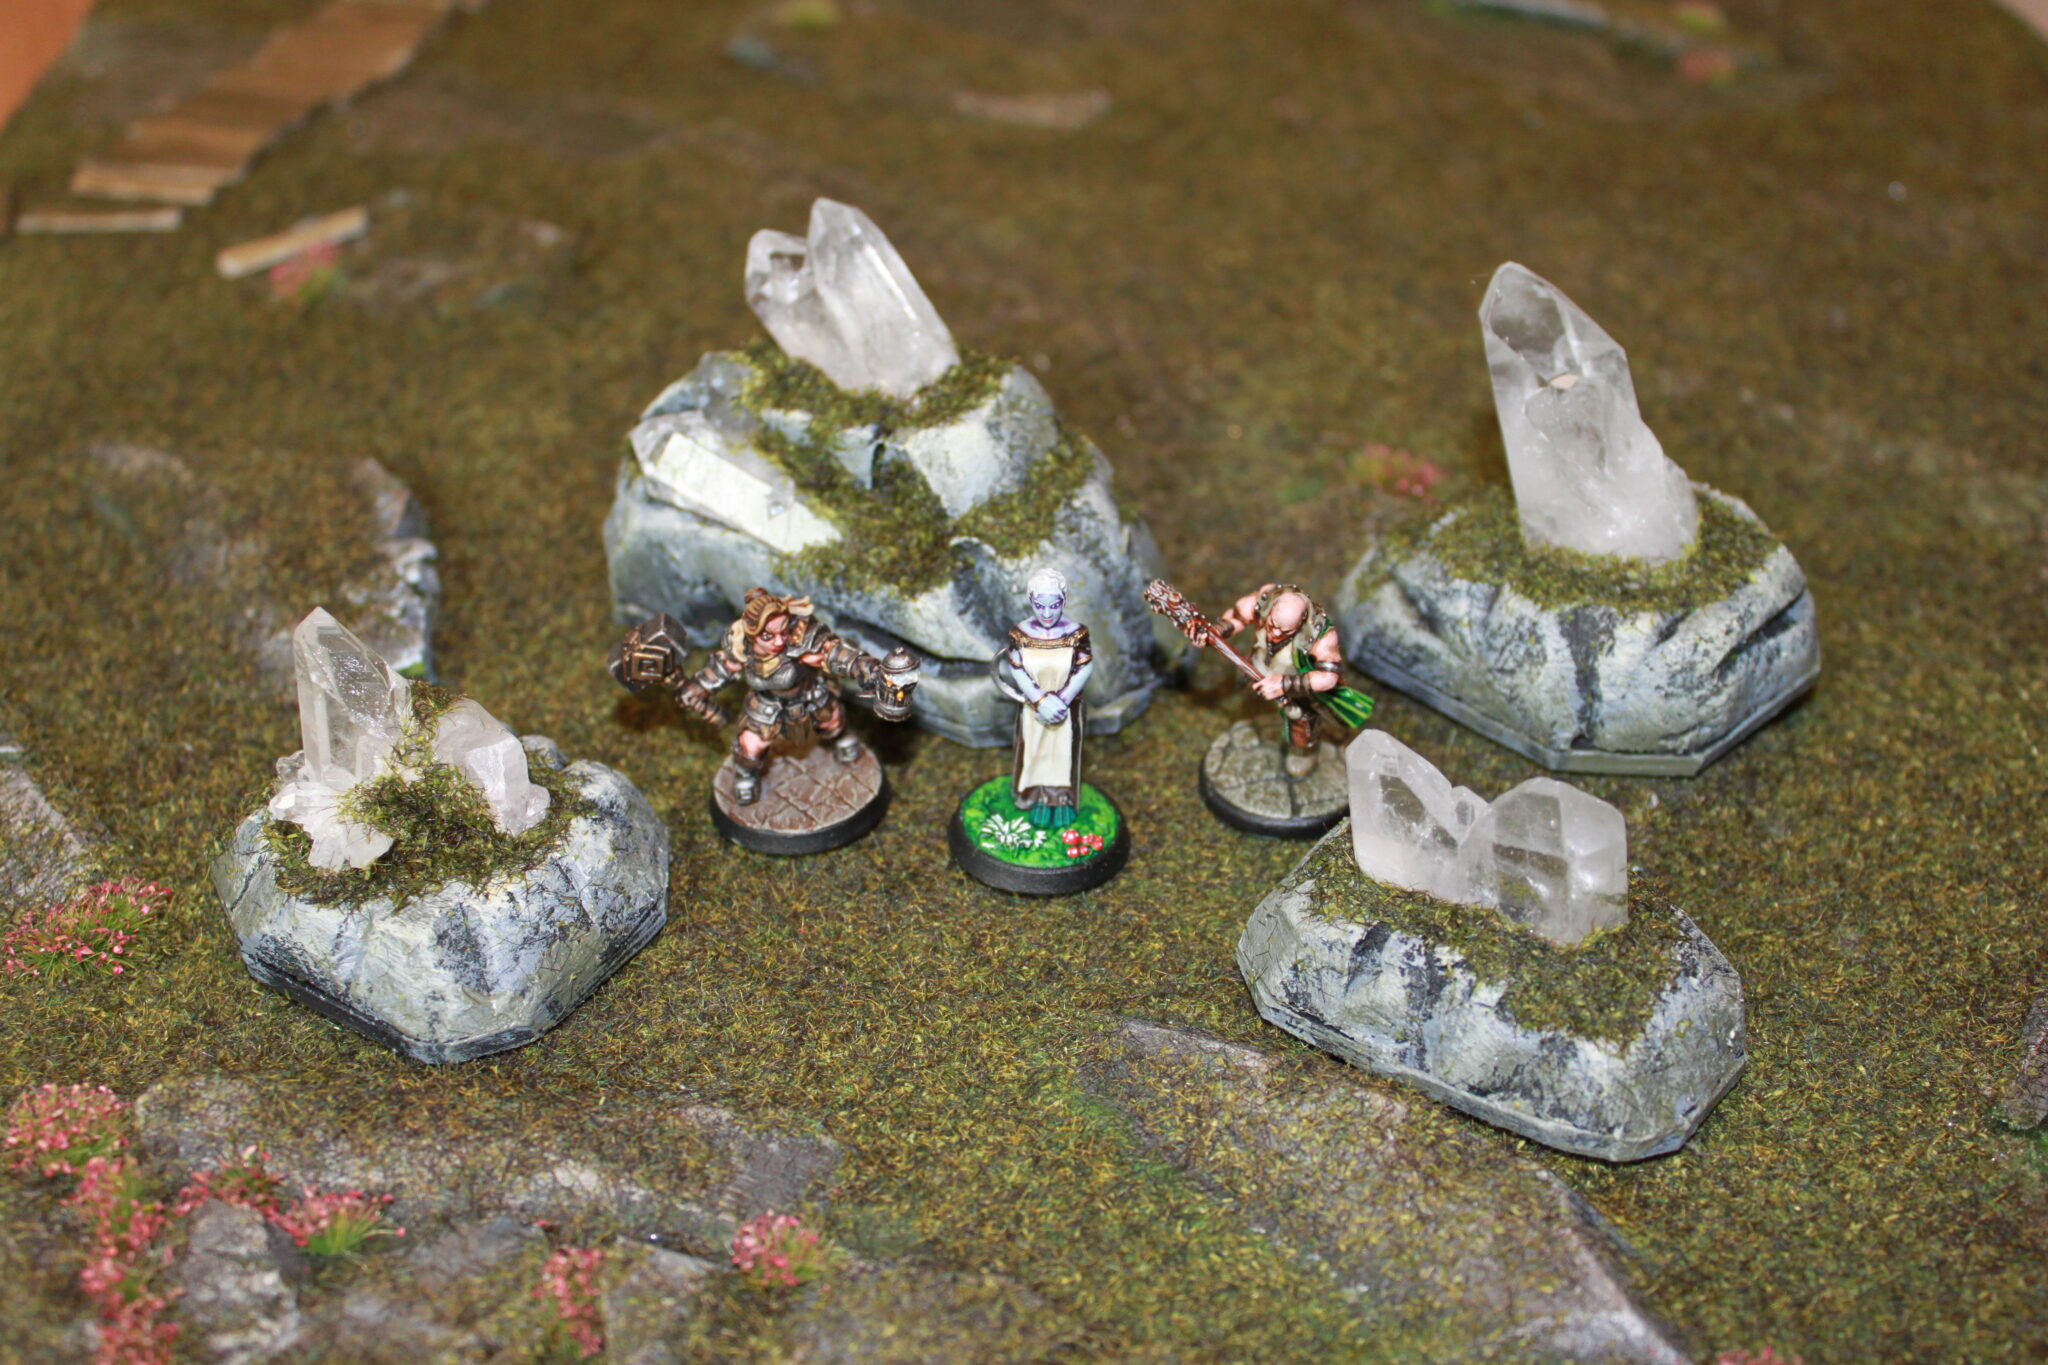
Crystals with the rest of the Rocky Plains set
How to craft these
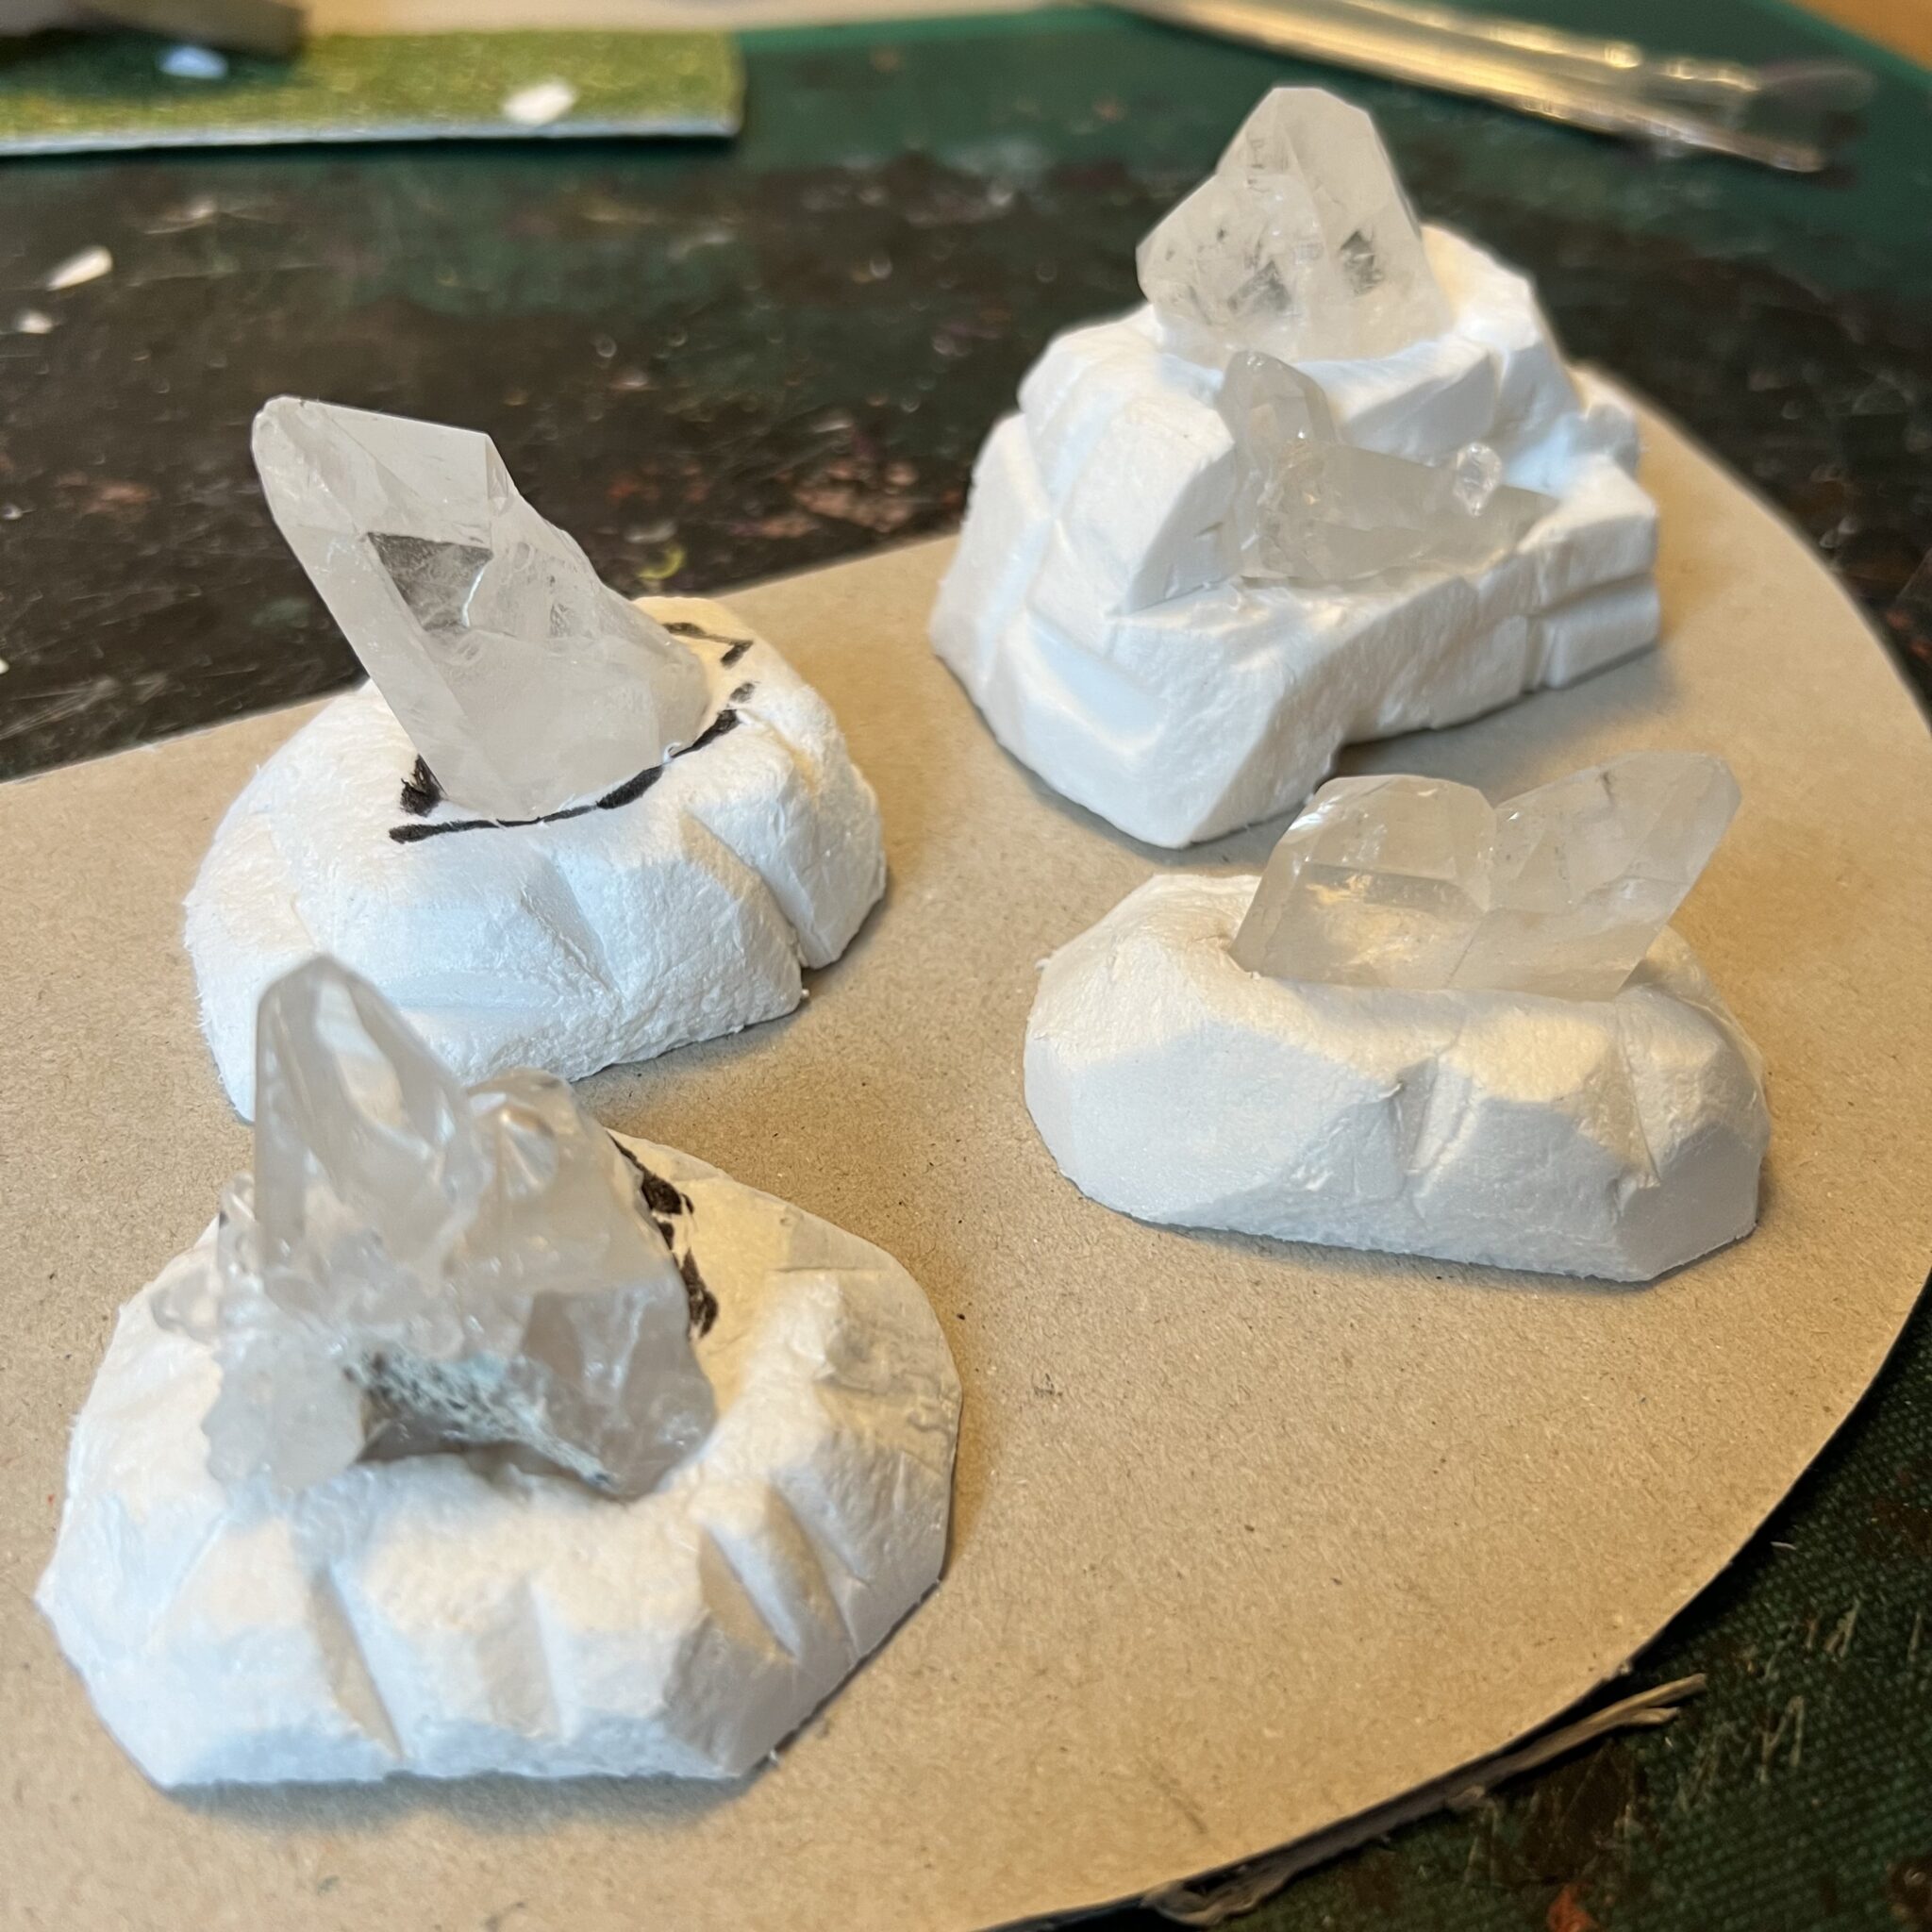
Step 1: Foamboard base
Cut some foamboard into bases. I also glued some thick cardboard on the bottom to make them more durable, but this is optional.
Make sure you cut holes in the foam for where the crystals will go, but do NOT glue the crystals in place. If you do, the colour of the foamboard (usually bright blue, pink or white) will show through the crystals.
Step 2: Paint the foam bases
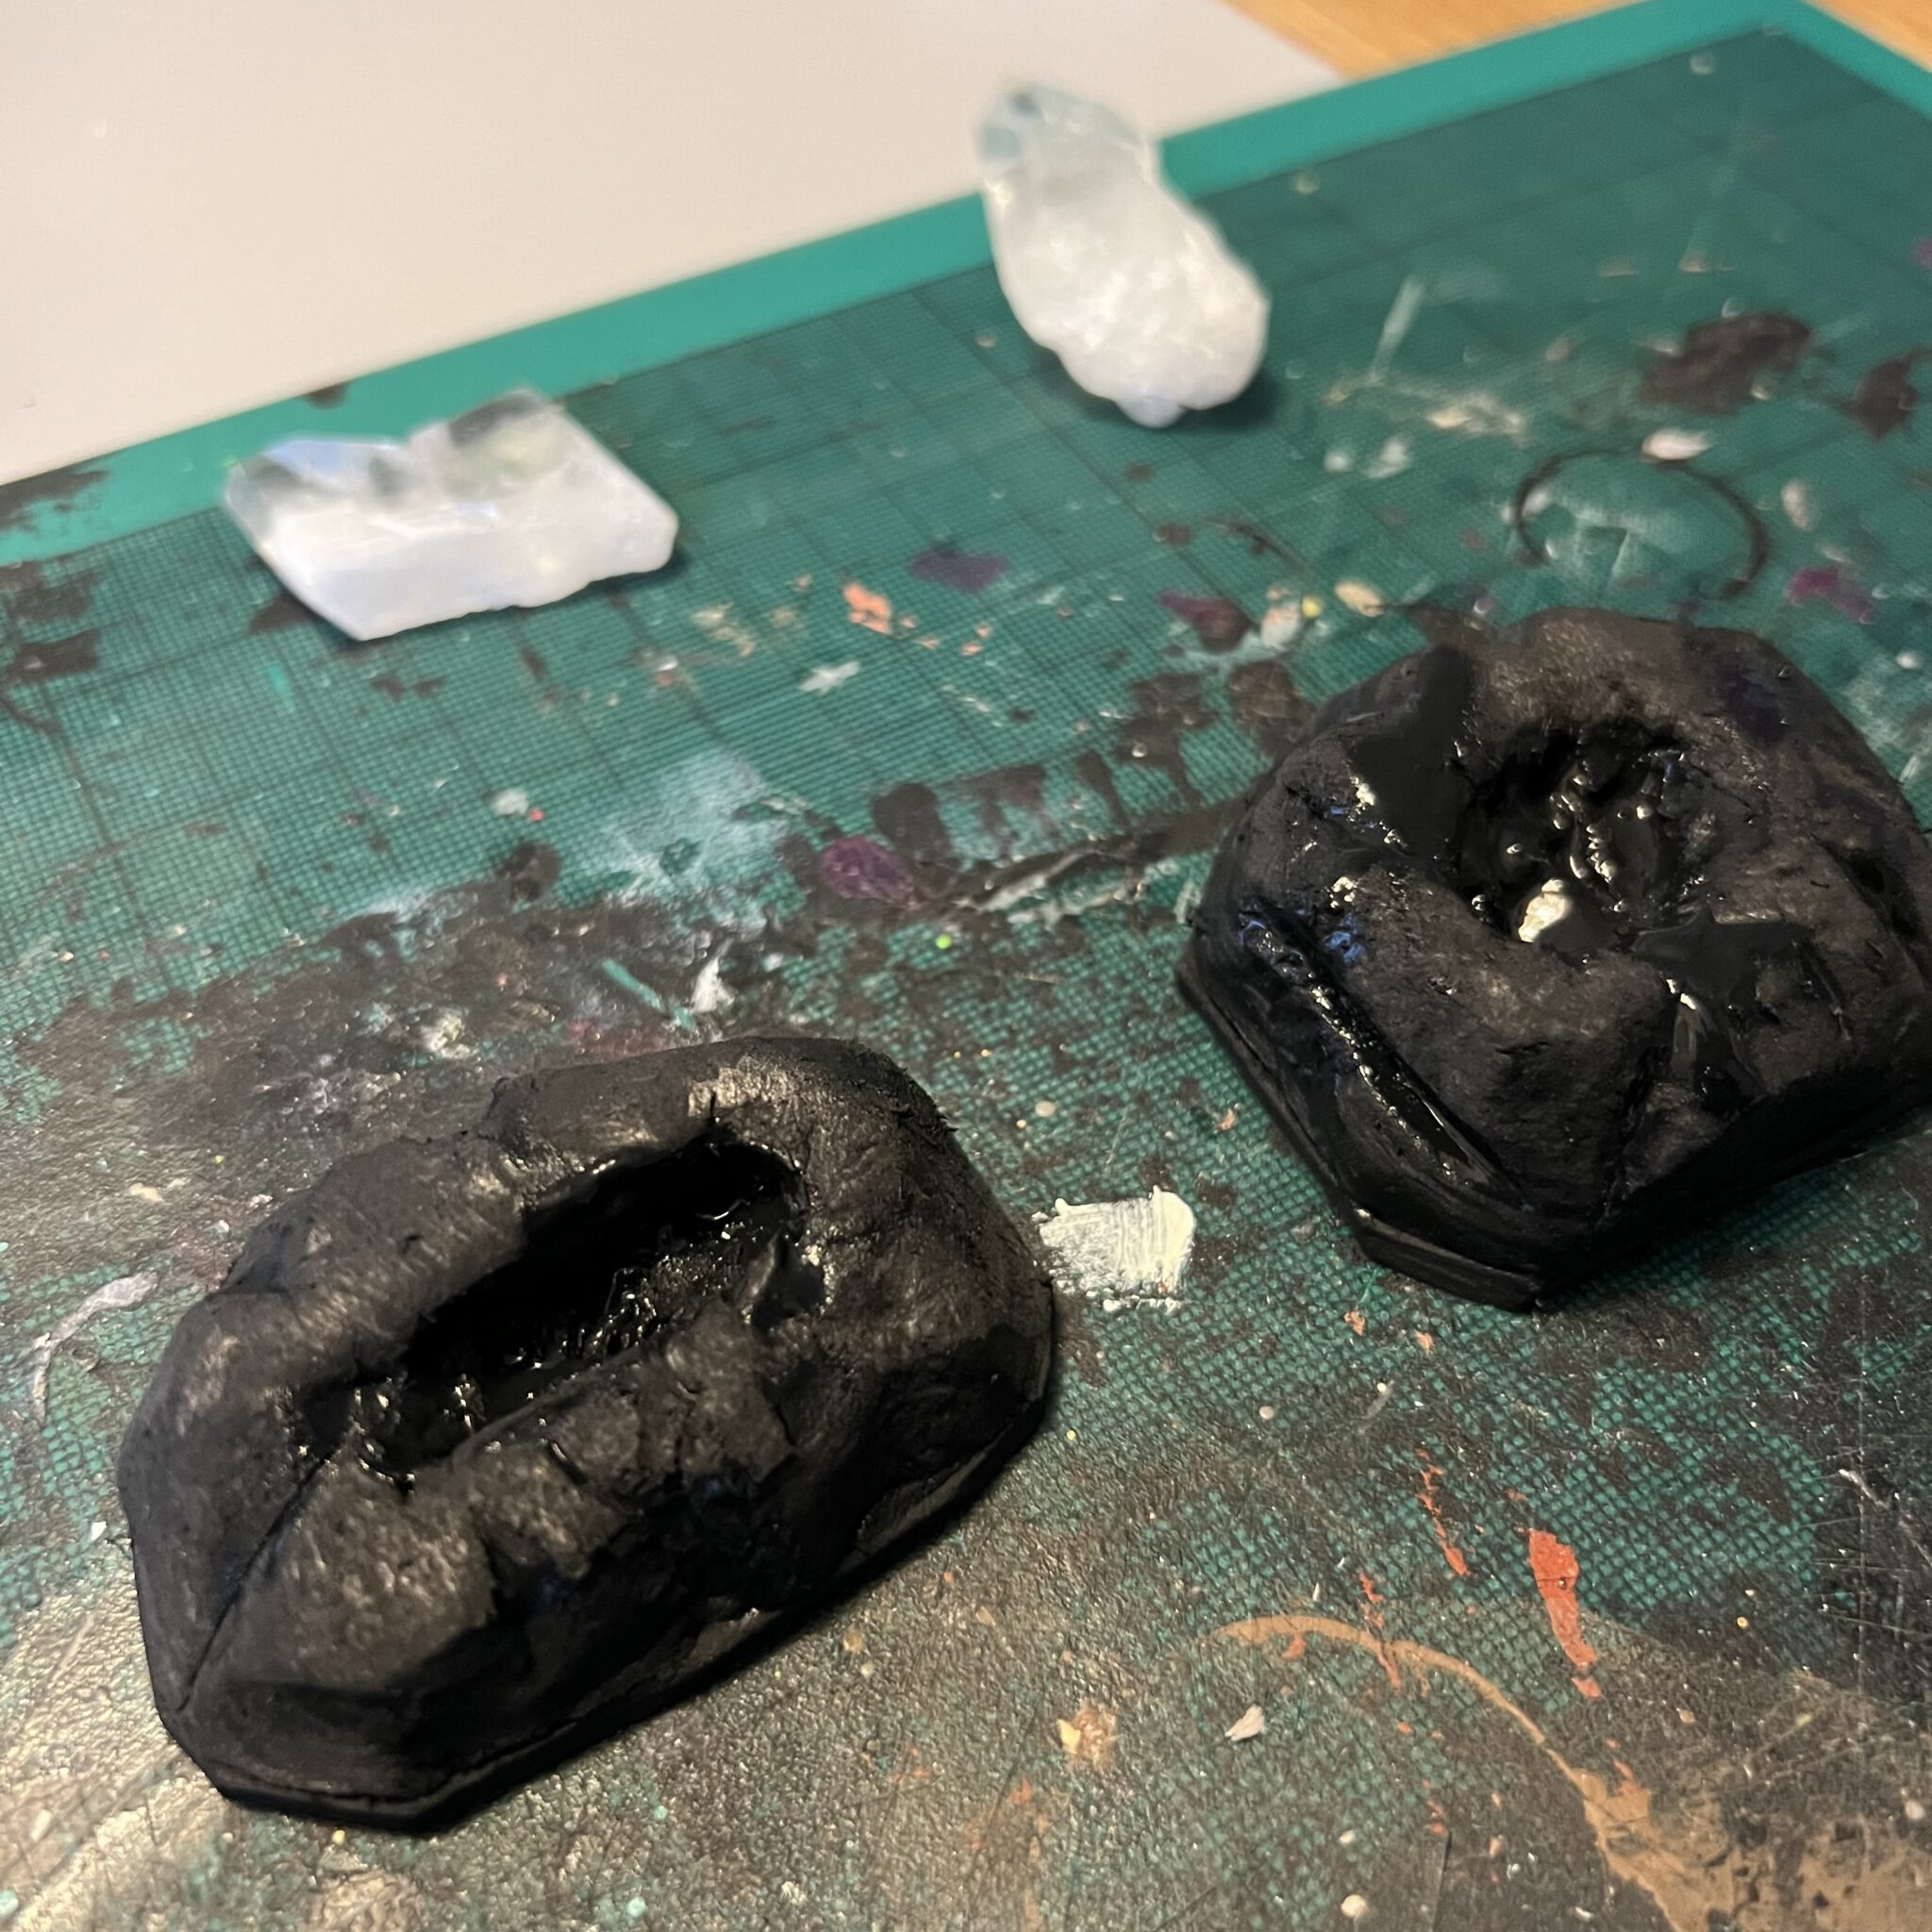
Remove the crystals and put them aside for the time being.
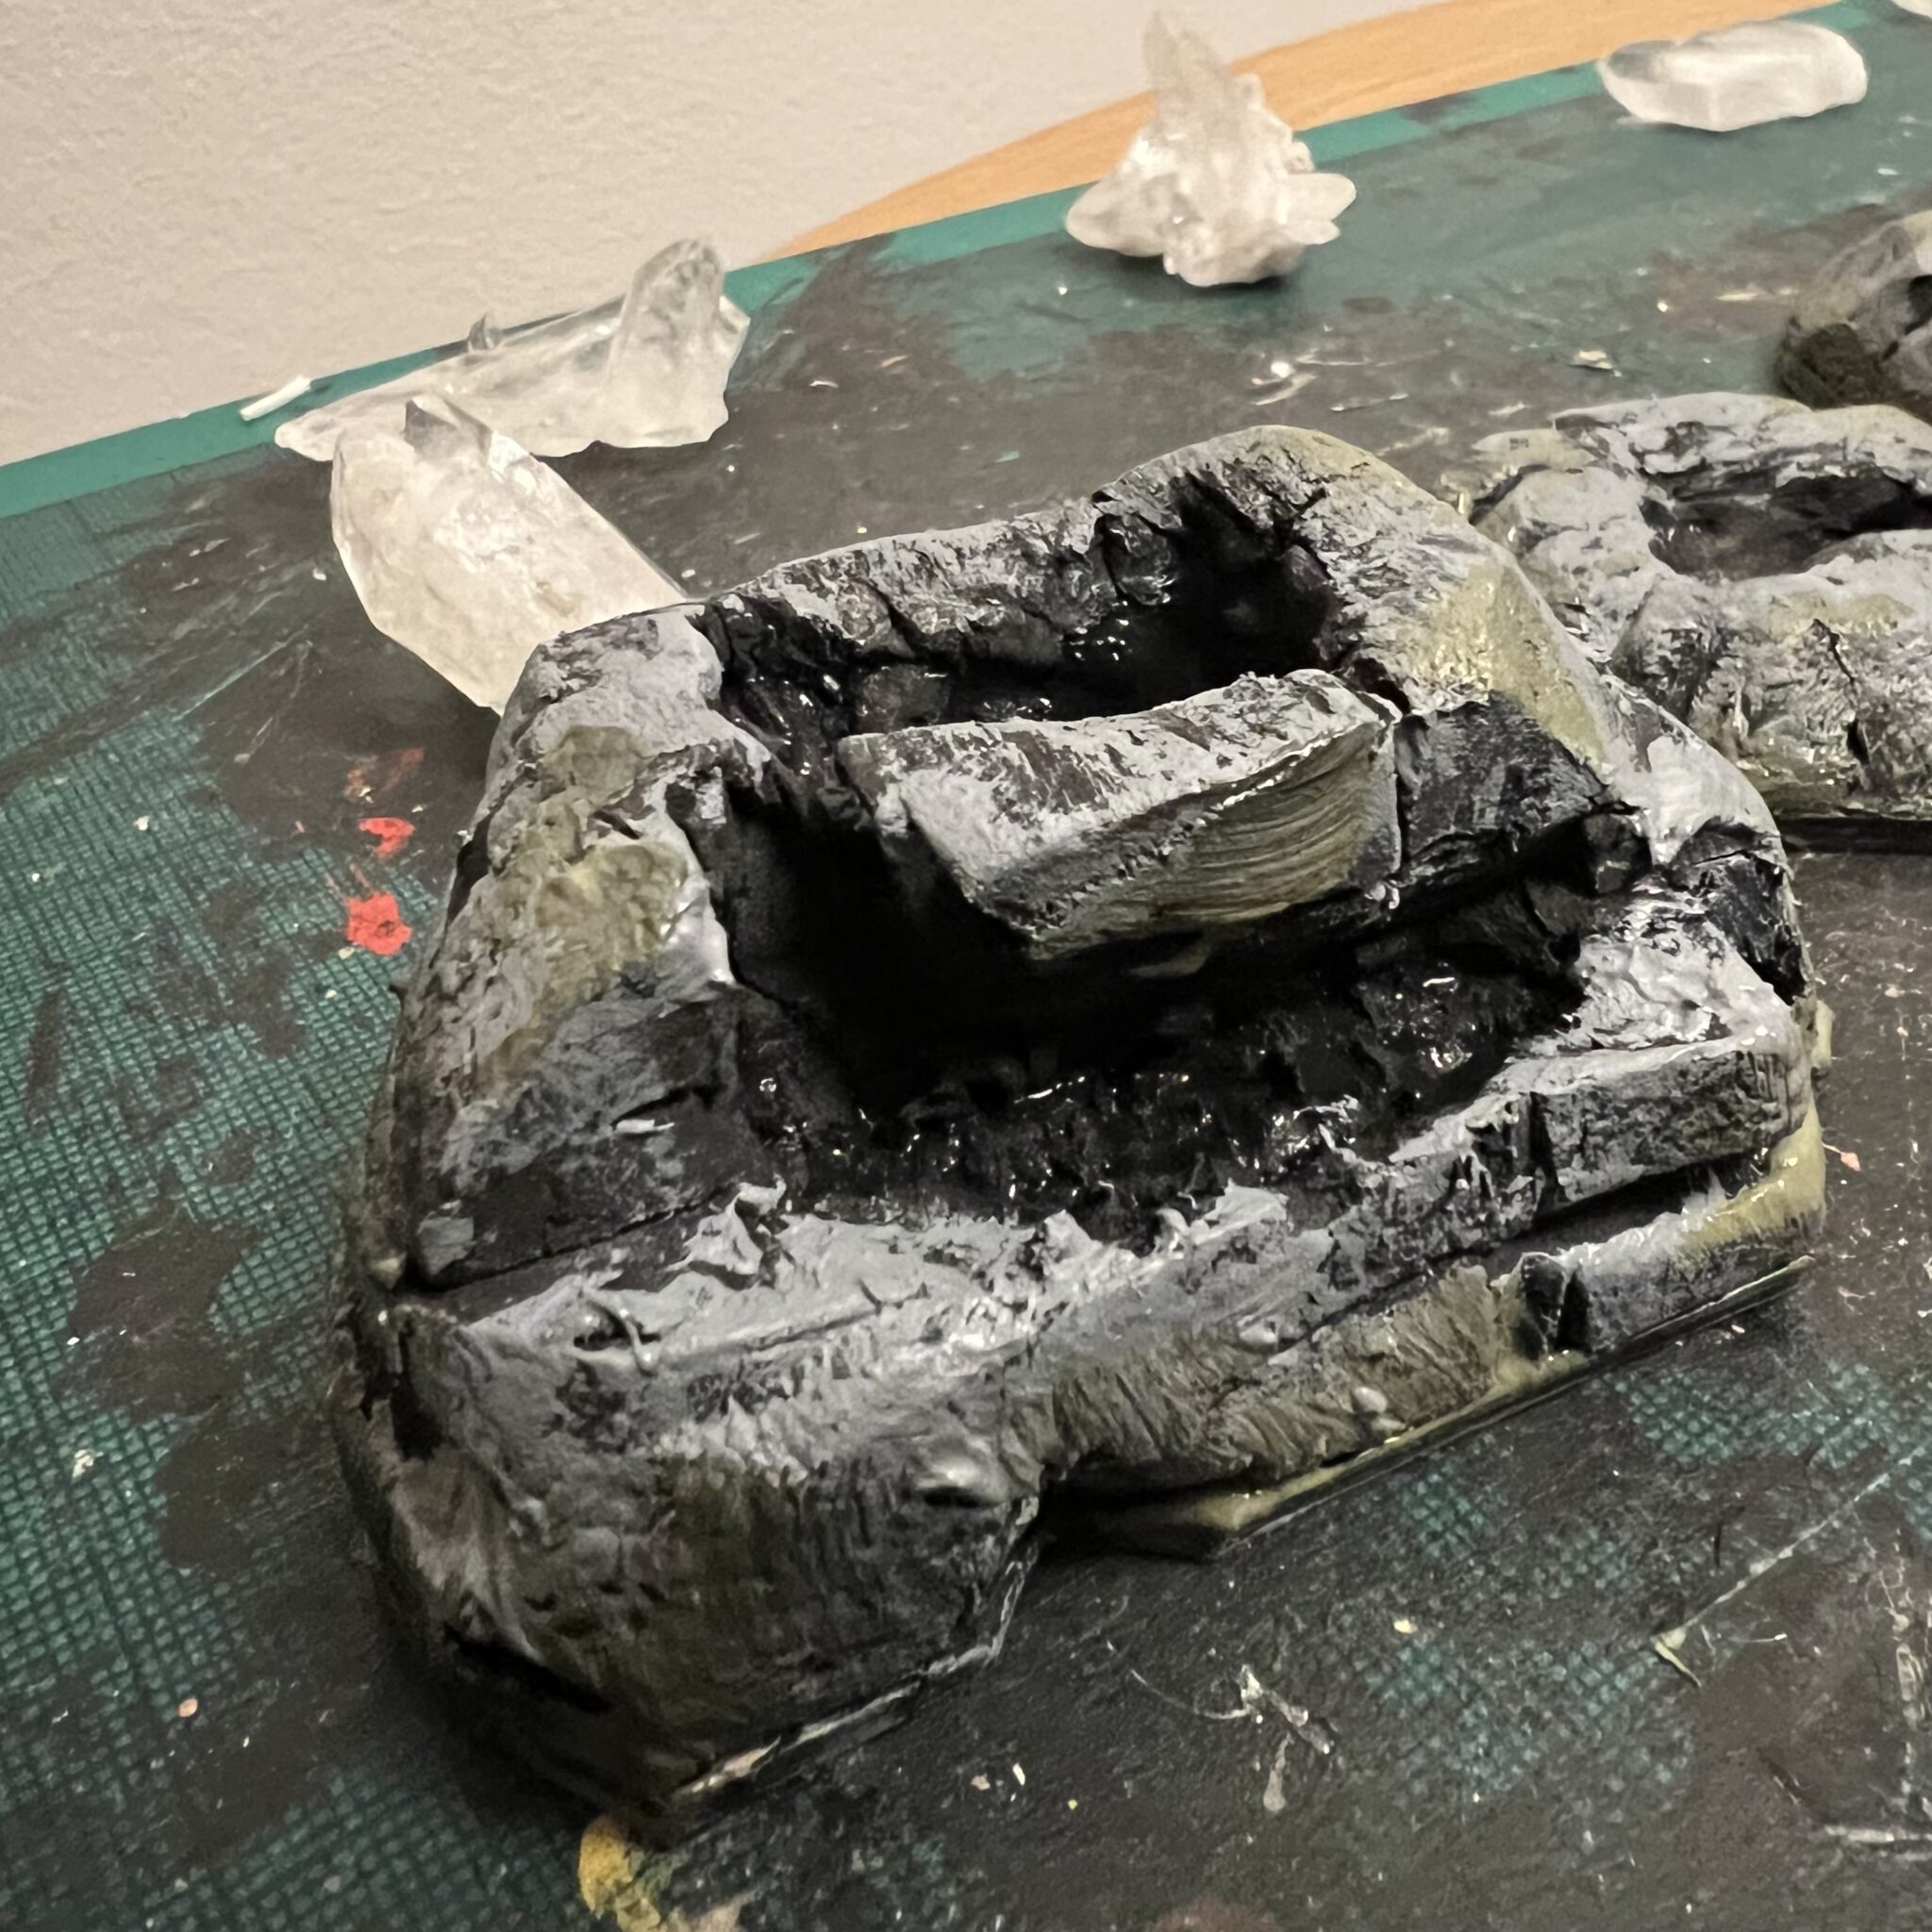
Paint the bases as you like. My method for these ones were:
- Paint the bases black
- The given them a good overcoat of grey.
- Add some green splotches here and there especially at the lower base.
- Wait for it to dry.
- Drybrush with a bone colour.
Step 3: Glue crystals in place
Now is the time to glue the crystals in place. I used a glue gun for speed, but PVA would probably have worked as well.
Final step: cleaning up
No matter how neat you cut the holes for the crystals, you will end up with some gaps here and there.
You can either fill it with some pollyfilla or glue some gravel in the holes. I chose to use some grass instead as it aligned the pieces with the overall Rocky Plains board.
Wait for it all to dry and then give it a coat of watered down PVA (I used 50/50) to fix the grass in place and give the overall piece some durability. Note I did NOT cover the crystals as I didn’t want to dull their brilliance down.
Done.

