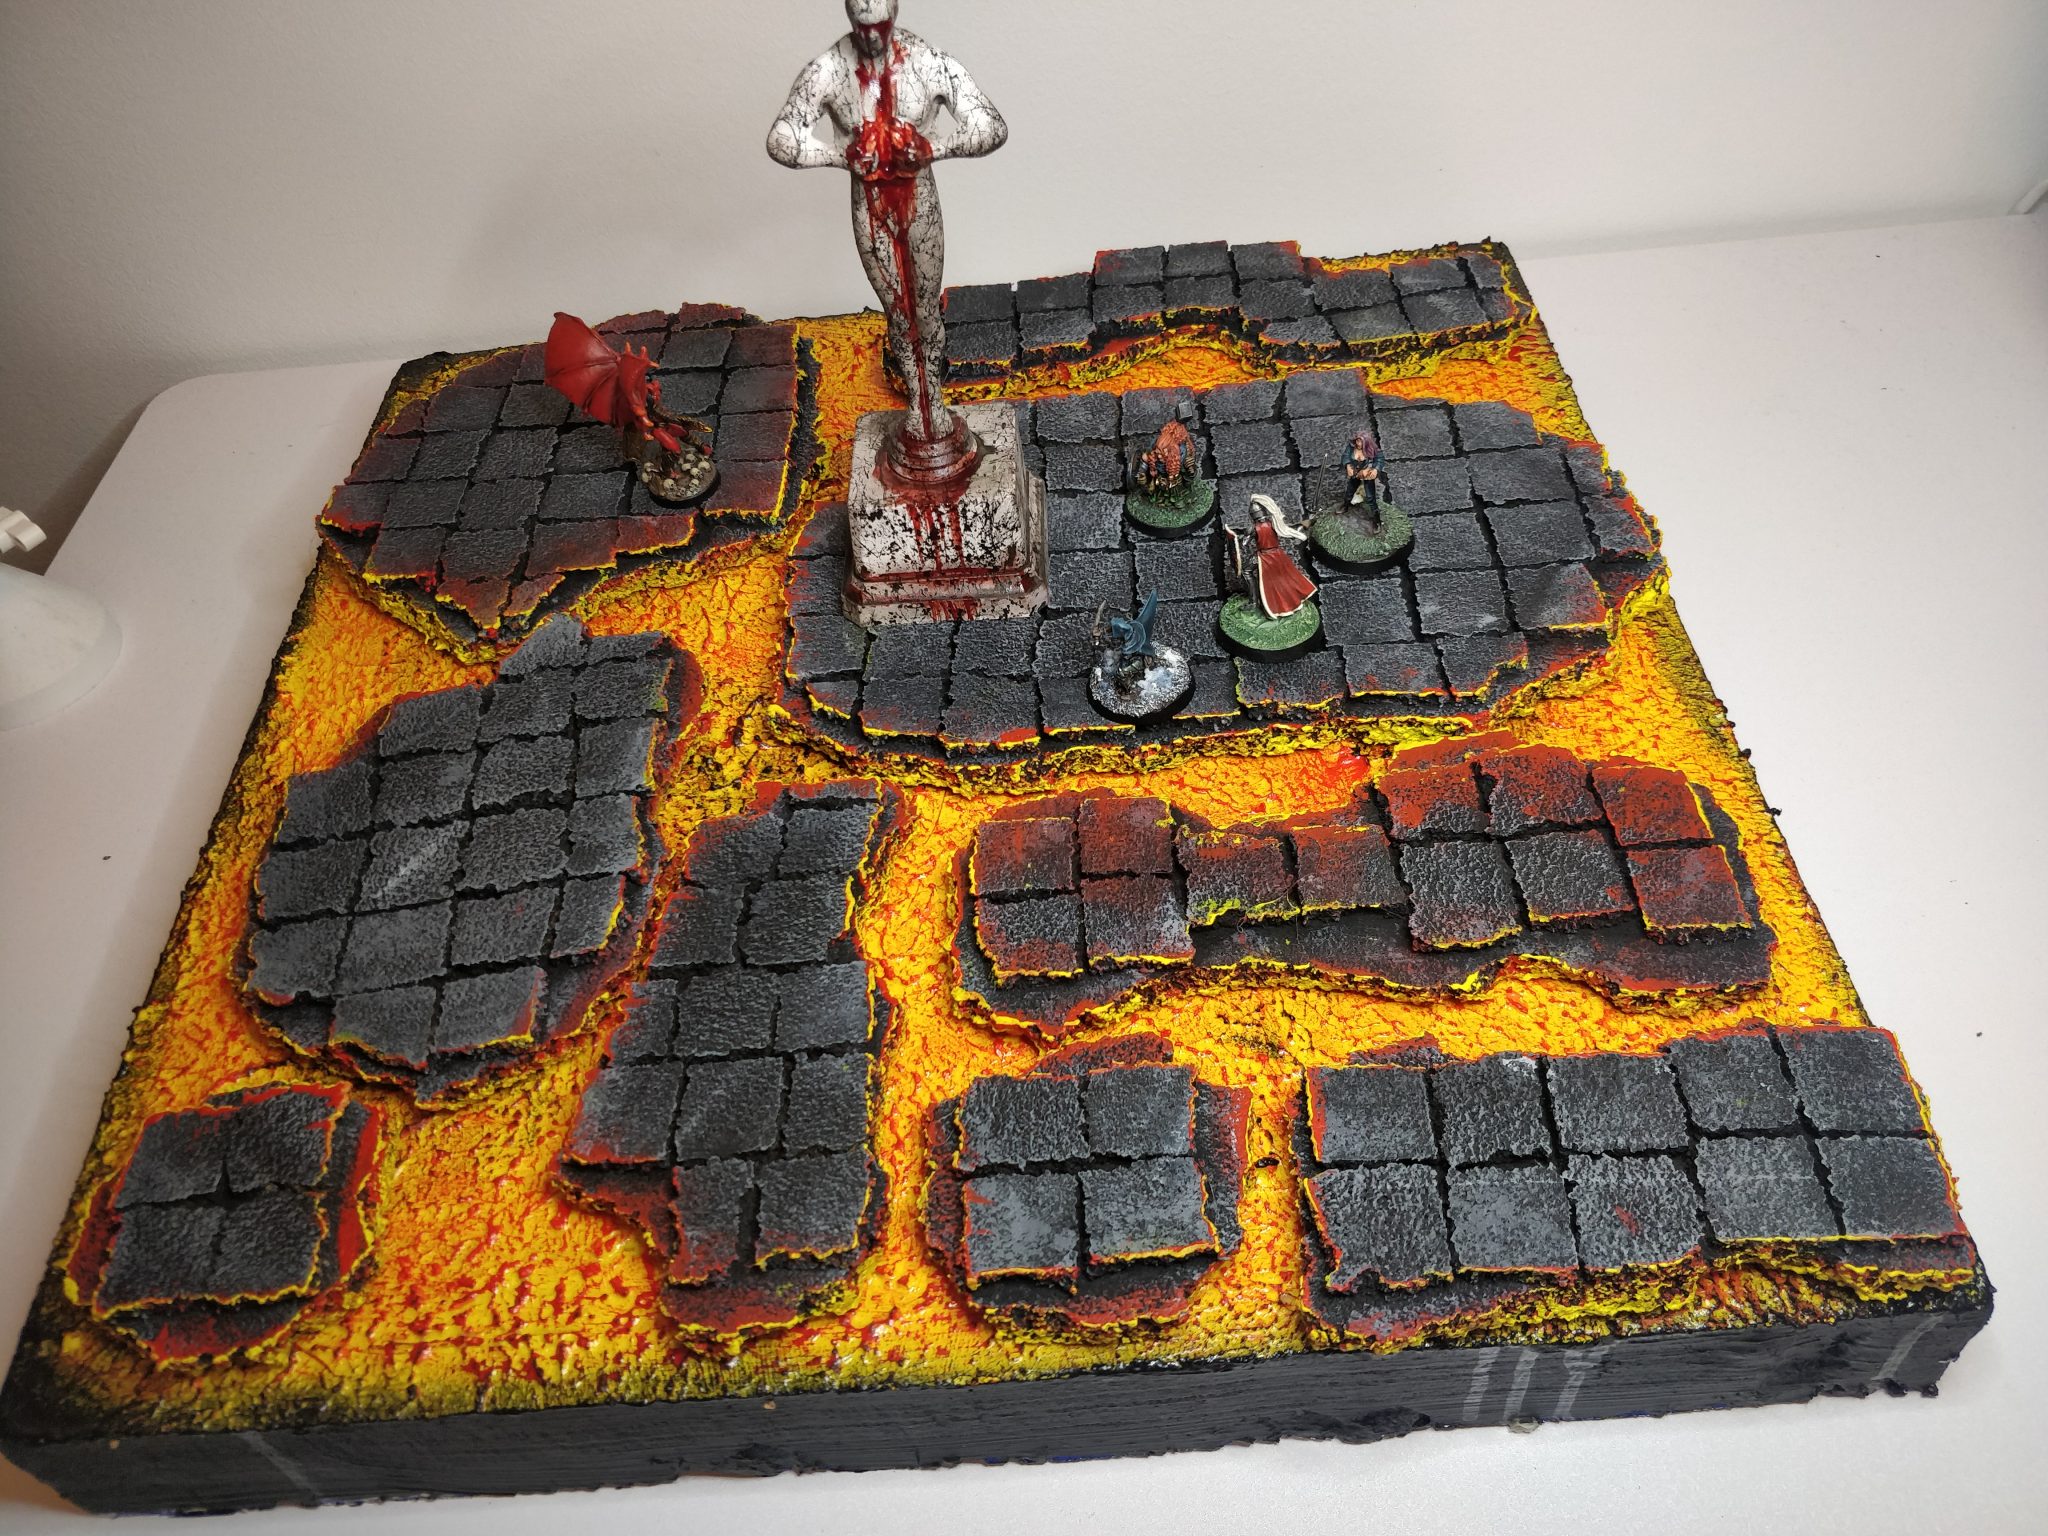
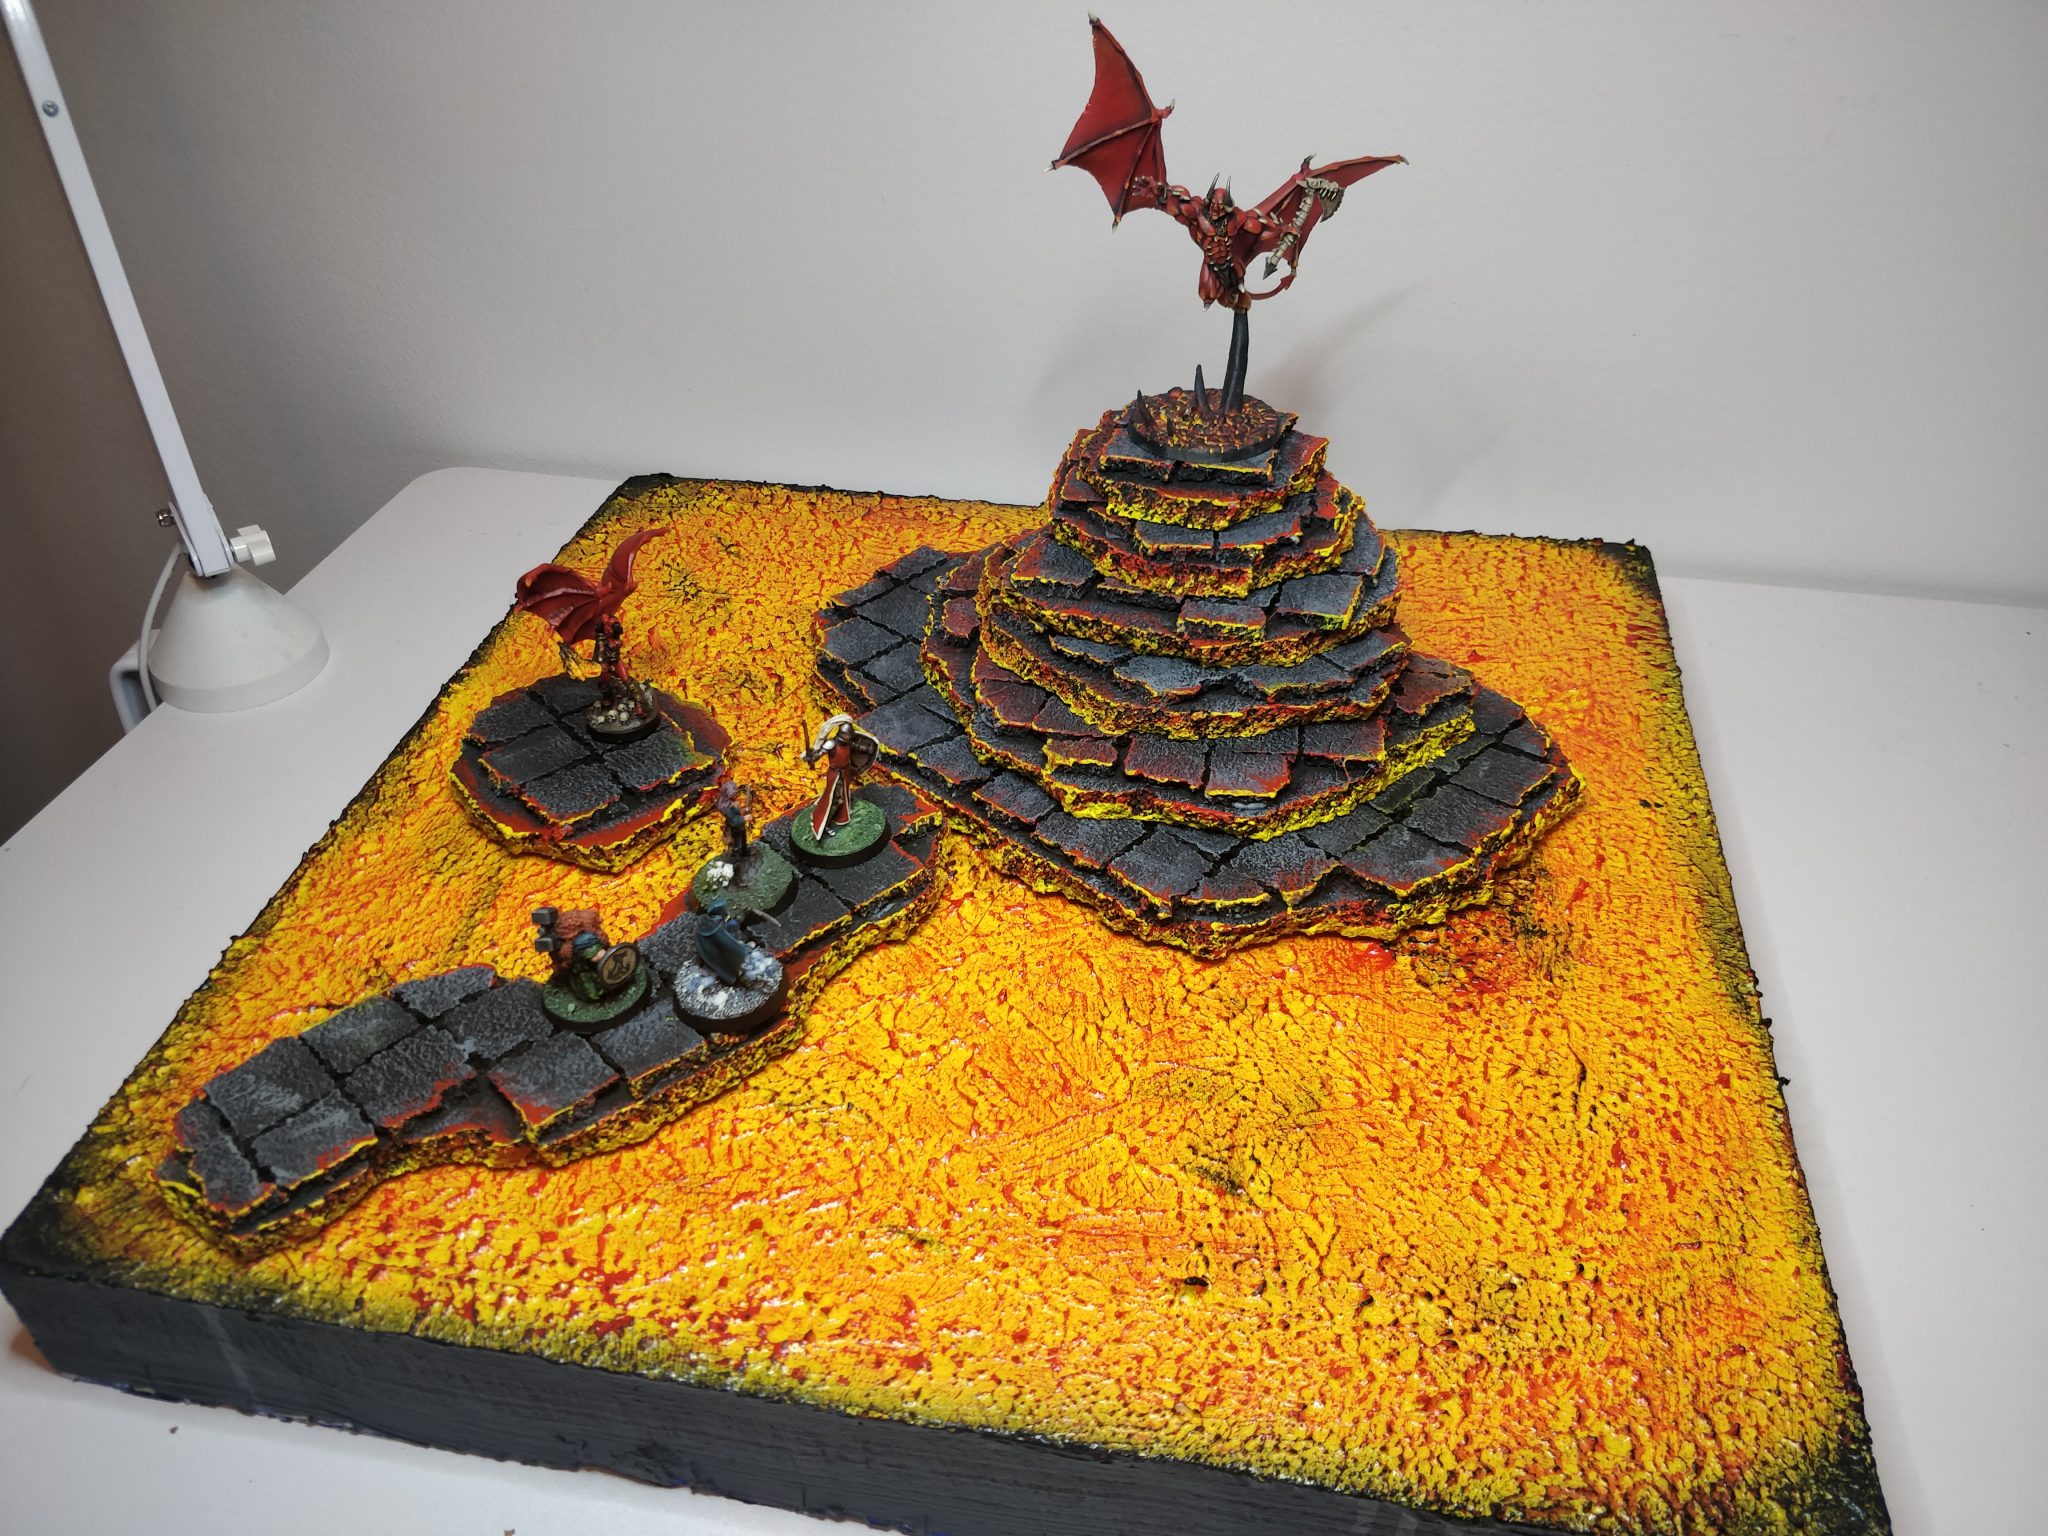
Our part ended the last campaign with a big win… but at a cost. One of the heroes paid 19% of her soul to use a Hellfire Cannon and that has opened up for a trip to hell in our next campaign.
More specifically, I decided that the party will be exploring (and hopefully surviving) the 4th layer of hell: Phlegethos.
So with that in mind, I set out to build a replacement board set for my original Inferno Board set that I threw out when we moved from London to Copenhagen.
I took the inspiration from Black Magic Craft’s Lava Tiles, but I think tiles as a concept lends itself better to dungeons and castles than to natural formed terrain.
So I decided to flip the concept on its head and create one big lava board and create the dark solid shapes to put on top of it!
Really happy with the result and can’t wait to use it.
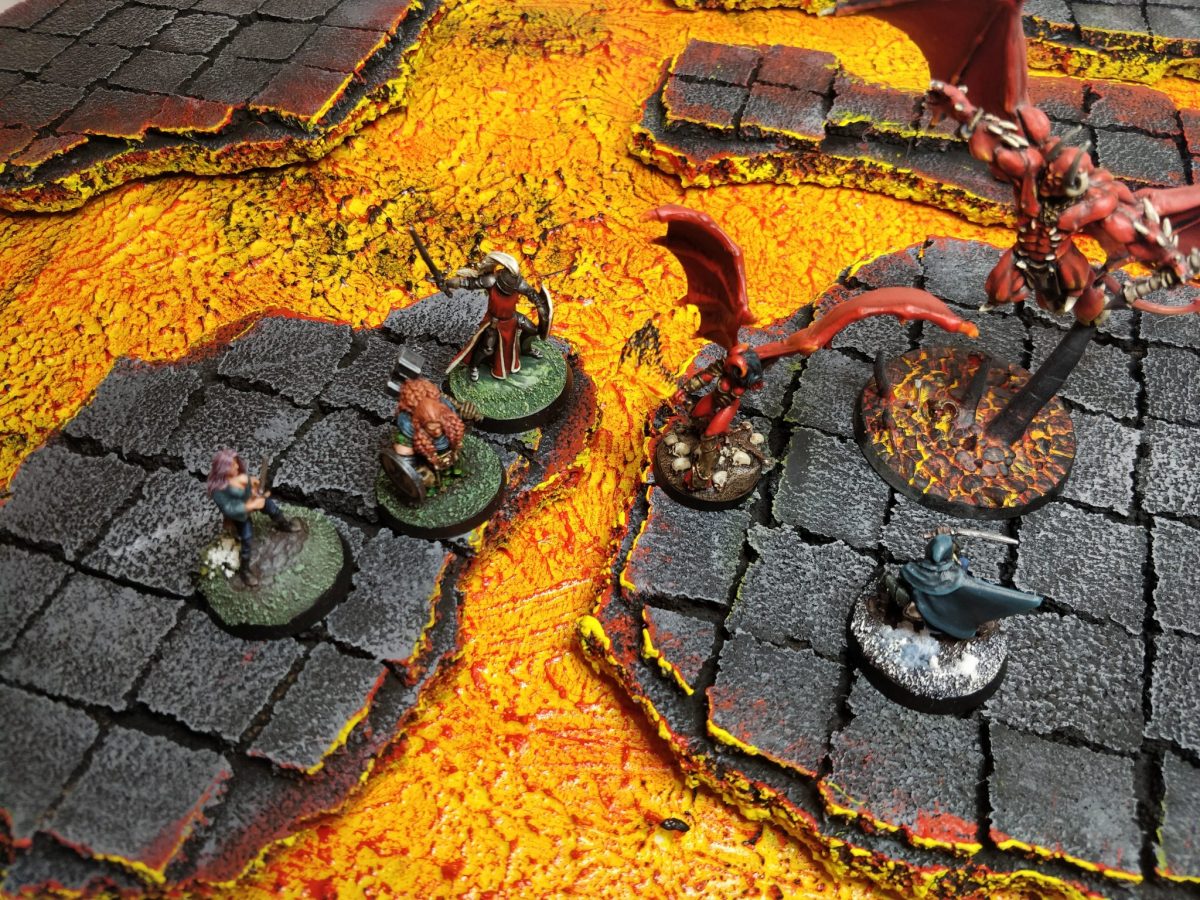
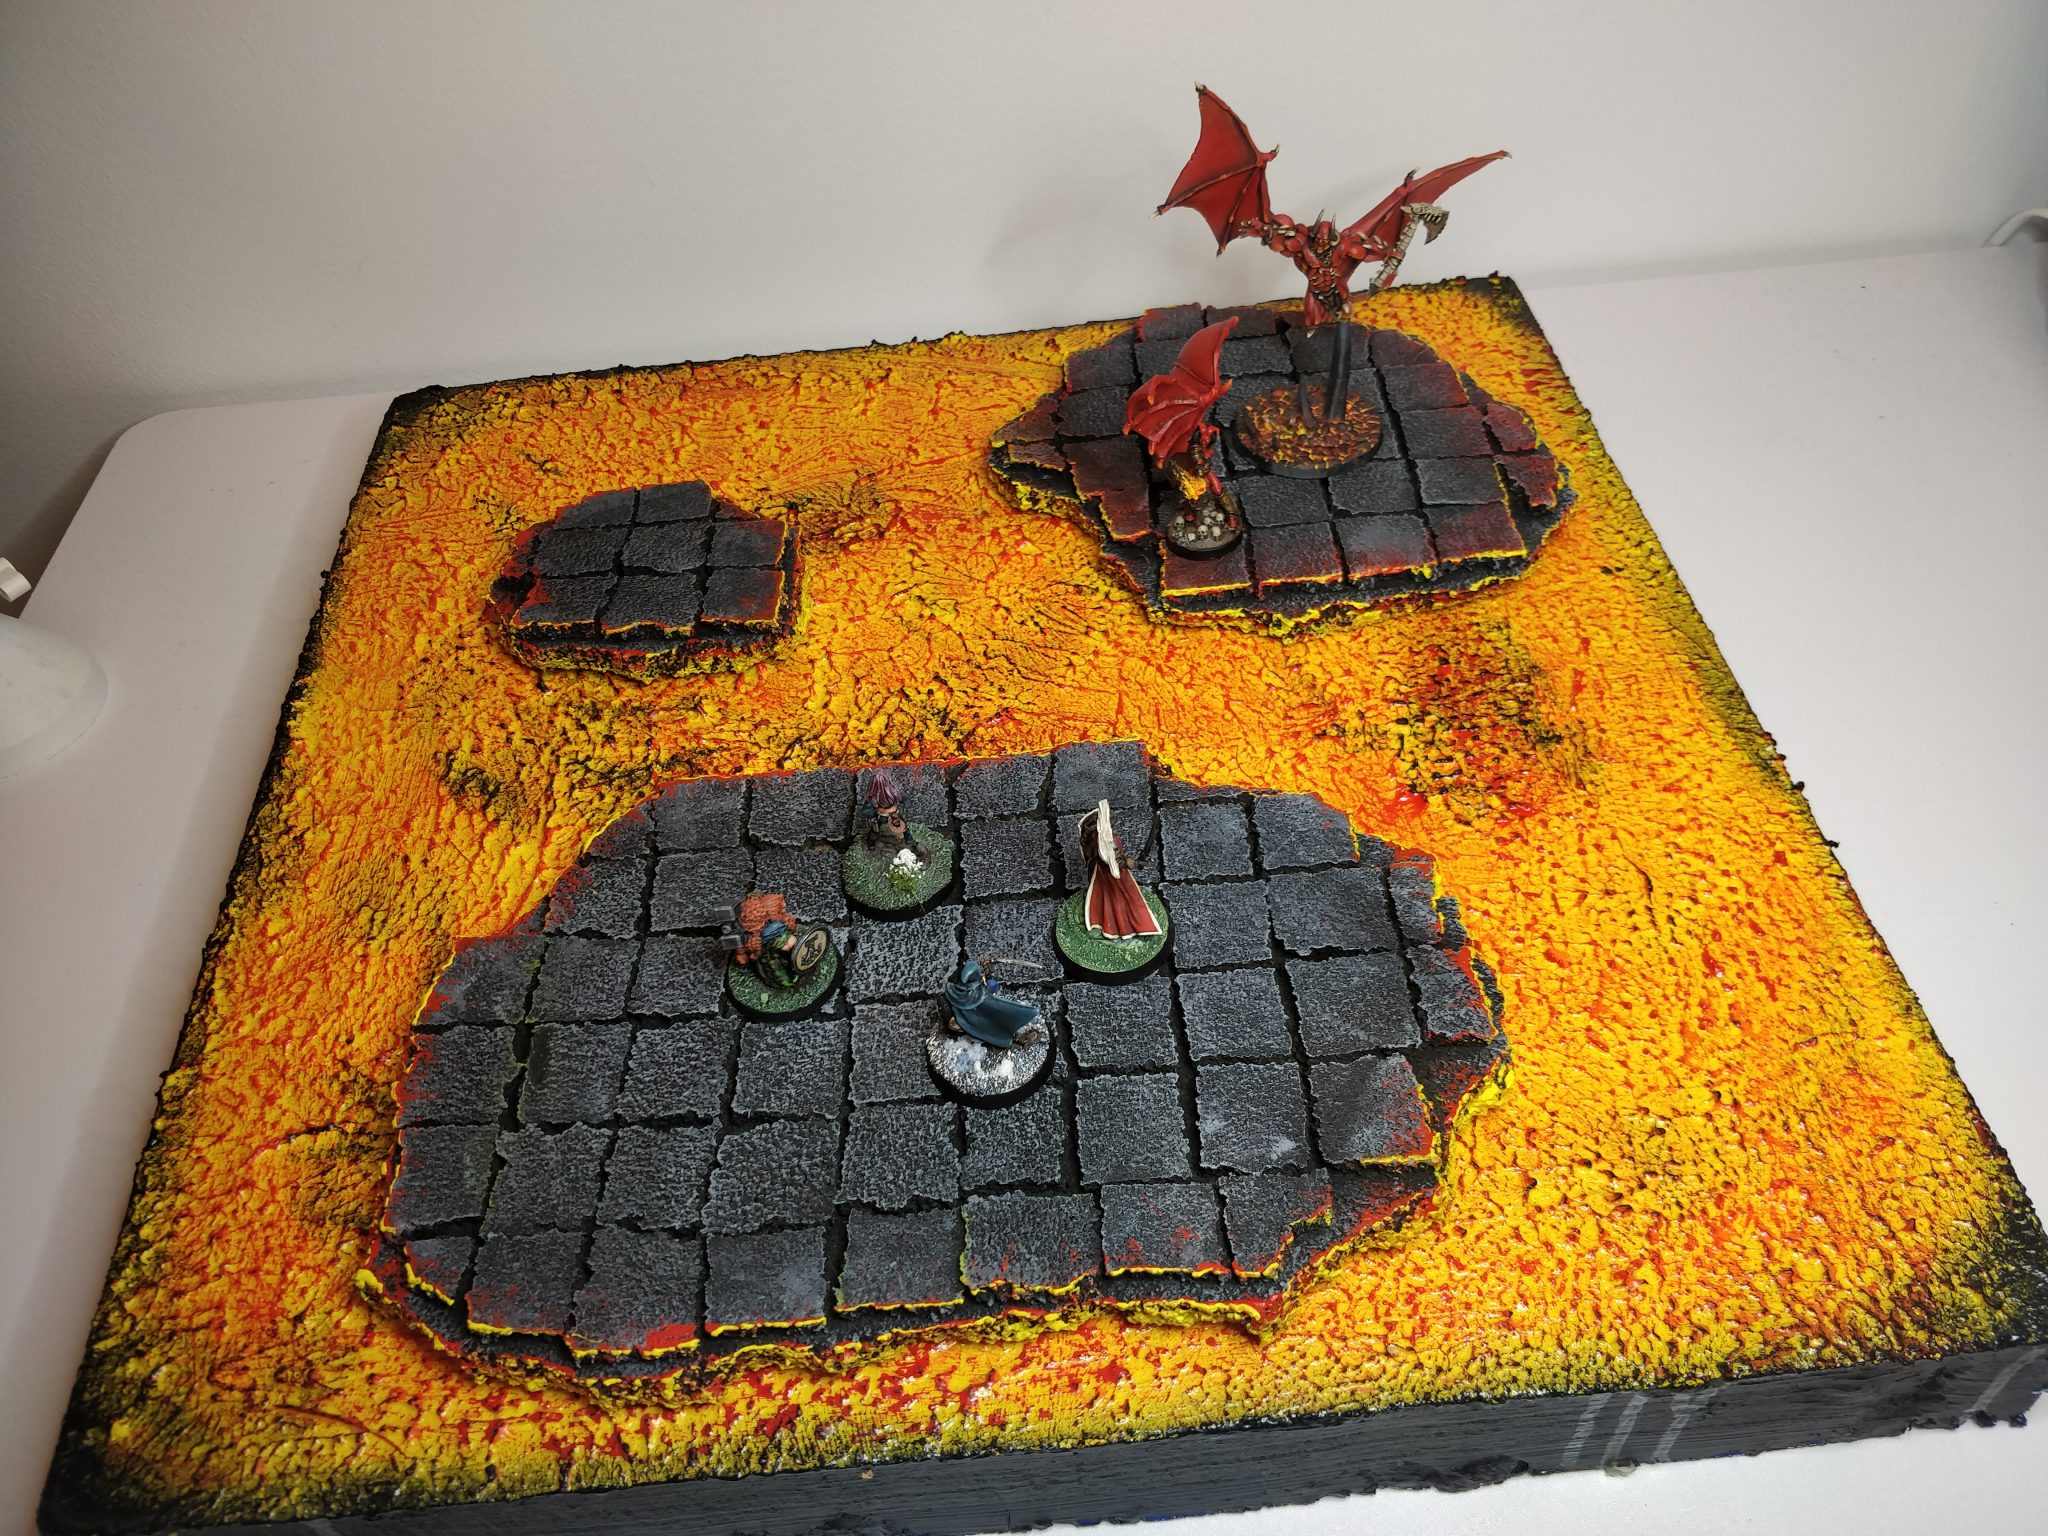
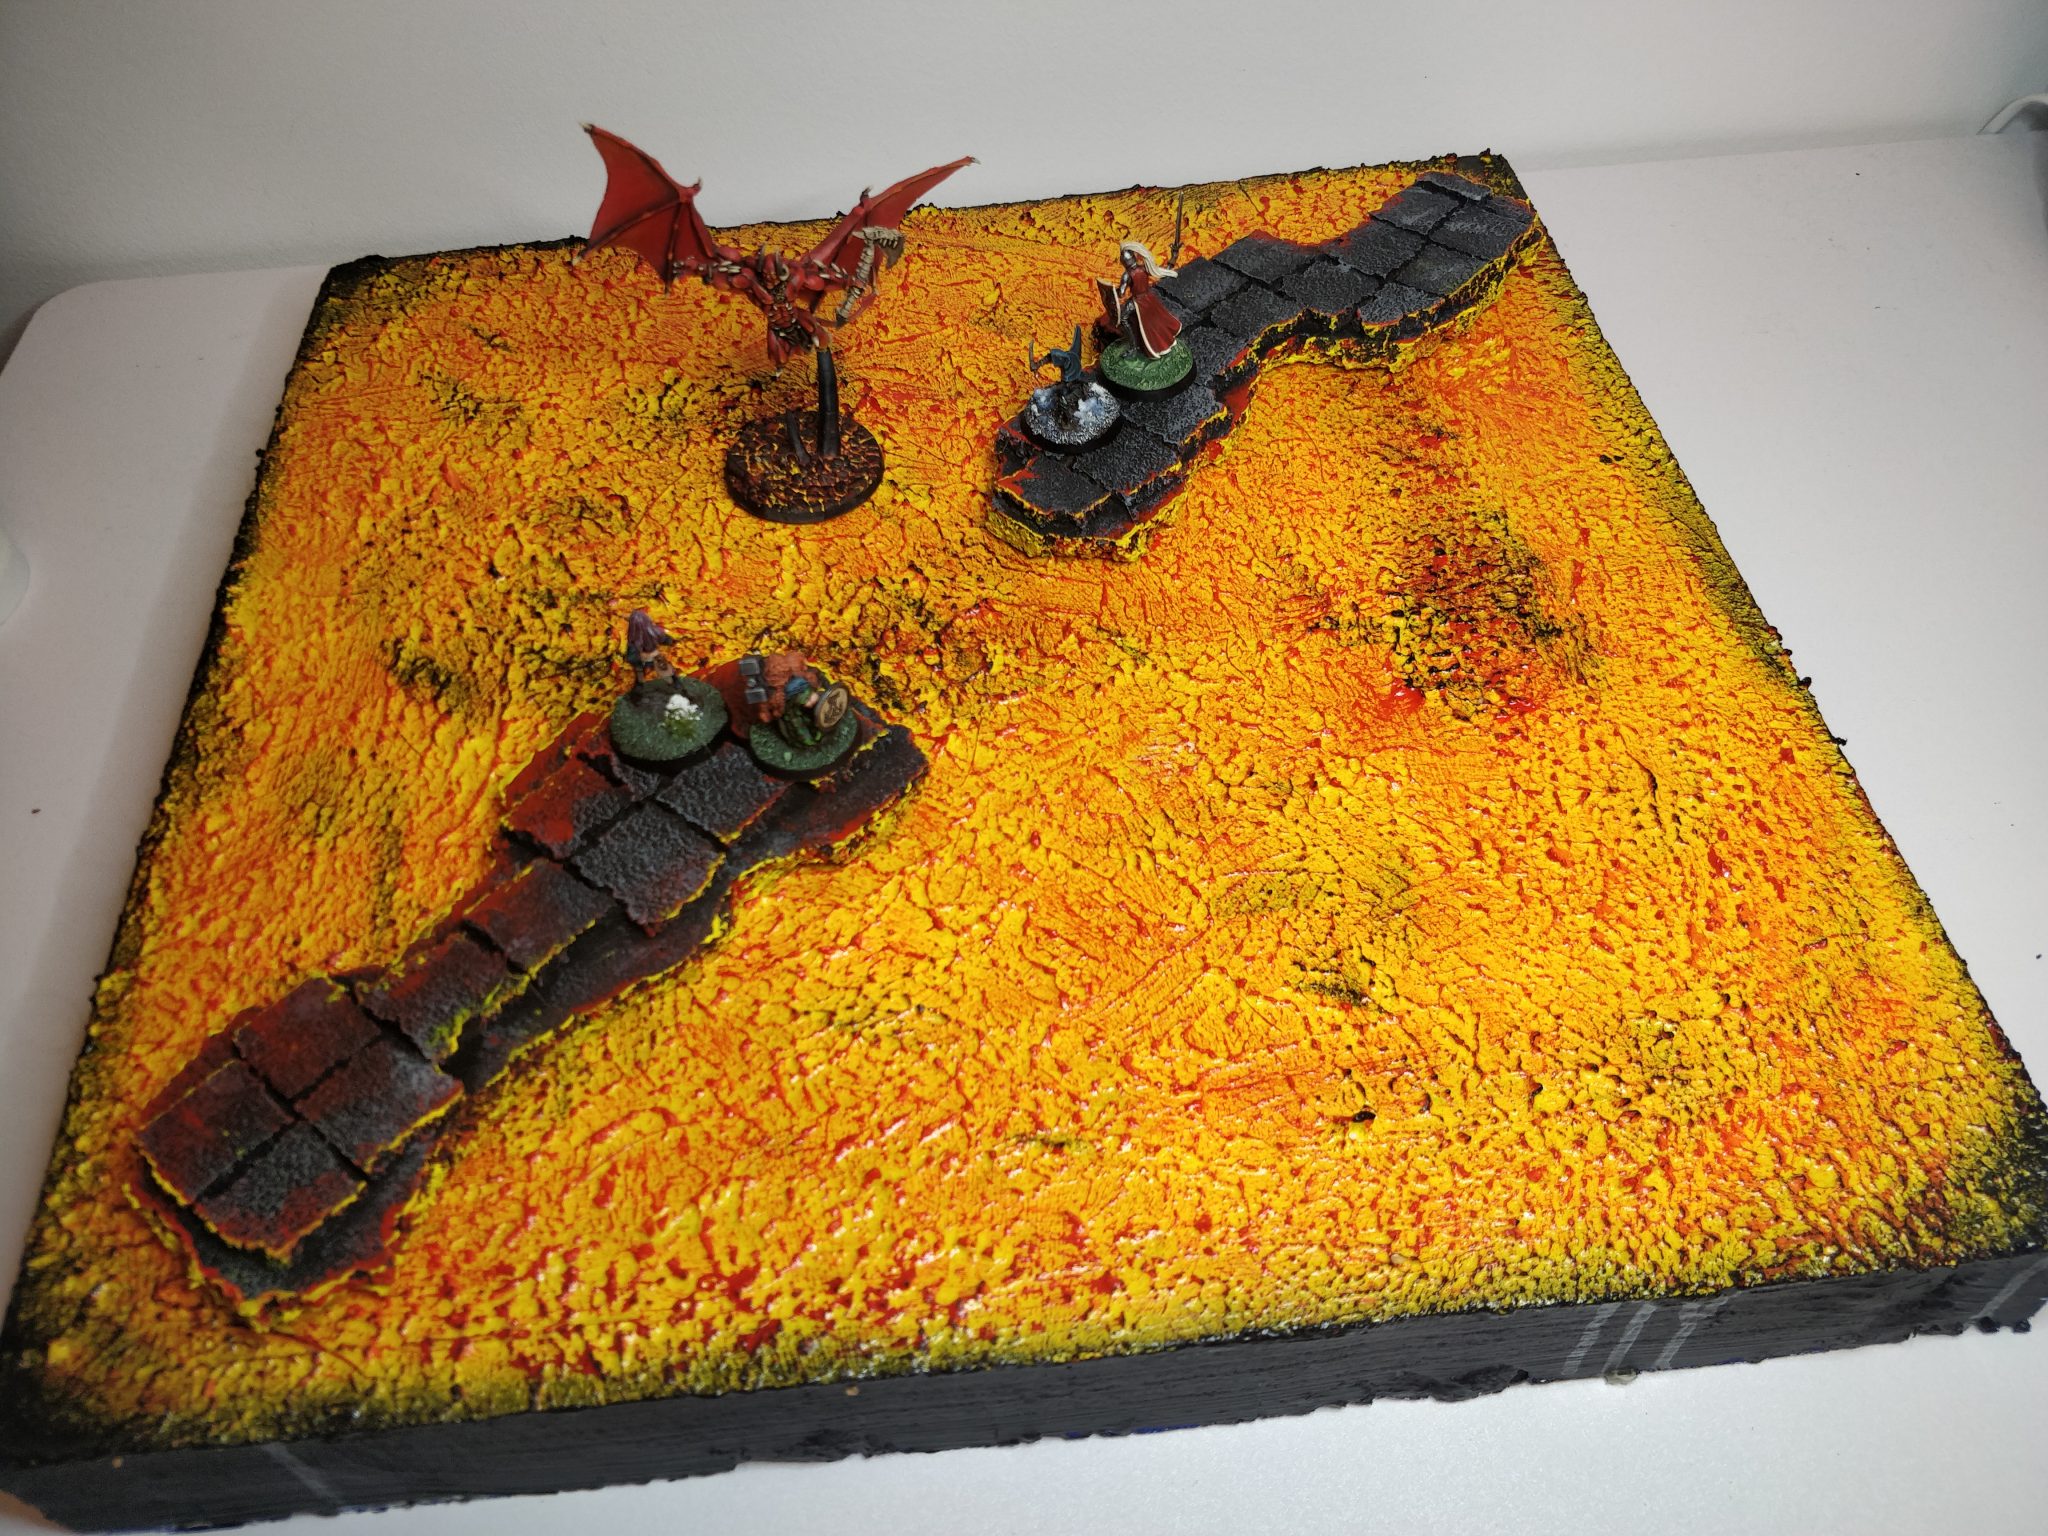
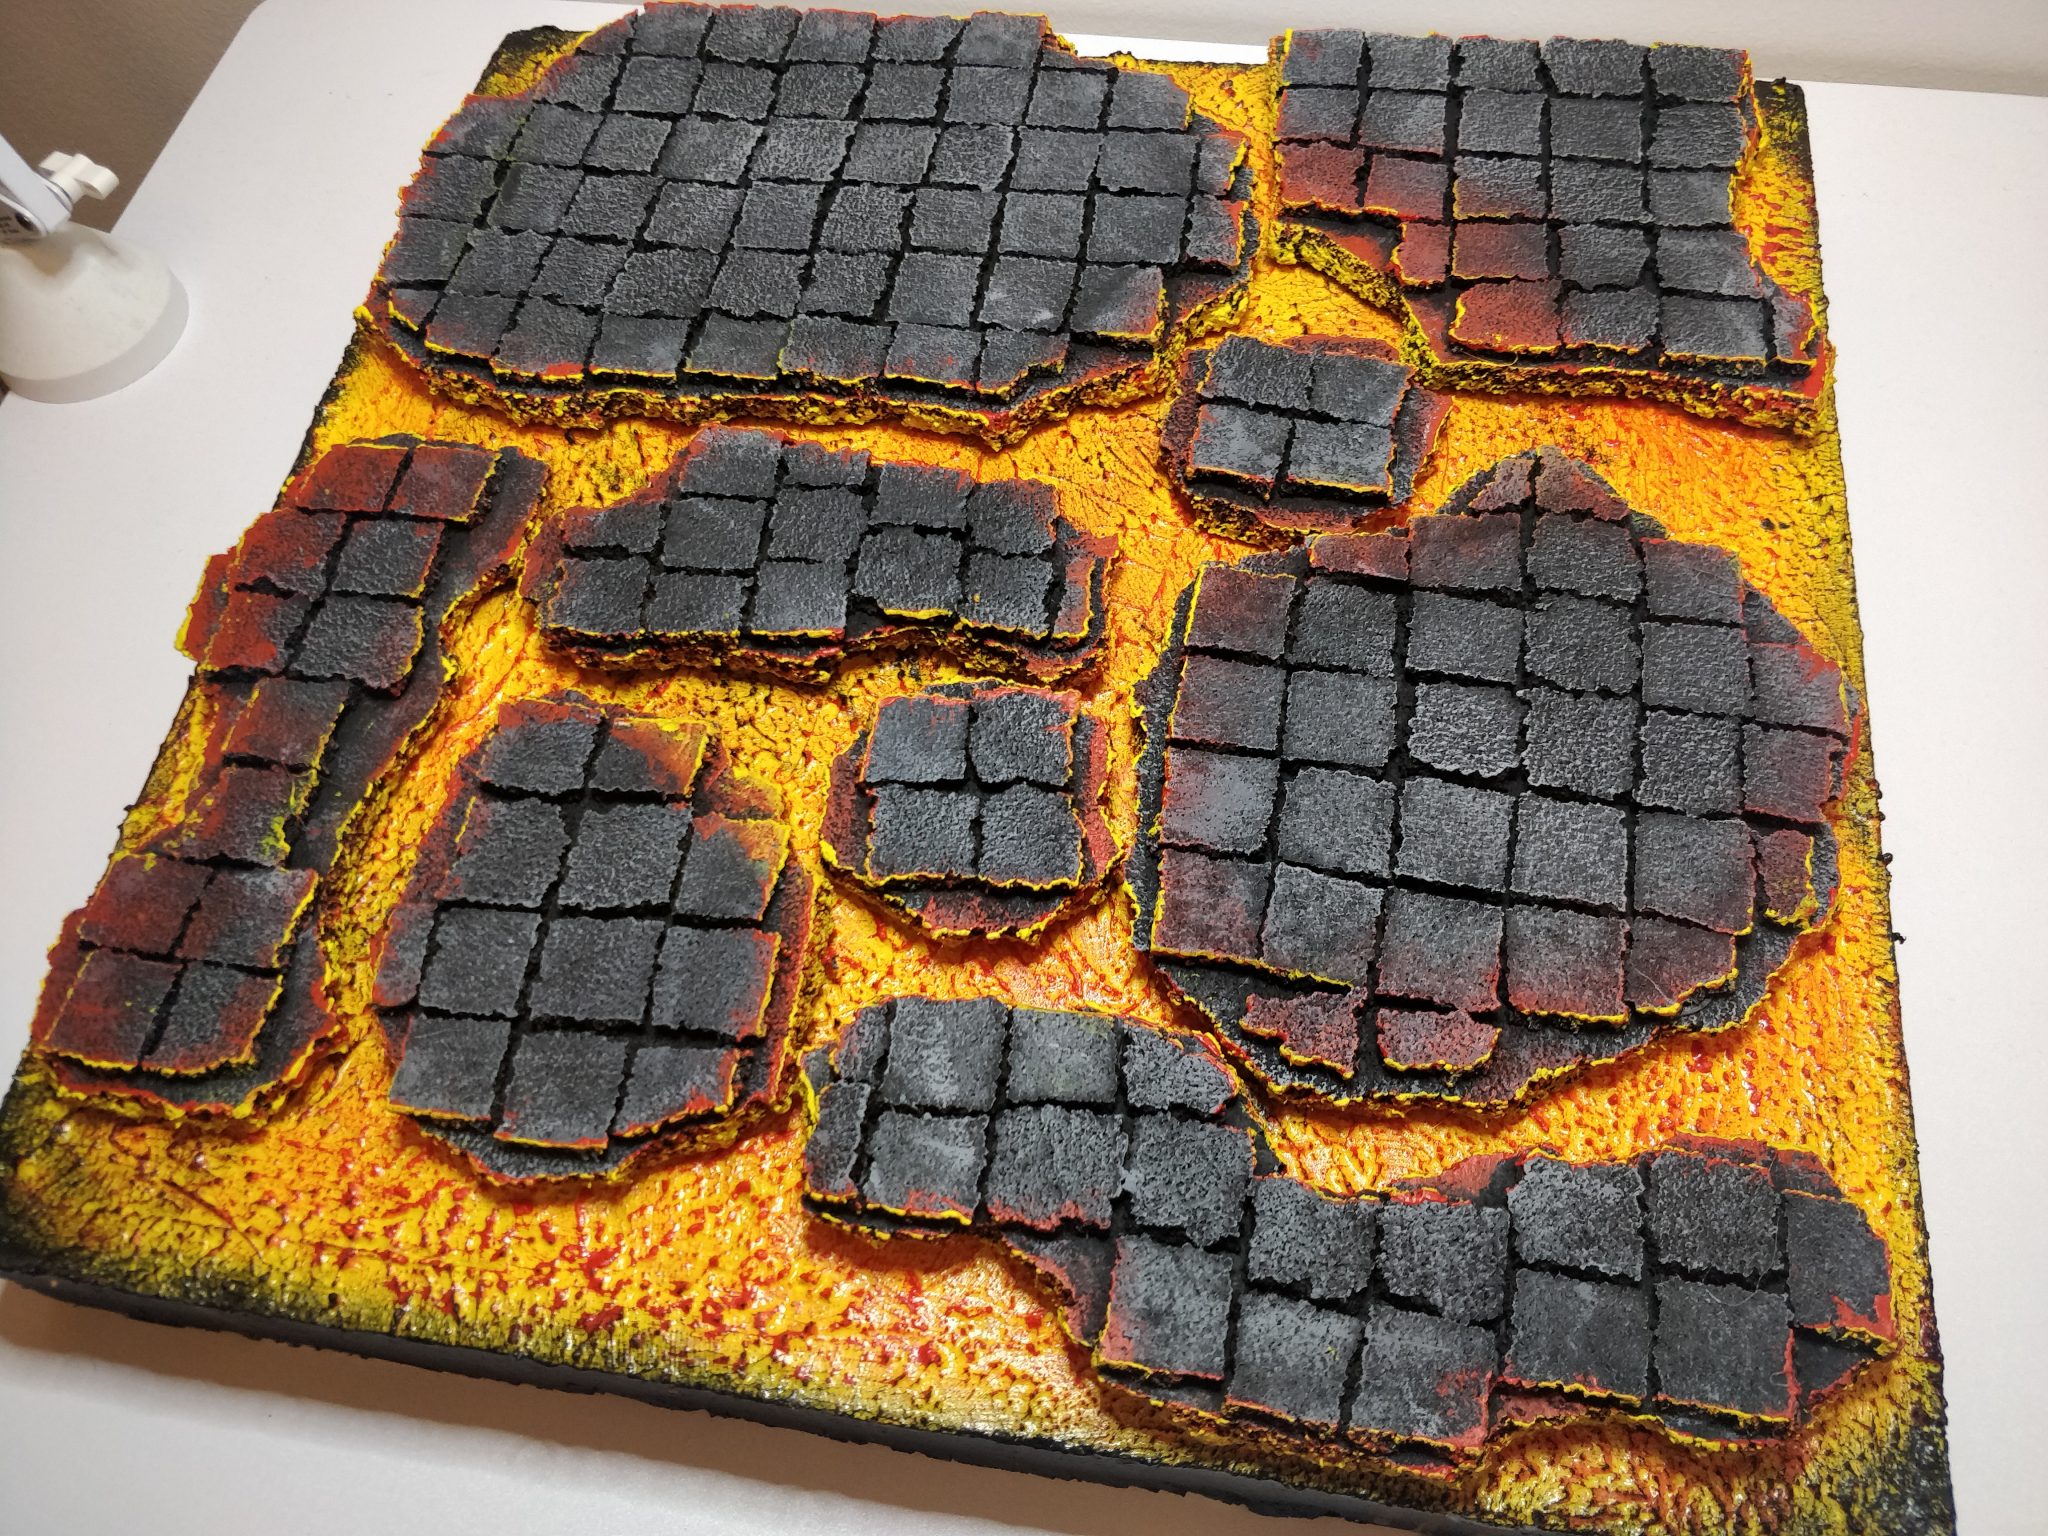
Here’s the result. You can find a tutorial on how I did it after the finished photos.
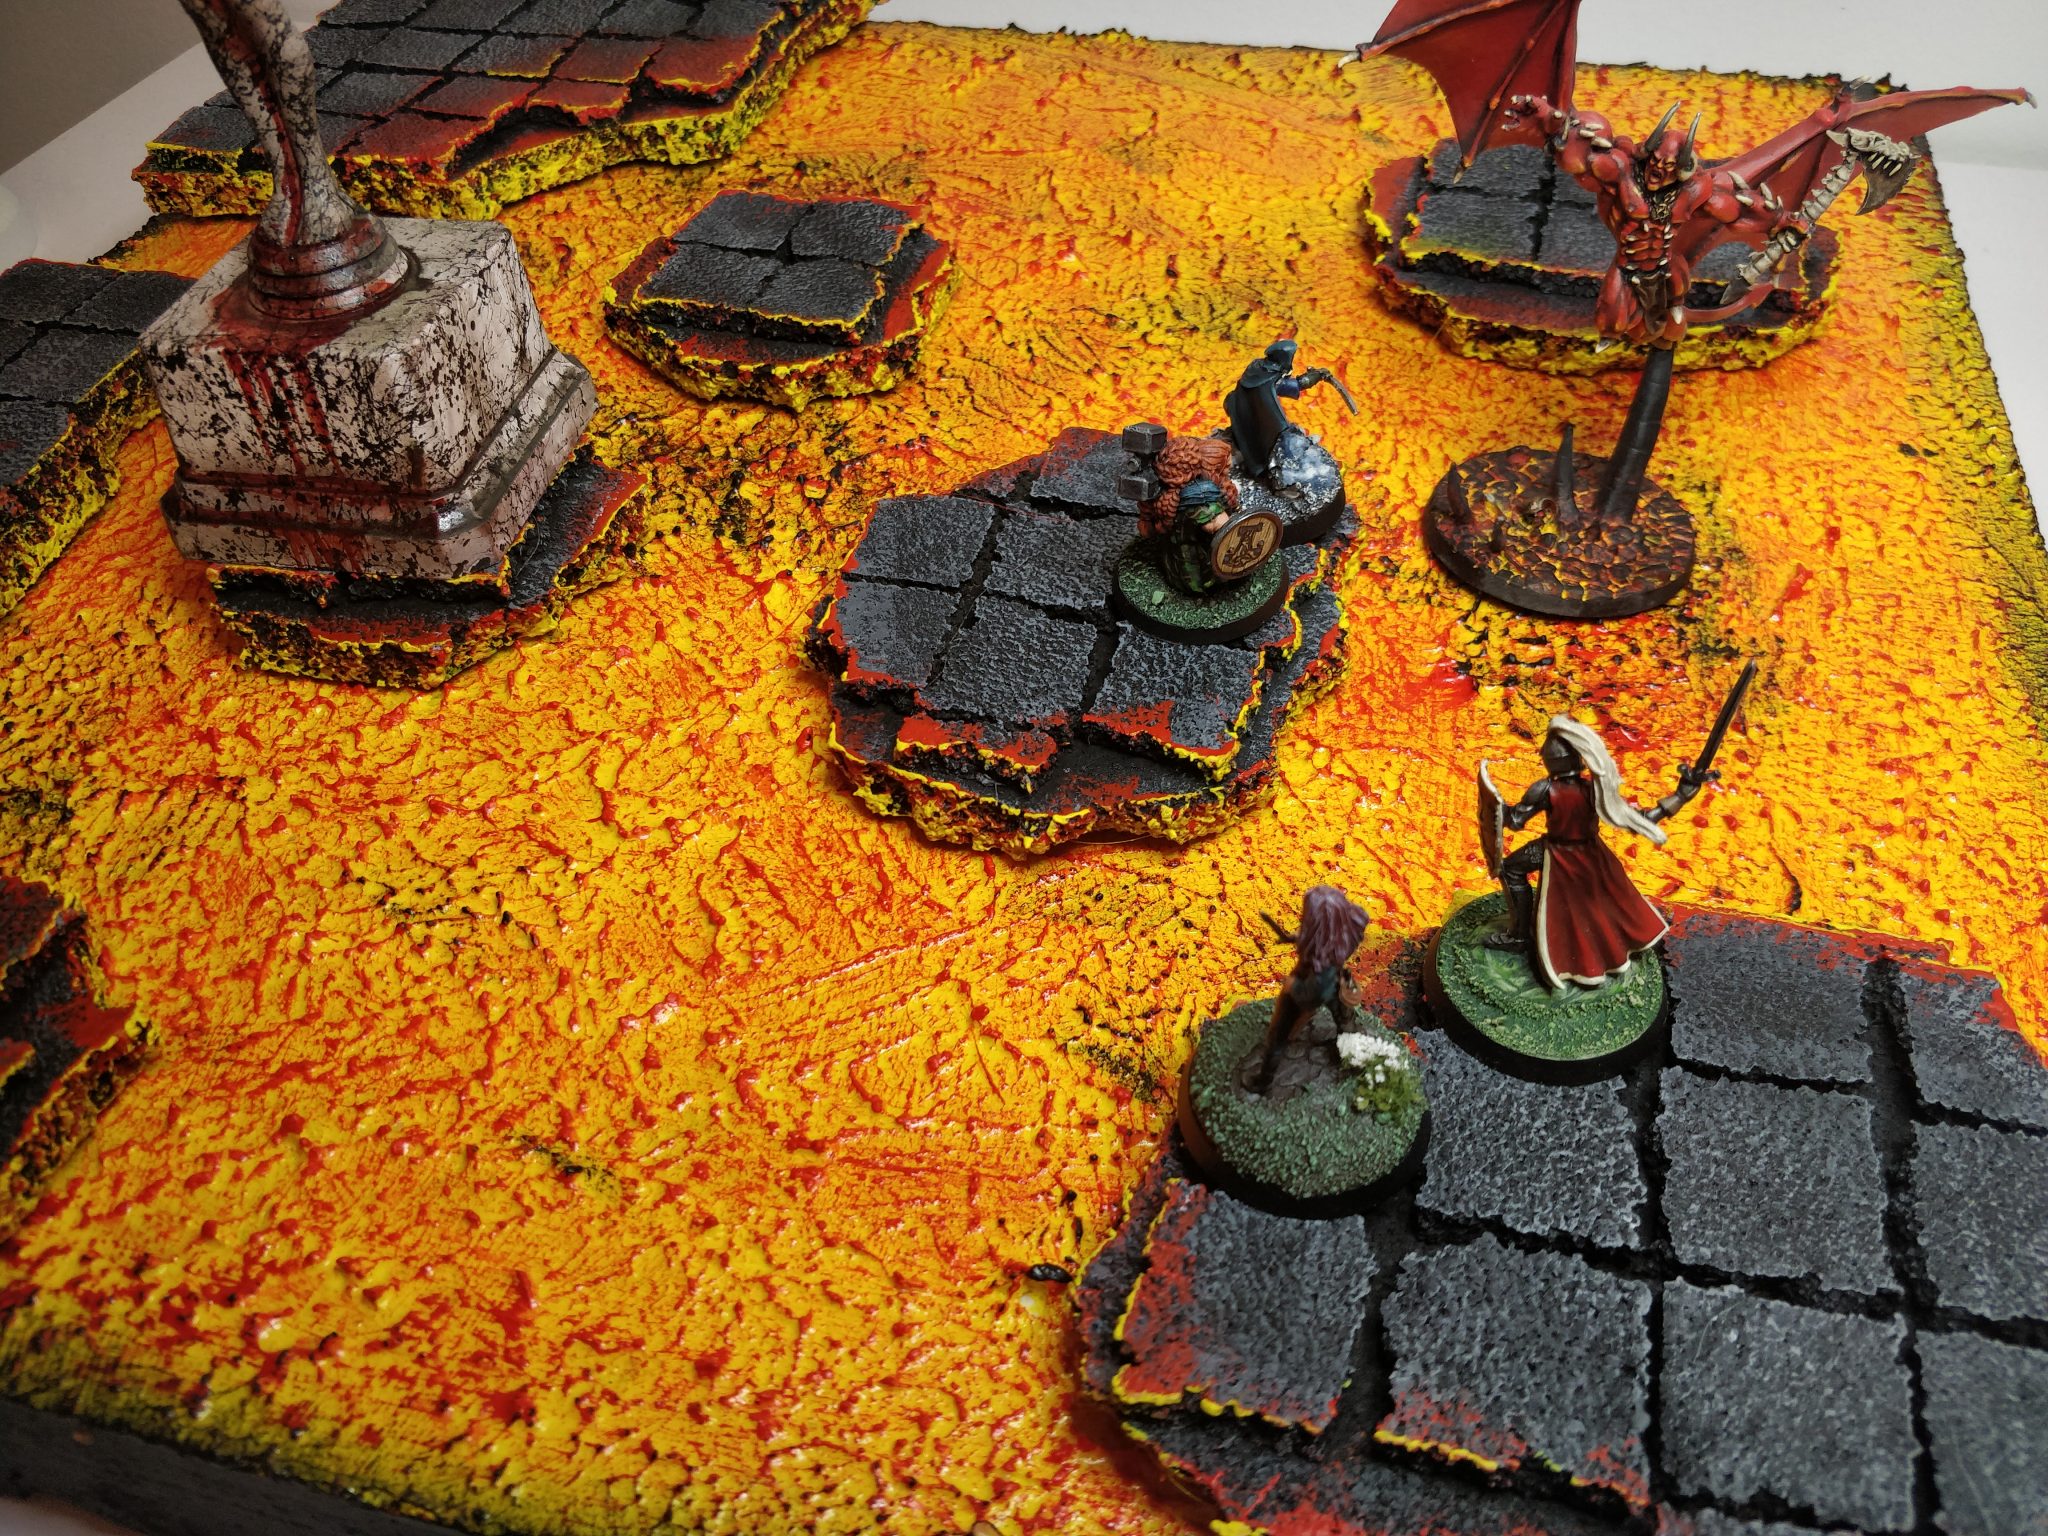
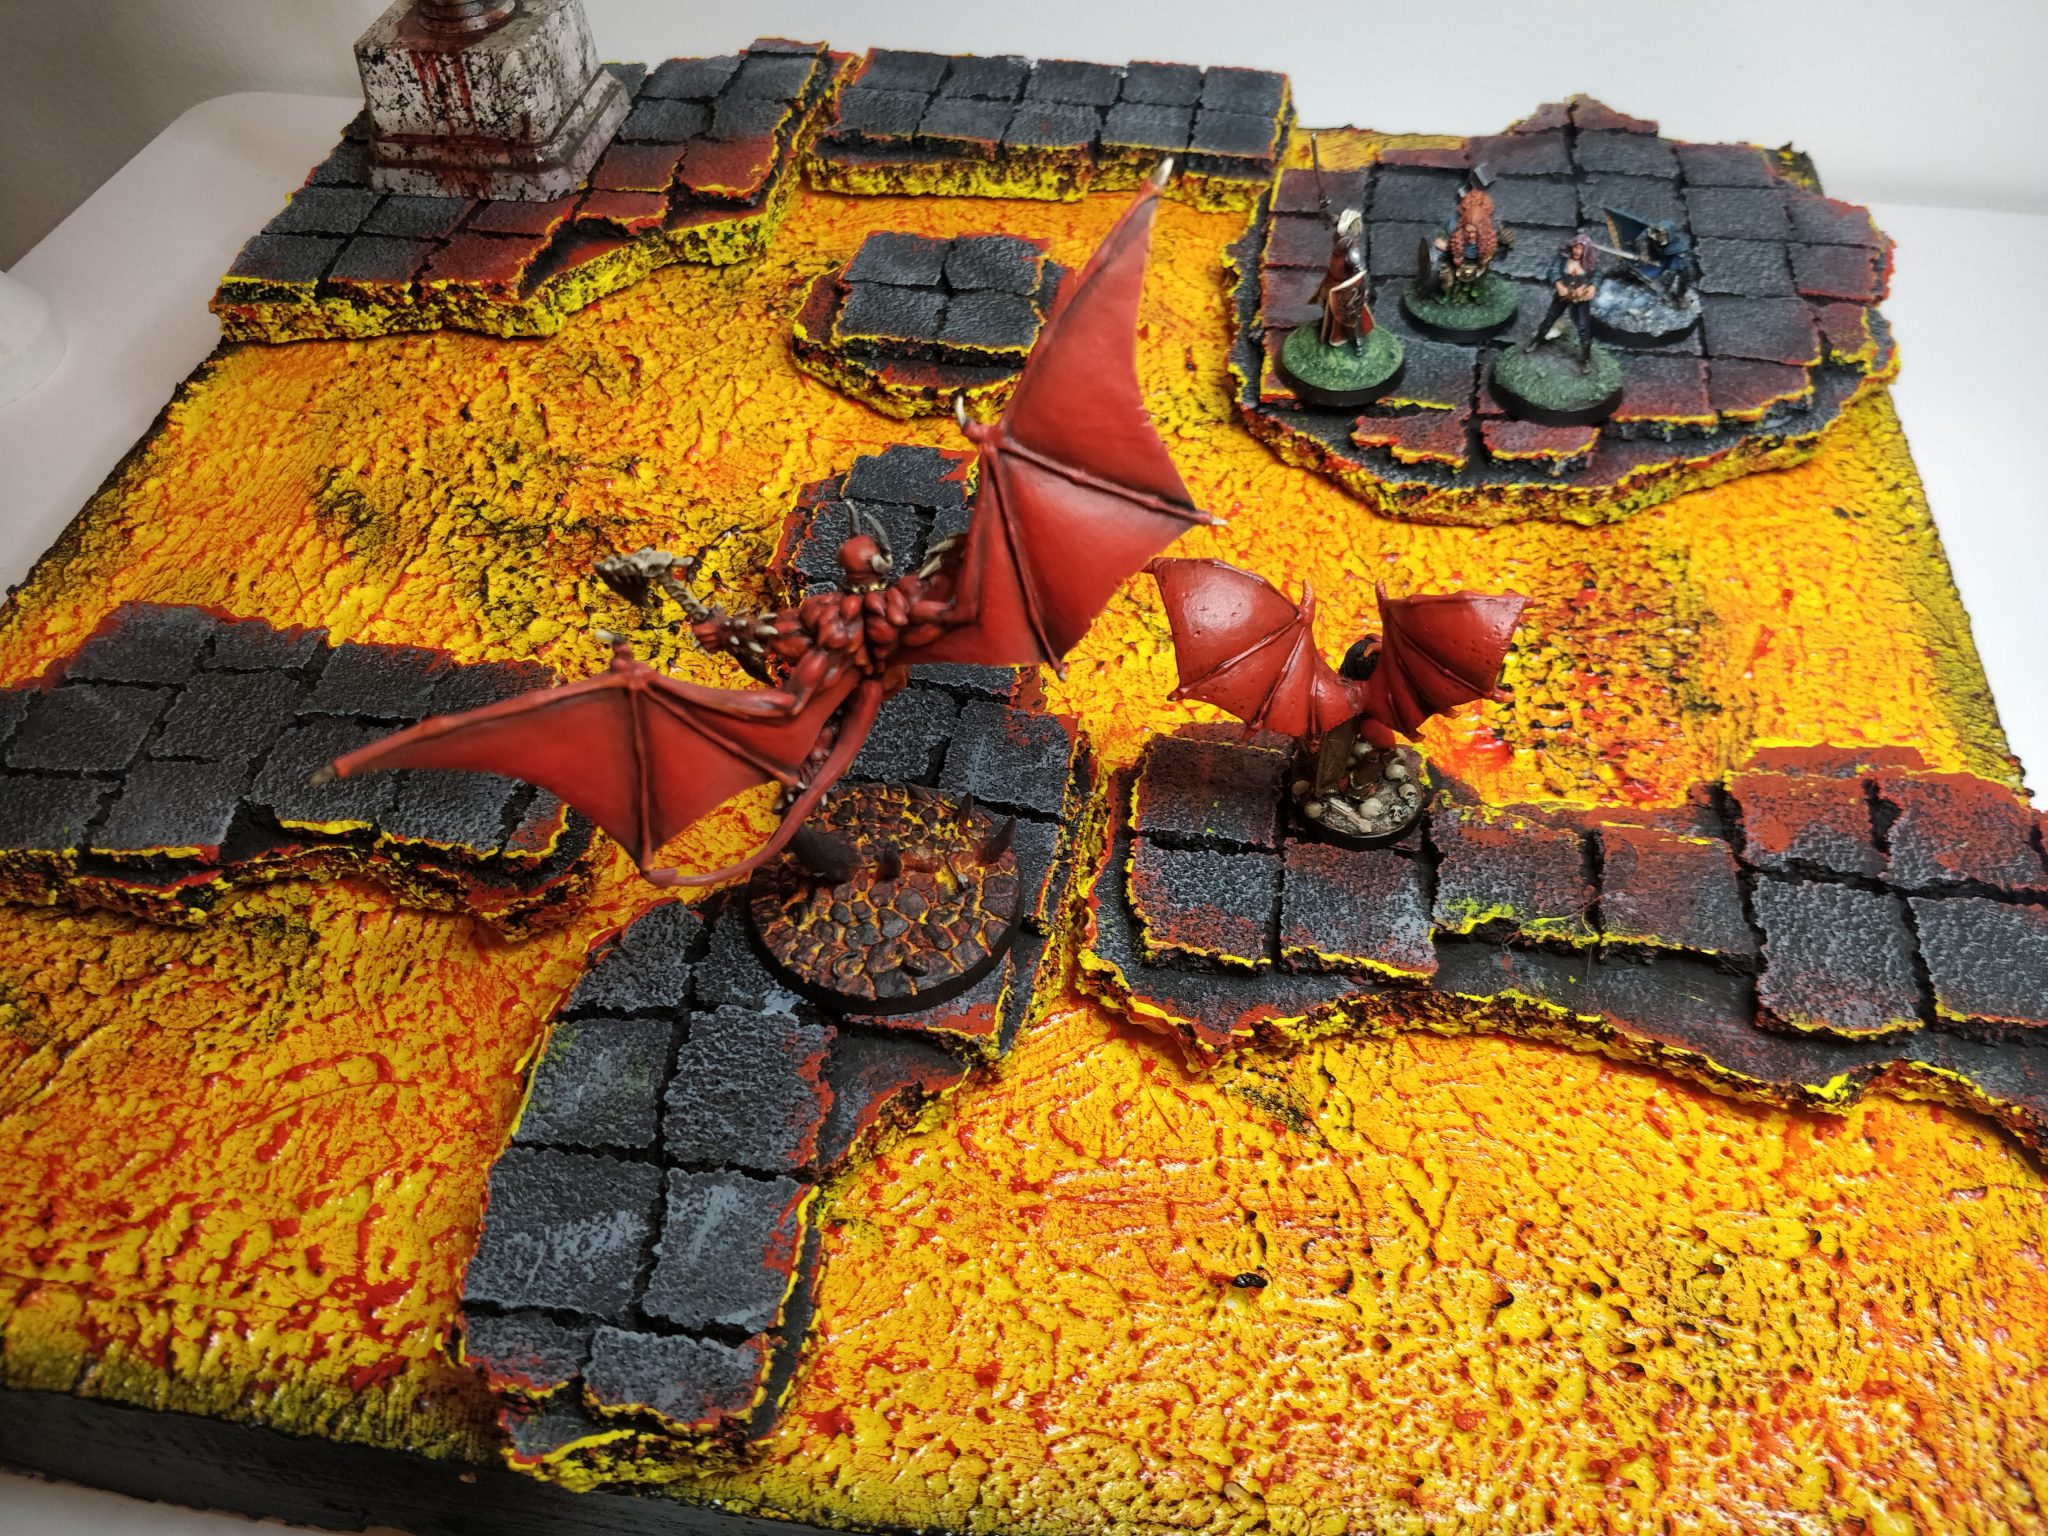
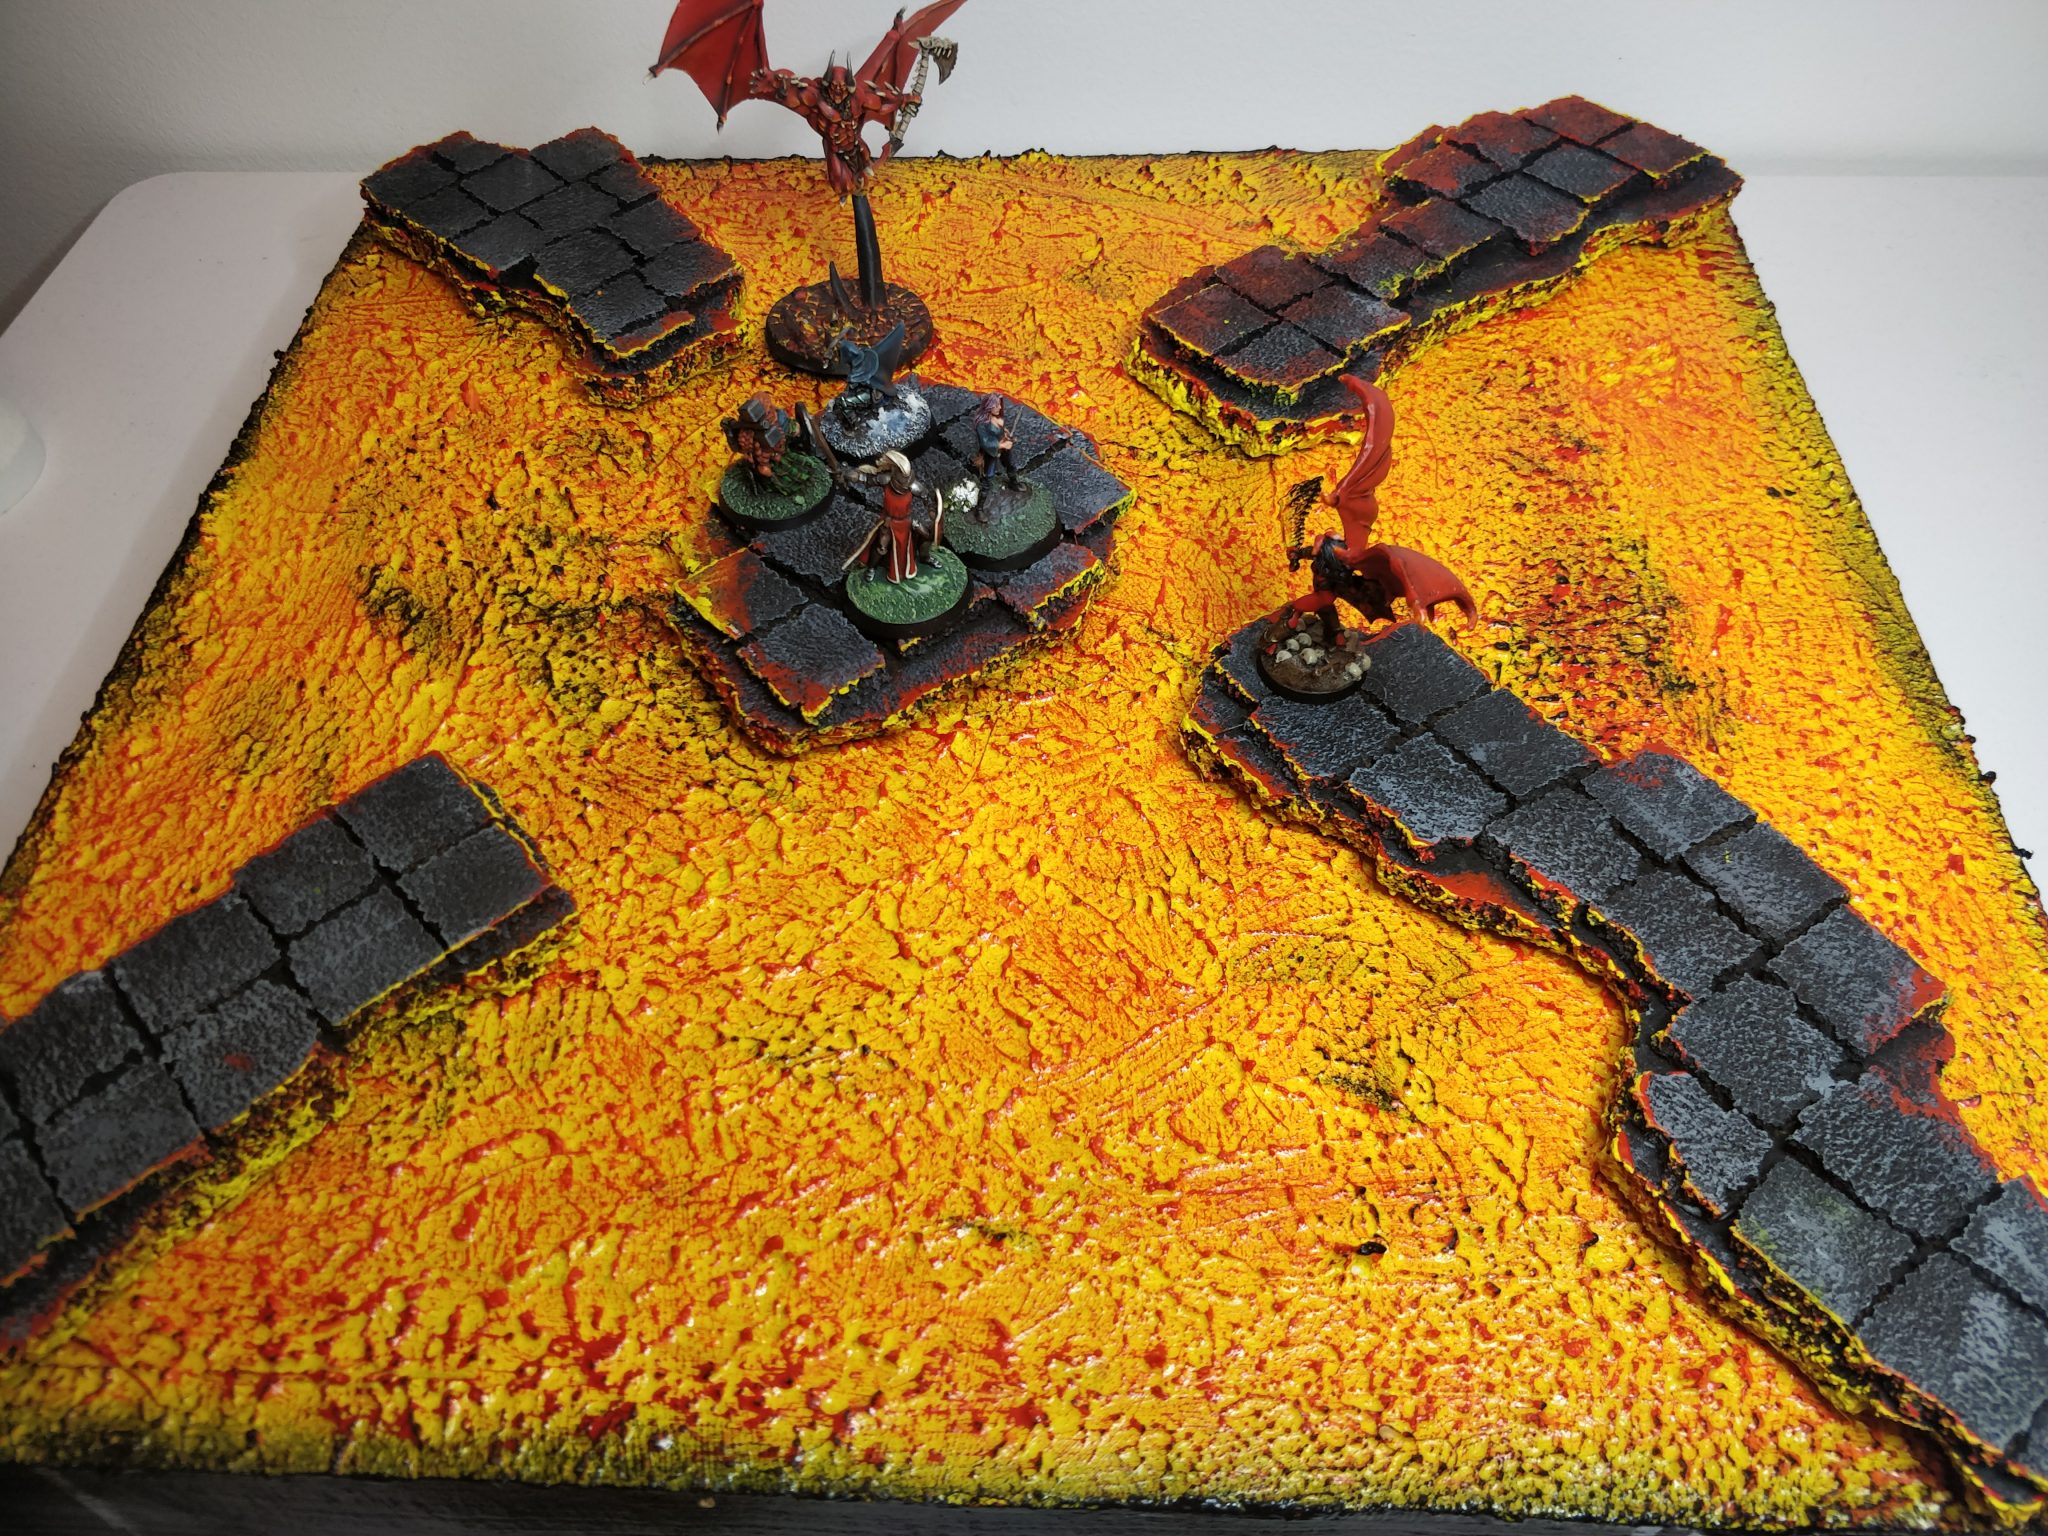
Finished result
This set is so versatile! Really happy with the result.
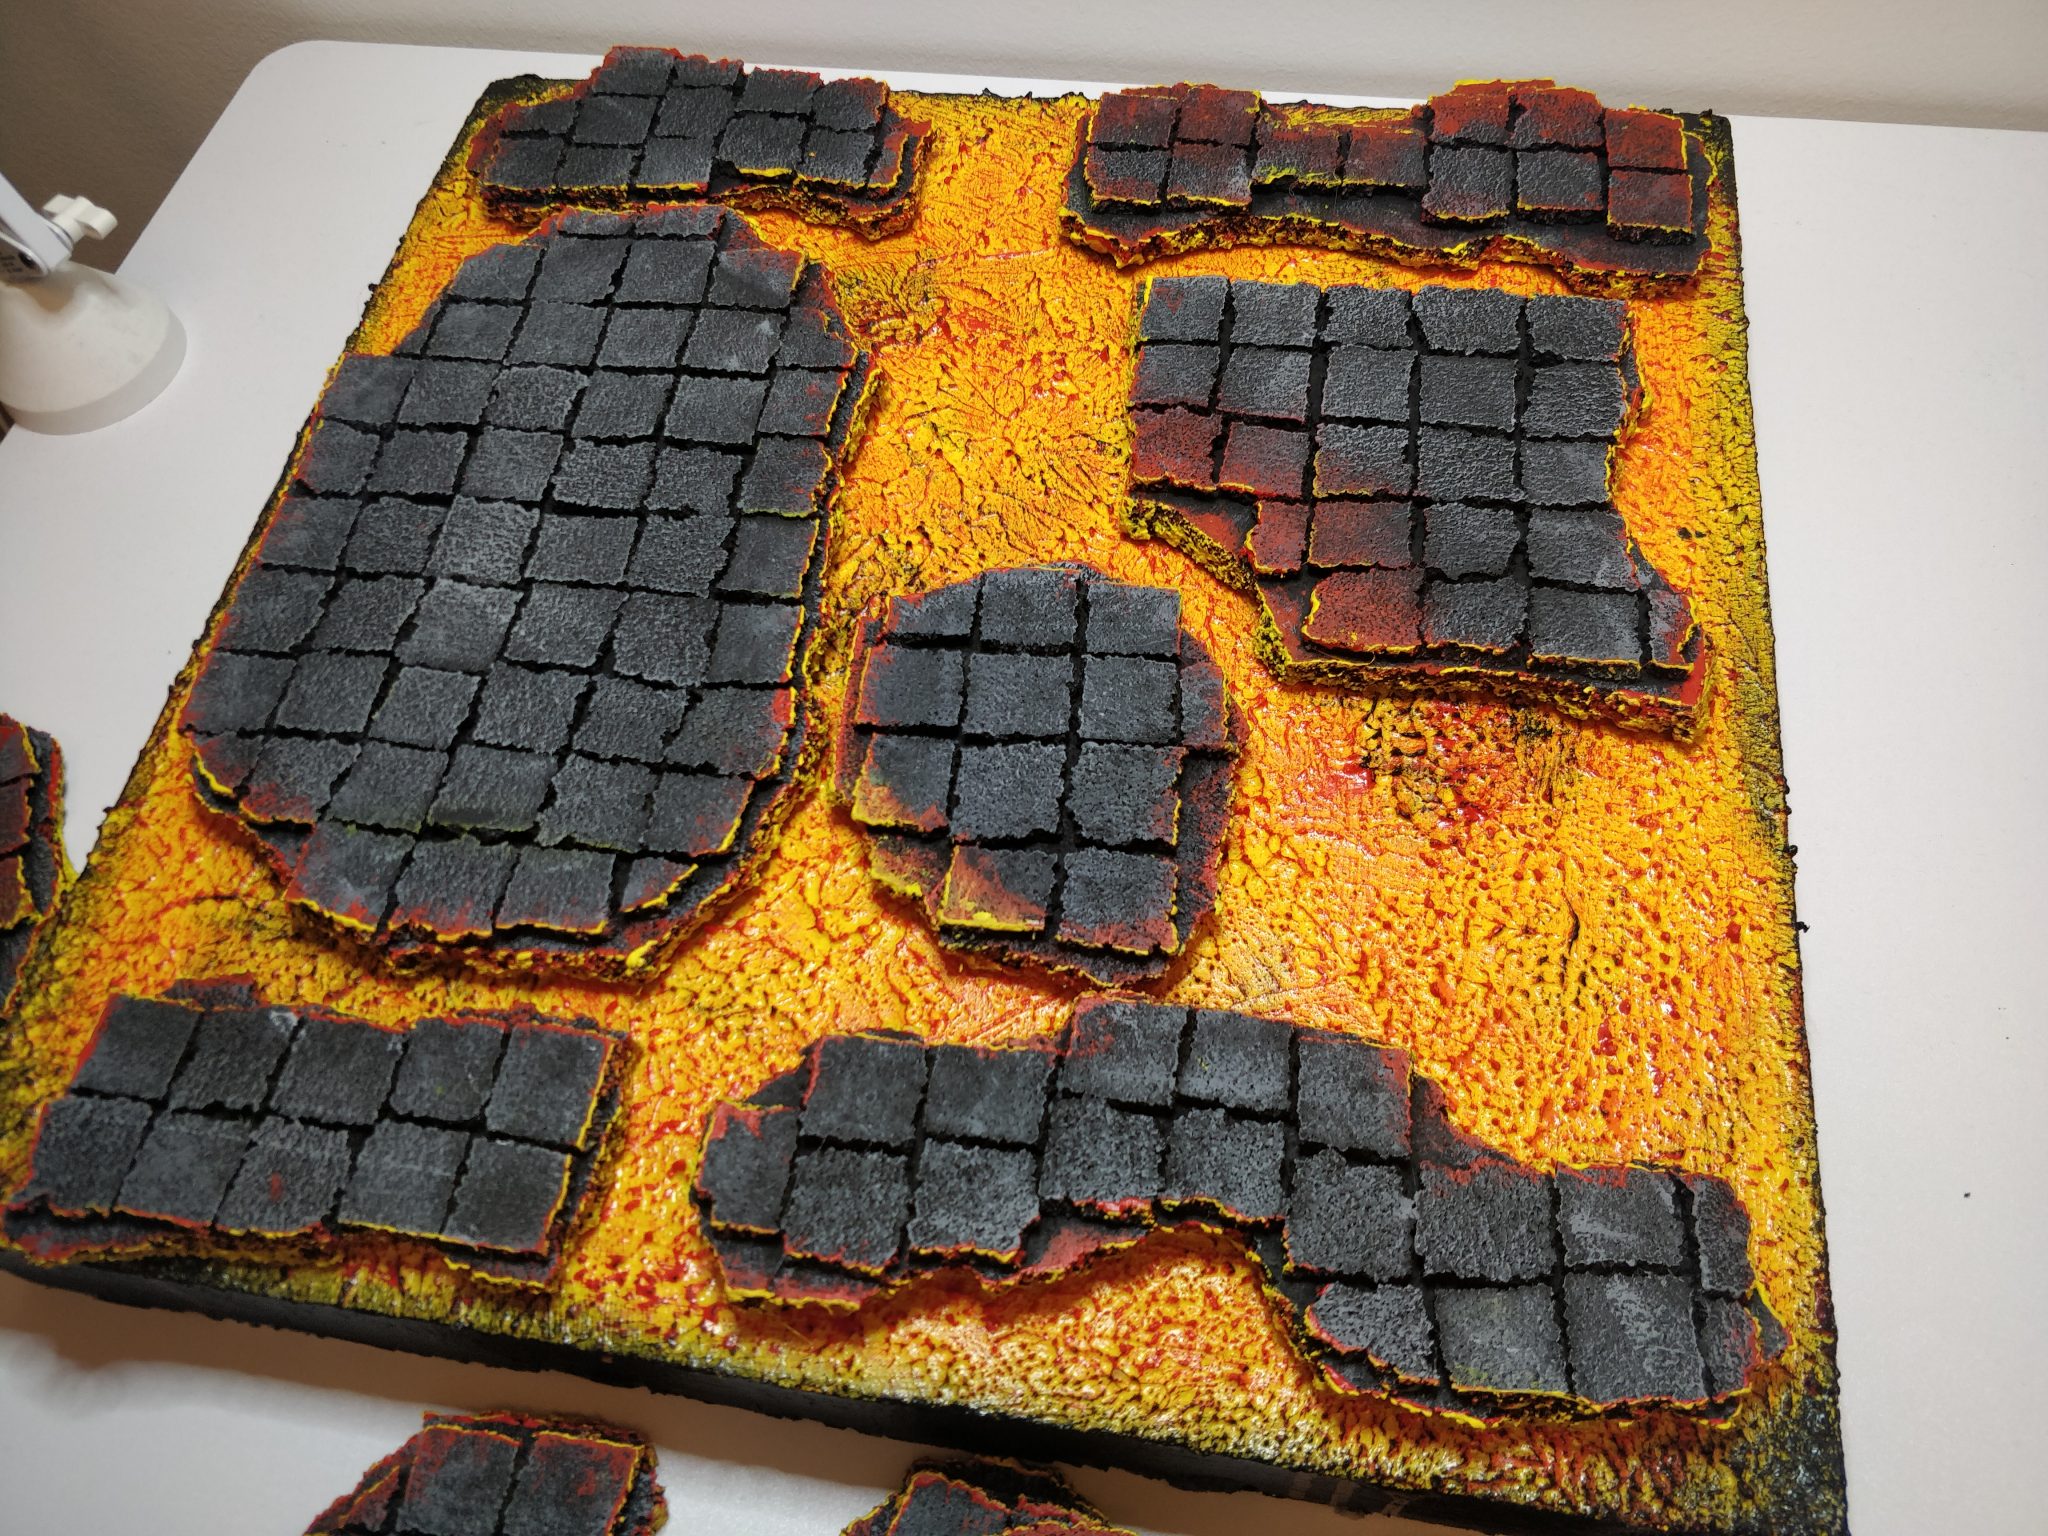
And the heaviness of the cork means they lay quite stable on the board itself.
I think I will do a second set of more… civilised design, probably with marble square tiles similar to my old posh ball board.
Tutorial
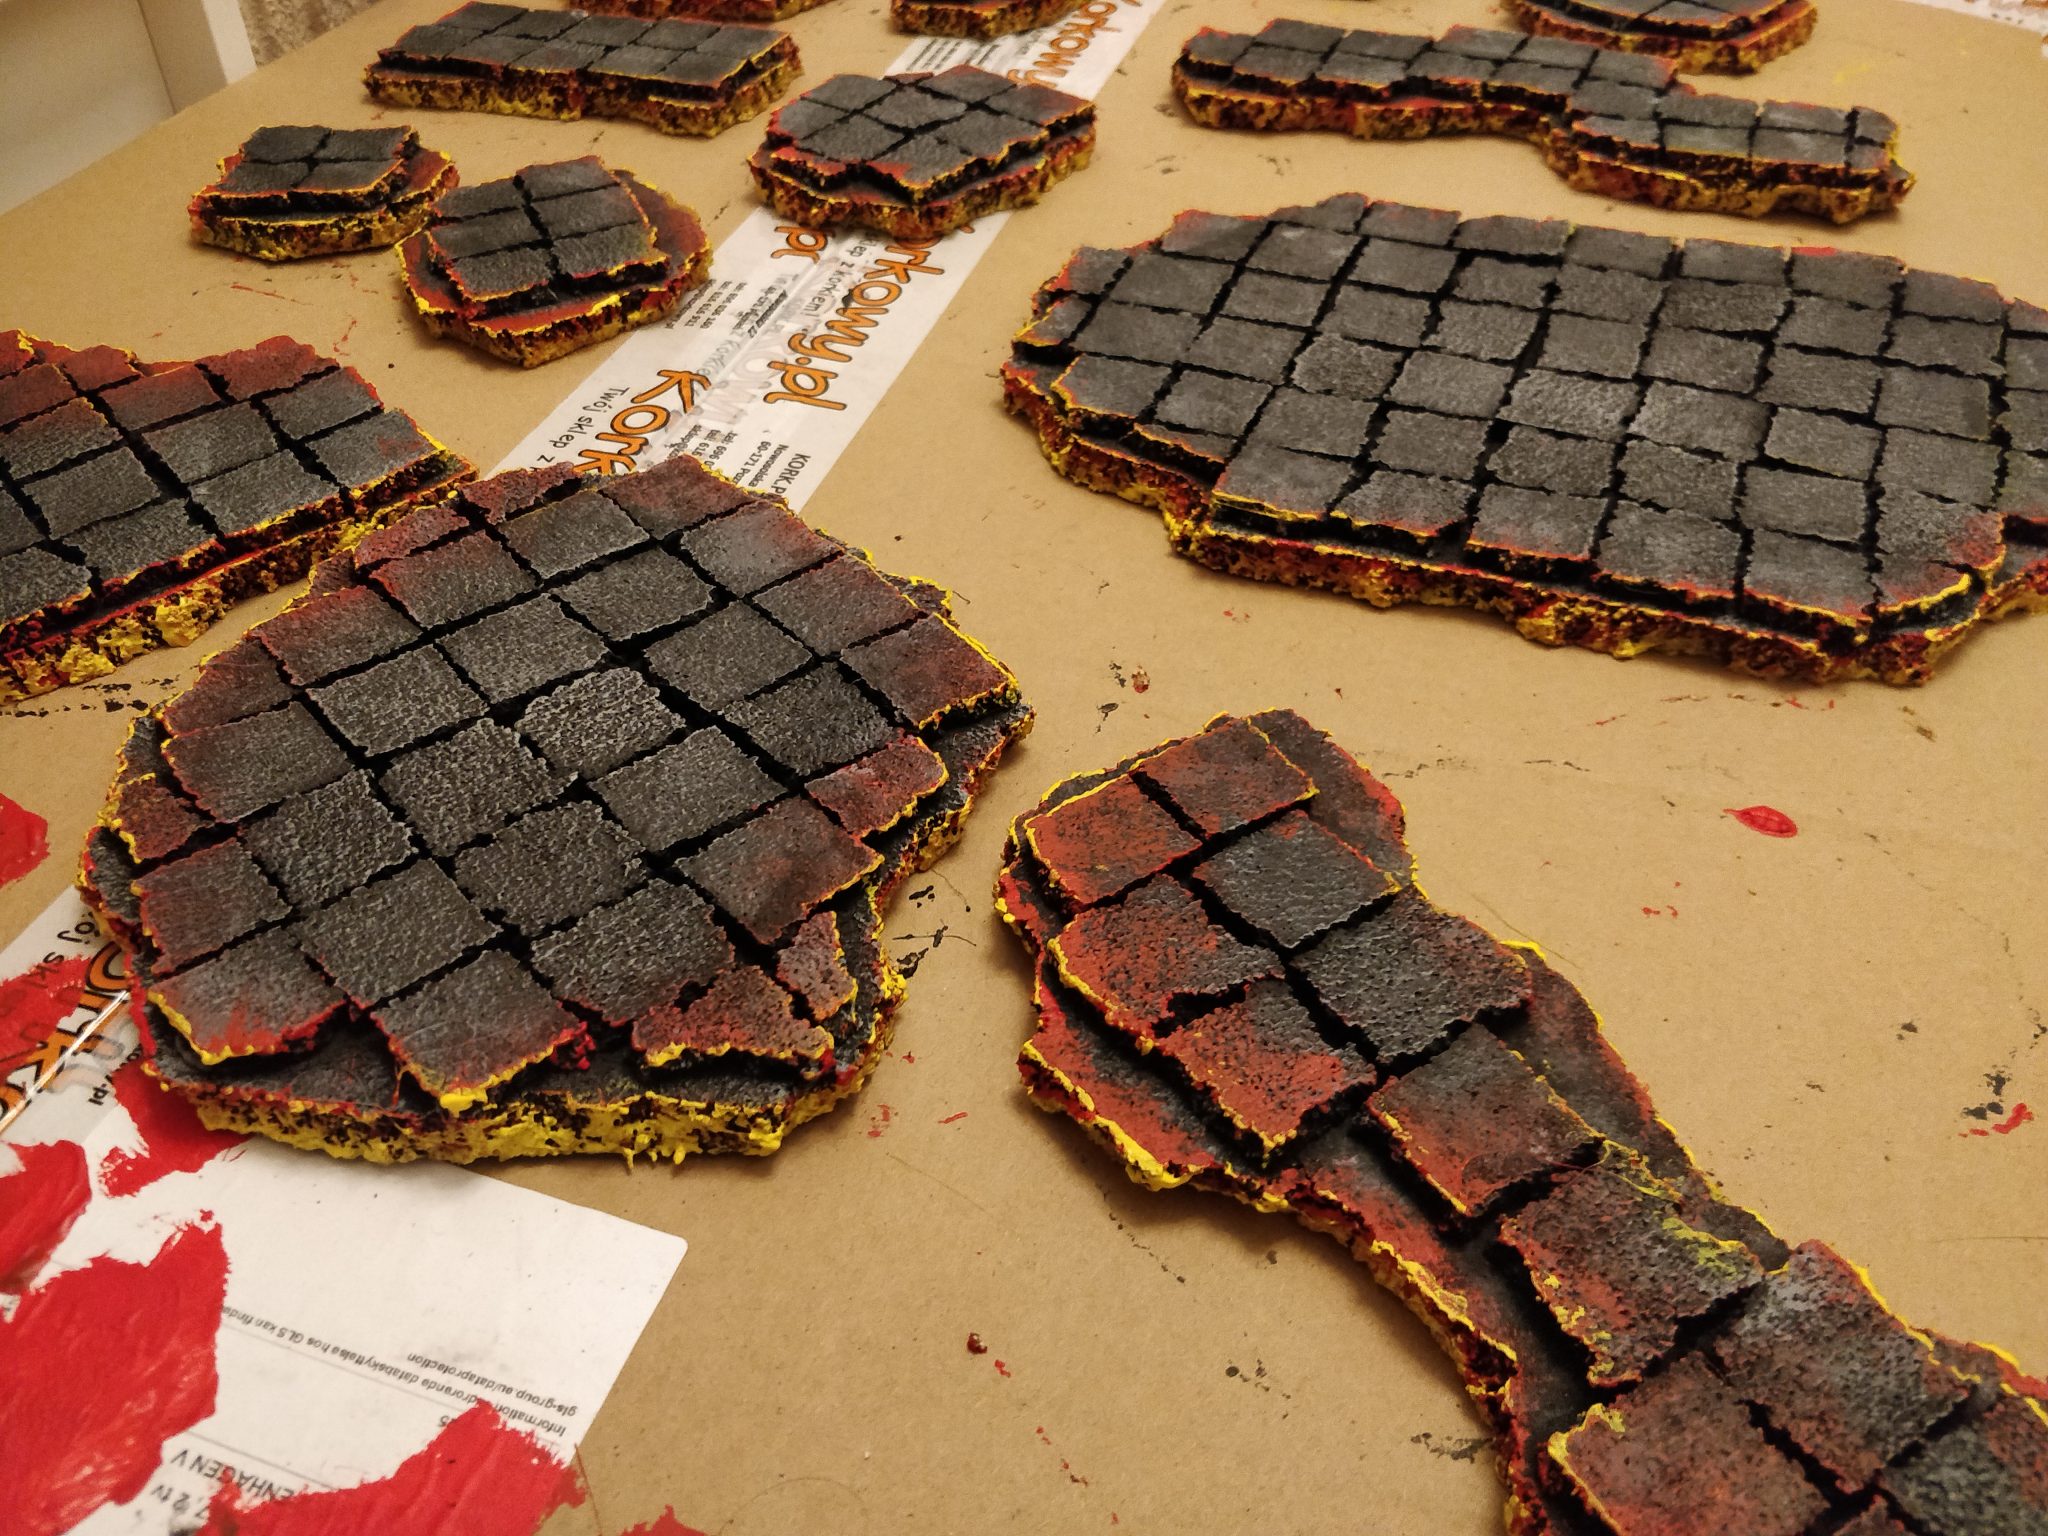
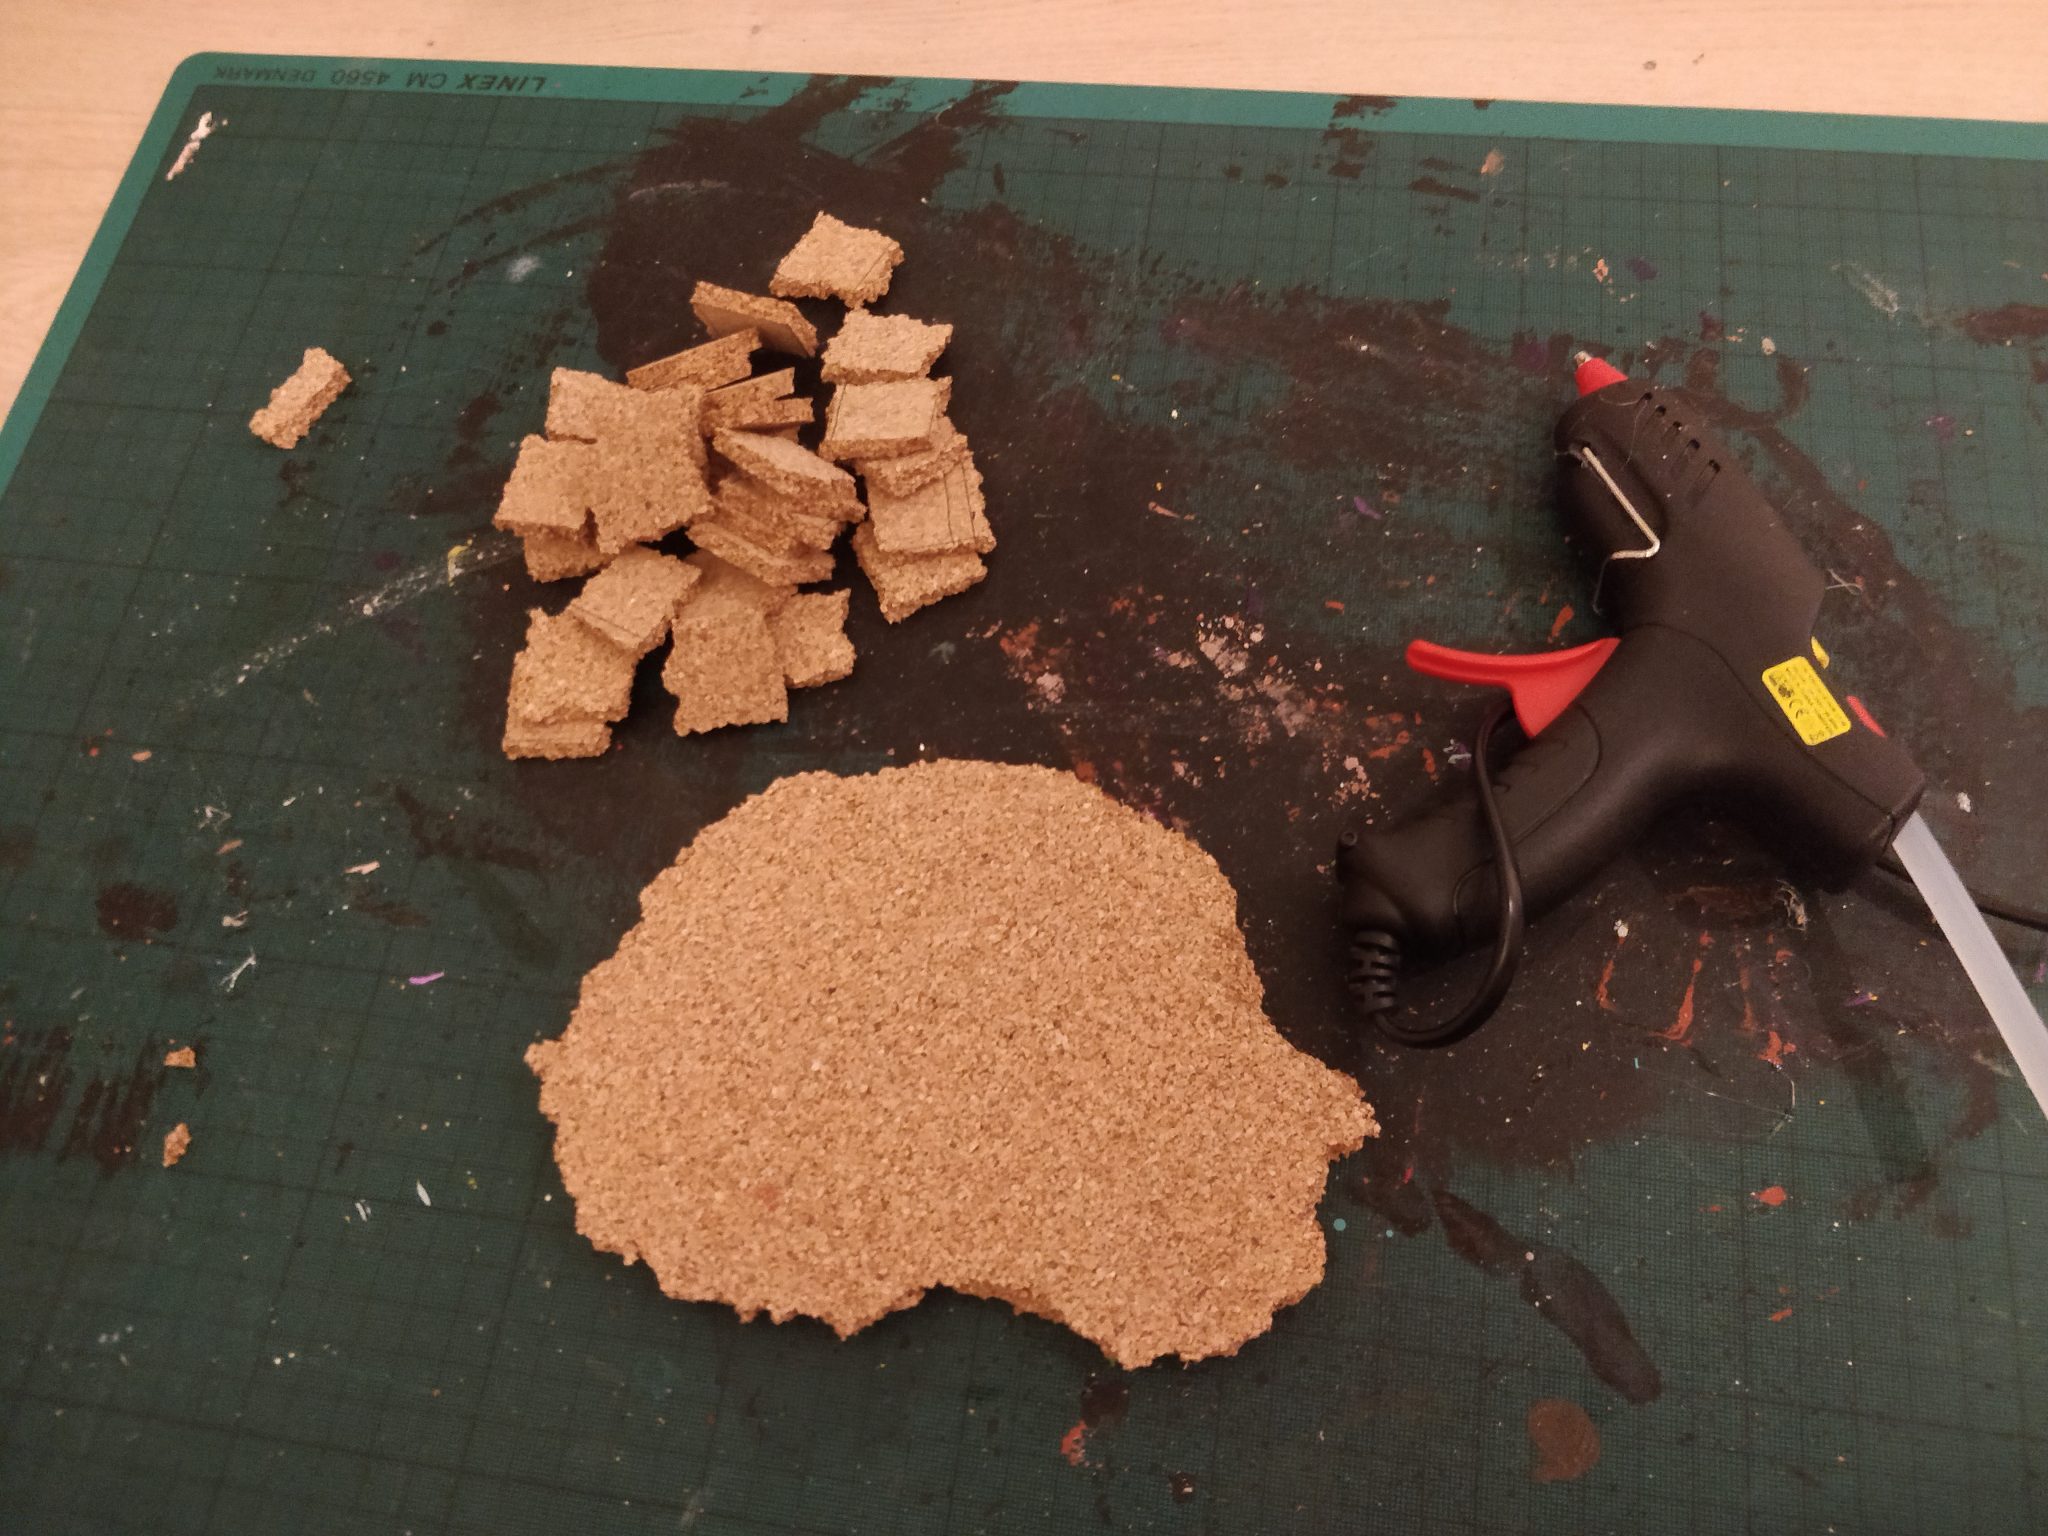
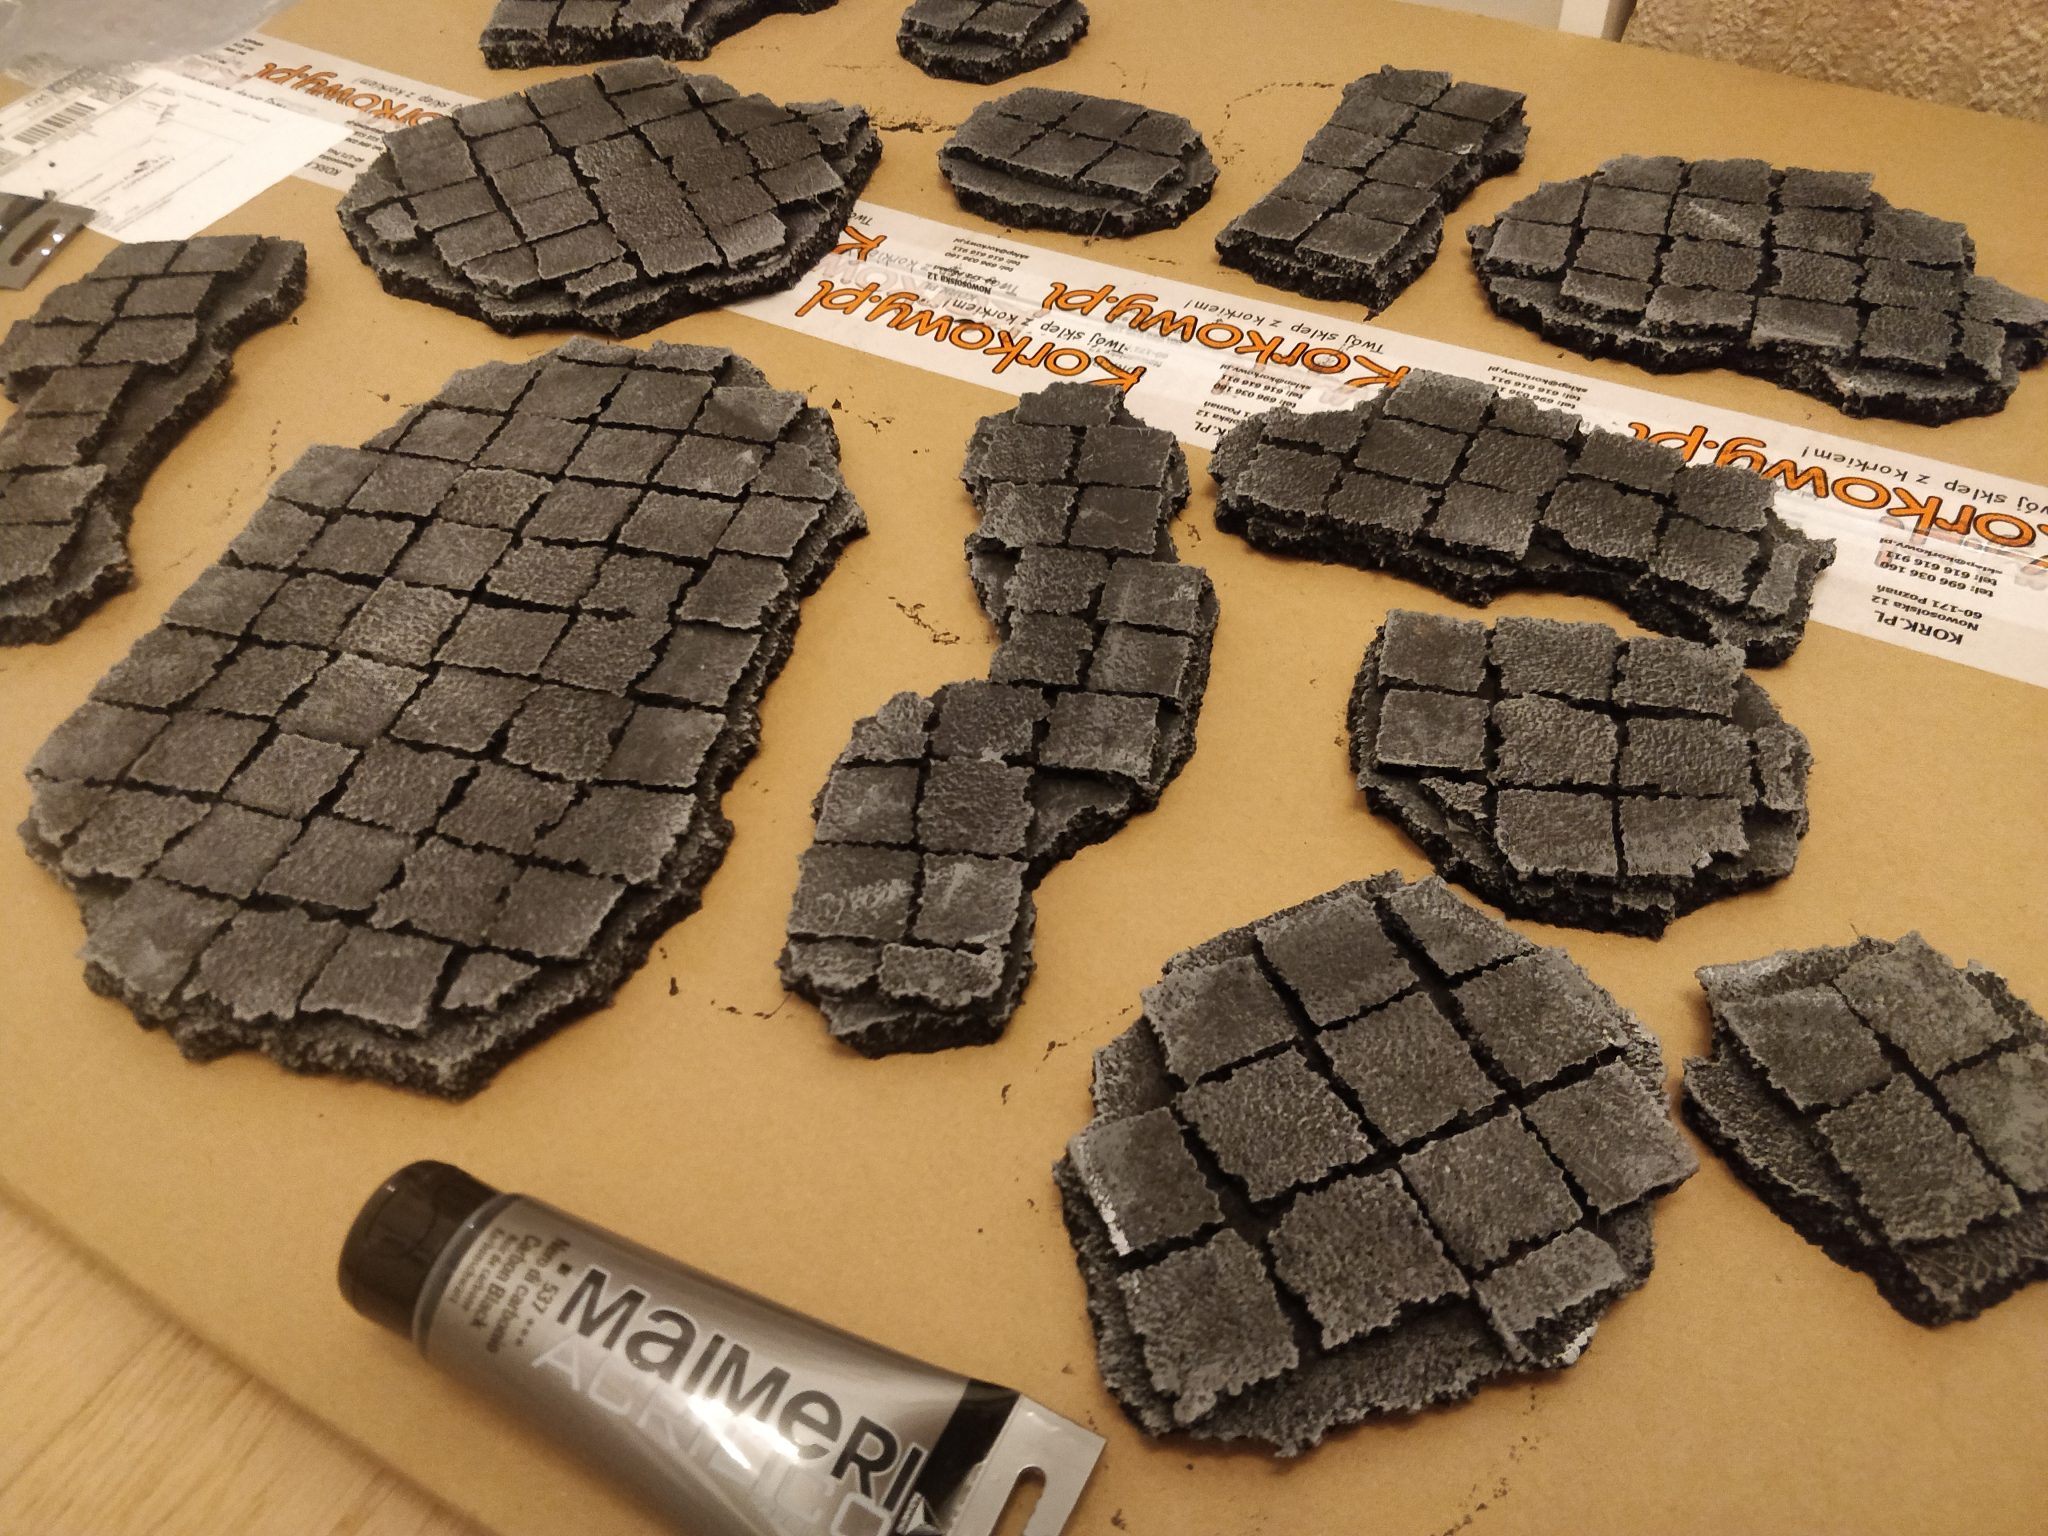
1: Break out shapes of cork boards
I bought two cork boards: A 1 cm thick one and a 0.5cm thick one… the second one mainly to get free shipping BUT it really came in handy as I decided to snap squares to glue on top.
Note, if you are not into grids, you could just use the shapes, but my players like grids and I had the cork. It also gives the pieces a bit of a hint of civilisation I quite like.
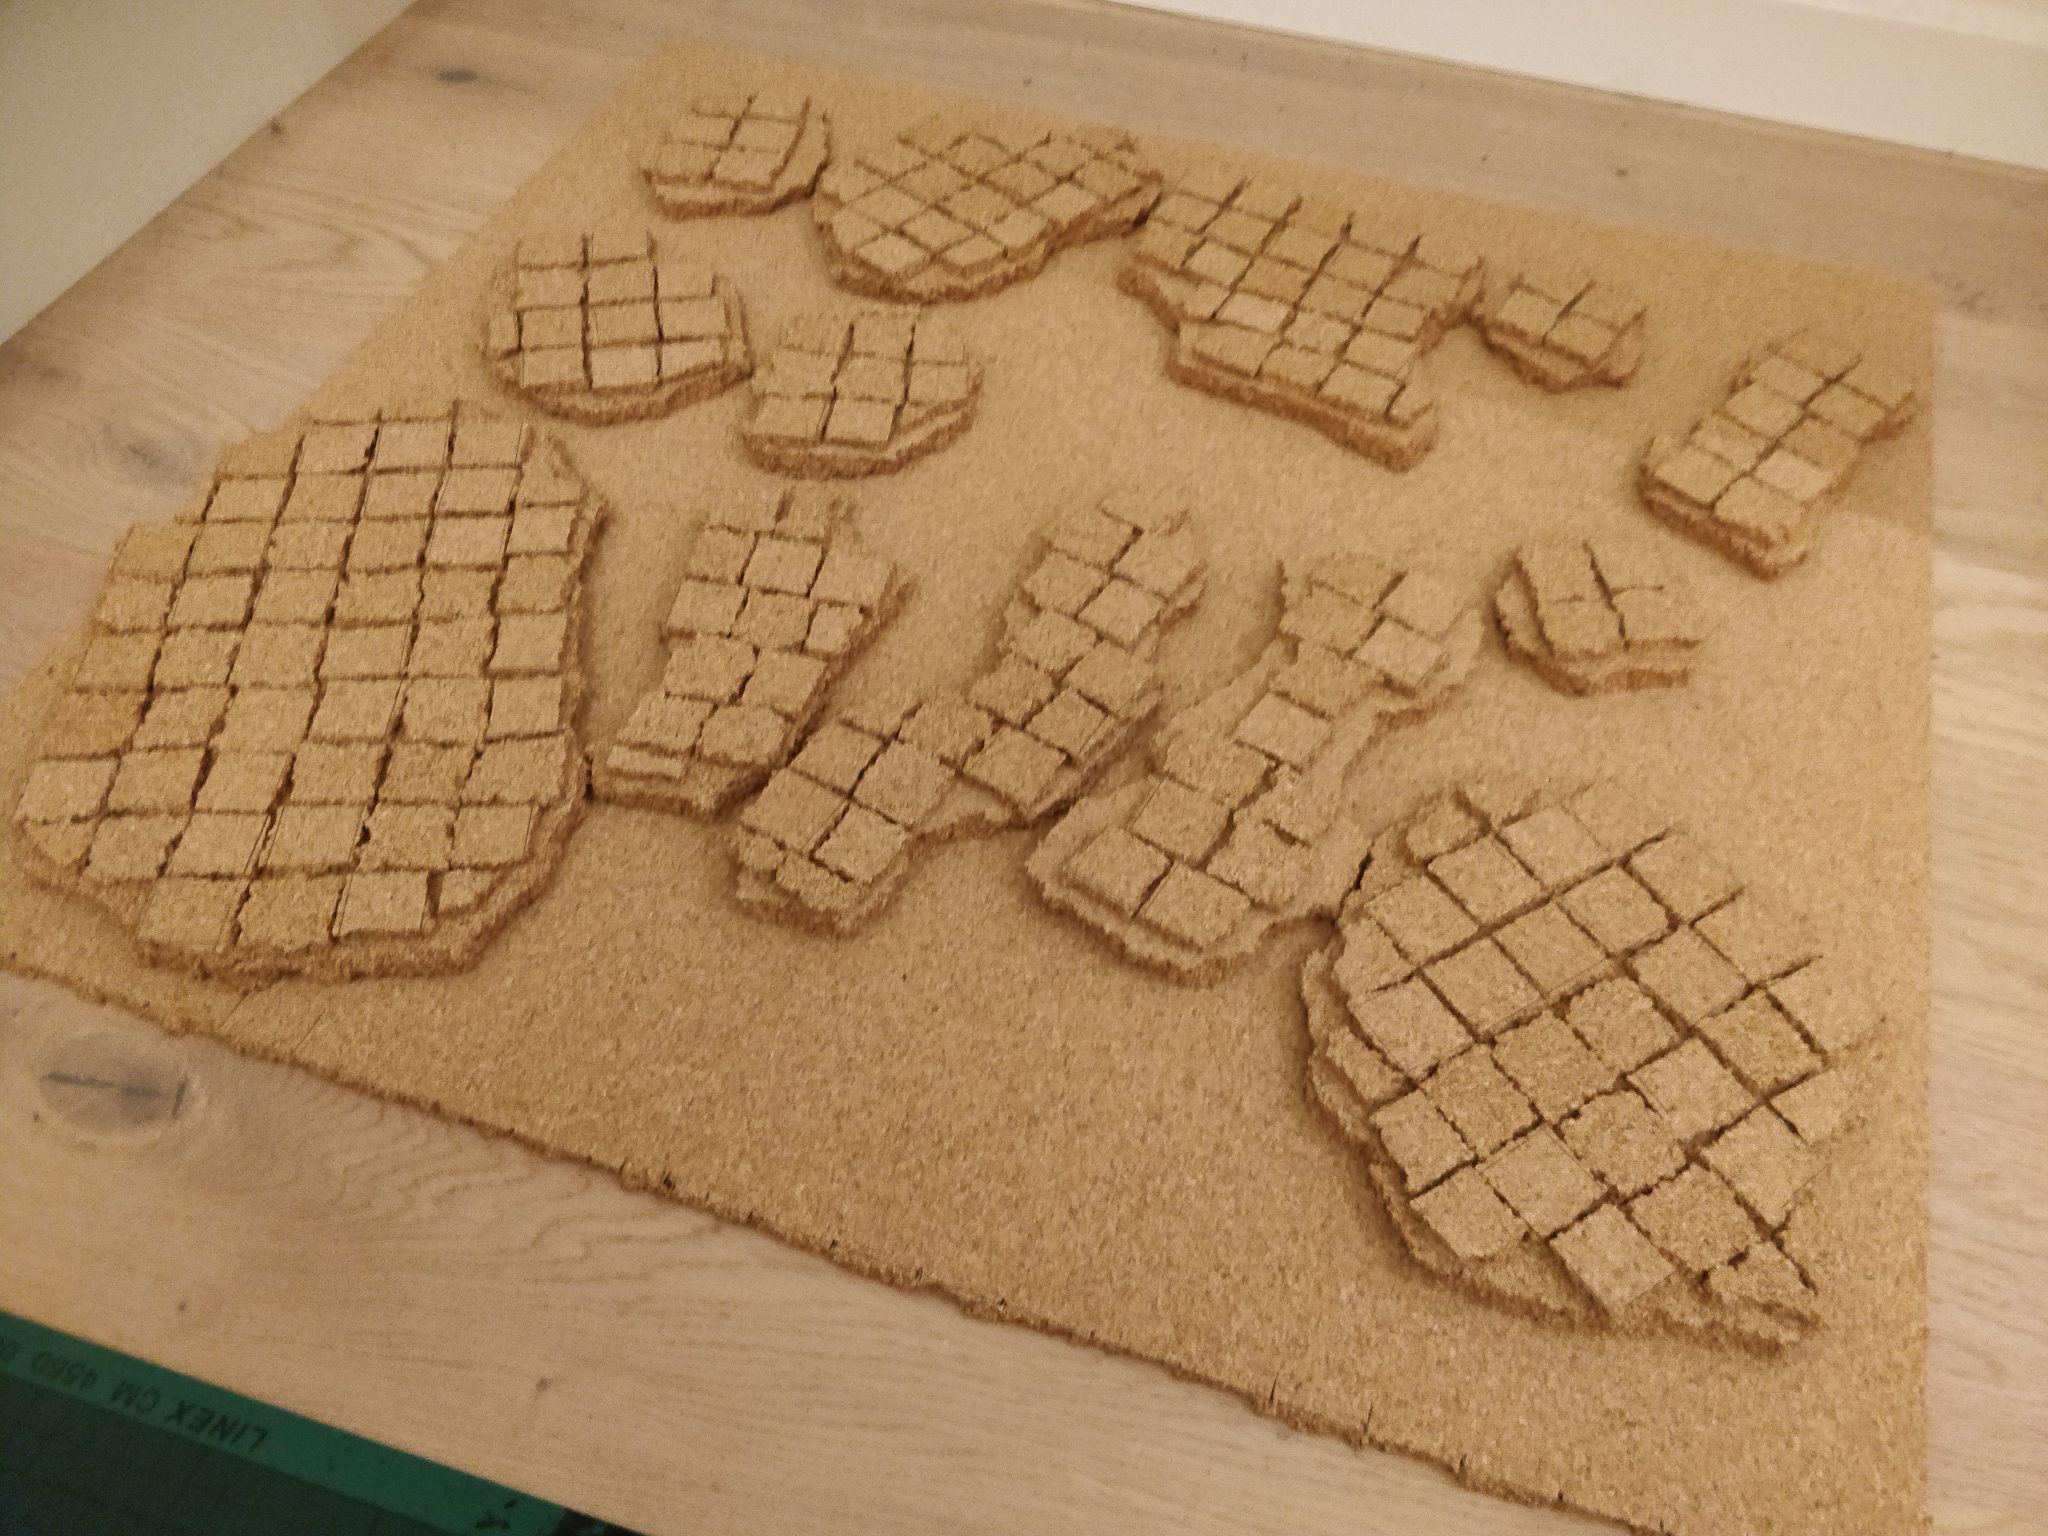
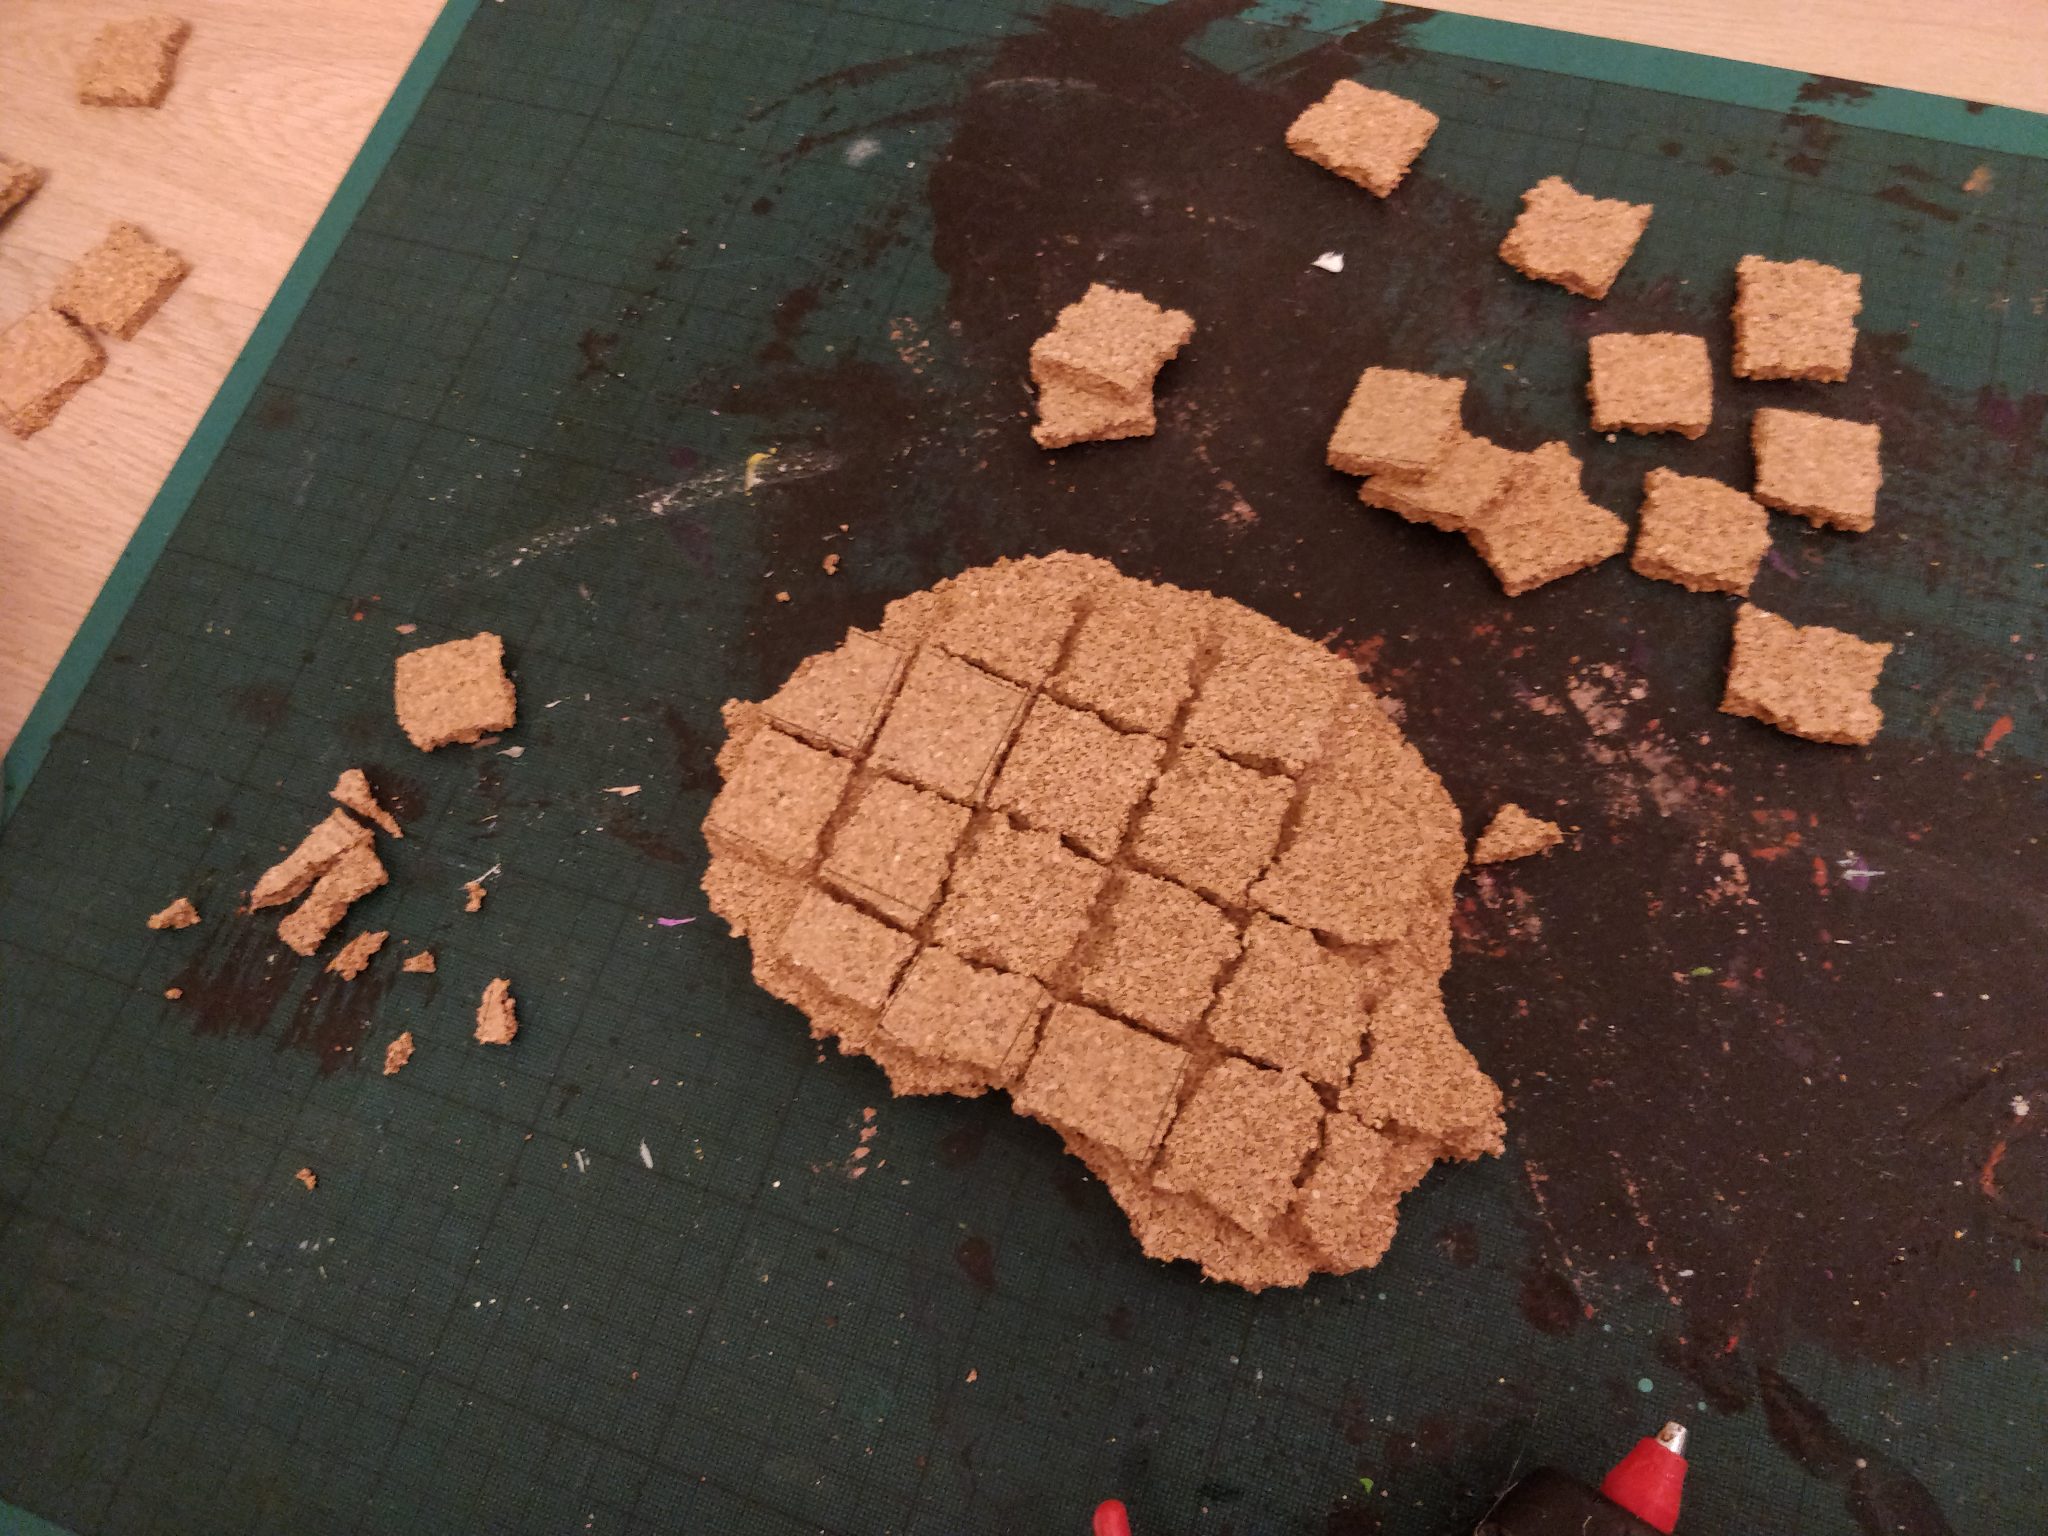
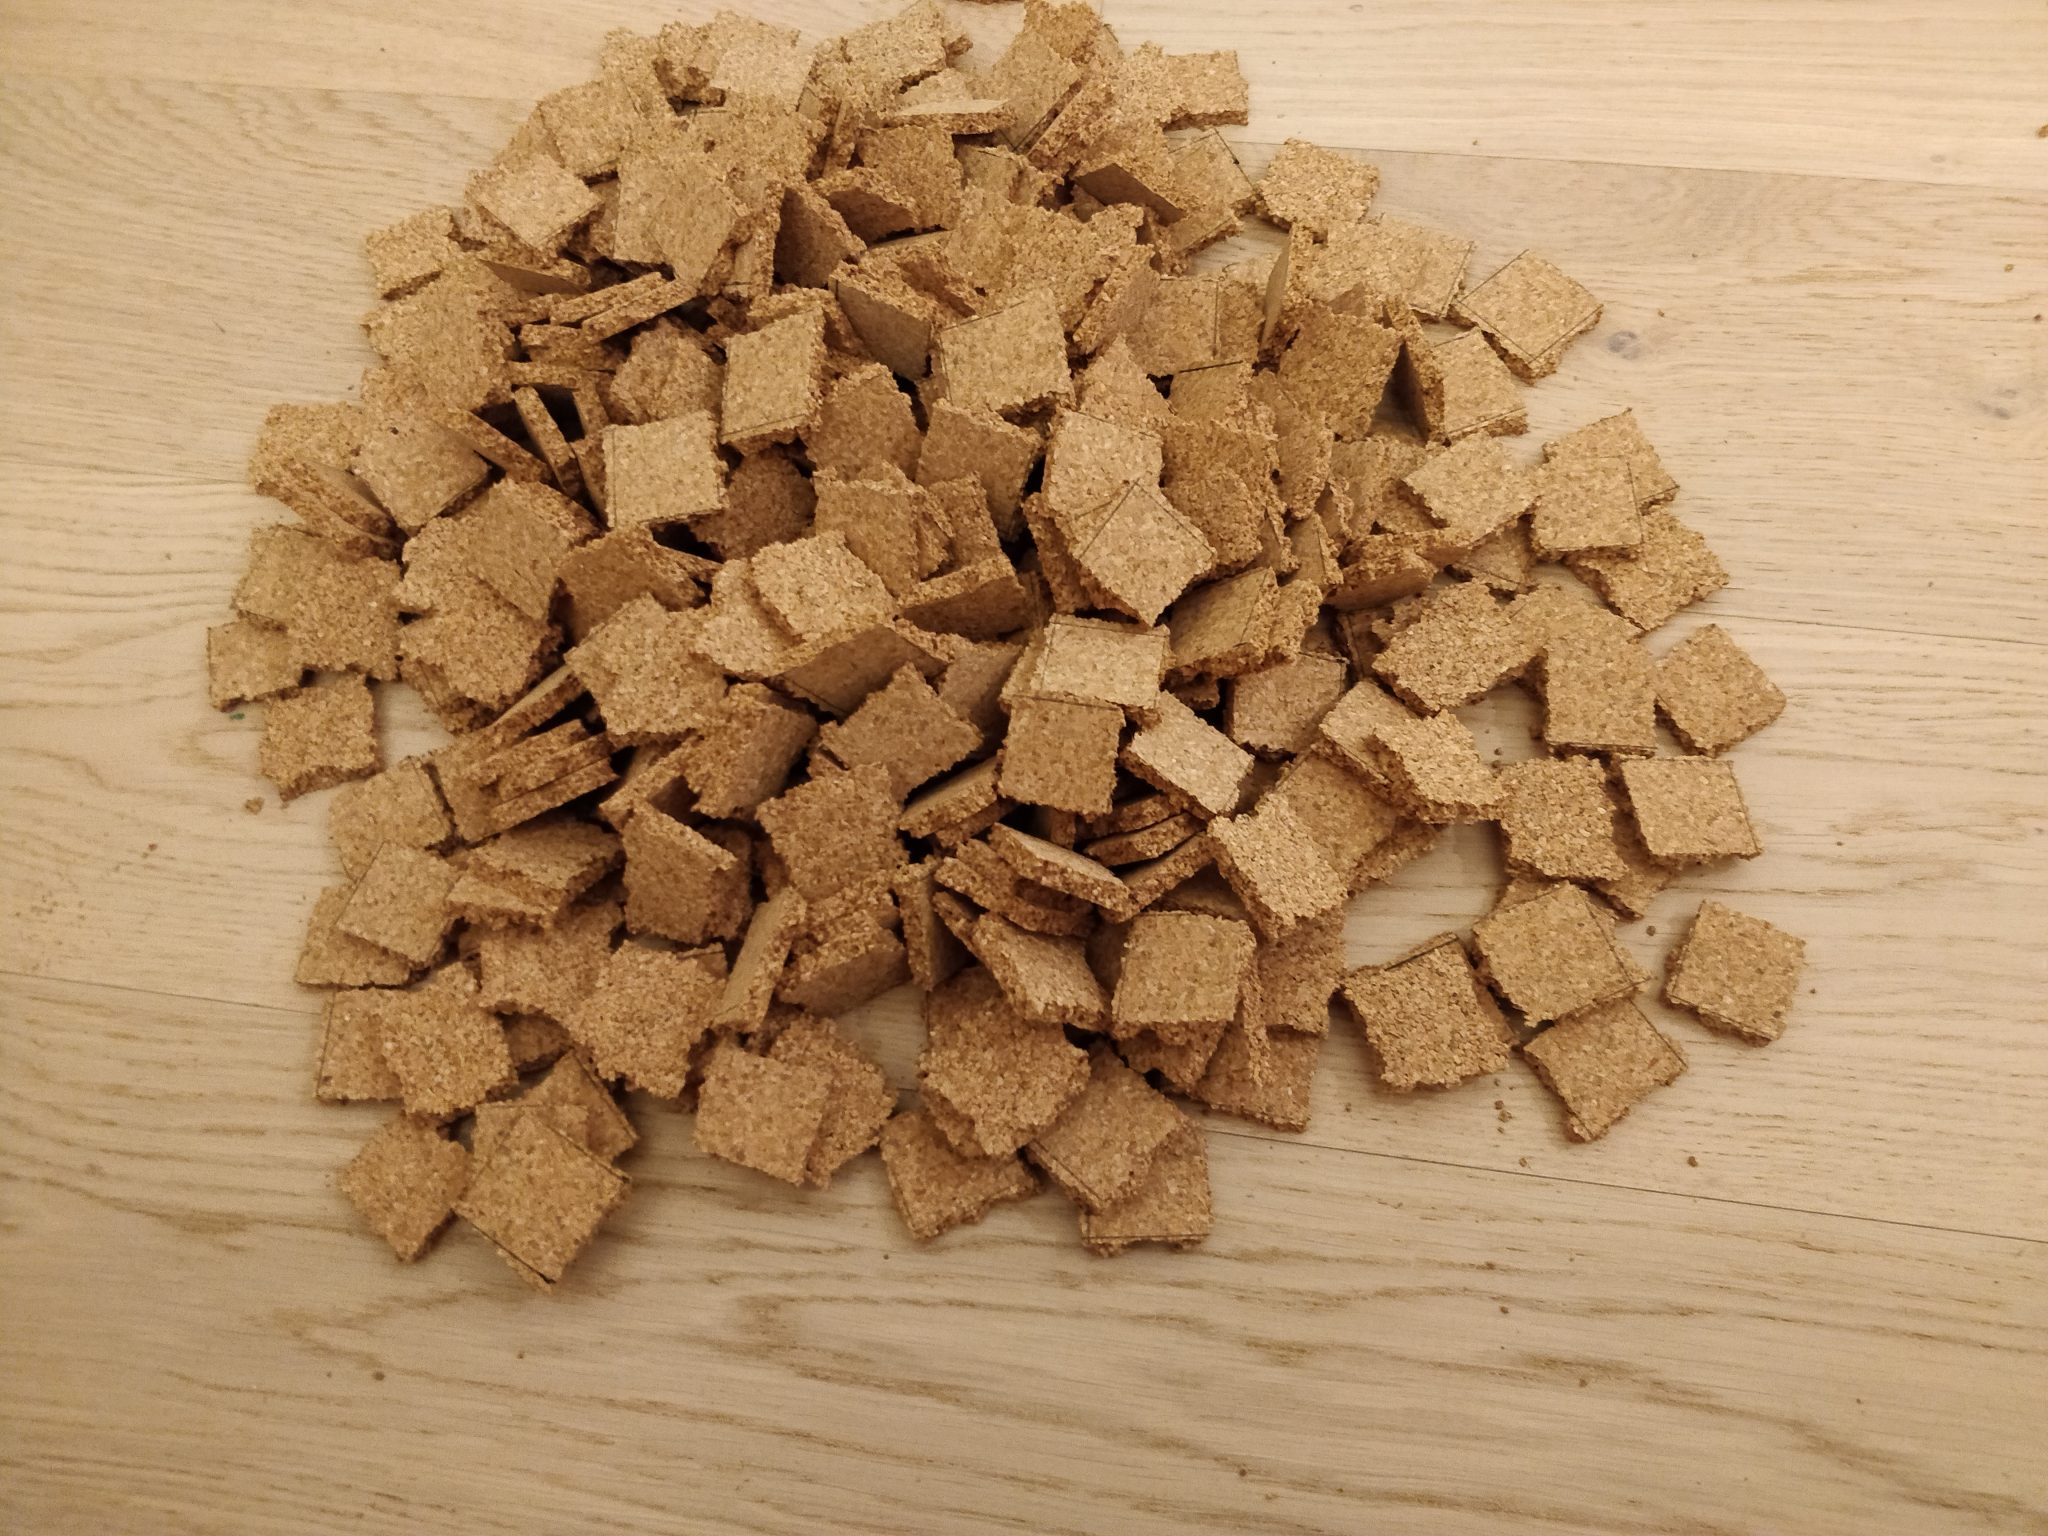
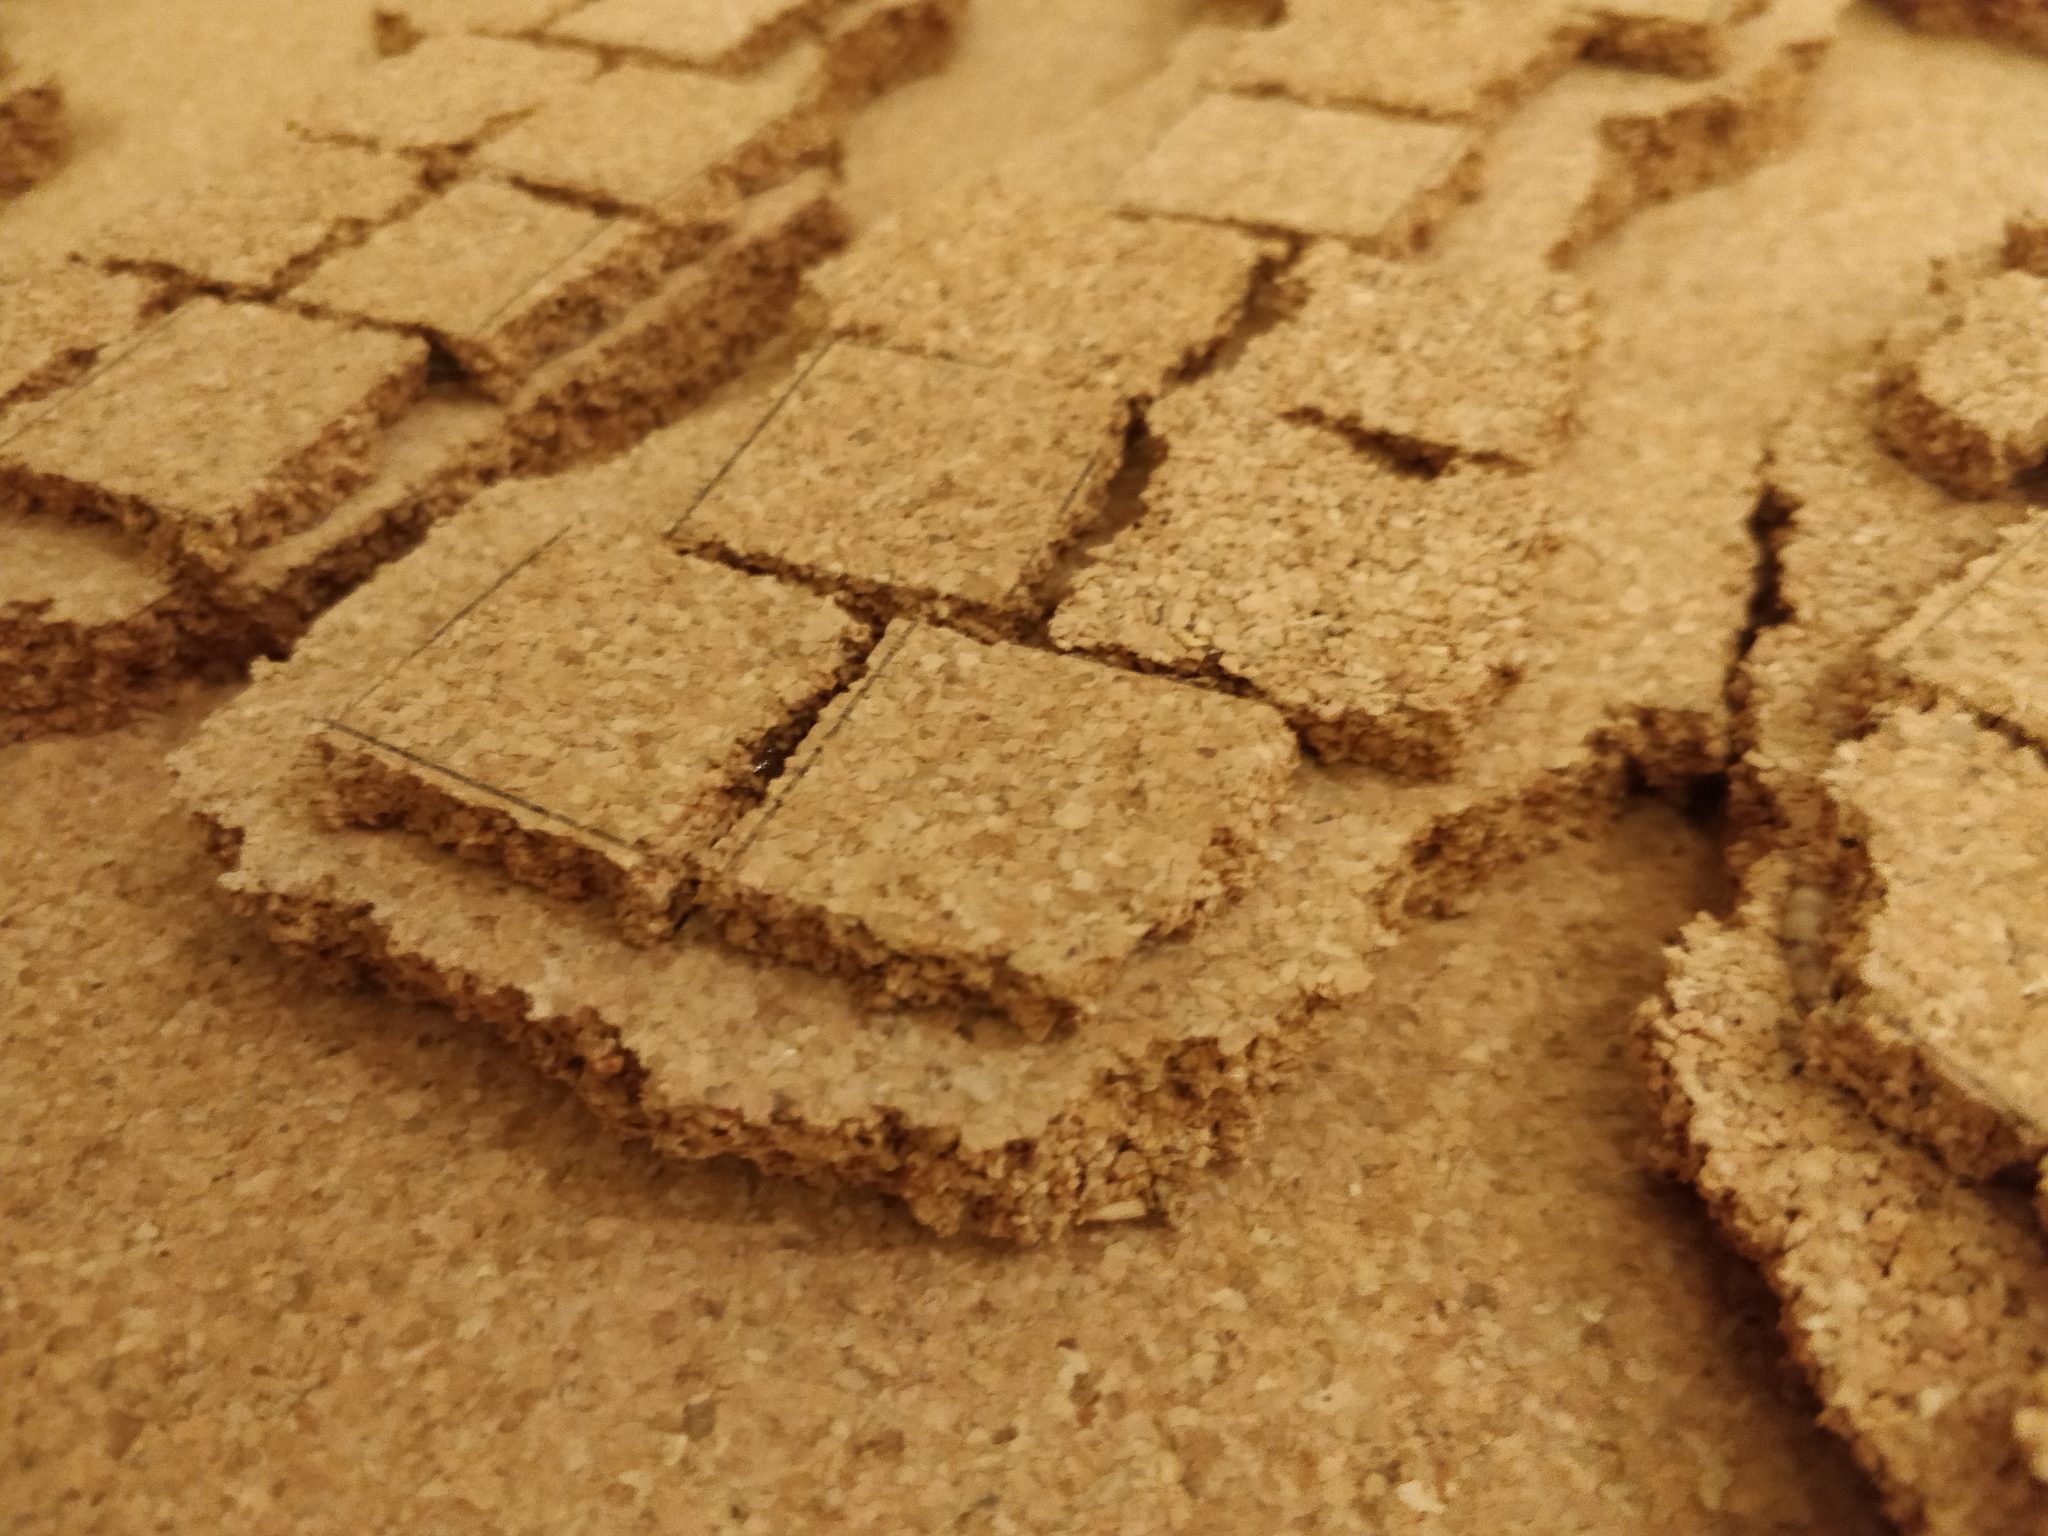
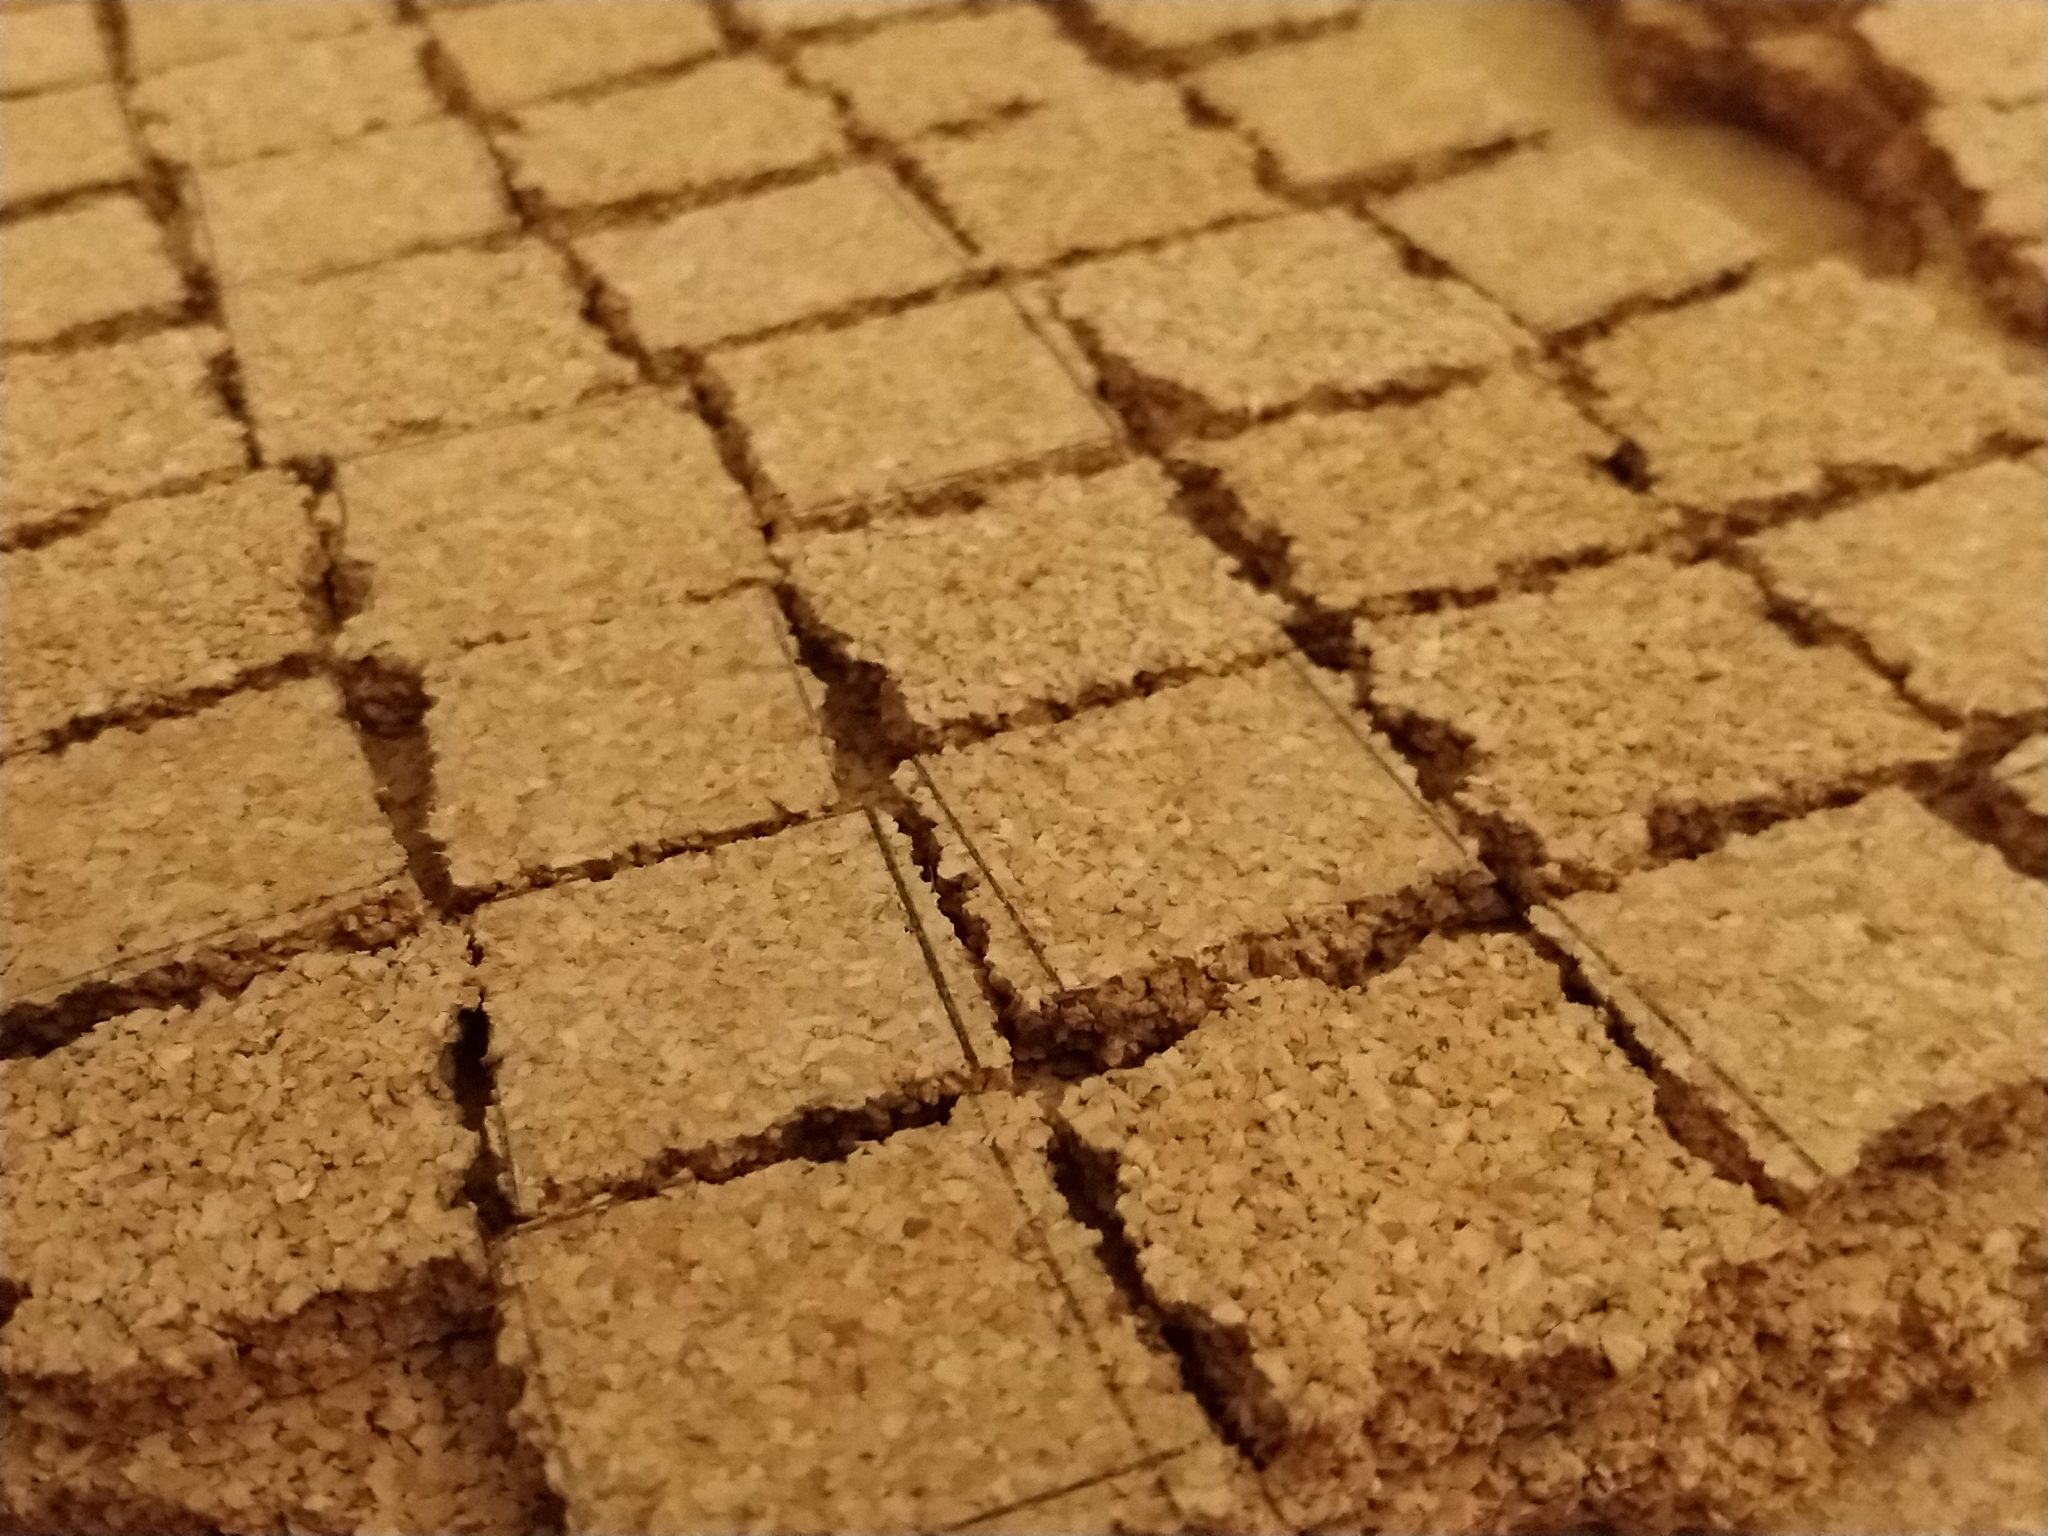
The little squares I gridded out with a pen and snapped using a ruler. At the end of the day this was the most time consuming part of the project, but I am very happy with the result.
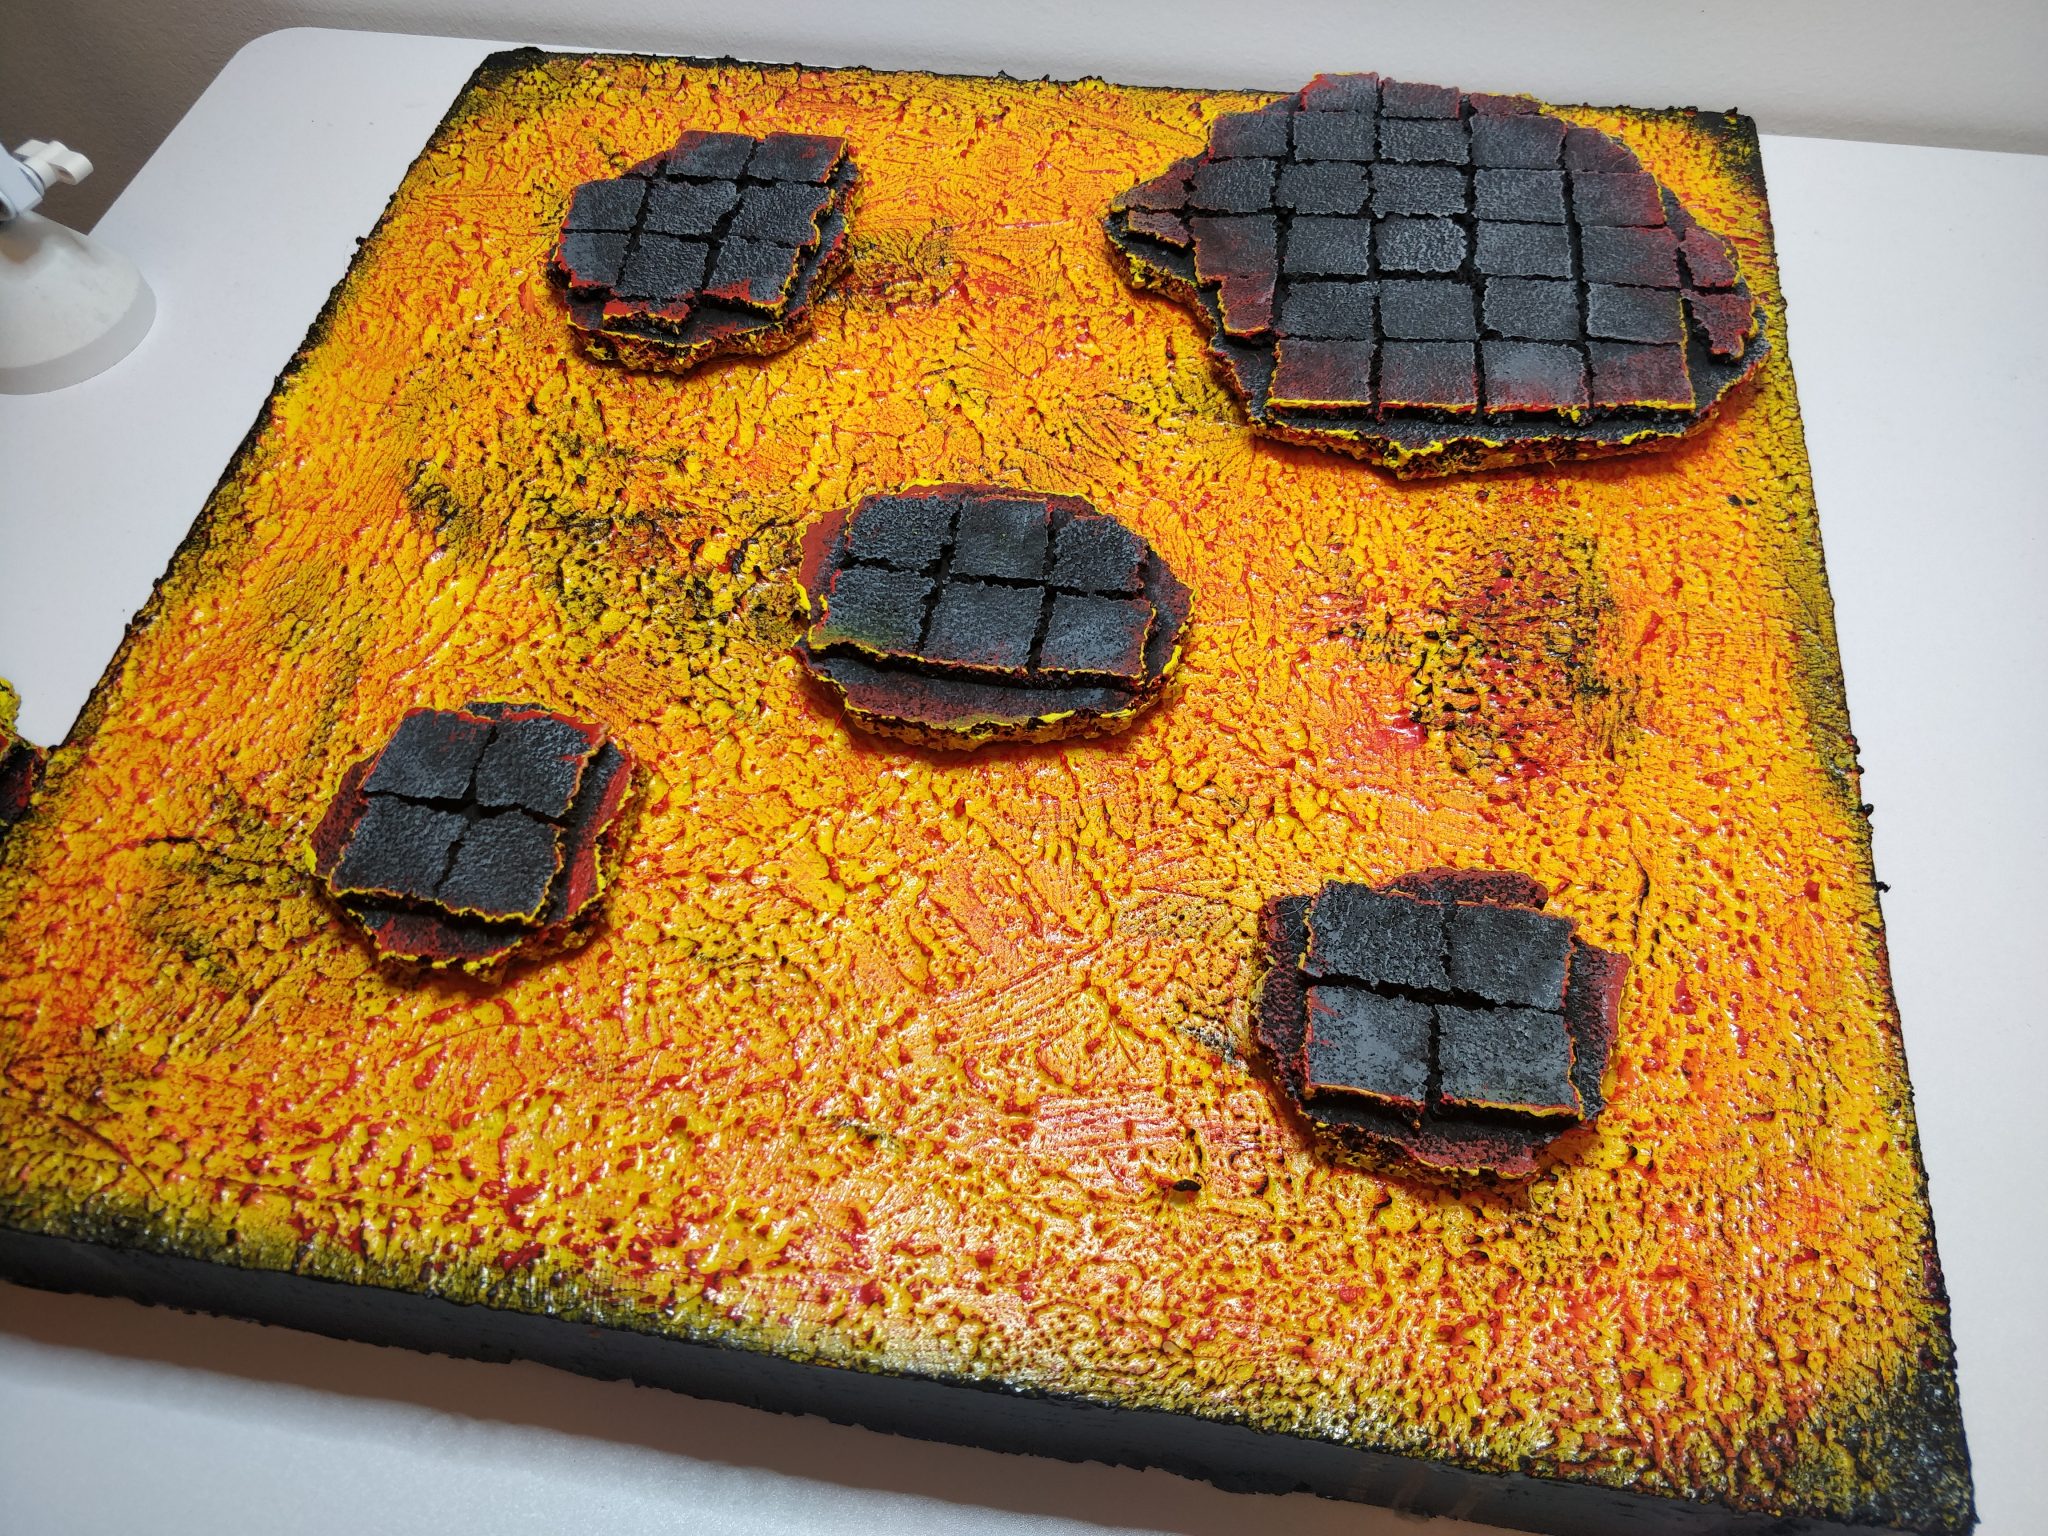
2. Paint black
I used a spray to get into all cracks and corners. With the cork being more resistant than XPS foam, I just used a random black acrylic spray and it worked fine.
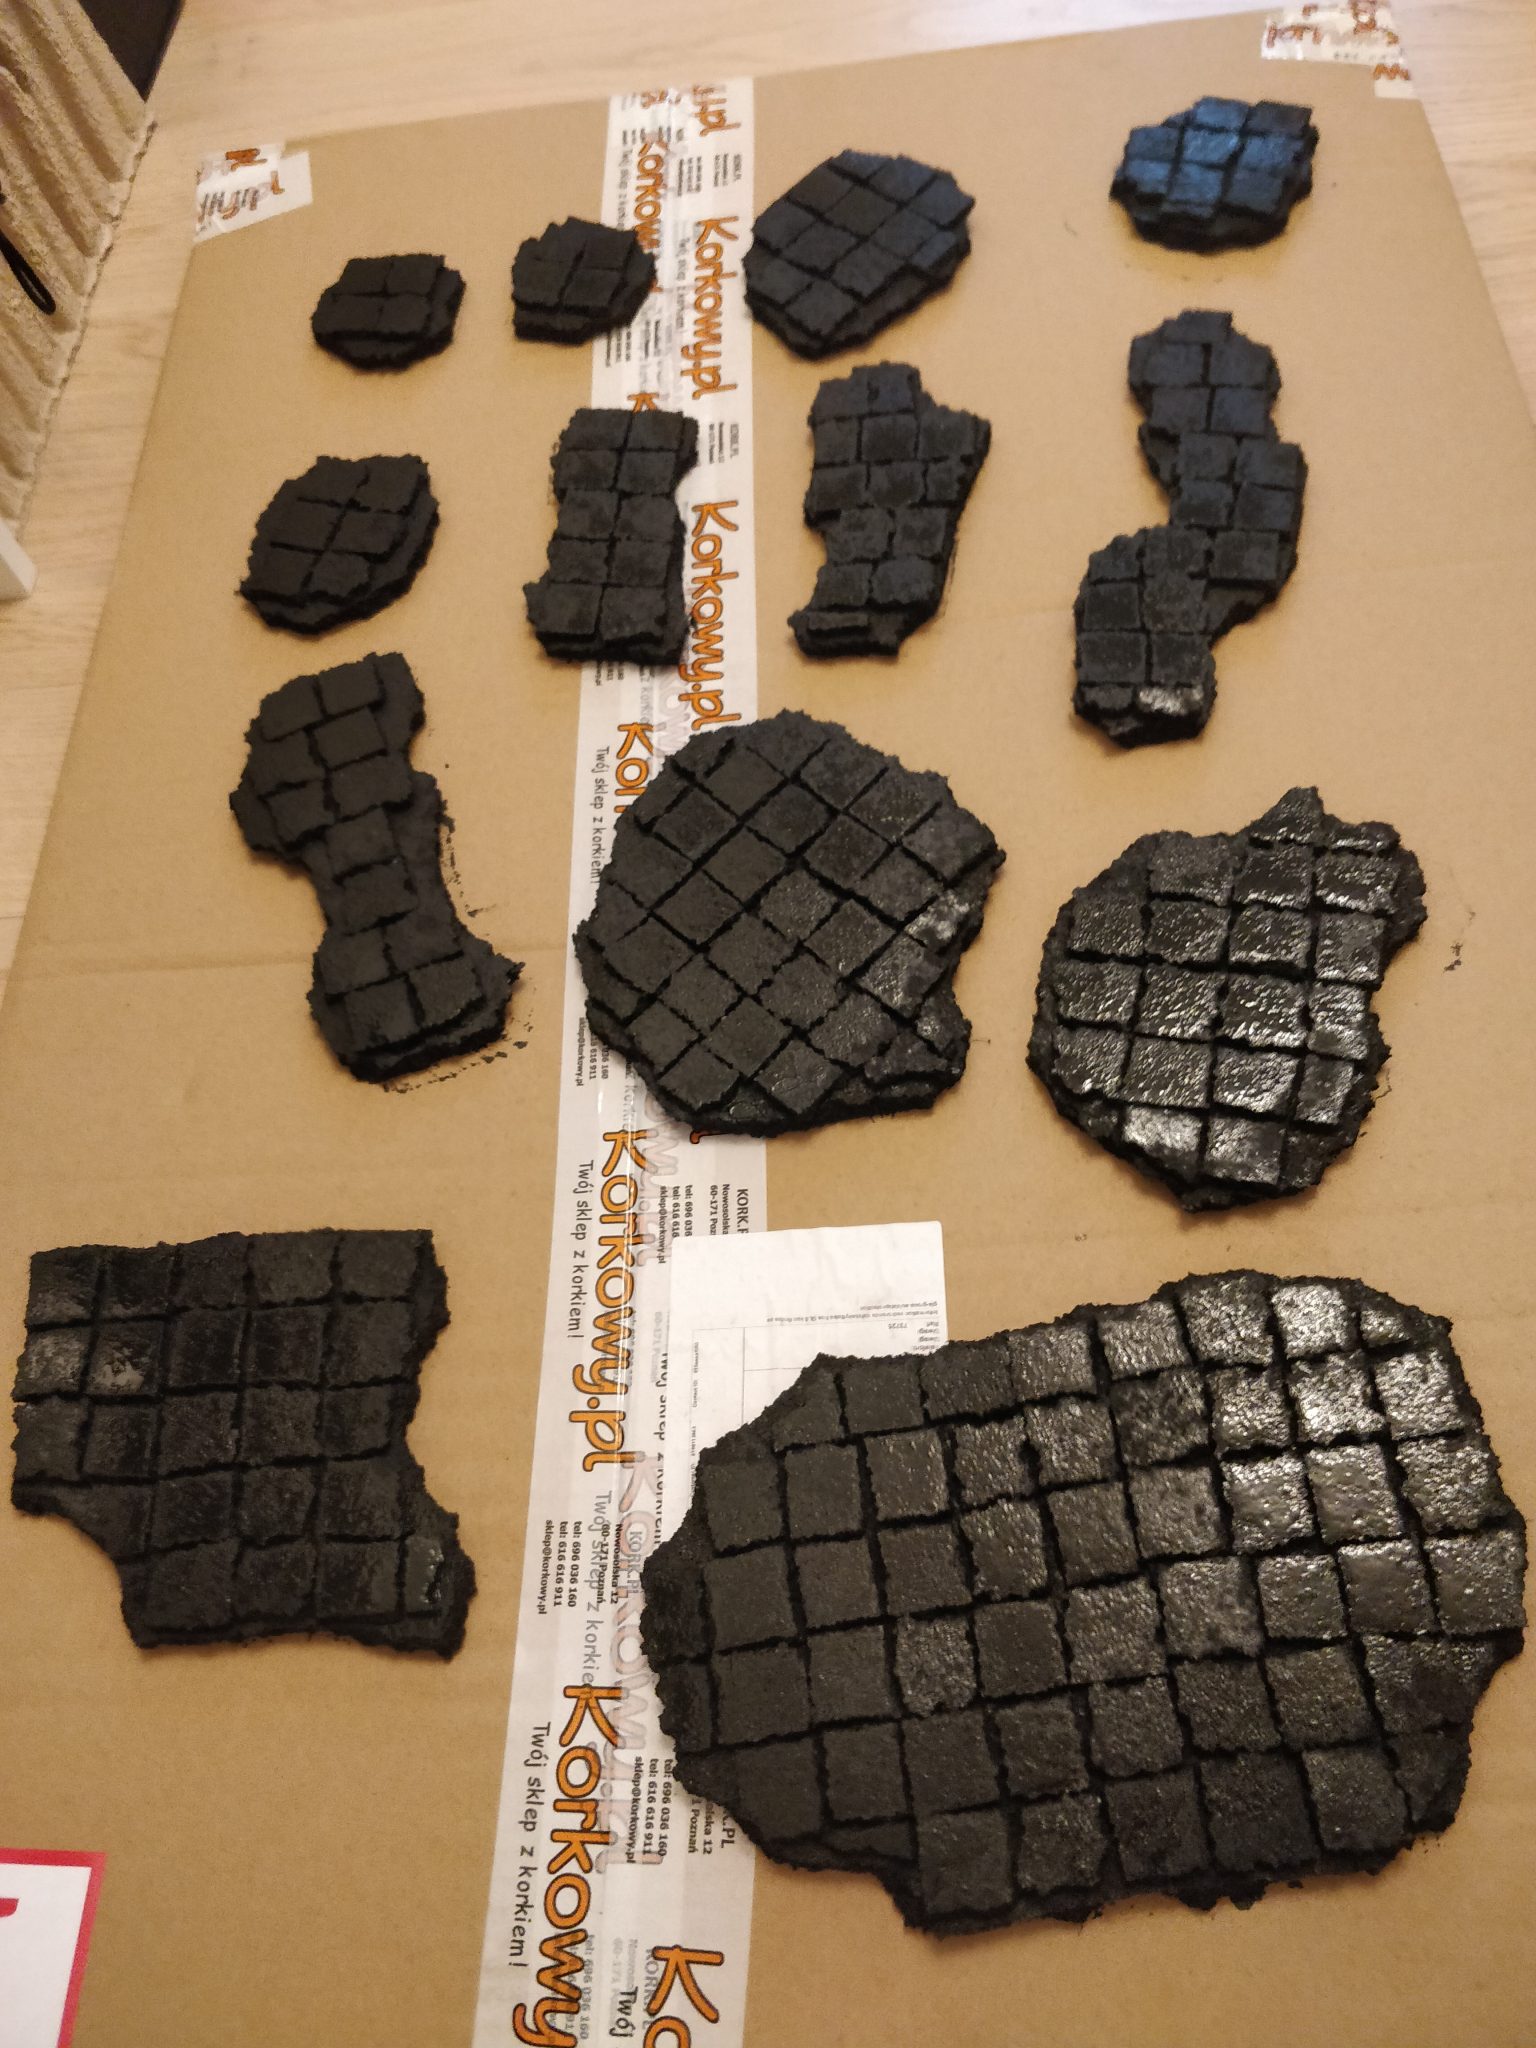
3: Drybrush with grey
I’ve never actually done tiles with just black and highlight grey and I actually really liked the look so was tempted to stop here for tiles that would be used elsewhere than Phlegethos… but in the end, I do love themed boards so I went a step further. But you could easily stop after this point.
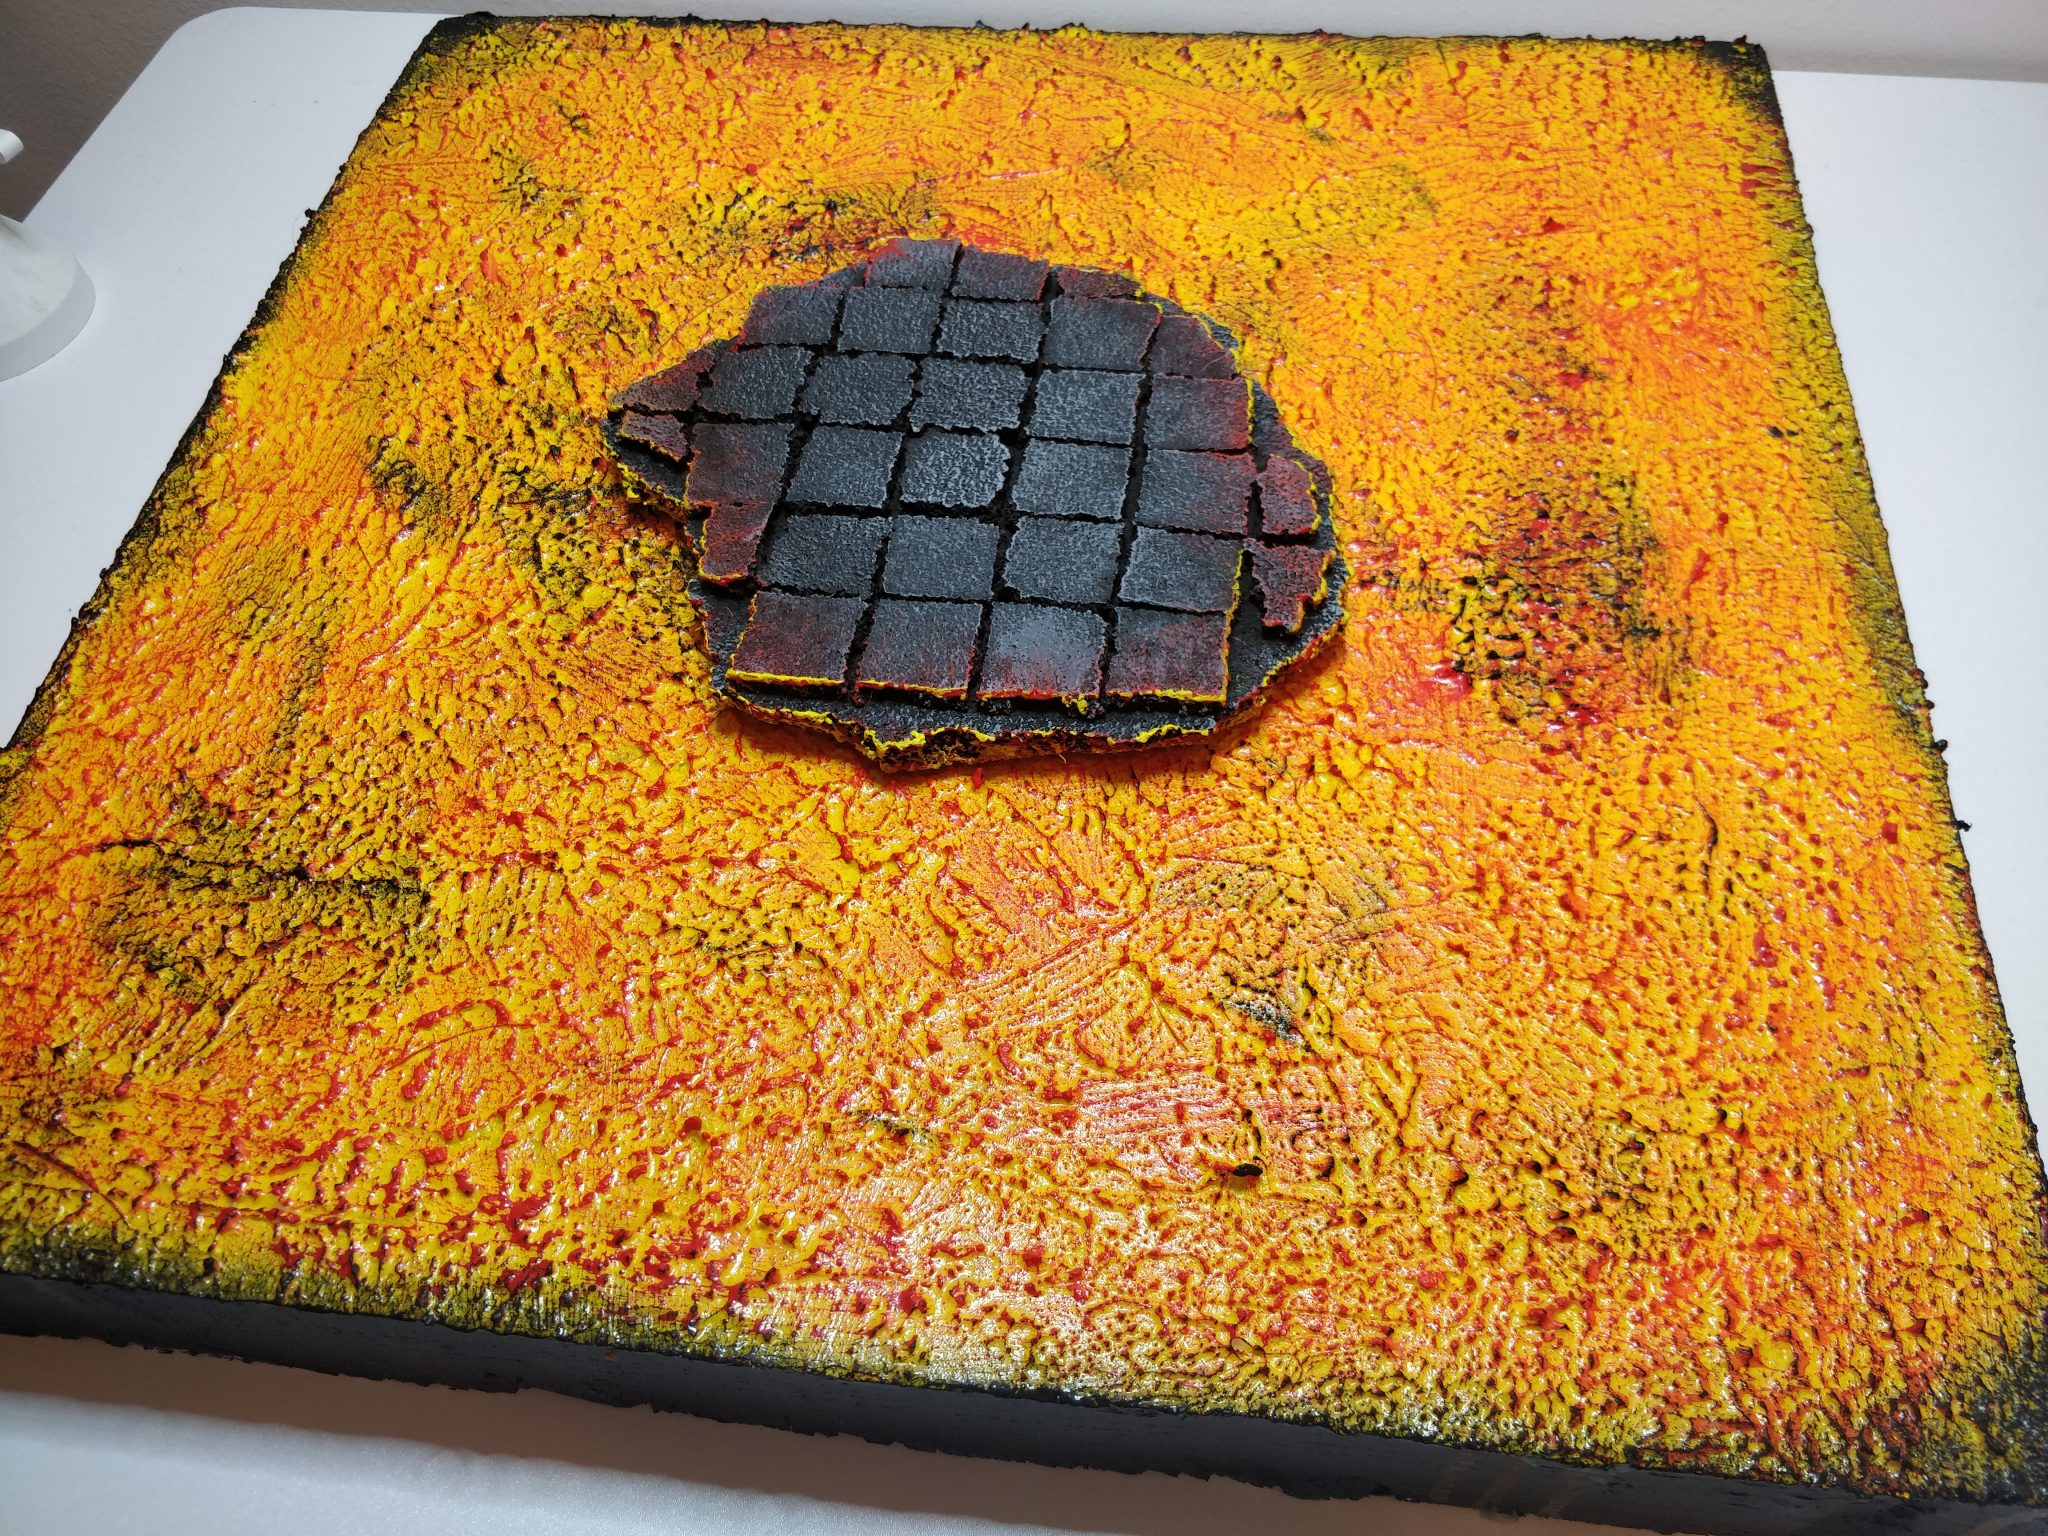
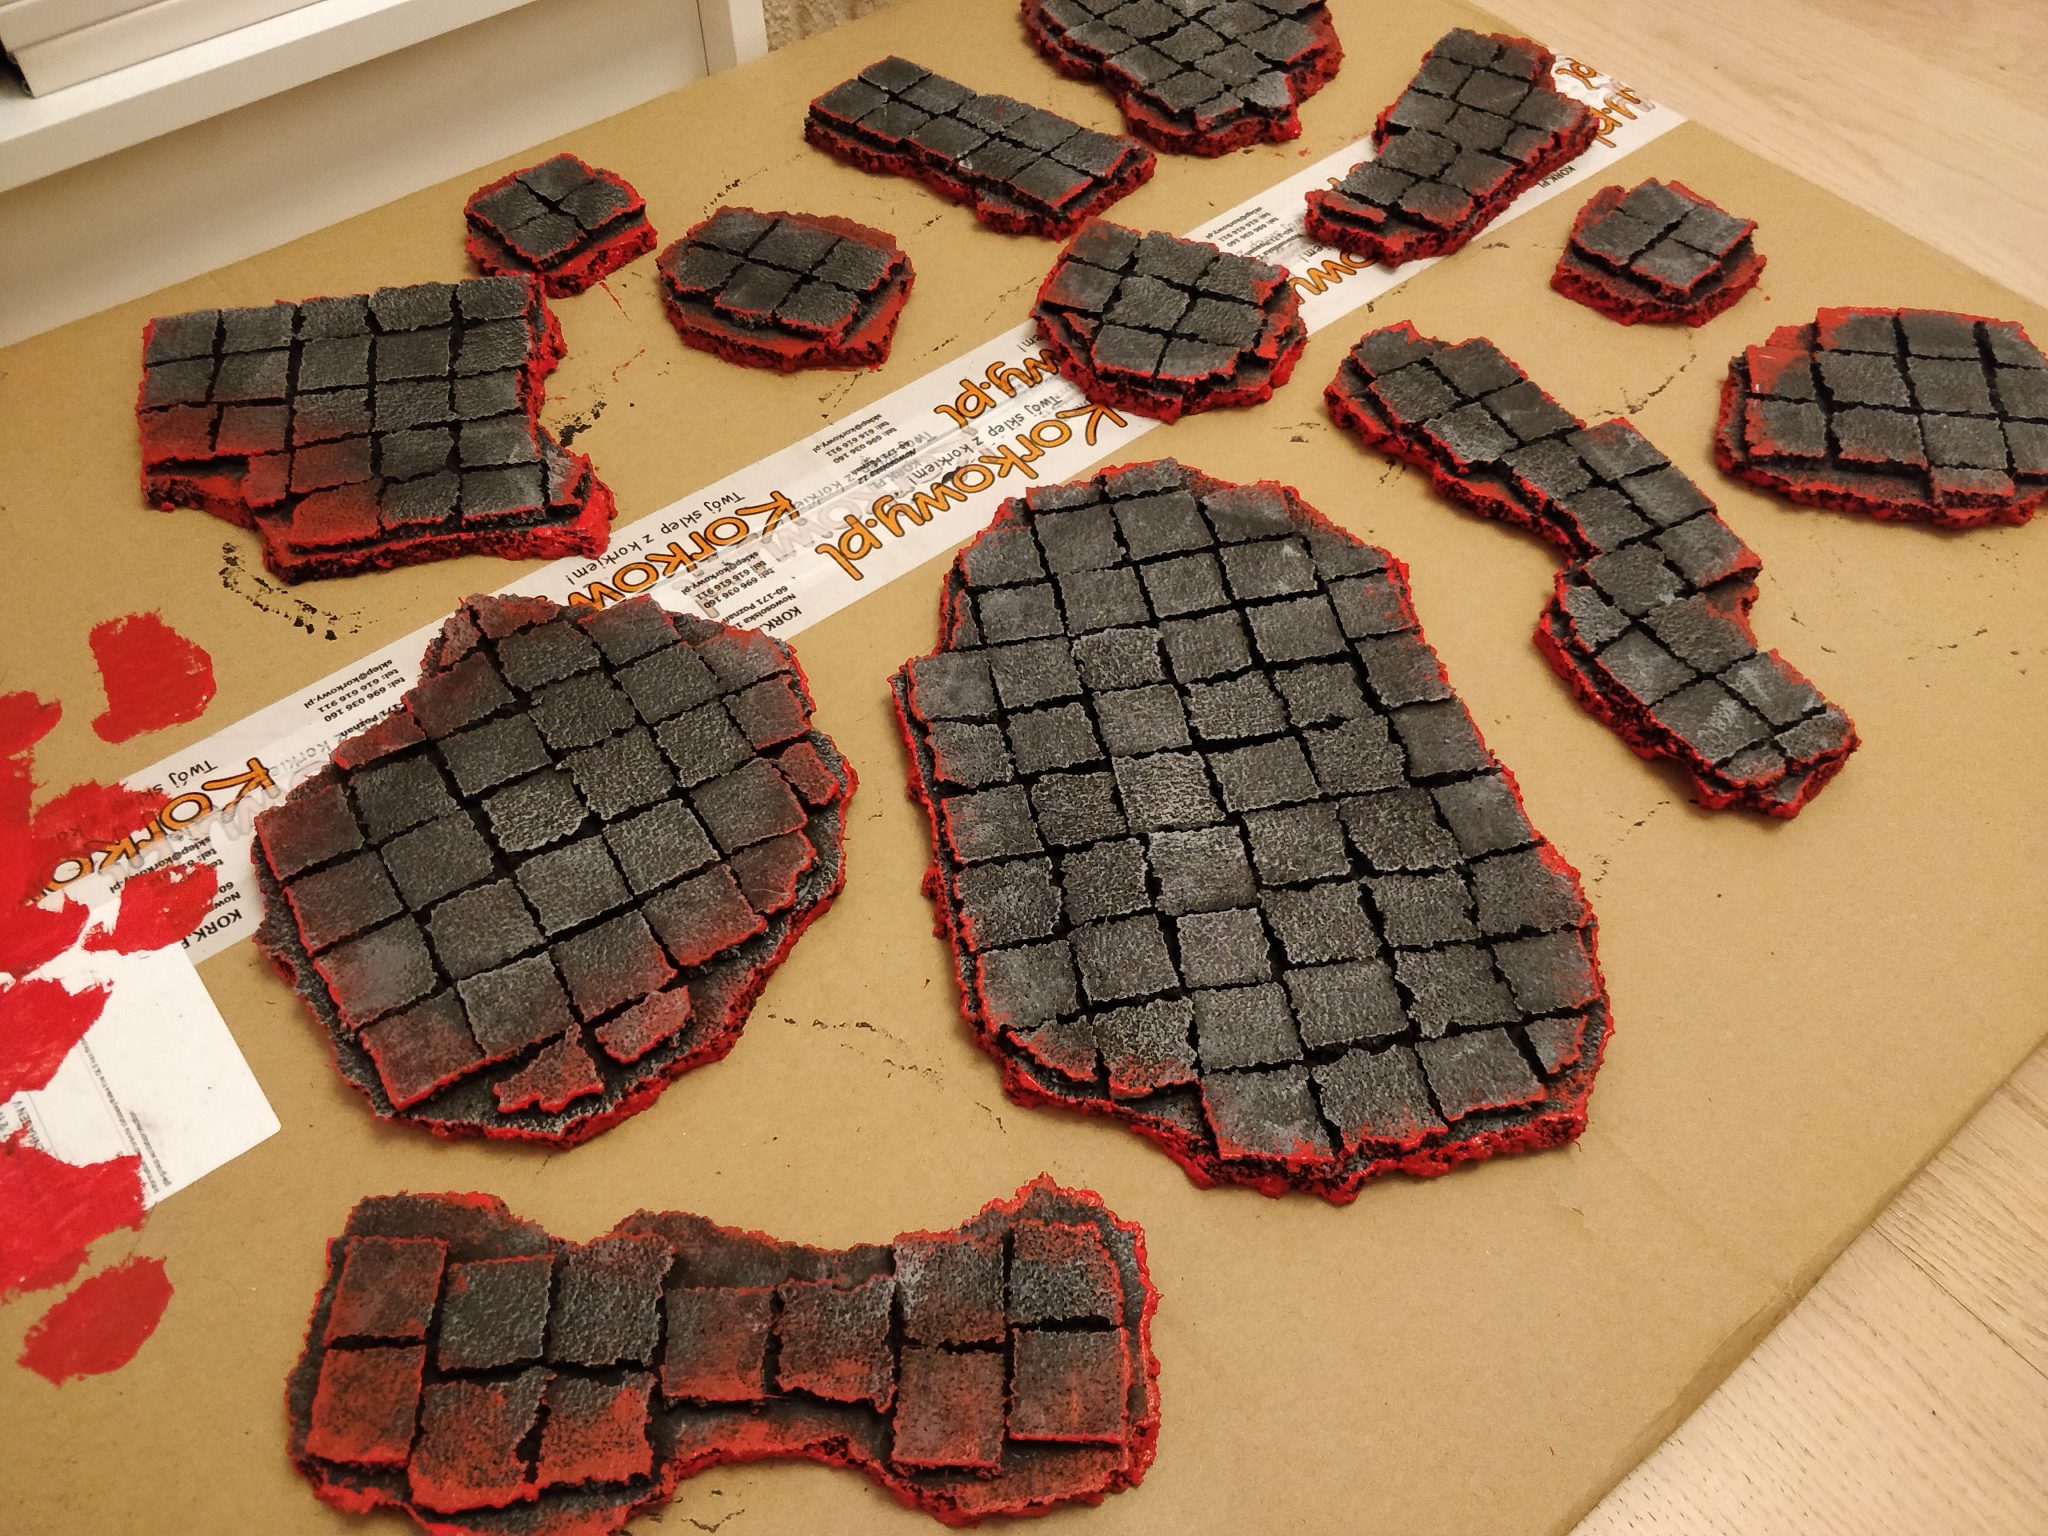
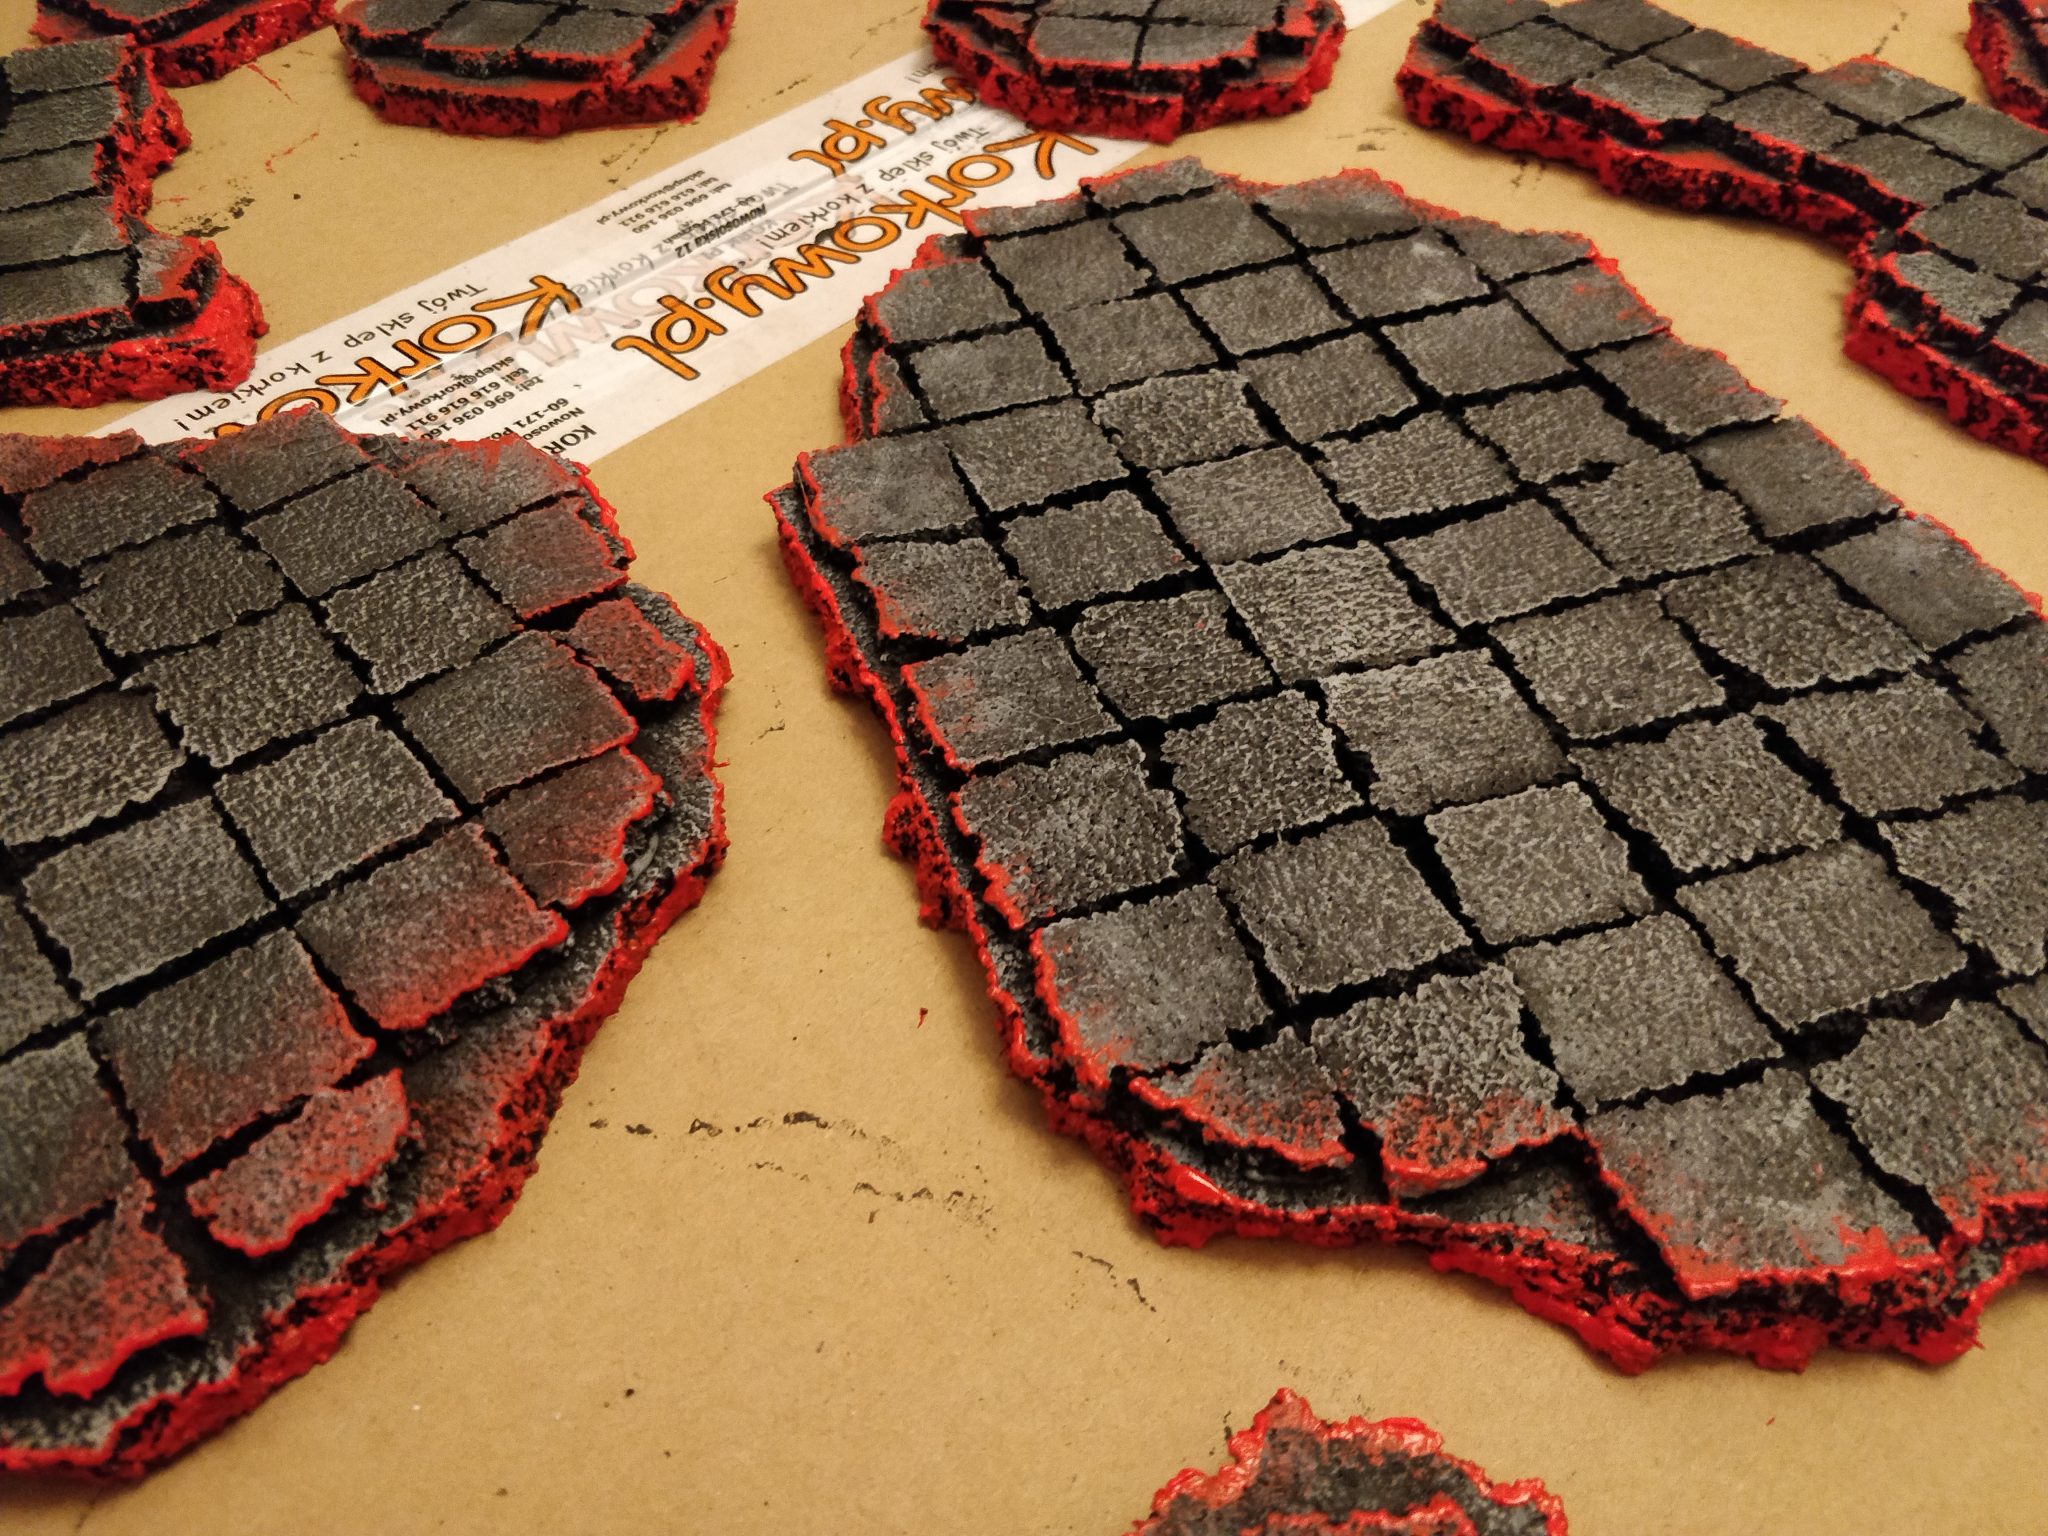
4: Adding red glow
I added a red edging to the edges and gave the bottom part, the 1cm thick cork, a much heavier round of red.
Already you can see what is going on.
5. Final step. Yellow edges
Final step was to dial up the glowing feeling a notch by adding a second highlight layer of yellow.